A story outline is a document used by writers to organize and plan information regarding their story before they can start writing.
Writers use story outlines to arrange their story events which usually includes the structure, the scenes, the plot, and the characters. Therefore, it can be referred to as a roadmap or a skeleton of the story and usually varies depending on the style of story outline a writer may choose.
Writing a story can be challenging, and that is why you need to have an outline. As a writer, plotting out an entire story in your mind may lead to forgetting certain concepts or mixing up others. Therefore, for you to have a coherent story, you will need to use an outline. Also, it will help you to create an interesting story that will get your readers hooked from beginning to end.
The best approach in this is to use a template to create an outline. A template will make work easier for you by enabling you to comfortably develop your story, set your characters, and describe all your story events. As a writer with a story outline, you can also create a reference point that you can use to cross-check for ideas whenever you get stuck while writing.
That way, you will have a proper and well-polished story while you continue to write down any other new ideas. An outline is not meant to strain your flow of ideas but rather help expand your creativity by providing you with an opportunity to note down your ideas so that you can organize them and create a beautiful story.
Different Approaches to Writing a Story Outline
There are different approaches to writing a story outline that you may choose from as a writer. That means that there are different types of outlines for writers to use. It all depends on what suits you best when it comes to your creativity and how you intend to organize your ideas.
Here are the 3 different approaches that you can use to write a proper story outline:
Plot-based approach
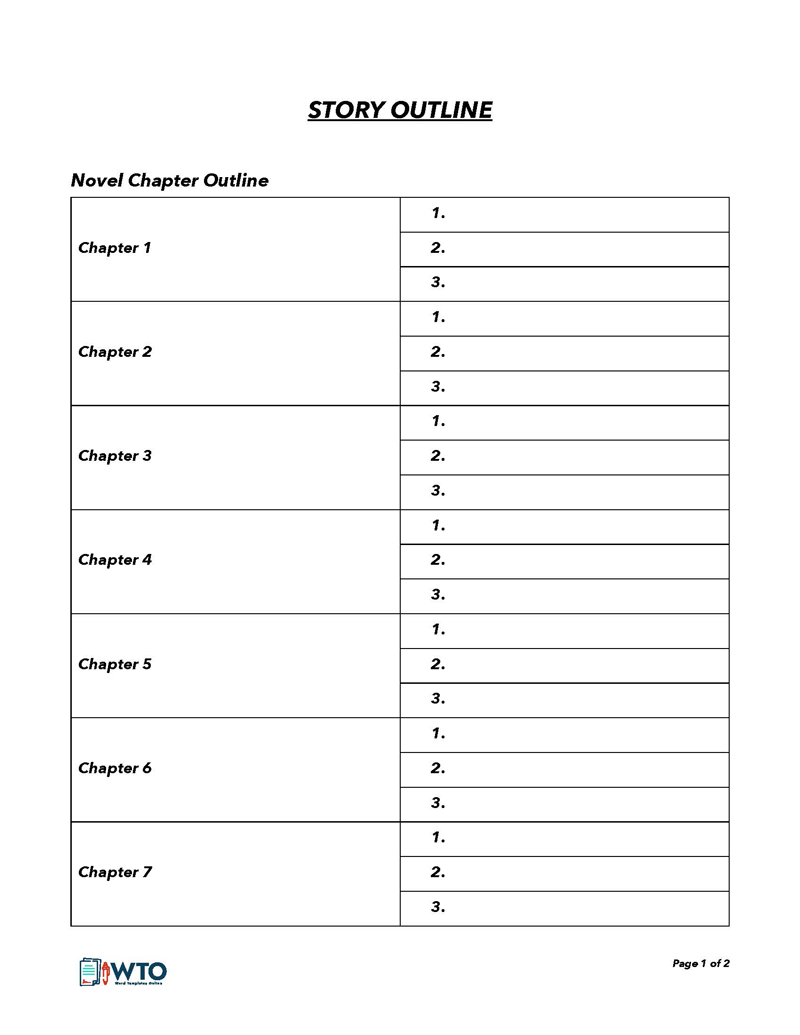
This is the most common approach that writers use to outline their stories. A plot-based approach is where you use bullets or numbers to list your story points. You need to ensure that each bullet or number represents a single plot element in a way that provides a summary that can be expanded later on as you write the story. With this approach, you can quickly note down the important points and create your story around those bullet points to build your plot.
Scene-based approach
For the scene-based approach, you will need to build on the plot-based outline by focusing on story scenes. This approach is appropriate for short stories and novels where you have to describe your story scenes in detail. A scene-based approach is all about creating a world for your plot elements to unfold in so as to create scenes for your story.
Theme-based approach
For this final approach, you as a writer will be required to outline the themes you intend to include in your story events and scenes. When using this approach, you should explore ideas that will help to reveal what your story is all about. This approach is more of what the story offers than what is entailed in the story itself.
Methods for Creating a Story Outline
As a writer, you need to consider using an outline to help you in the process of creating your story. Creating the outline does not have to be time-consuming or tedious. There are two methods of creating an effective outline that you can choose from. Ensure you first pick out the approach you will use to write your outline, then choose a method for creating your outline.
Below are two methods for creating a story outline that writers can use:
Freytag’s pyramid or plot diagram method
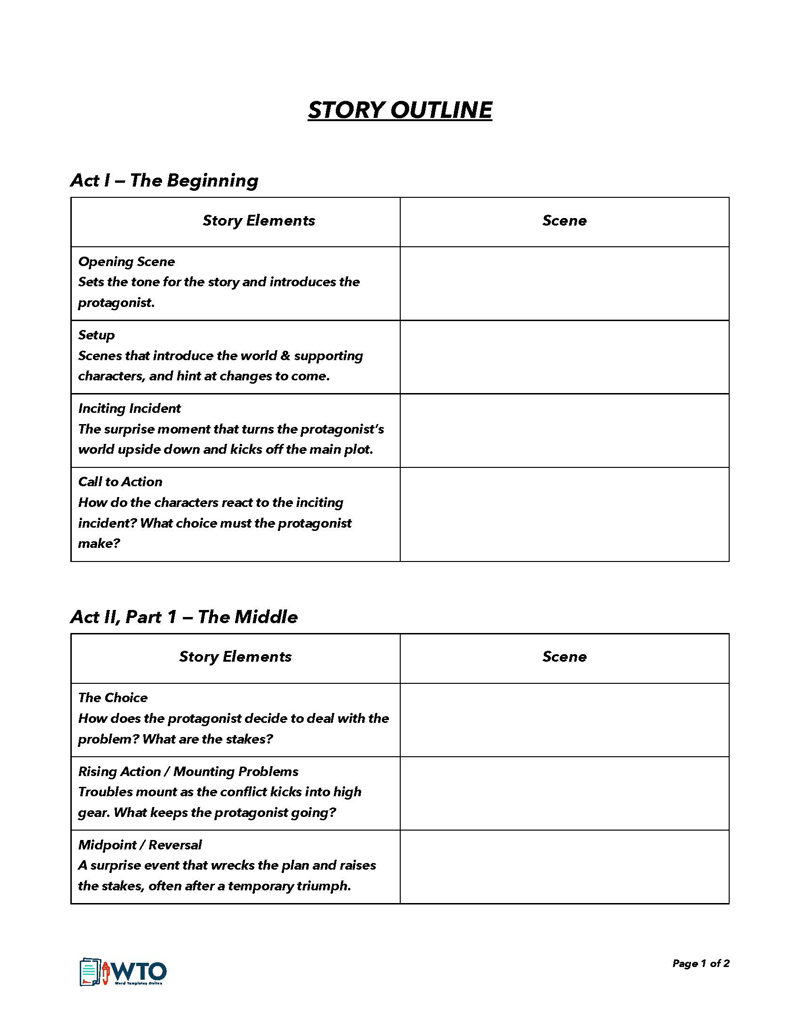
Freytag’s pyramid, also known as the plot diagram method, is a method where you use the basic elements of a story to create an outline. It is a more common and traditional method that most writers prefer. With this method, you can provide a proper structure for your story but still have the freedom to explore your creativity.
Freytag’s pyramid consists of six elements, which is, set up, inciting incident, rising action, climax, falling action, and resolution, with set up being at one side of the bottom, climax at the top, and resolution being at the other side of the bottom of the pyramid/triangle. If you are a writer of novels, this is the best method for you as it highlights all the important elements of a story and provides a concept that your readers will love and appreciate.
Here is a simple breakdown of the six sections of the plot-diagram method or Freytag’s pyramid:
- Set up: For the setup stage, it is all about identifying your protagonist, themes, and main ideas. It also includes the setting of your story and establishing the protagonist’s conflict. Your setup should be written in a few sentences where your reader can clearly identify your leading character or protagonist.
- Inciting incident: For the inciting incident, focus on the event that will change how your story will unfold in relation to your leading character’s life. It can either be a risky decision or a surprising event. This incident usually changes the life of your protagonist.
- Rising action: This will be the longest section of your story. In this section, you will develop characters, their relationships and highlight the important events that will lead to the climax of the story. This section should be full of suspense as the readers wait for the story to unfold in the climax. When you outline this section, you can focus on each event on its own.
- Climax: For the climax of the story, focus on what feels like the most important moment or high point of the story for your protagonist. Your climax can either be a setback or a challenge involving a big decision the main character should make.
- Falling action: This section involves actions and is usually the most exciting part for your readers. Here, you will provide events of how the protagonist is dealing with the climax. The falling action is usually a long section where characters tend to come together as the end of the story approaches.
- Resolution: The resolution is the end of your story. Here, your readers will be focused on your main character’s achievements or, in some cases, fails. Also, you will need to include the gradual mental, physical or psychological changes that the main character has gone through. You will need to establish the new perspective that your protagonist has adopted that makes them different from who they were at the beginning of your story.
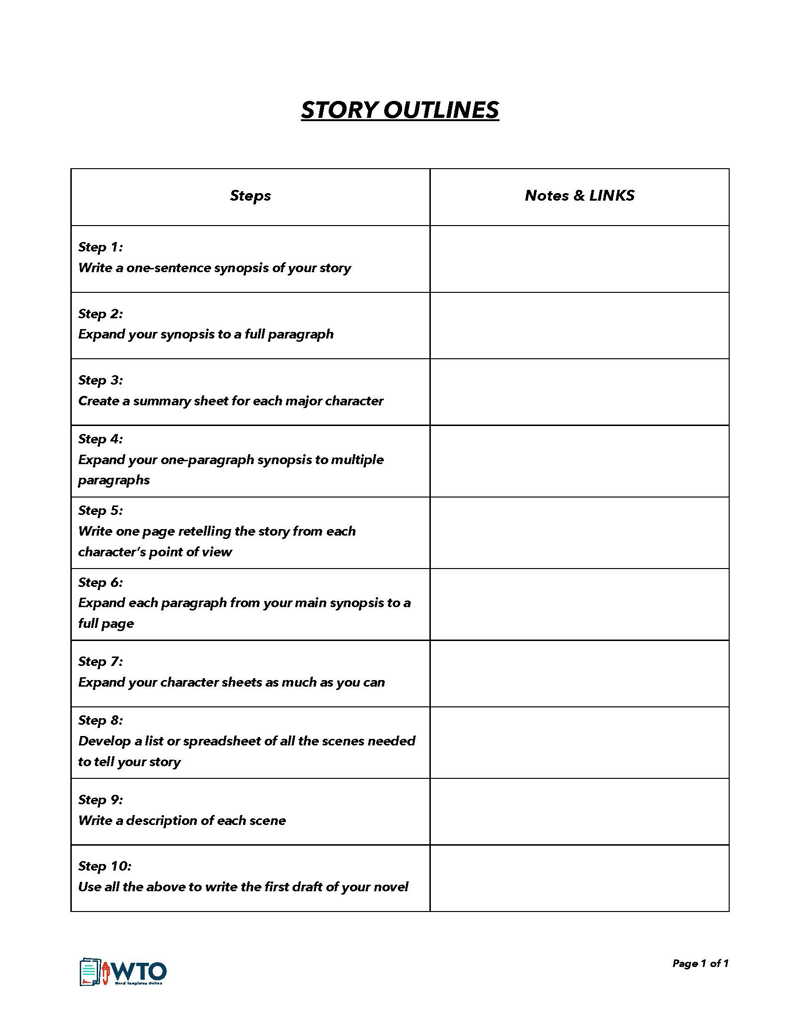
Snowflake method
The snowflake method of creating a story outline is best for short stories. You will need a spreadsheet to develop your story’s plot, scenes, and structure. The first step is to establish the summary of your story in one sentence. This will help to sell your story by focusing on the big picture. The one-sentence summary should be interesting with no specific descriptions, terms, or names. The sentence should have at most 15 words written by tying the theme of the story to the characters’ actions.
The next step will be to expand your one-sentence summary into a one-paragraph summary. This paragraph focuses on describing the story’s setup, main events, climax, and end of the story. You can use the “three disasters and an ending” structure to outline your story. Your paragraph should contain 5 sentences, with each sentence dedicated to each of the elements.
The third step is to create a synopsis for your story. Your characters’ synopses are the storylines for their characteristics which include their names, motivation, goals, conflicts, and epiphany. Each character in your story should have a paragraph for their storyline. It is an outline, so you do not have to be perfect. However, ensure that these storylines fit with your story and will make it easy for you to develop your characters.
The final part of the snowflake method is to use spreadsheets to outline your scenes. You should use your characters to expand your scenes. With a list of scenes, you will have a better grasp of your outline and how you will plot your story. Organize your scenes in order using the spreadsheets. You should divide your spreadsheets into two columns with one column for your character’s POV and the other for an explanation of the scene.
How to Create
There are steps that you will need to follow for you to create an effective outline. With these steps, you will be assured of not forgetting any required content and structure of your story.
Here are the steps to follow when creating a story outline:
Craft your premise
The premise of your story is the main idea you plan on writing. You should create a clear premise for your story to enable you to address issues like the protagonist, situation of the protagonist, objective of the protagonist, any opponents, disaster, conflict, and theme of the story.
This underlying idea for your story should be one that can lead to or help to generate new ideas in the story. It should be written in one to three sentences in a way that summarizes the story in an interesting manner.
Sketch your ideas for the story
With your premise in mind, you will need to prepare rough sketches of your ideas for the story. You will need to list scenes, events, and the flow of the story. The whole idea at this stage is to remember what you want your story to look like and list the sketches down.
After listing everything, it is important to go through your sketch and highlight any questions that may arise from your ideas. This process will ensure that you have identified the gaps in your story to avoid rewriting later. This is the stage where you will allow your creativity to envision what you have written to see if you will come up with your intended story.
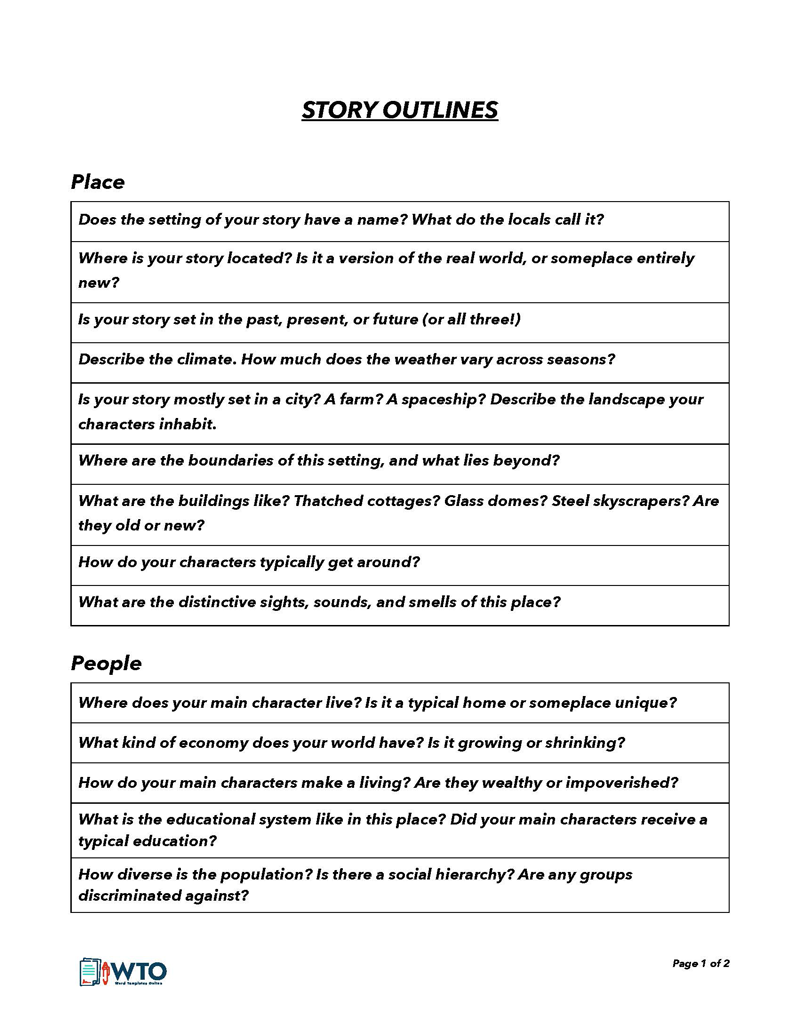
Plan your setting
Ensure that you have a rough idea of the setting you want as you begin to draft your outline. The setting is where your scenes will be taking place. Your setting should be relevant to your theme, scenes, plot, and characters. The good thing is that you have already identified your scene ideas at this stage. This will make it easy for you to plan out your settings.
Your setting can either be at a particular time or a certain place. You need to provide details to lure your readers into the story with your characters. The best approach is to research so that you can collect the right information for your ideas.
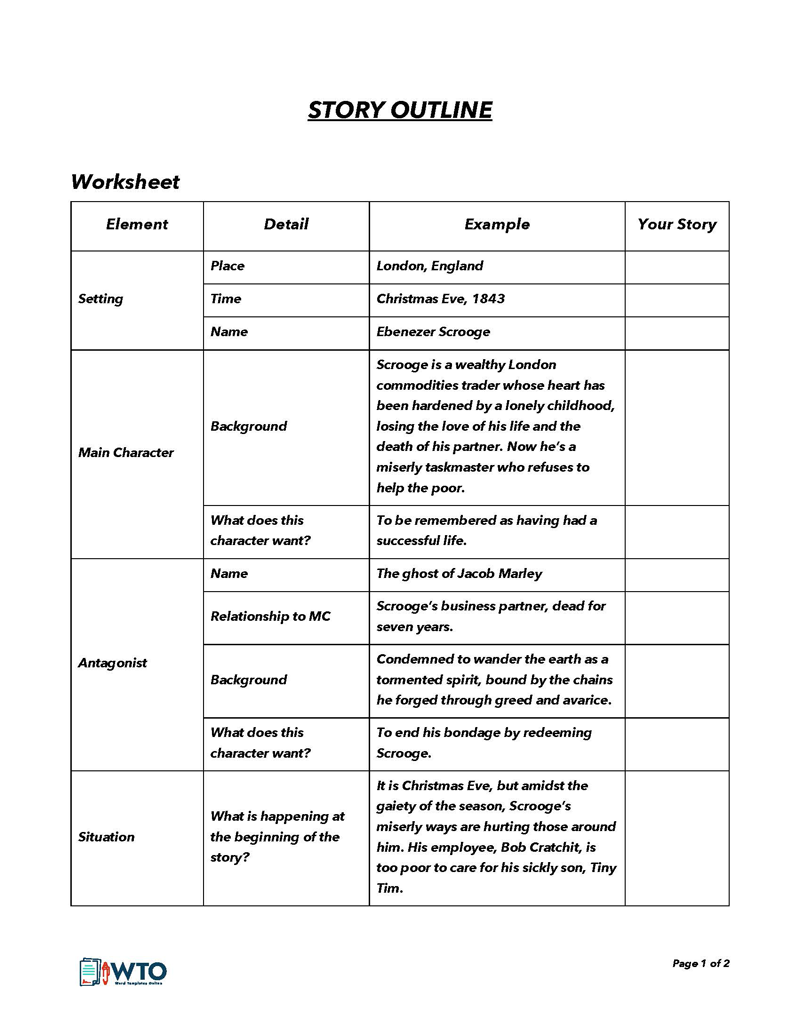
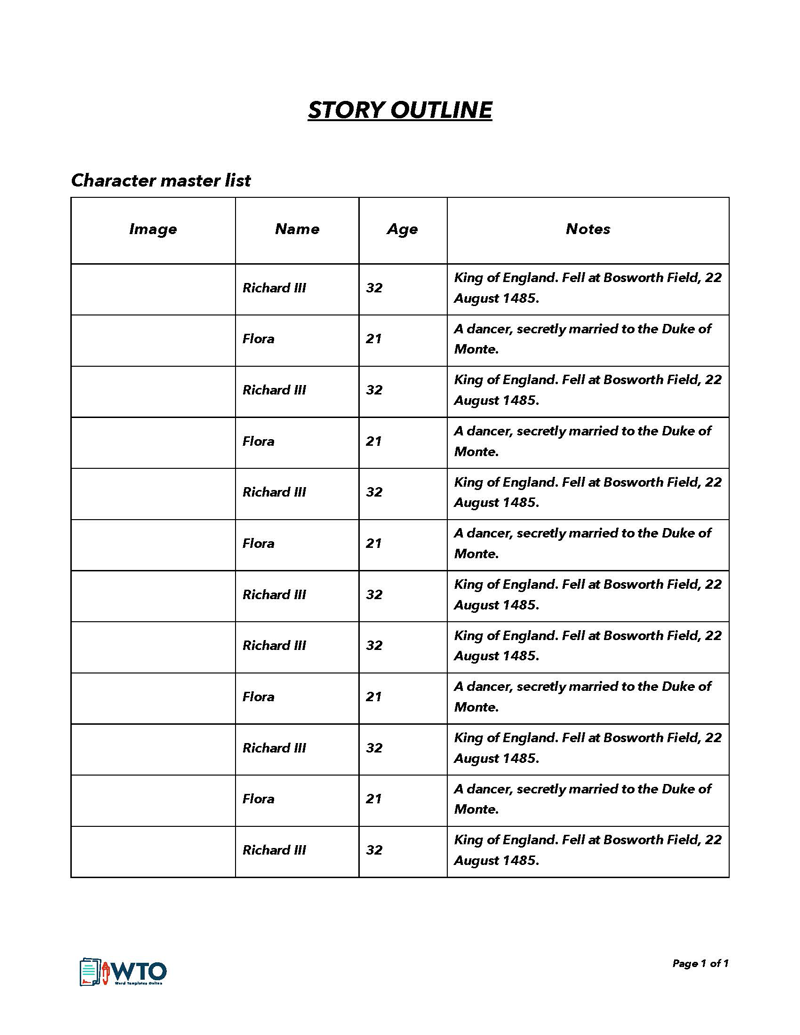
Write character profiles
Your characters will also need profiles and details so that they can fit properly into the story. You can start with details about your main character and build the profiles of other characters around him or her. Ensure you find a way to connect your characters to your main story. Your characters will need lives, backstories, relationships, conflicts, progression, and personalities.
For your characters, you should also consider including their needs, motivation, dress code, and reactions to conflict. Keep in mind that you need to outline all this information since your characters are the ones that control your plot by advancing it, exploring new themes, and even reaching life-changing realizations. With proper details about your characters, you can easily avoid getting stuck since you can use their profiles to propel your plot forward.
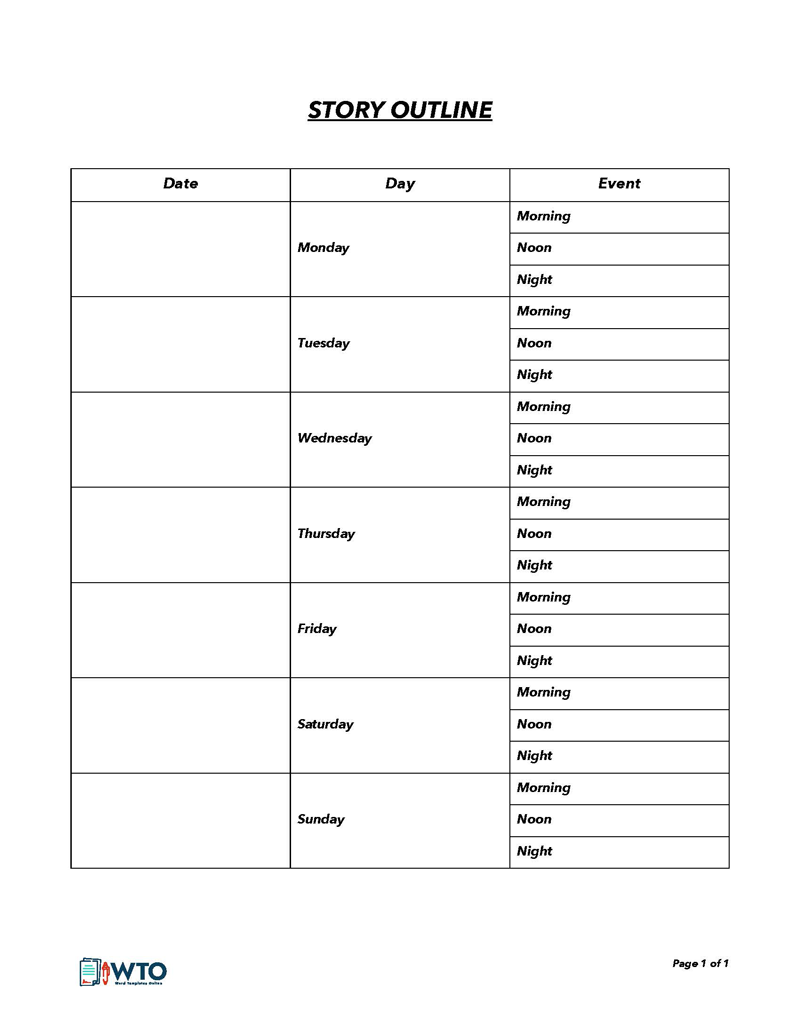
Construct a timeline of events
With settings and characters in mind, you need to establish a timeline of events before you can start creating scenes for your characters. You need to outline your details in a way that you can identify when each scenario happens in the story, that is, beginning, middle or end.
Beginning
The start of the story entails introducing the protagonist, hero, and villain of the story. You will need to describe the work of the story alongside the main conflict. Your beginning should be strong and powerful so that as you write your story, you can capture the attention of the readers.
Middle
The middle part can be challenging to write, and so it is advisable to think of the ending details of your story first. Knowing the story’s climax will help you compose the ideas you would like to use for the middle. You should include as many short sentences describing your middle in the story outline as possible. The ideas are usually rough, and you can choose to update or remove them when writing.
End
For the final part of the story, you need to include details that answer the main question or resolve the main conflict of the story. Ensure you write proper details for this section so as to guarantee a proper and interesting ending for your readers.
Add scenes to the outline
At this point, you need to outline your scenes in details using the rough sketches you had drafted earlier on. You need to add “flesh” to your scenes so that you can identify where the action will take place, the people involved and even what they will say. You should highlight all the scenes in your outline by considering both visual and sensory factors.
You can also factor in things like emotions, change of temperature, the character’s mood and even the colors around the characters. The whole idea is to create the world your characters will live in and it must be lively and engaging for your readers.
Condense your outline
After completing your outline, it is best to condense it. Use short and single sentences when writing an outline. As a writer, you need to outline your ideas so that you can have a proper flow and create a link between what you have in your head and what goes into your final story.
Start by condensing the relevant points into abbreviated forms to enable you to cut out any extra and unnecessary thoughts. Also, it will help you summarize your outline to eliminate any “thinking out loud” and “maybe” thoughts. Condensing your outline will ensure you only have the notes you need to type; hence, reducing the workload you will have to go through when writing your story.
Put your outline into action
The final step of creating an outline is using the story outline to write your story. You need to put it into action and prepare your first draft of the story. Ensure your mind is clear as you go through your outline and read the notes you require to write your story.
note
It is okay to use any new ideas that might pop up and are not included in the outline when you are writing or when you are stuck. A story outline is meant to help your creativity, not limit it to a particular way.
Free Outline Templates


Pros and Cons
As a writer, it is also important to consider the benefits and drawbacks of using a story outline. However, you should keep in mind that using the outline is highly beneficial for your story writing process.
Here are some of the pros and cons of creating a story outline:
Pros
The pros of creating a story outline are listed below:
- Creating an outline will help you to have and analyze your big picture for the story.
- With an outline, you can stick with the flow of your story.
- It will allow you to organize and arrange your scenes properly.
- Using an outline will enable you to create and present character arcs.
- You need to use an outline since it is a guide that helps you to avoid writer’s block and tends to remind you what you need to write when you are stuck.
- Also, with this outline, you will be able to clearly show the start, middle, and end of your story.
Cons
There are some cons to creating a story outline. These are:
- Using an outline can at times lead to a stilled narrative with a stiff formula.
- It may cause you to write a story in a way that there is more showing than telling.
- Your story may sound inauthentic instead of appearing natural since characters are made to follow particular plot points.
Final Thoughts
As a writer of either a novel or short story, the best approach to your writing is to use a story outline. With this outline, you will be able to arrange your ideas and main points of the story in a way that allows you to address all the basic elements of the story. You can use a template to create your own story outline. You can also choose to stick to the methods provided in the article to create your outline. All in all, ensure that you have chosen an approach that will work for your story and its elements. The whole idea of an outline is to weave characters, scenes, events, and themes to create a powerful plot for your story in a creative and beautiful manner.
About This Article