A story map is a type of activity that, through a collaborative effort, helps you understand and define your user’s product experience. It helps give you a more holistic view of the journey by locating any possible gaps and, ultimately, allows you to keep the prime features that your users want to be prioritized.
There is a critical difference between story mapping and designing a traditional backlog, which is that these will show an authentic workflow. In this sense, you can see the whole picture within the context of your goals rather than needing to compare many individual user stories. This article will go through everything to know about story mapping and how to carry it out effectively along with providing customizable templates.
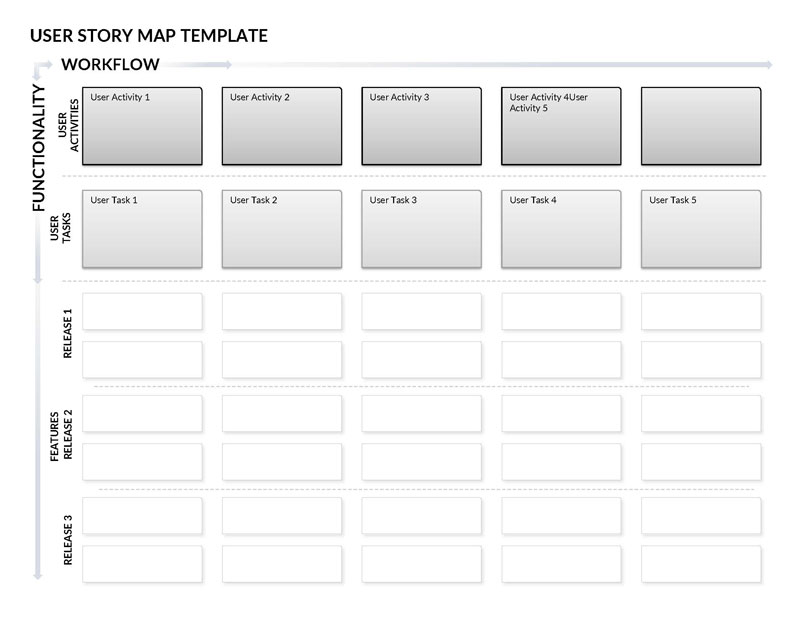
Story Mapping is a way of organizing user stories to get a better understanding of the overall user experience.It’s a technique fundamental in the product discovery process that allows you to understand a new product or feature. Typically, there will be two axes to organize specific activities.
On the horizontal axis, specific steps of the customer experience would be arranged in a logical order. This is usually done chronologically. Then, on the vertical axis, the increasing sophistication or development of the product should be marked.
This functionality allows developers to understand the customer experience and get a firmer grasp of what should be prioritized.
It is also known as User Story Mapping, as the goal is to understand the user experience. User stories are relatively short descriptions of the features of your product, but should be told from the perspective of an average customer.
A well-known formula is to include information following this pattern: “As a (type of user), I want (a feature) so that (a benefit) is received”. This can be universally applied to almost any user experience.
EXAMPLE
If you are developing an app or website to sell artwork, one user story could be “As a user, I want to browse by type of art to find something I like easily”. In this case, the user story would be highlighting the importance of functionality.
NOTE
Story mapping is a prime example of why it’s more important to respond to a customer’s desires than to stick to a firm plan. Since you are directly collaborating with customers (the users), their opinions should prioritize a specific plan you had.
By using one, it’s easy to adapt to change based on these user stories because you can quickly see what needs to be changed with the product. For best results, you should collaborate either with a future customer or with an expert in the field. That level of closeness to your product will give you incredibly beneficial insight into what works and what doesn’t.
Story Map Templates
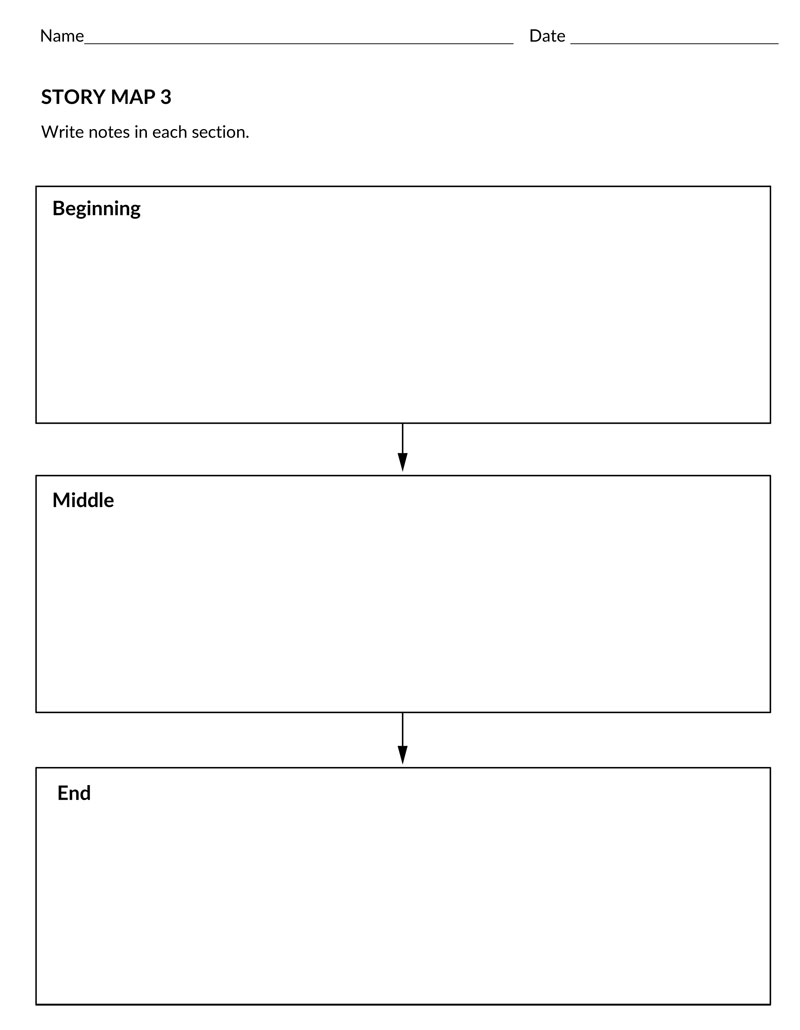
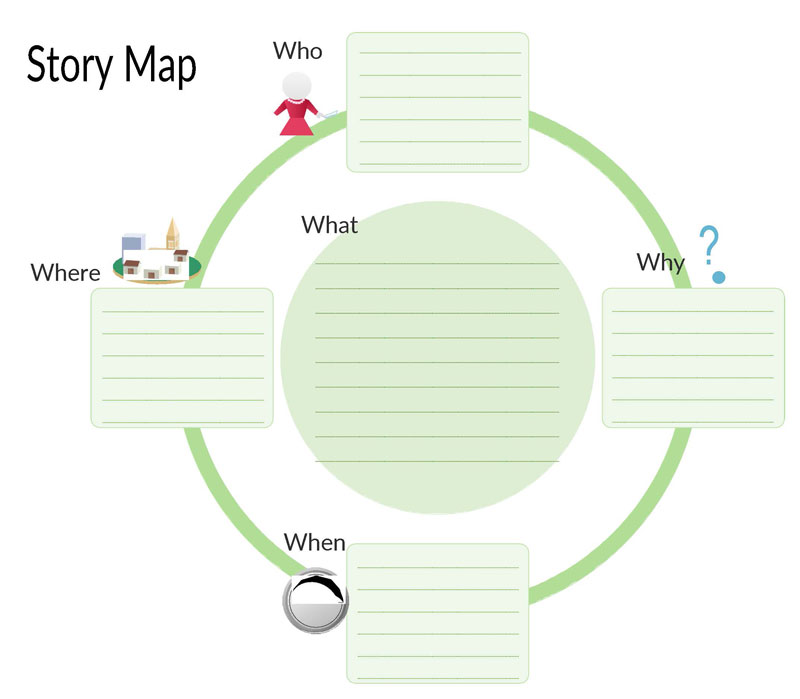
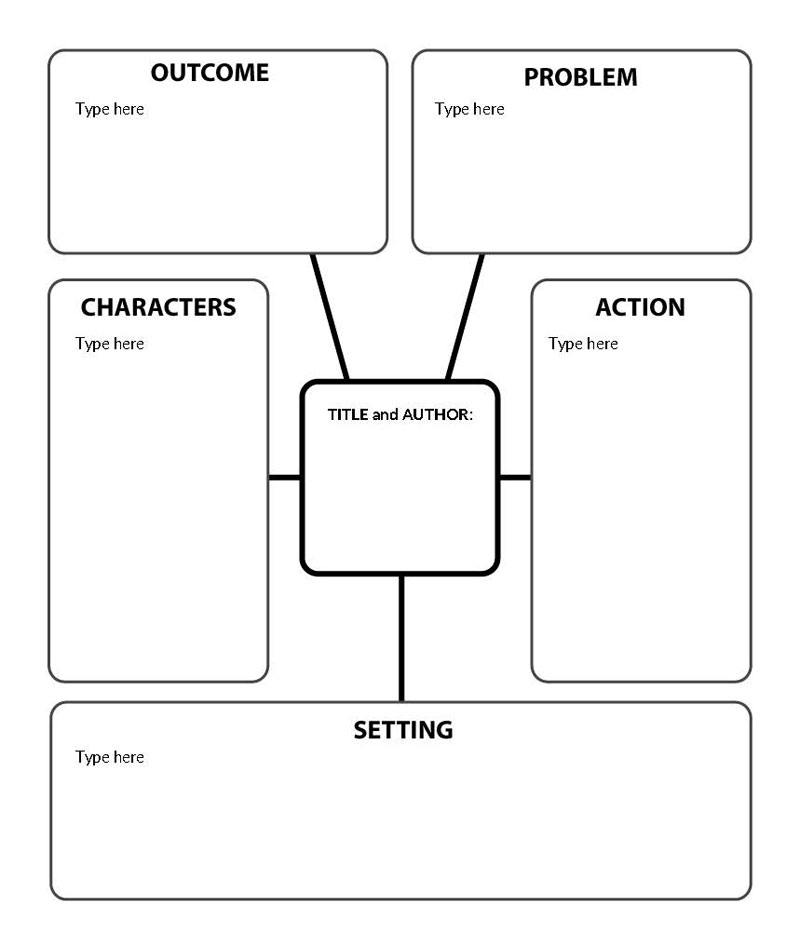
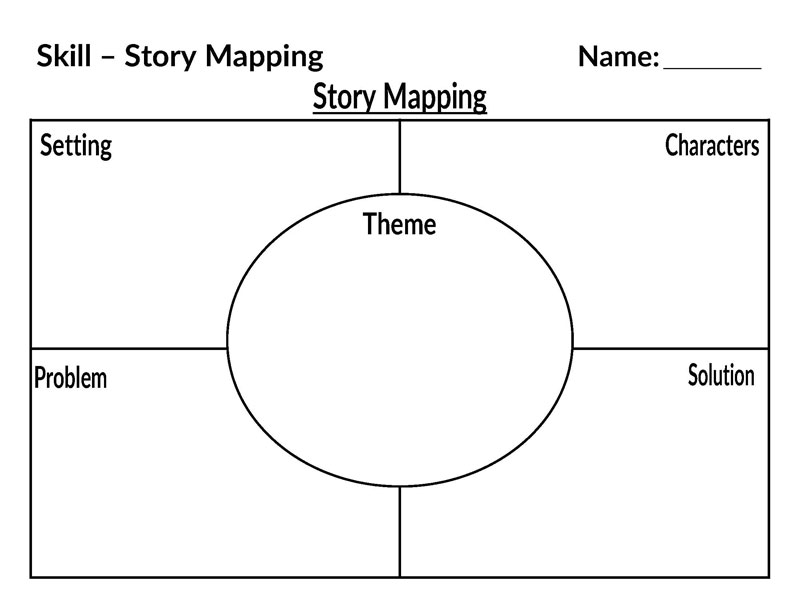
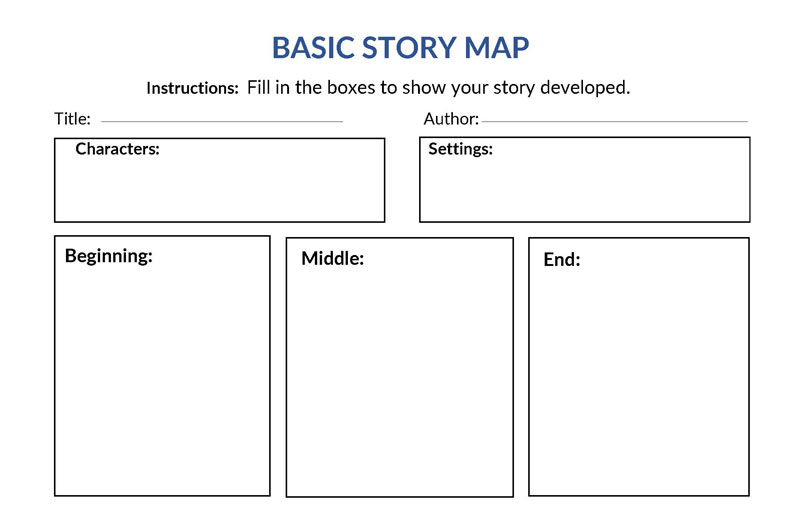
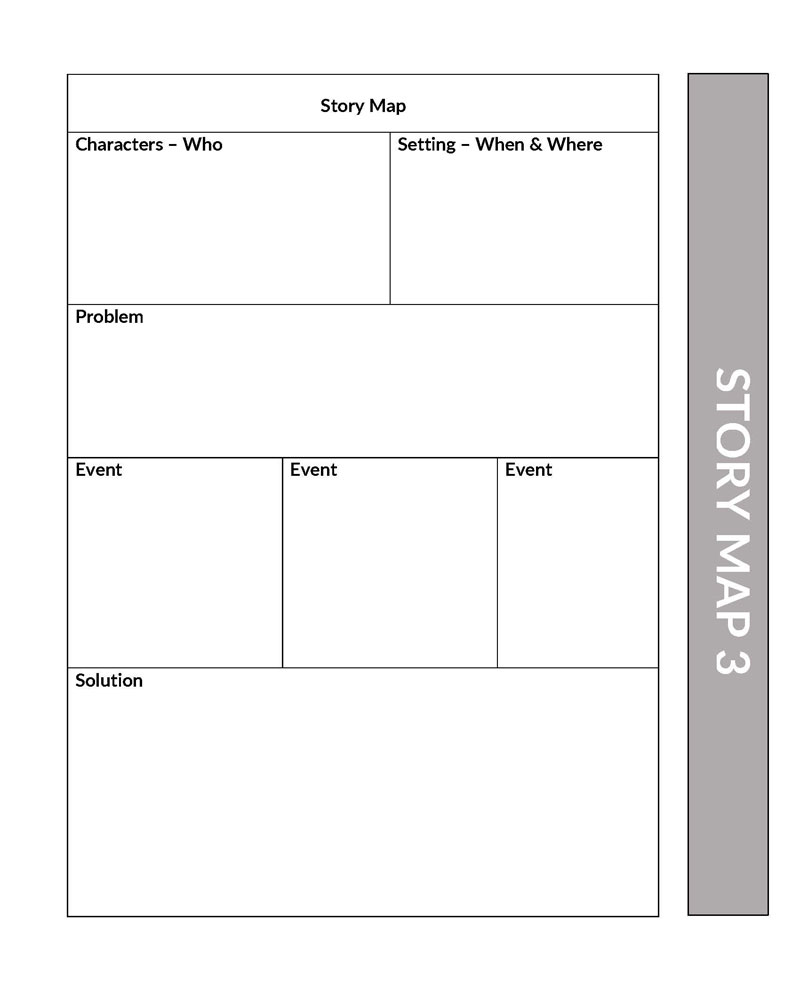
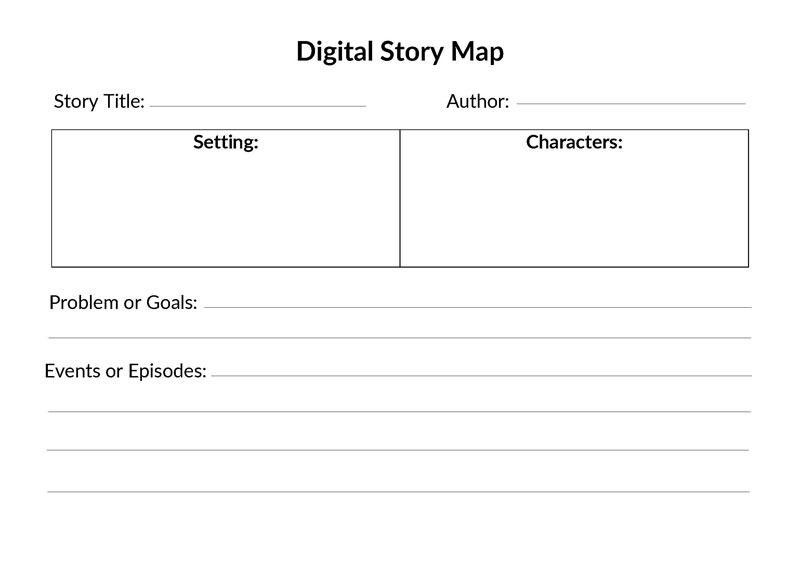
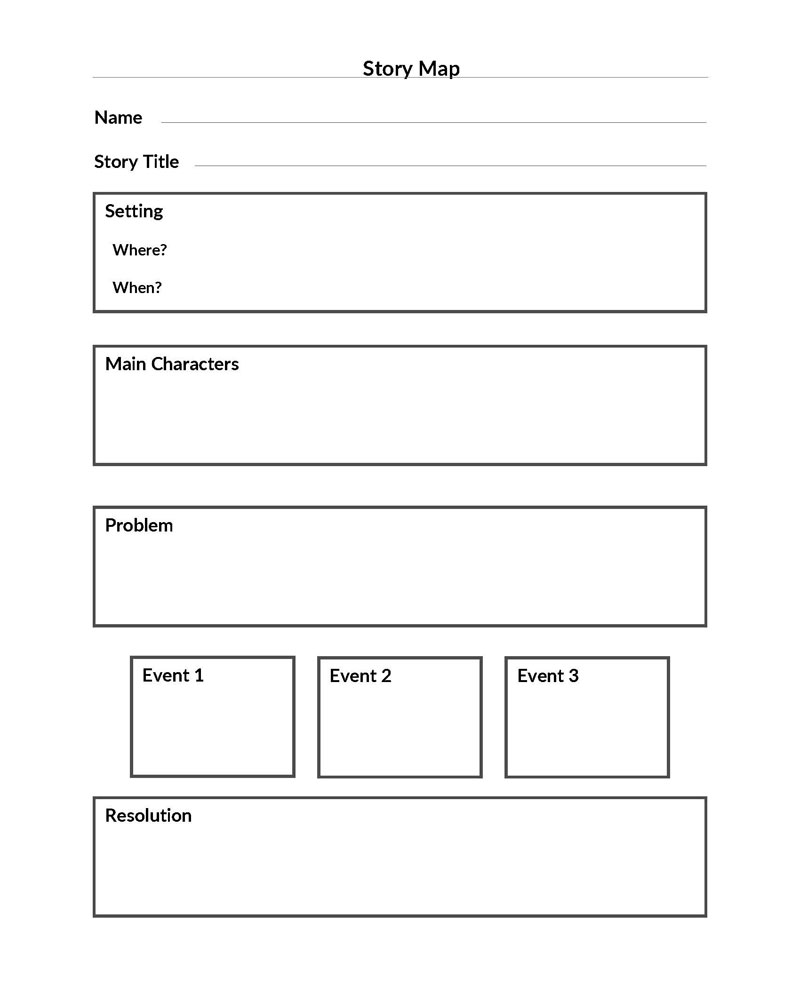
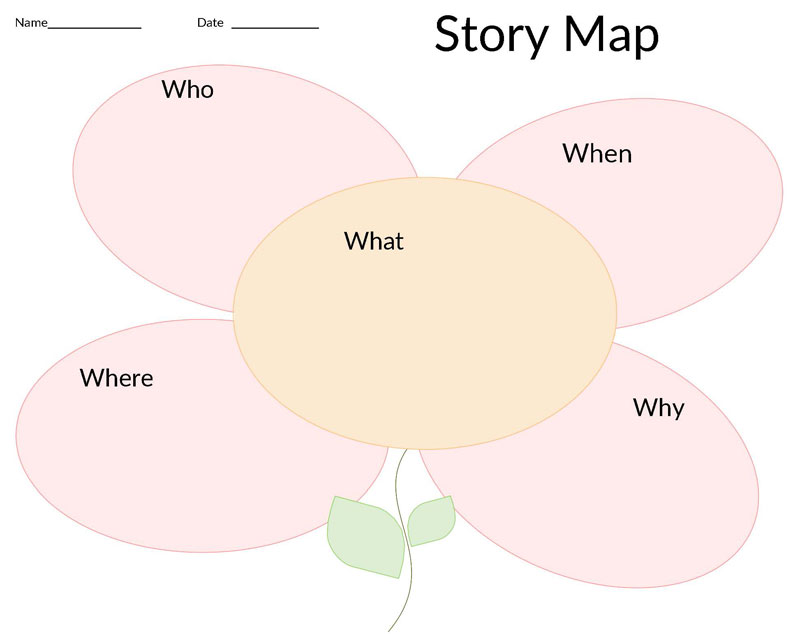
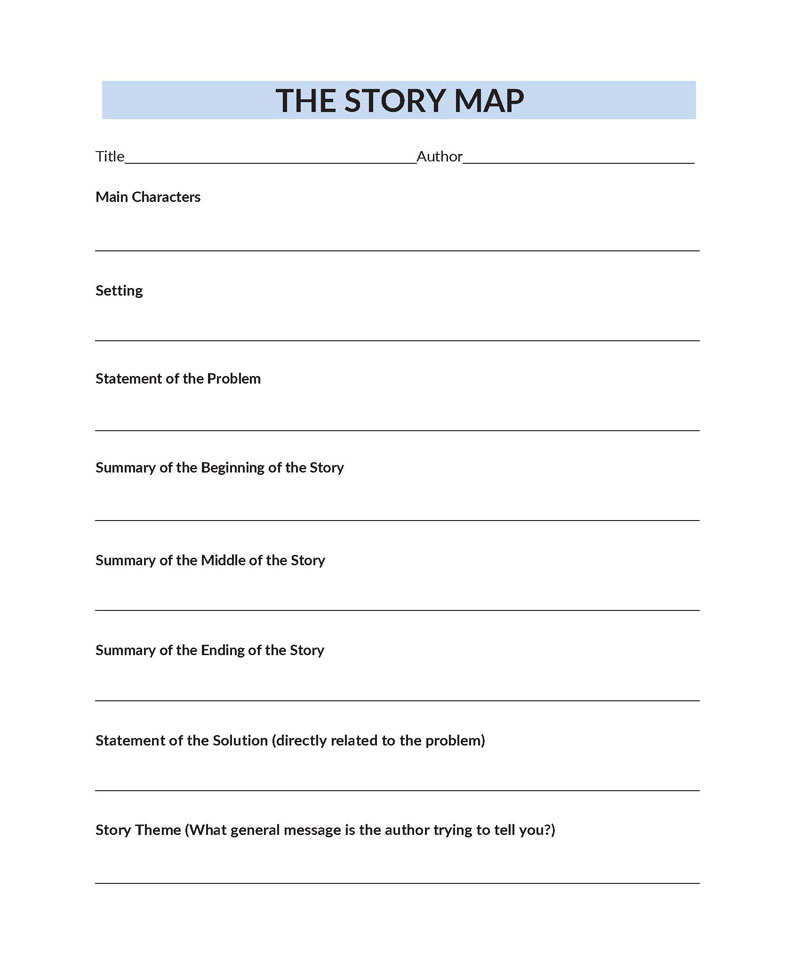
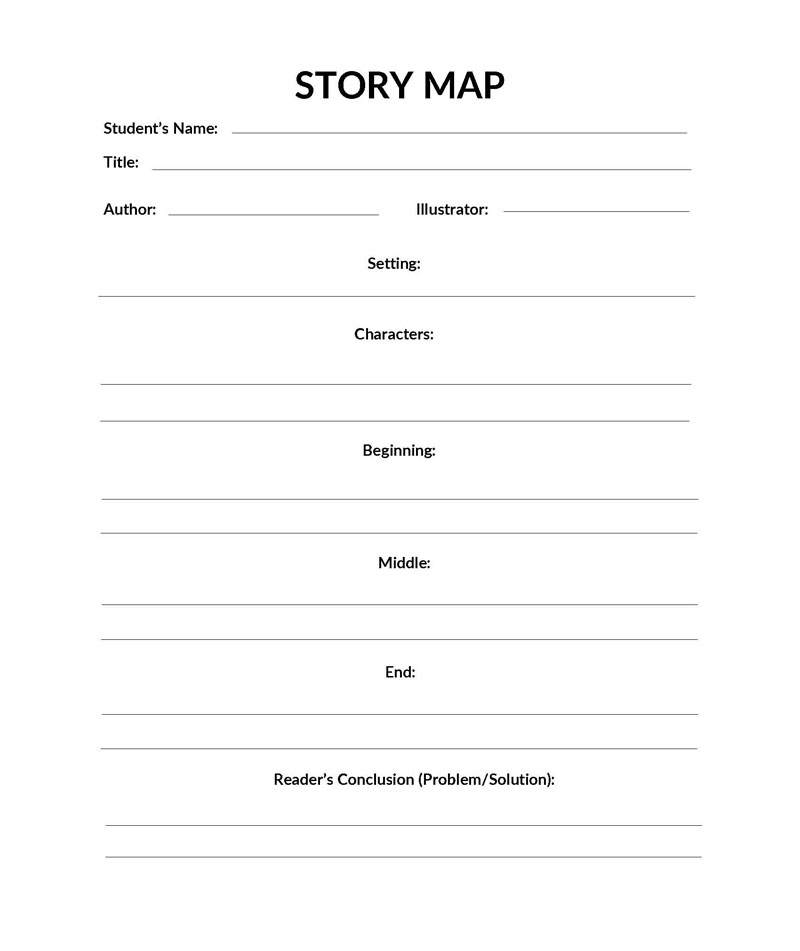
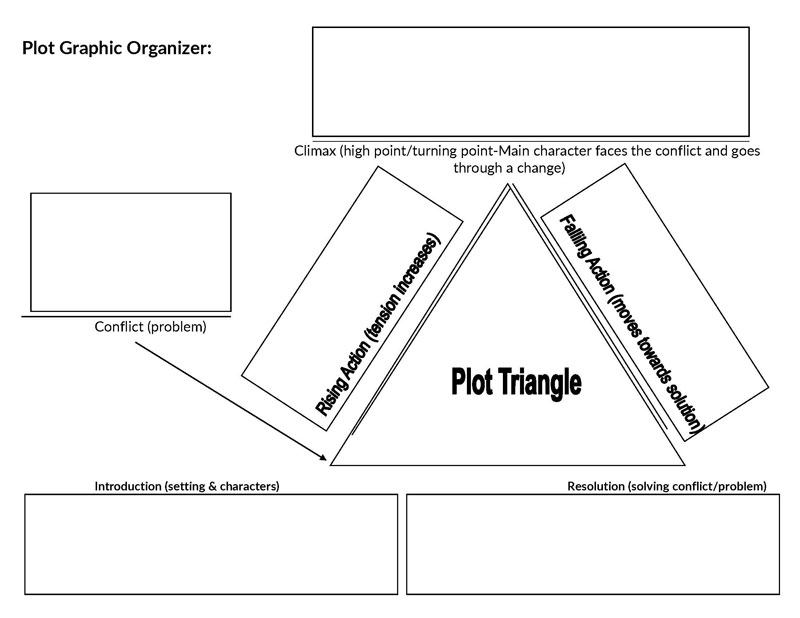
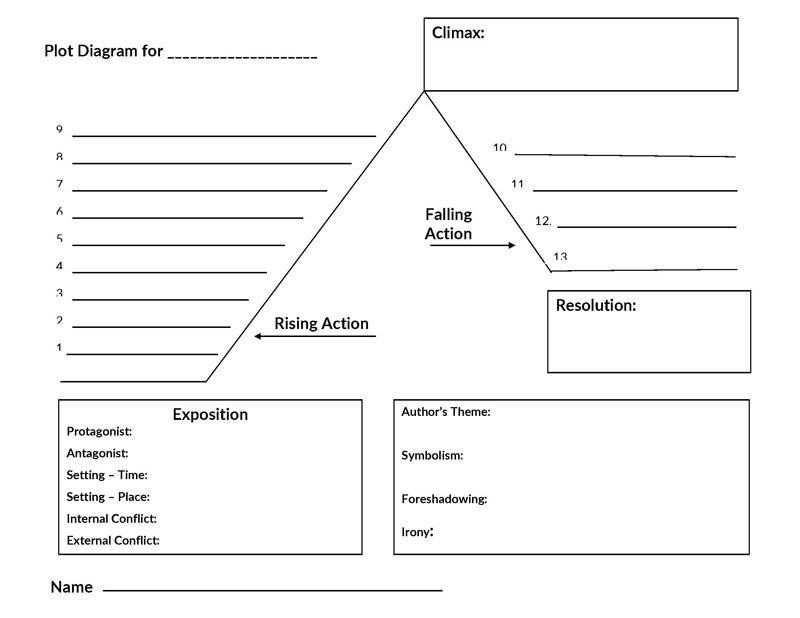
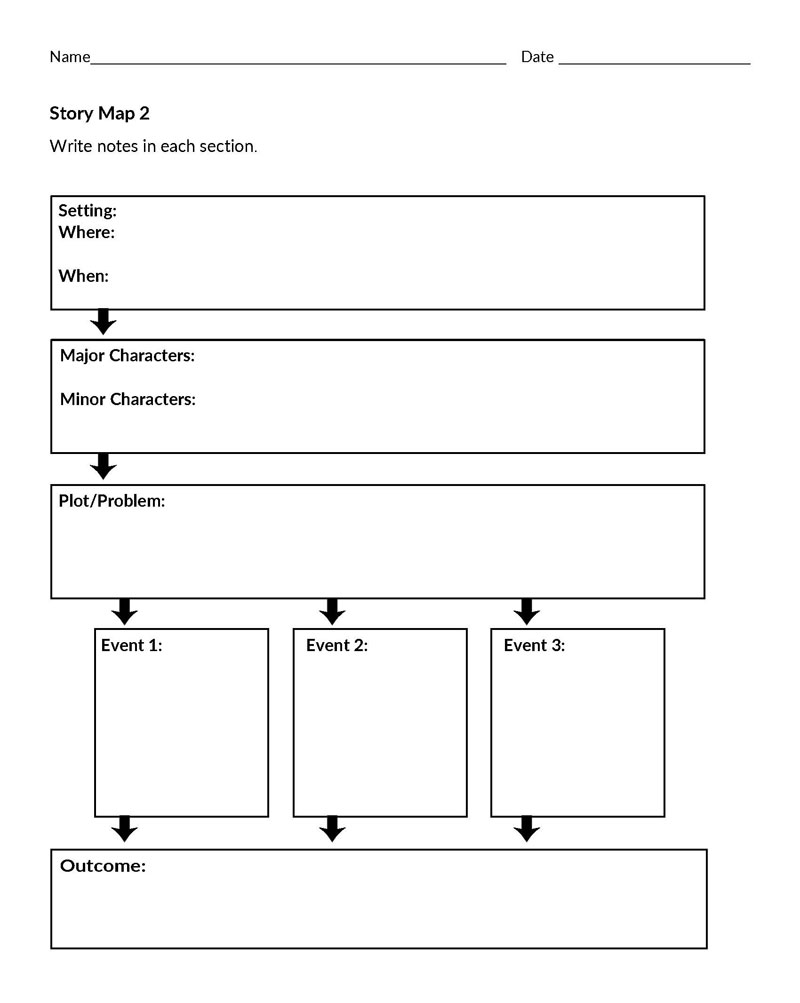
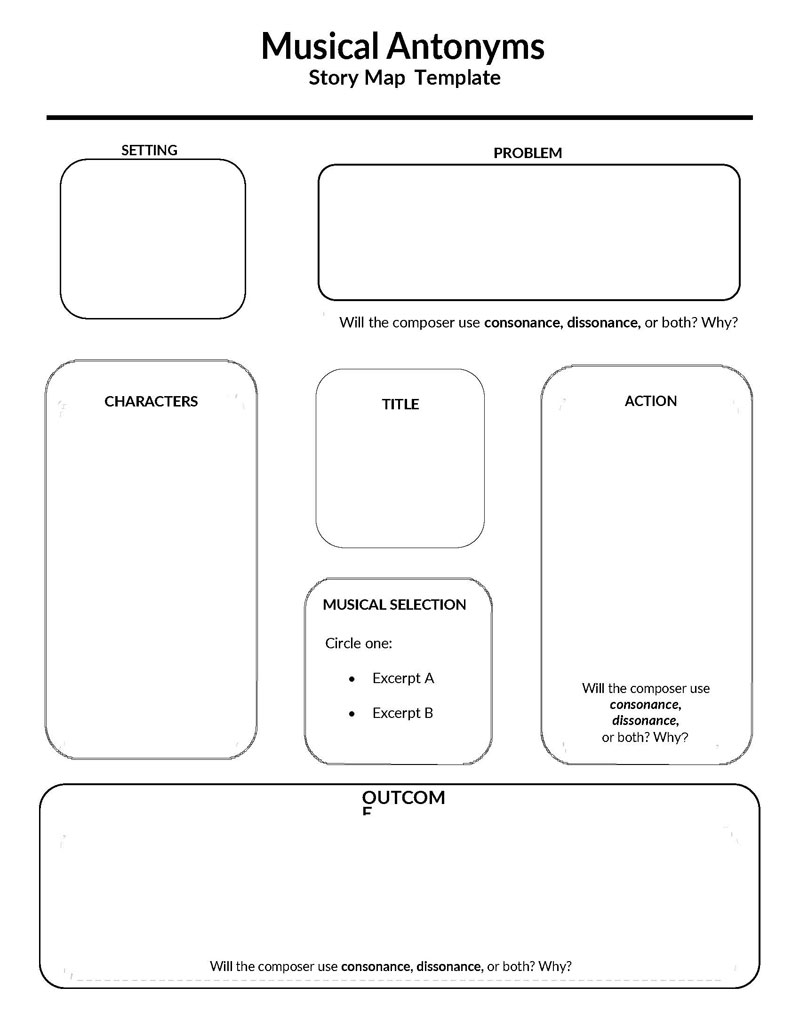
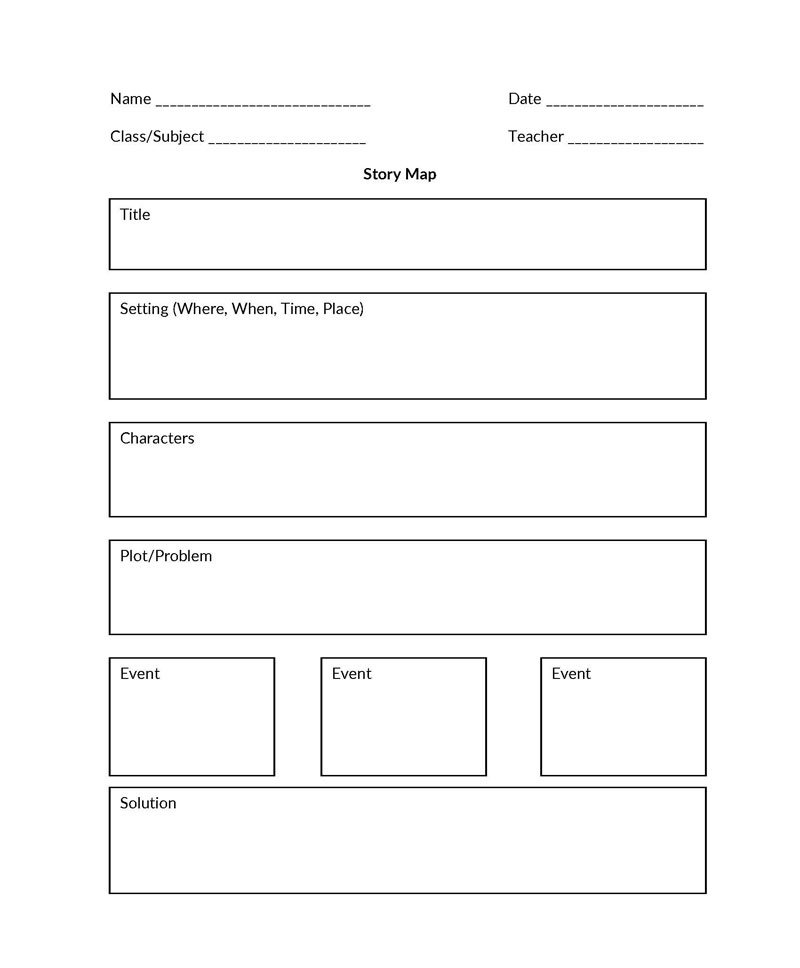
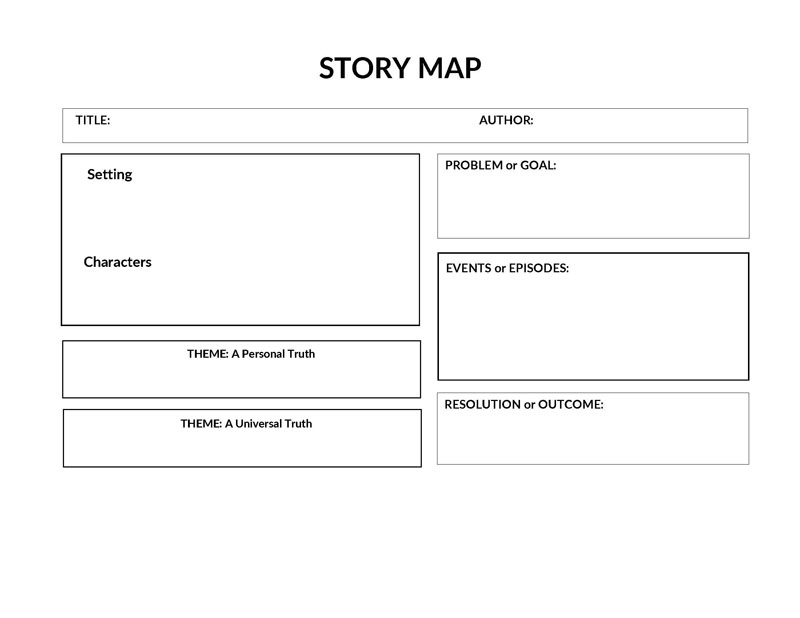
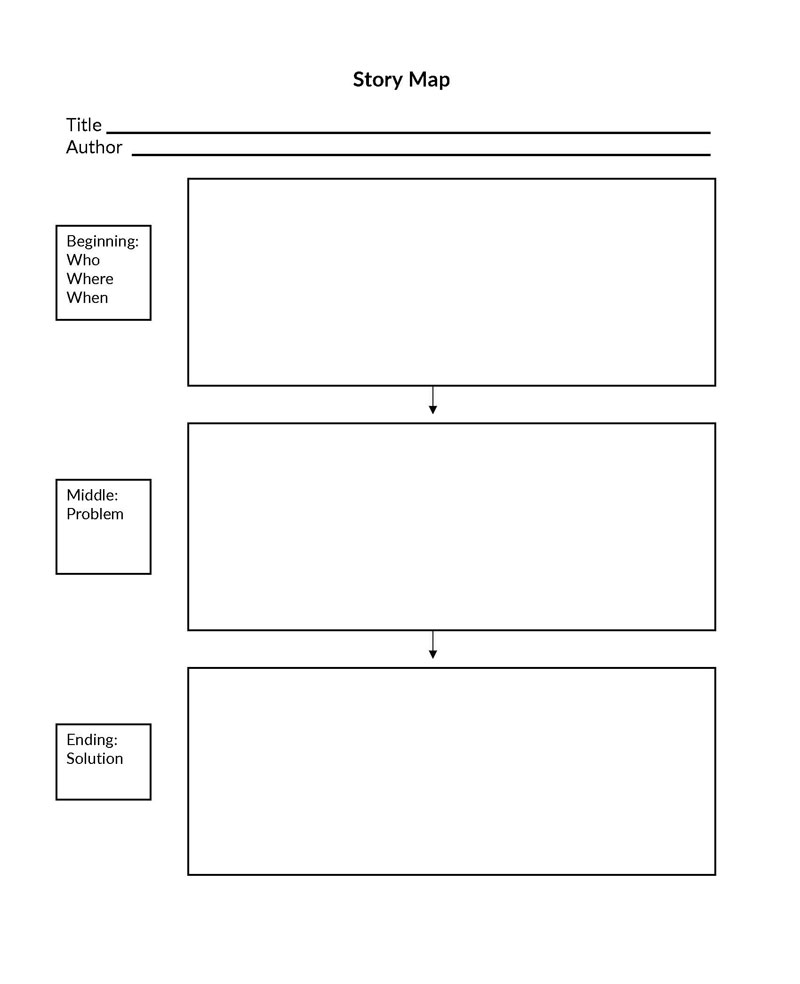
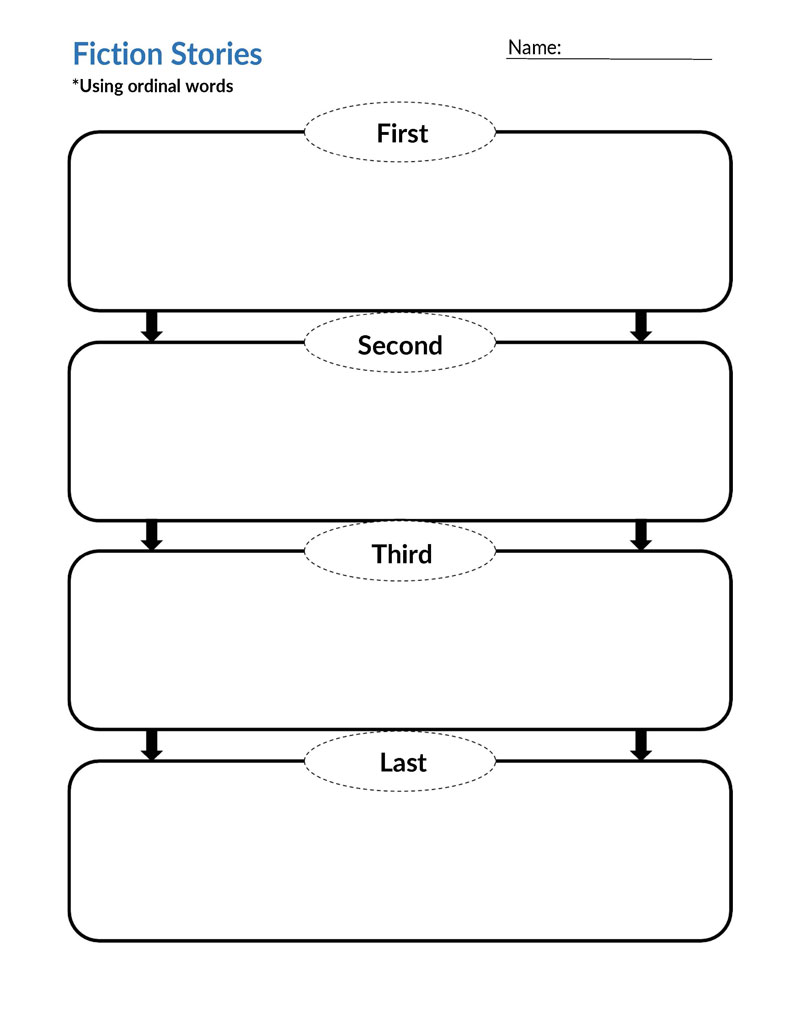
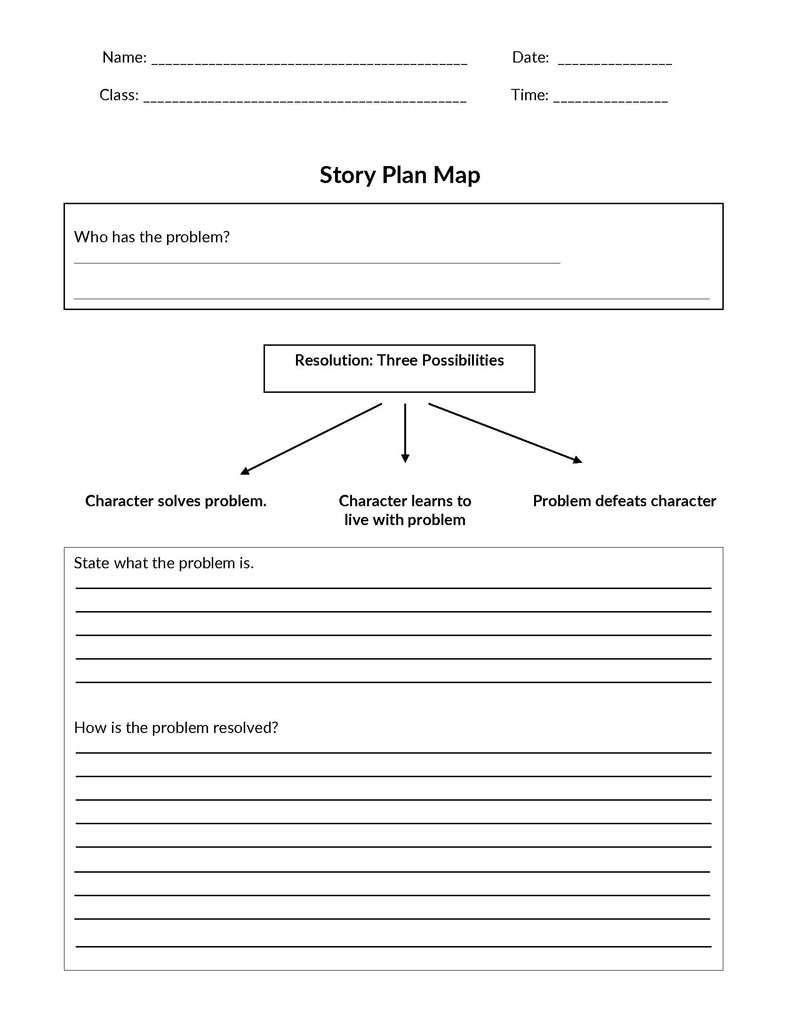
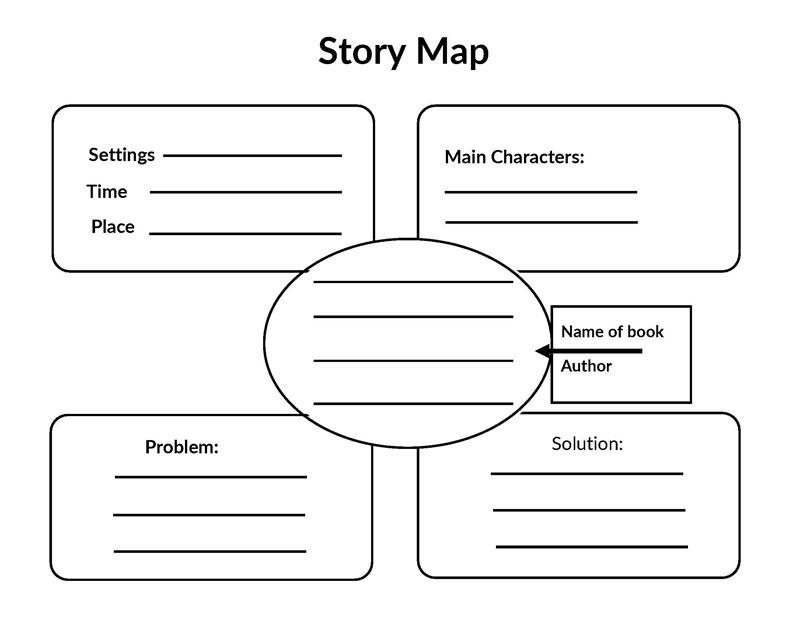
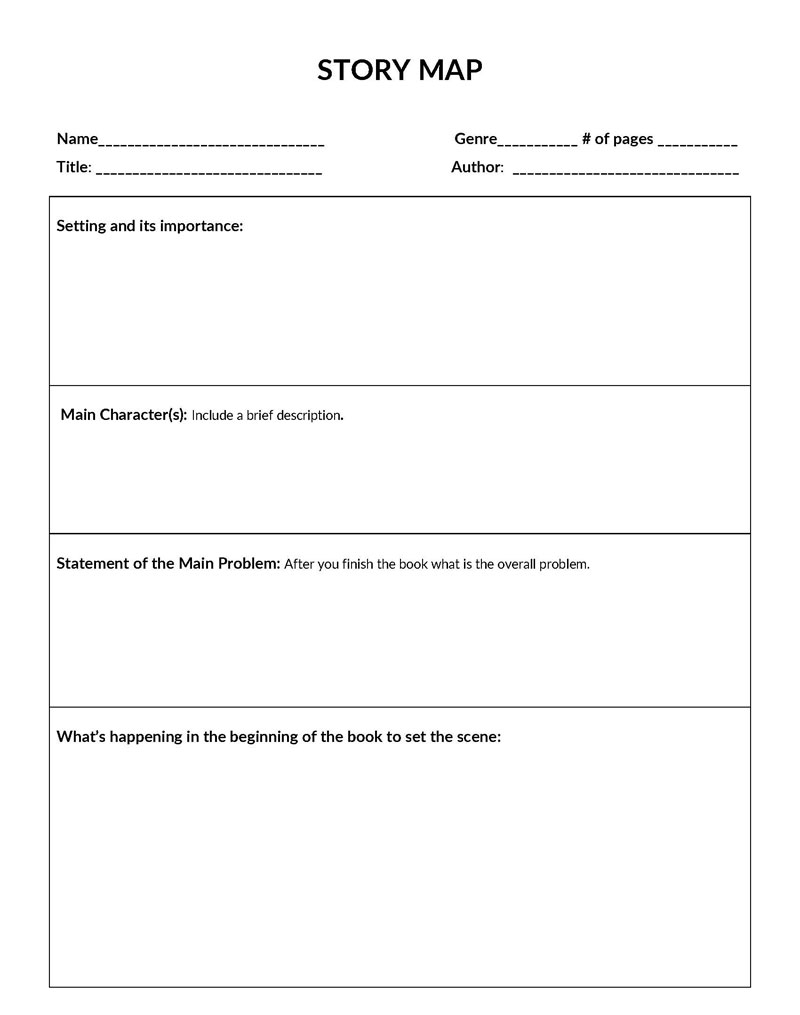
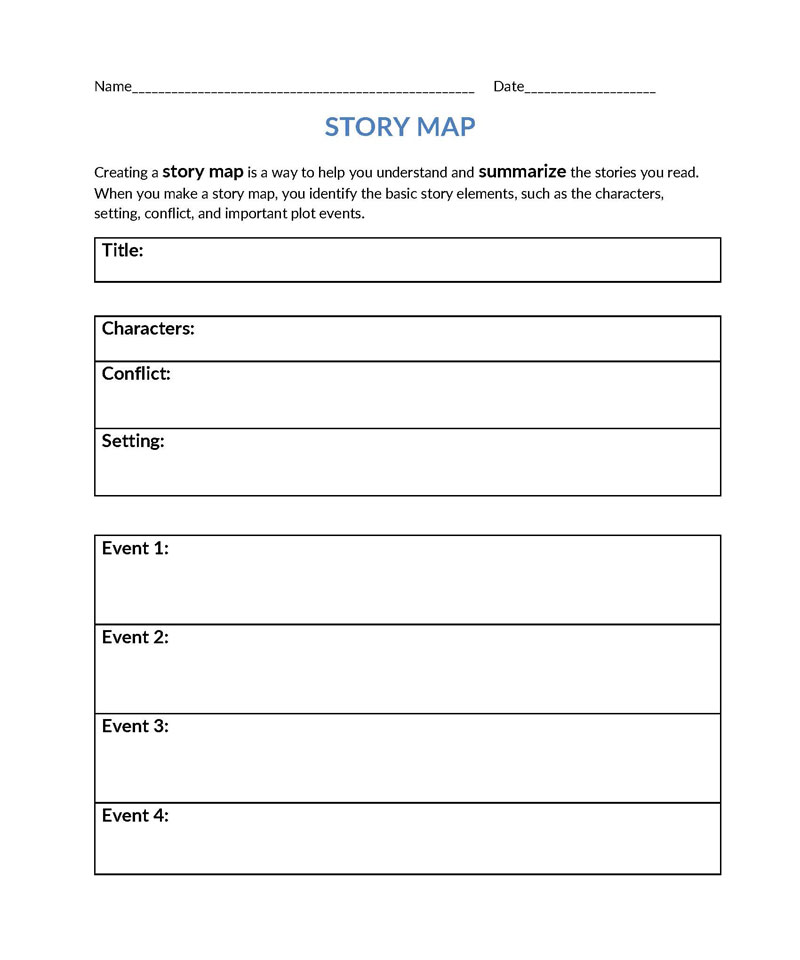
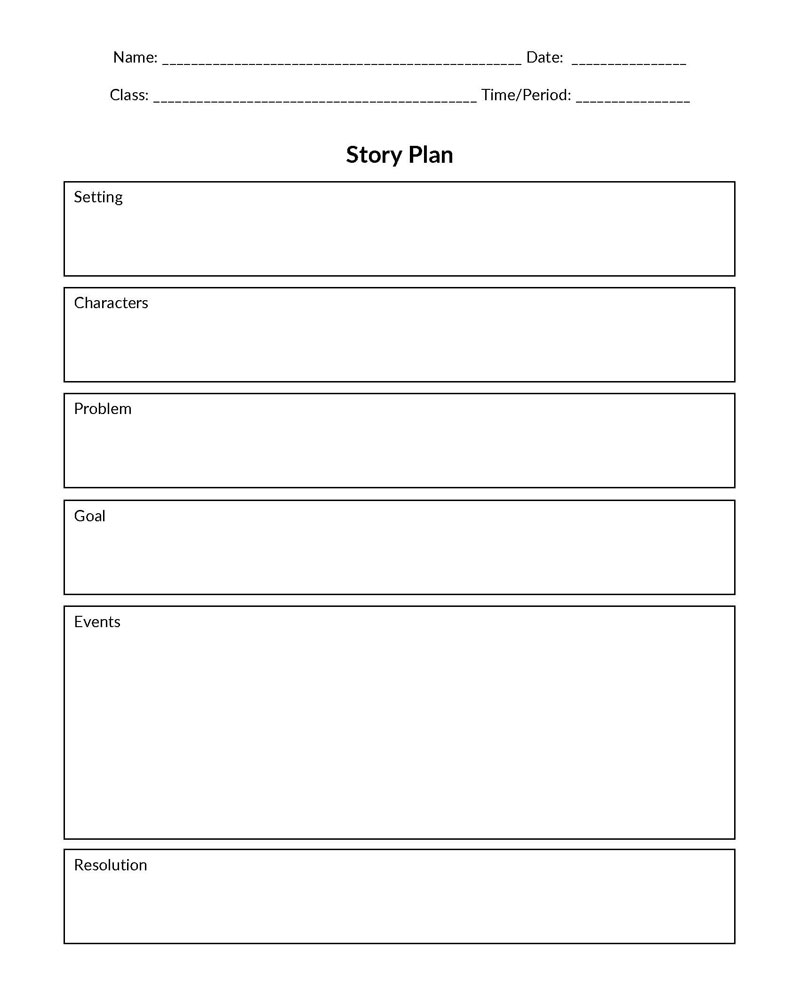
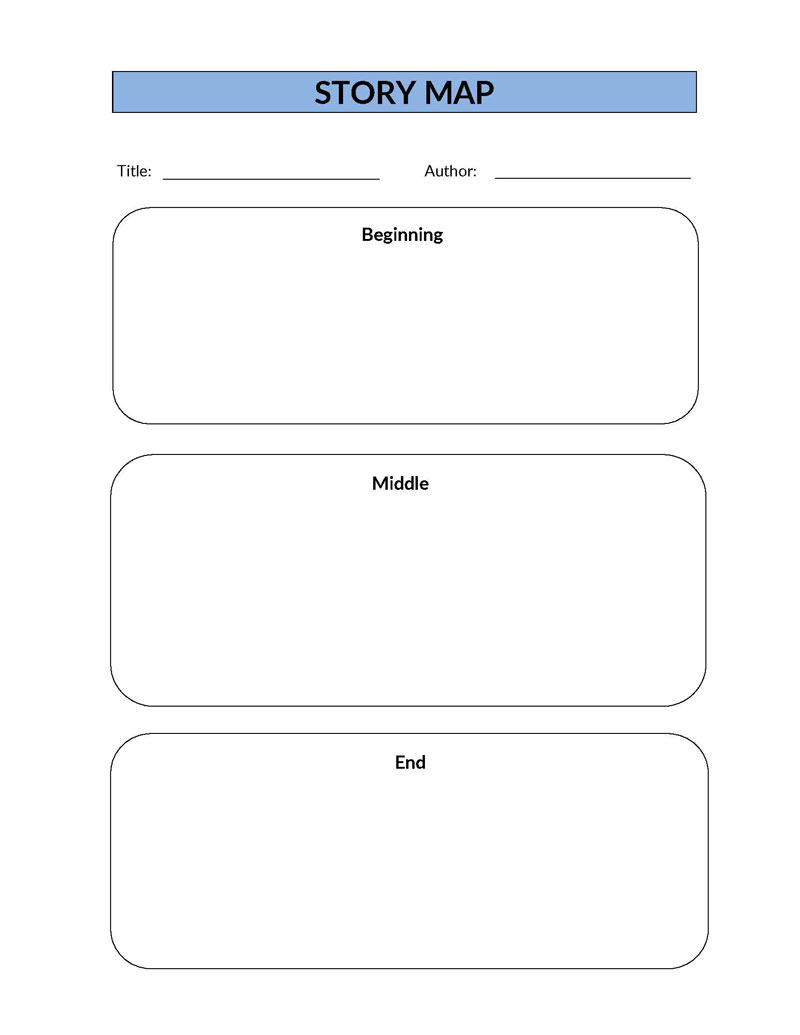
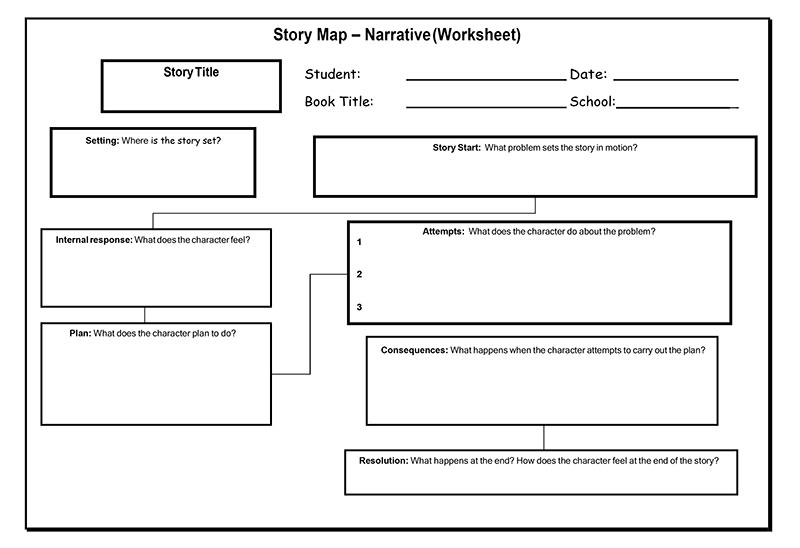
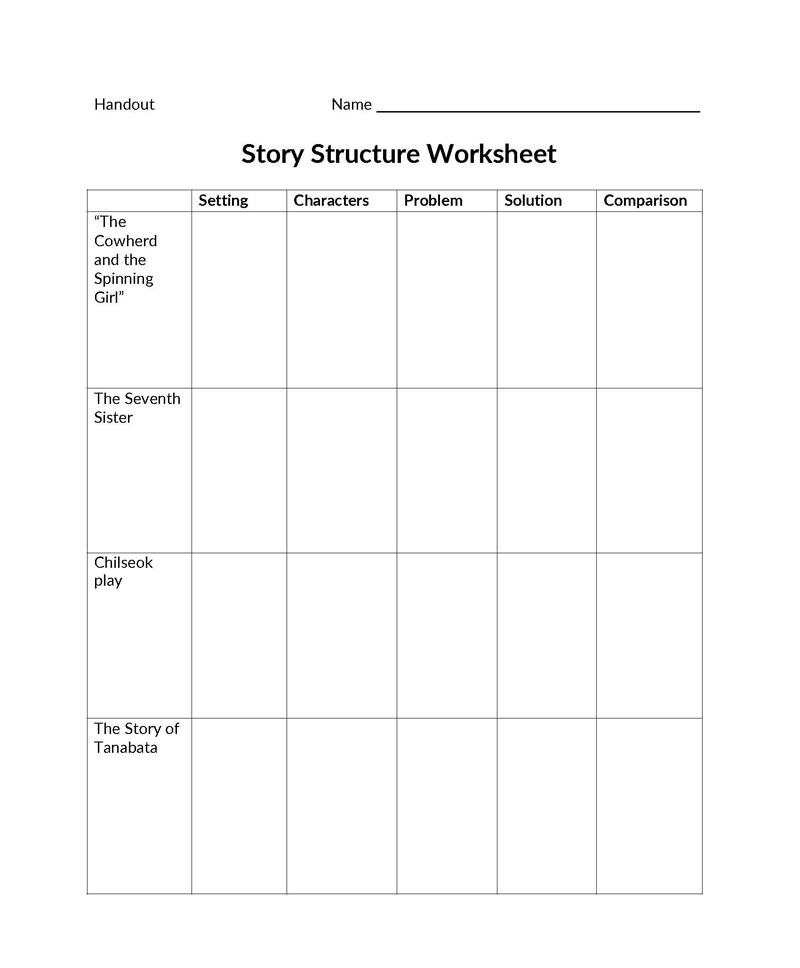
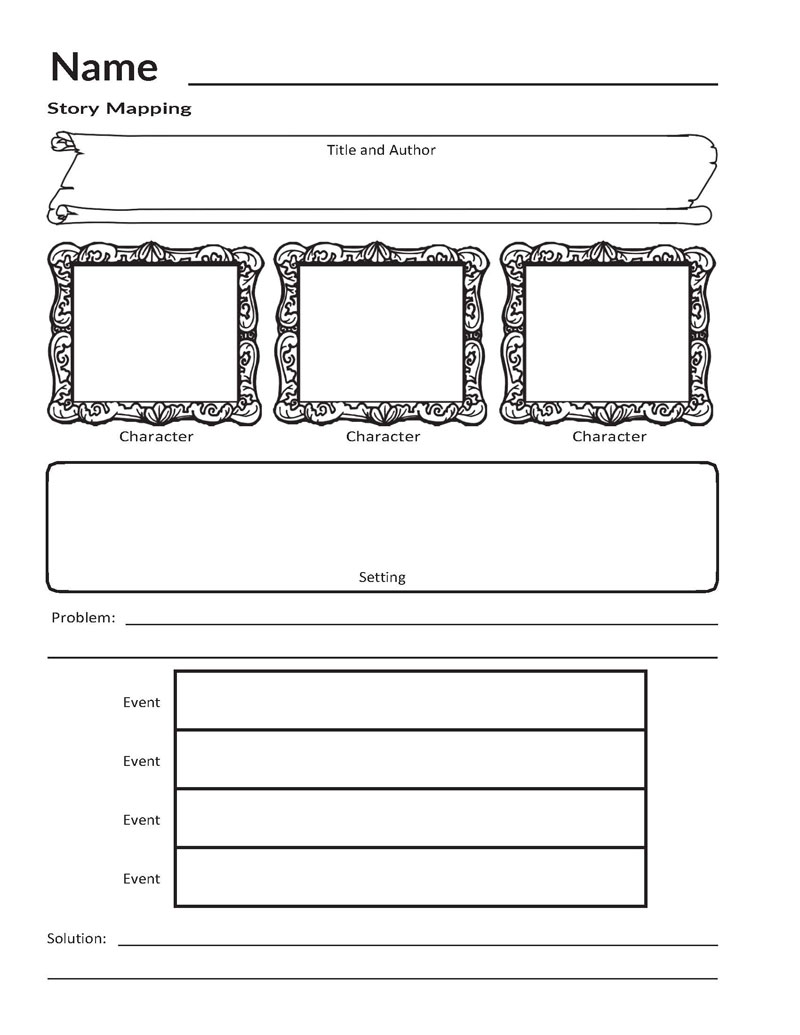
If you’d like to create your story map for your product release, you can download free templates here. Not only will these visuals help you get a better idea of what the process will be like, but they’ll also save you time by having a starting point to get the process rolling.
Back Story
Story mapping was designed by Jeff Patton, who wrote an entire book on the product discovery activity. He notes that the idea stems from the fact that written documents are often misinterpreted. Still, face-to-face conversations led to more explicit understandings and allowed developers to react to changes that users suggested.
The concept was first mentioned back in 2005 and has since been taken up by product development teams as a way to effectively adapt and overcome product barriers.
Purpose of It
There are a few main goals of story mapping, such as to improve the product development process and learn which functionalities need to be prioritized, as well as get a better understanding of the product holistically. Secondly, this activity gathers honest customer feedback and organizes it so that developers understand how well a product works and what can be improved. Finally, to quickly locate gaps in functionality or other problem areas to improve the quality of the product.
But, What is Its Principle?
The backbone of story mapping has divided the main functions into a few categories and organized them chronologically. These should be the main steps or actions that a customer would take, with small actions or steps placed below these.
Its main characteristic is that it should be an interactive process. The user and the developer should be collaborating in a process that allows and invites conversation. This way, the entire activity involves interaction directly between the user and the developer, rather than getting feedback after some passive presentation.
Since this is such an interactive and real-time activity, there’s plenty of time to get authentic feedback from everyone and create a product that works for everyone. Typically, multiple people will sit in this session, and everyone needs to be on the same page before it is over. This means that the story mapping process should be inclusive and interactive for everyone in the room, making it an inclusive technique for product development.
But of course, templates, just like most products, are always open to improvement. The final characteristic of story mapping is that you’re never really “done”. After updating a map, you may later get more user feedback or even analyze competitors that will make you reconsider your priorities. So by frequently getting together and re-doing a story map, you’ll make sure that the product stays relevant and responds to current user perspectives.
When and How to Use it?
Although carrying out a story map can take some time, it’s essential to do it right at the beginning of the project. You can do this to develop a clear vision of where to start. Still, it’s a very flexible exercise that can be repeated throughout several stages of product development. Whether you’re getting ready to release your 1.0 version or your 15.0, using a template is a great option.
It would be best to use it to have a conversation with team members and potential users, so make sure you listen and respond to feedback interactively. This will help you get a deeper understanding of your product and how it can attend to your user’s needs.
Parties Involved
Considering you’re working on the product from a holistic standpoint, you should have a pretty broad group of people in the room when carrying out this exercise. You’ll want to include domain experts, testers, and UX designers.
In other words, a group of people familiar with the user experience and what a customer wants. You’ll also want to have stakeholders in the room during the exercise since they’ll want to know exactly where their money is going.
And finally, you need people on the tech side of things in the room. Realistically, the developers know how long it will take to carry out the requests that the other people in the room are suggesting. In general, it’s a good idea to have a few people from each of these three groups when carrying out a story map.
7 Steps Guide to Make a Story Map
To carry out a story mapping exercise, you’ll need several things before getting started. It is a relatively lengthy process, although it is pretty logical once you get started.
You’re going to be breaking the overall experience into many small parts and user stories, and it’s crucial to maintain an open discussion with everyone in the room. This means that you’ll ultimately create a flowing, fruitful discussion that allows everyone to get on the same page. This is a vital part of the template, so make sure to keep the level of interaction high.
Finally, before starting, you’ll need to have a dedicated room to carry out this process, as well as extensive physical items. A large board with many sticky notes, pens, paper, and tape would be a great way to get started.
Now, when everyone is ready and in the room, the first step is to:
Frame the journey
Before getting into any details, you want to start by asking a simple question that helps identify the specific goal of the exercise.
EXAMPLE
You could ask, “What does our product do?” as a way to start a very general story mapping exercise.
On the other hand, you may want to focus on a specific feature of your product and how that feature relates to your overall goal. In that case, a more specific question could be better suited.
EXAMPLE
Something like “What problem does our product solve?” “Who is the specific user that will benefit from our product?” or “How will this product help the company?”.
Build the story backbone
Now it’s time to build a more general idea of what the story “outline” should look like. At this point, it shouldn’t be too detailed, but it should explain high-level tasks and the main steps that would take you from start to finish.
EXAMPLE
If you are developing an app that finds recipes based on ingredients a user has, the steps may be:
- Go to the website/app
- Enter ingredients available
- Add filters
- Browse the list of recipes
- Click on the recipe
- Comment/leave a review
It’s likely that for developers, it’s much more complex than that, but this overarching flow is a great way to understand the task at hand.
EXAMPLE
One way to handle this step of the process is to ask a user or expert to tell a story. In other words, they state a problem, and they state all the steps and tasks they need to carry out to fix the problem.
Afterward, everyone in the room will write down the steps that need to be taken to solve that specific problem. By the end, you’ll have many notes that flow and tell a story. This is essential because you’ll find out that some people may do things differently, or maybe some people in the room consider a different order of events.
Identify group activities
The next step is to identify what activities are occurring. “Activities” refers to the steps that are working towards a common goal.
You’ll notice that you can group many minor steps into an everyday activity, which then ultimately help form the backbone of the template.
EXAMPLE
Several steps such as “click sign up, enter an email address, get a confirmation email”, etc., can all be combined into one activity: account registration.
Depending on the story map, you may want to include this more general activity as the main one.
Afterward, you’ll notice you can place tasks both horizontally and vertically since you’re working on this visual tool. In general, tasks that could be done simultaneously or are otherwise not dependent on each other would be placed vertically.
However, tasks that need to be done chronologically are going to be user steps placed horizontally. So, for example, if you must sign up for an account before leaving a comment, that second user step will be placed to the right.
Breakage of lengthy tasks into subtasks
After you have the backbone, you can break down your overall tasks into smaller steps. The first thing to do is take the significant activities, break them into small tasks, and then rewrite or reorganize them. They should be placed in smaller notes underneath the more general activity.
When carrying out these subtasks, make sure to consider everyone’s opinion in the room.
EXAMPLE
You are reorganizing everyone’s opinion on how what a user could do at any given point is precious.
When you get to any point of these smaller steps, you should be looking for variations and exceptions, as well. Think about what could go wrong and what other options users have at any given point. This helps you have a clear idea of what could be happening with a product at any given time. Finally, make sure to consider specific product details that could influence any of the tasks.
Fill in the blanks
The next step is to try and find out if you’re missing any steps. The best way to do this is to have someone with a different perspective tell you, their story. As they do this, have other team members note where a step was missed or different from the established flow.
One of the most effective ways to generate a more holistic view is by having people from other departments or parts of the company carry out this exercise.
EXAMPLE
Someone from a tech department might have a very different perspective from a UX designer.
Prioritization of tasks and subtasks
At this point, you should focus on prioritizing all the different tasks you have established.
EXAMPLE
Your story’s backbone likely consists of essential events, but all the subtasks are likely less vital.
Now try to move different tasks vertically by keeping high-priority tasks at the top and fewer essential steps lower on the map. This gives you a visual cue of what developers should be focusing on first.
One great way to carry this out is to split the map into could/should/must, with steps in the “must” category being essential tasks that need to be worked on.
Slice
After developing an enormous story map, the next and final step you should carry out is to divide the map into different product iterations.
You should place a dividing, curving line that goes both horizontally and vertically to establish which product features should be included in each iteration so that you have a minimally viable product release, but with the following releases continuing to add value.
Lastly, specific success metrics should be identified.
EXAMPLE
Teams should determine ways to measure, track, and test unique user behaviors to analyze the features’ success.
Pros and Cons of Story Mapping
Story mapping is ultimately a crucial exercise that can help you avoid setting yourself up for failure.
EXAMPLE
Sometimes developers will include several functions that look great on paper but ultimately look clunky when placed together, and the entire product fails.
It also avoids the scenario where high-priority features can’t be released because of interdependency issues.
With that in mind, here are some of the essential pros and cons:
Pros of it
First, let’s look at the multiple pros involved in story mapping.
- Build team consensus: One of the most significant benefits is that it makes sure that everyone on the team is on the same page. Because every member of the team is involved in the process, a core principle is that every team member must agree on moving forward. This type of team exercise develops a shared view, and through conversation, the user benefits from a better product.
- Helps prioritize the work/what to build first: Since you can see the product from a holistic point of view, it allows you to start developing a more realistic path toward reaching your company’s vision of what needs to be completed immediately, and what can wait. By doing this, you can identify potential risks and fix any problem areas immediately.
- Puts the user first: Since it’s crucial to understand your product from your customer’s perspective, this type of exercise allows you to focus on what a customer truly needs, and then you can work on the bells and whistles later.
- Collaboration and understanding: Since the whole team, or multiple teams, are working together to see the big picture, it makes sure that everyone has a clear idea of the product vision. Multiple groups of people will converse and work together so that everyone understands what needs to be done.
- Delivers new value early and often: Whenever you release a new version of a product that includes changes that users find immediately valuable, you’ll find that customers are satisfied. By prioritizing new changes to the product according to perceived value, the overall user experience will stay positive.
- Break down lengthy ones into shorter ones: Sometimes it isn’t easy to understand a user story right away, which is why a highly visual, interactive map like this allows you to break down the overall story into little bits and see how everything comes together. By putting together these puzzle pieces, you’ll get a better idea of the big picture.
Cons to keep in mind
Now it should be noted that carrying out a story mapping exercise could end up causing some problems. These cons usually stem from specific mistakes during the process, such as:
- No goal, no problem: If you don’t have a specific goal or problem to solve, then there’s no way you can effectively guide yourself anywhere. Unfortunately, this means that the entire process has no purpose or vision and, ultimately, is a waste of time.
- Working without customers: It’s crucial to collaborate in the process with a customer or, at a minimum, someone very familiar with this work style. If you can’t get authentic input from that perspective, all you’ll be doing is guessing. Furthermore, since you, as the developer, are biased, you’re unlikely to be objective when it comes to the user experience.
- Invisible story map: Remember that one of the enormous benefits is an interactive, visual process. Unfortunately, this means that it’s easy to get distracted or get too caught up in minor details rather than pay attention to the overall story.
PRO TIP
Make sure to keep the story map visible to everyone in the room at all times; otherwise, the core element is lost
Here are free templates for you:
Conclusion
Story mapping is a precious exercise for team building and product development. The very foundation of it involves collaboration from many different fronts and planning different sprints, basing them around different slices. Briefly, it is a powerful tool that gives you a visual of your user’s journey and allows you to prioritize the features that you want to develop. Finally, it allows you to create a crystal-clear development plan for your team.
Of course, it needs to continually be updated according to the new information you receive with any planning tool. As you get more customer feedback and update the story map to keep everything relevant, you can also add new information or mark off what you’ve already completed. This last step is constructive for stockholder meetings, where you can walk into a specific room and give them a physical demonstration of the progress that has been made and what is still in the works.
