A flyer is a printed paper with details and images used for advertisement. It is usually circulated in public areas, distributed through the mail, or handed out to people directly.
As a businessman, you should know how to make a flyer in Word as it will help you promote or market your business, products, or services.
If you want to make a flyer in Word, you need to understand what flyers are and how they can help your business. Flyers are usually single, unfolded, and printed sheets on a standard “8.5” X “11” or A4 paper. However, using Word, you can make a flyer in different sizes. Since they are meant to attract the attention of a targeted audience, you must prepare an appealing yet professional flyer for your business.
Microsoft Word will provide you with the tools to make a flyer from scratch or allow you to download templates you can edit to create your flyer. However, as a businessman, you need first to establish what you want to create and the content you wish to include before starting to actualize it in Word. Also, apart from attracting people to your business, making a flyer in Word will help you prepare proper advertisements for events like garage sales or beach parties.
Ensure you have the Microsoft Word program on your computer, enabling you to create a proper flyer to advertise your business.
Why Should You Use MS Word for Making a Flyer?
When making a flyer, it is best to use MS Word since it is an effective program beneficial to your creative process. MS Word will offer you various powerful features to choose from when creating your flyer. Also, you will be able to create a flyer faster and efficiently based on the pre-built templates provided by it. You can change color, edit text and even add images.
With Microsoft Word, you can learn how to create a simple or professional flyer that will be appealing, helping you market your business. Word can help you remove page breaks, enabling you to create a proper and complete flyer. Apart from editing text, Word can also help you put more emphasis on the words or text in your flyer. This is an important feature that will interest people to see your flyer advertisements.
Finally, it is best that you use Word when creating a flyer as it allows you to draw and create drawings. You can also insert any existing images you want to use in your flyer and edit them using Word. This program offers you easy-to-use features that will help you create an attractive and appealing flyer for your events or to market your business.
How to Make a Flyer in MS Word
There are steps that you should follow when it comes to creating a flyer in Word. With these steps, you will be able to create and design a beautiful flyer that you can use as an individual or a business person.
Here are the steps that you should observe for creating a flyer:
Step 1
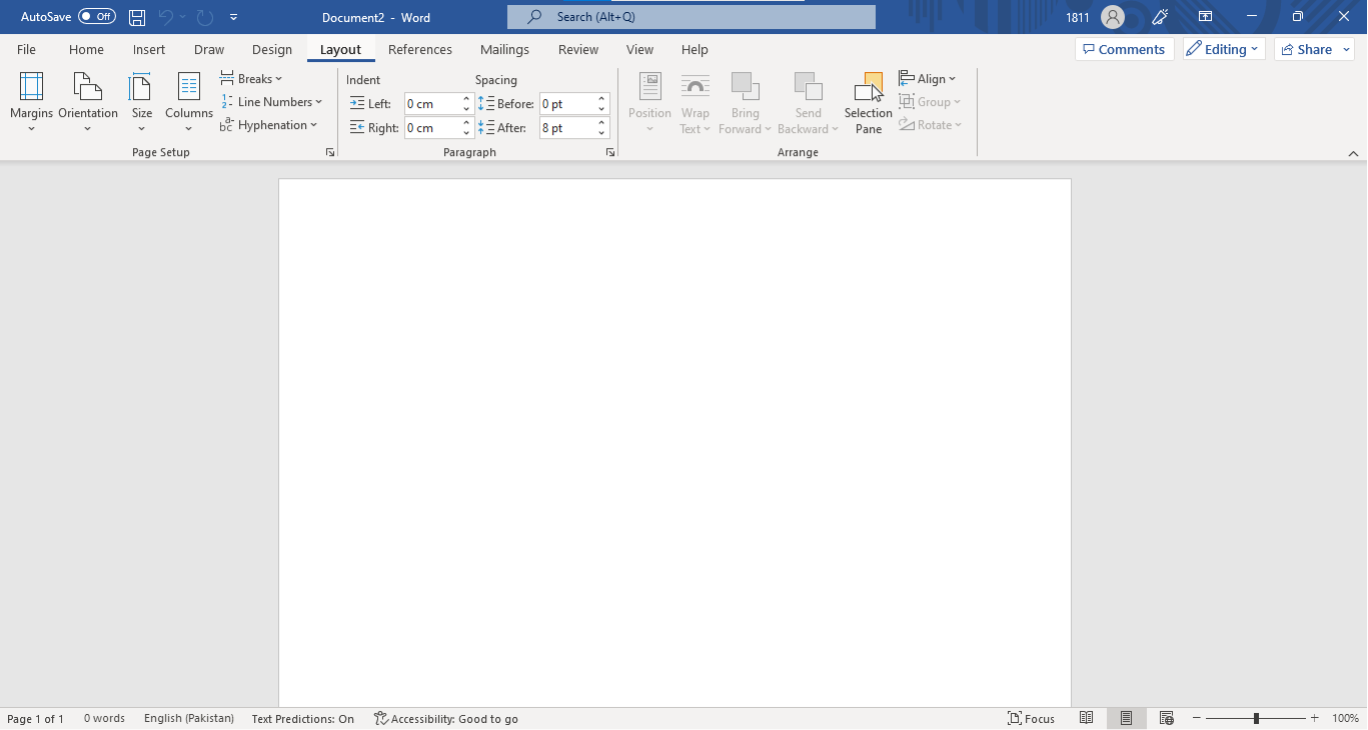
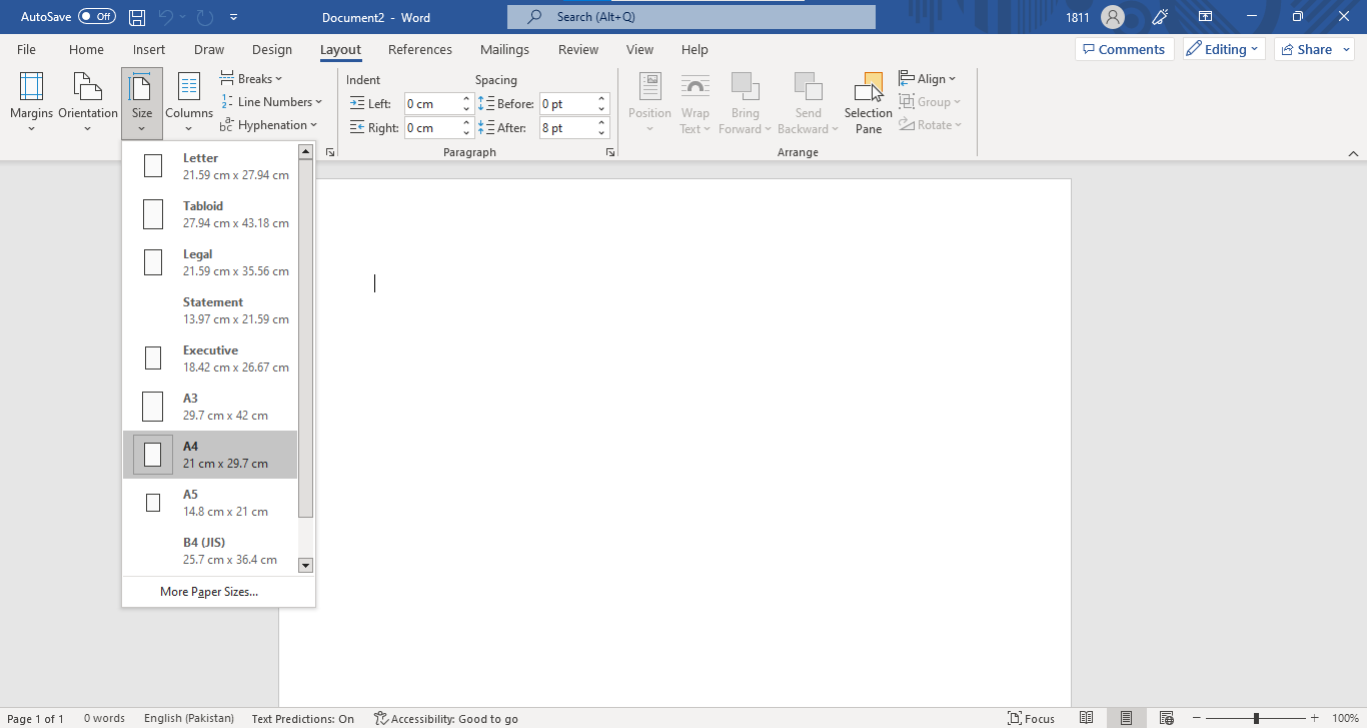
Step up your MS Word document by opening a blank document in Word and then going to Layout (Page Layout) and then page set up in the ribbon where you will click the small arrow to create the right size for your paper.
Step 2
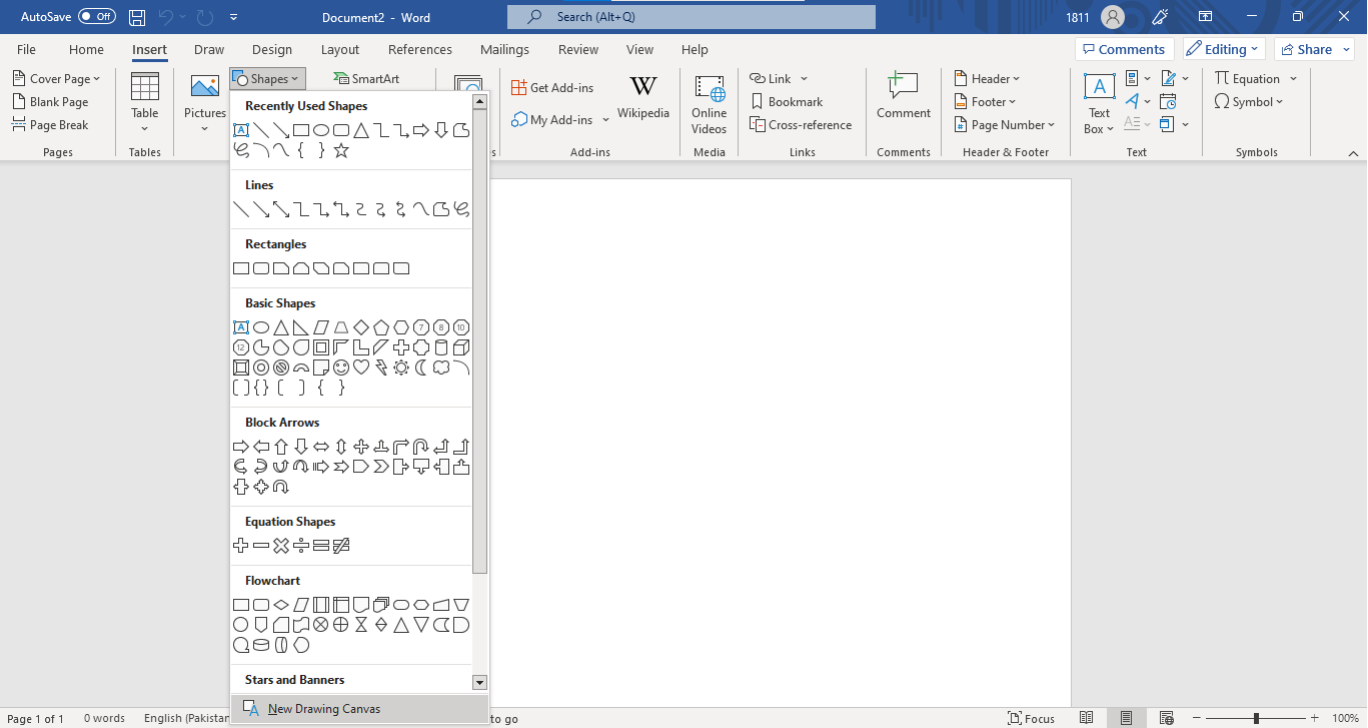
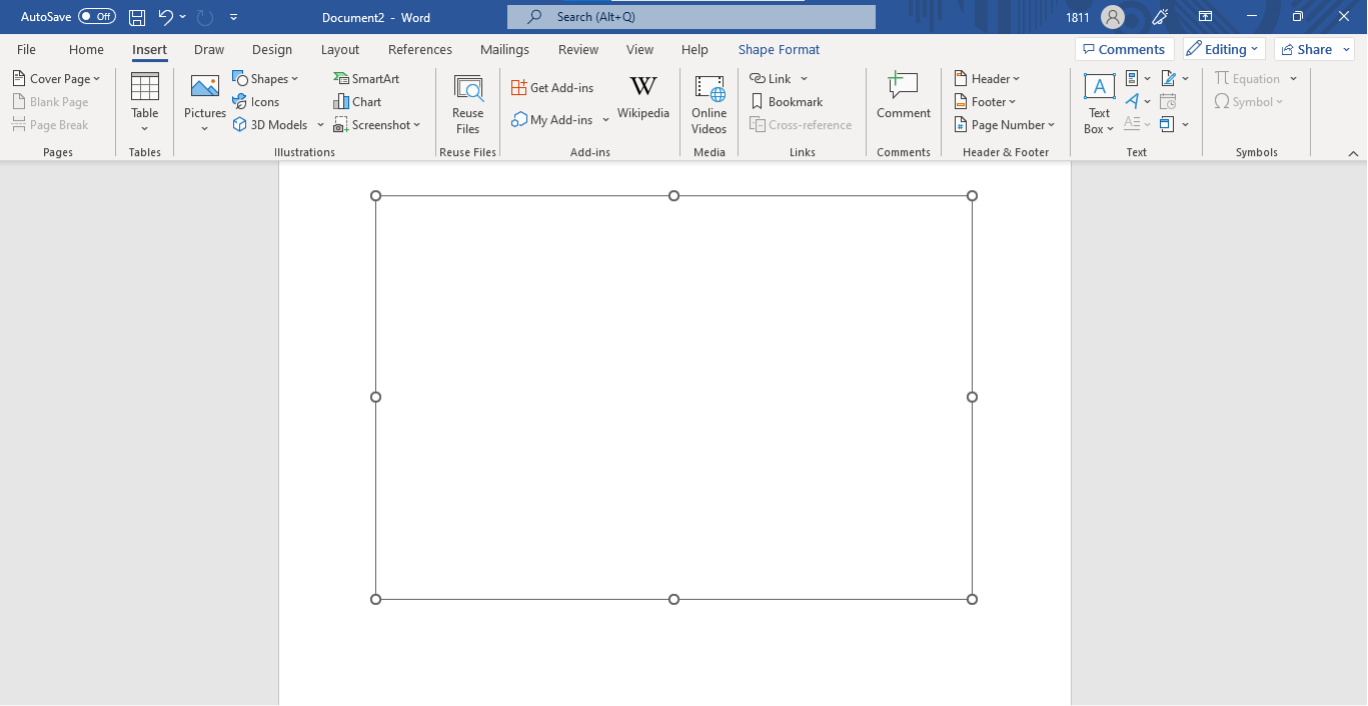
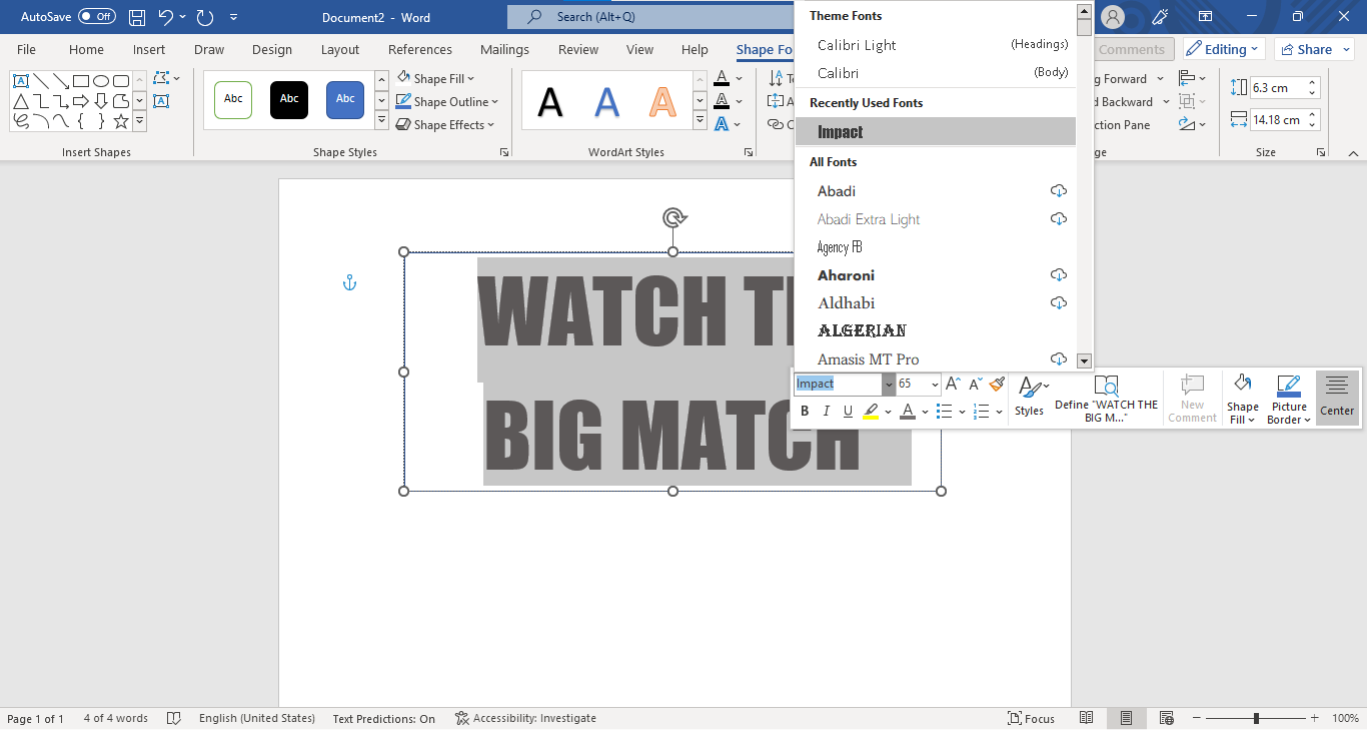
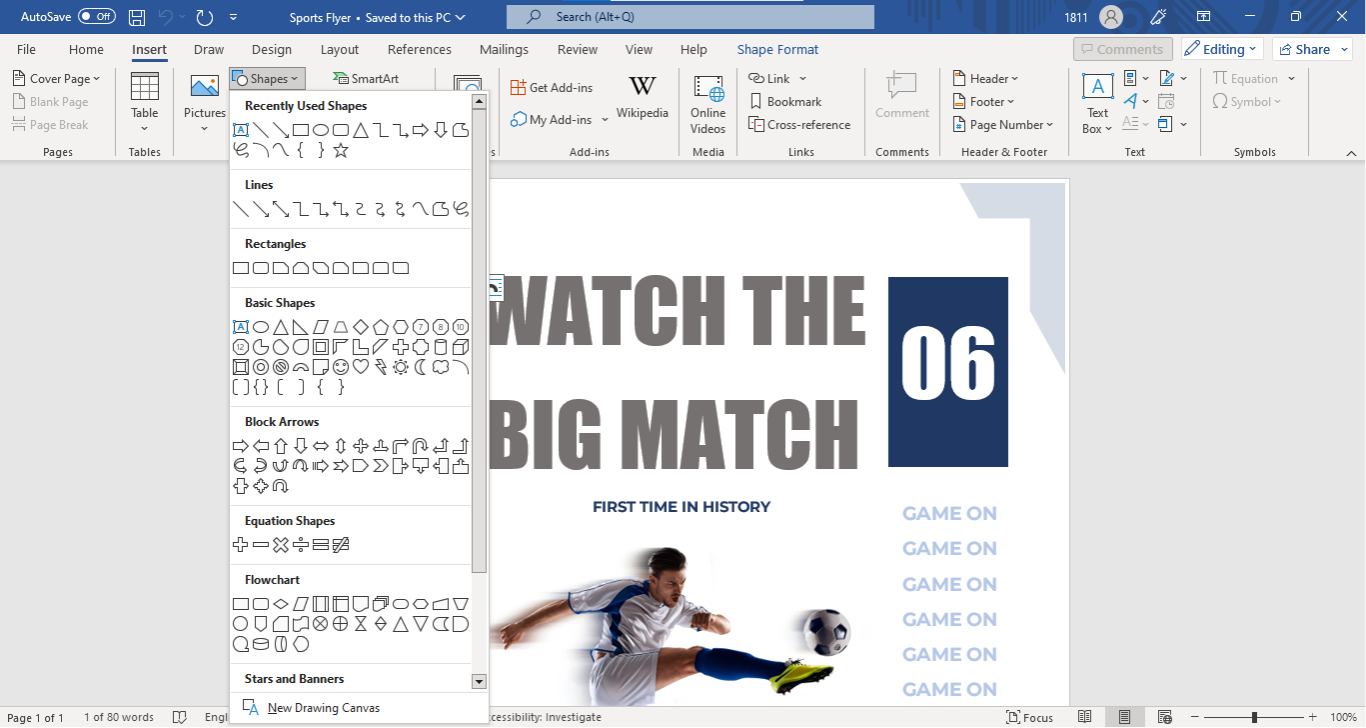
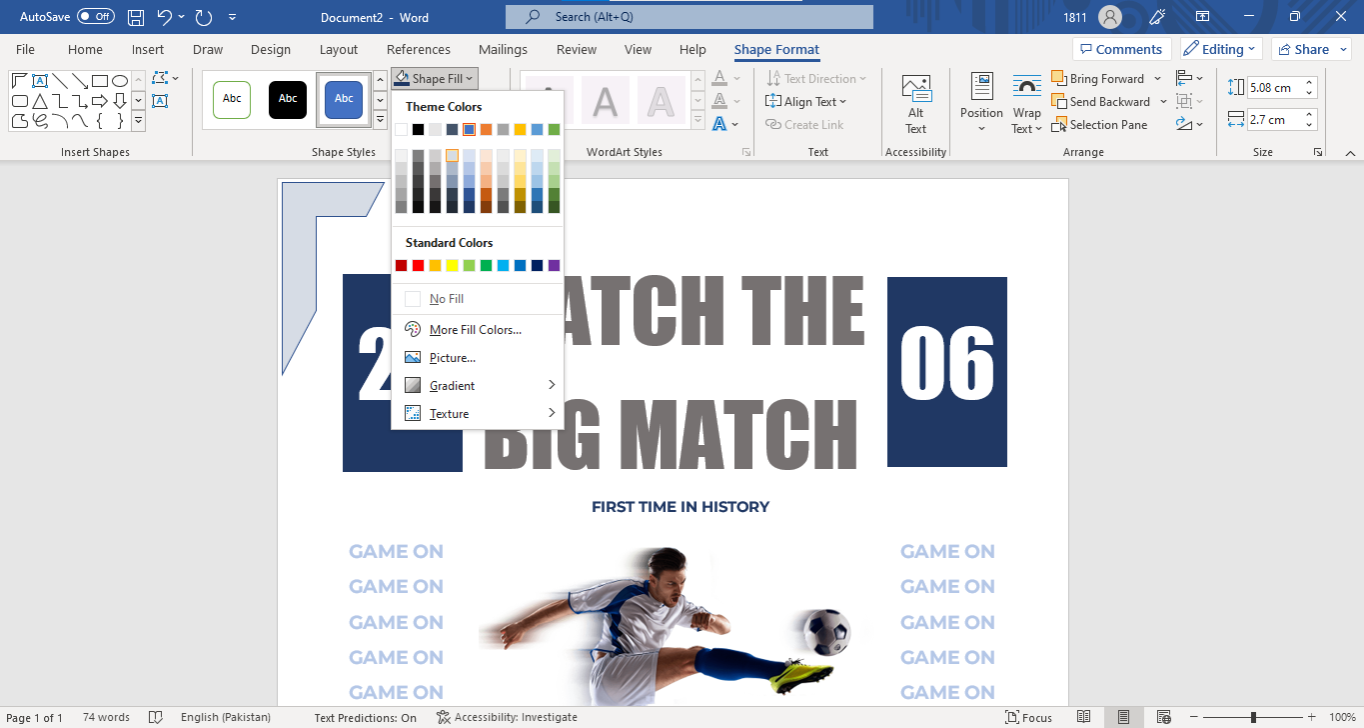
Create the header area of your flyer where you should include the title and subtitle which are most common in flyers. Change the text size and font to create the title and subtitle effect. You can create the header area by clicking Insert and then Shapes, then New Drawing Canvas which will appear at the bottom of the pop-up menu.
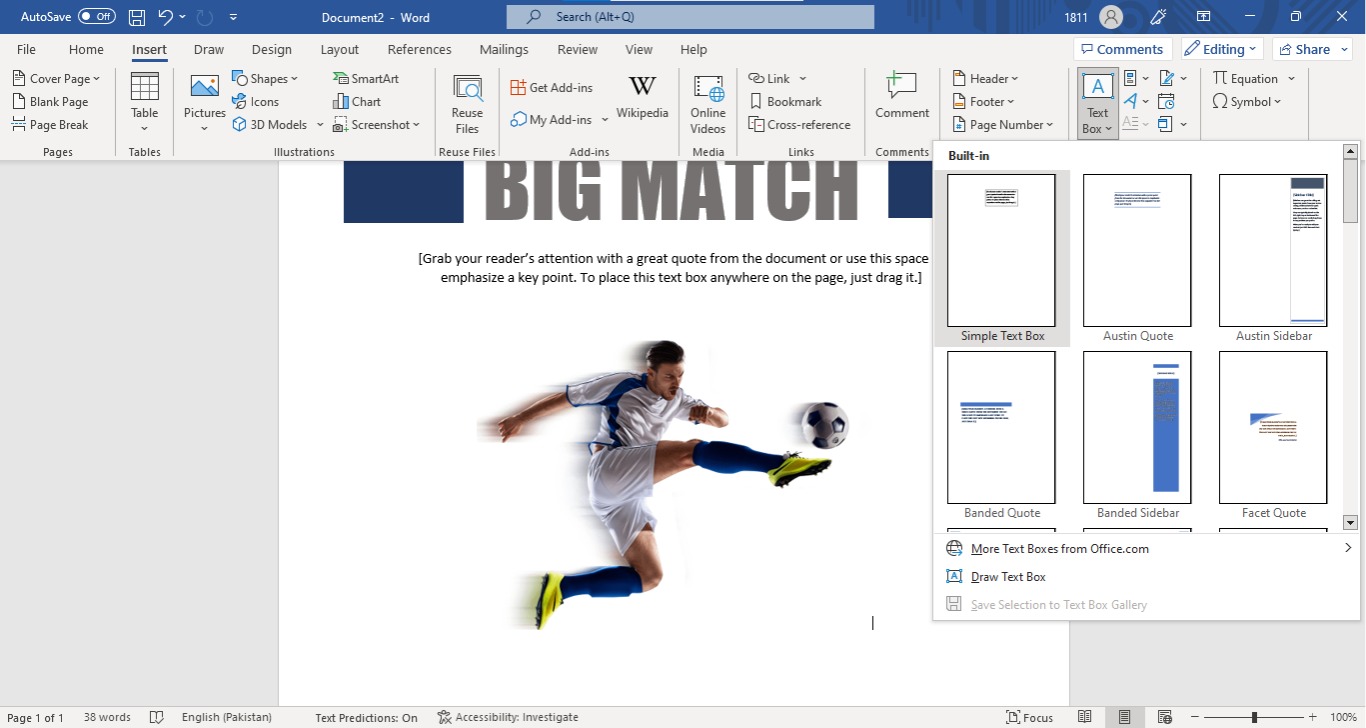
You can resize the canvas by dragging its corners. Within the canvas, add a text box to include texts where you can use different fonts to write the title and subtitle and even include an image to act as a logo for your business or event. To add the text box and the images, click Insert, where you can access the Text Box option for the text and the Picture or Clip Art option for the images on the ribbon. You can drag the inserted image from its corners to increase or reduce the size.

Step 3
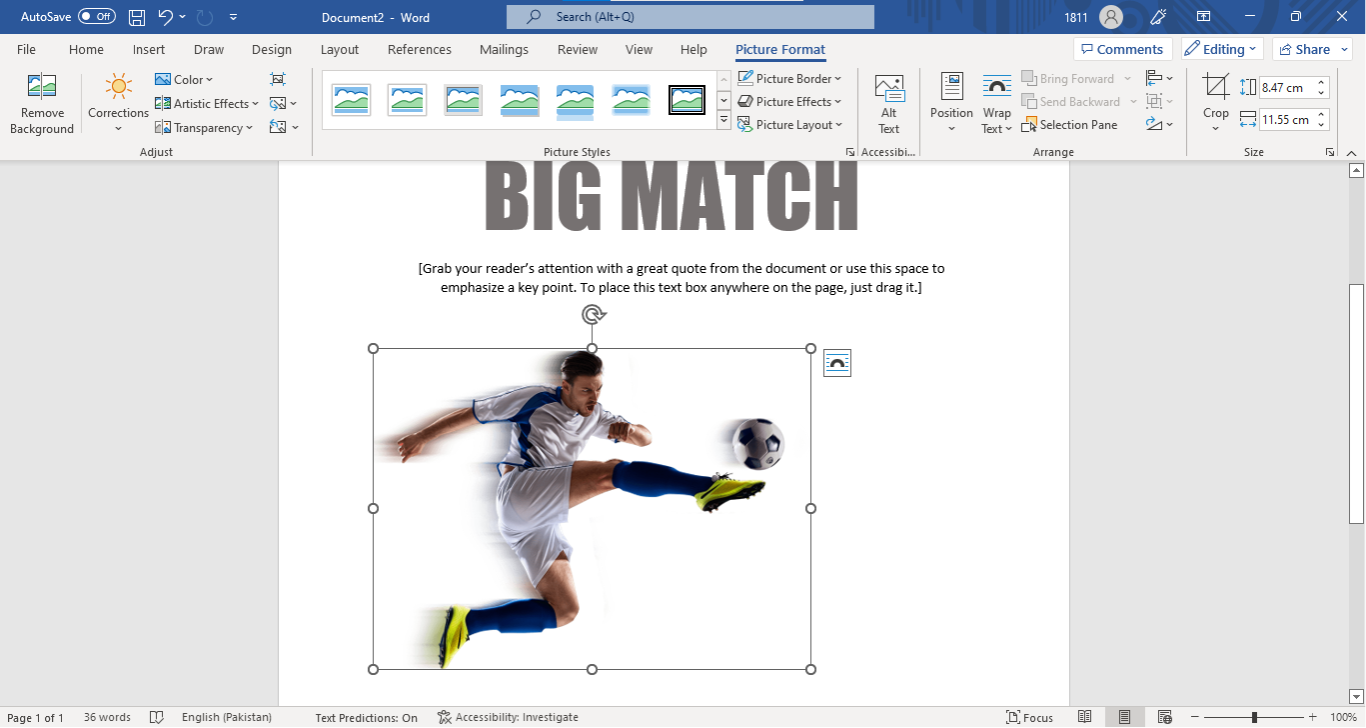
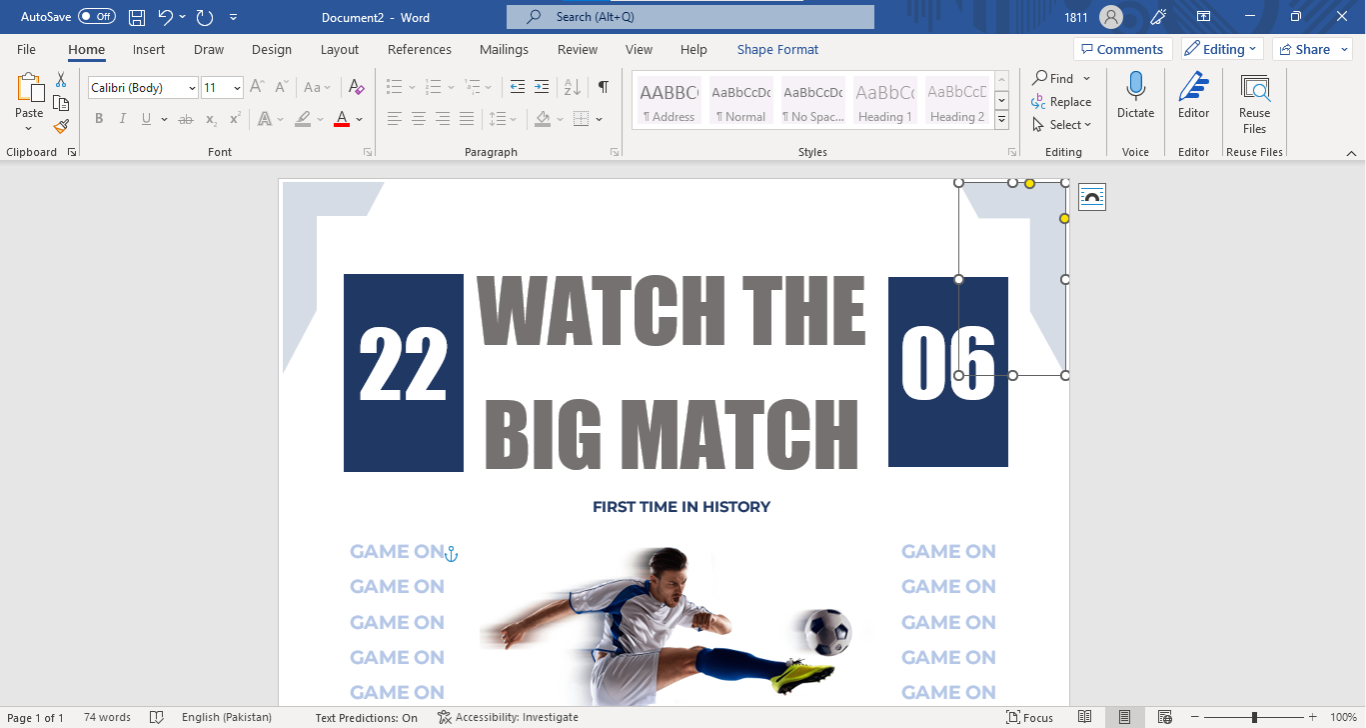
Proceed to create the content area, which will include images and text of your choosing. You should use the same steps you used to create the header to create the content area. You will need to access another canvas and include your text and images for your flyer. To do this, move your cursor and position it below the header area before you create the content area. Go ahead and now click Insert and then Shapes, then New Drawing Canvas which will appear at the bottom of the pop-up menu. You can then include images and texts in the content area you have created.
Ensure you have a proper-sized text box to include the main information for your business or event, like time and address. You should first create the textbox by clicking Insert tab, and then Text Box on the ribbon. After you have created the text box, you can resize it by dragging its corners to either increase or decrease the size.


Step 4
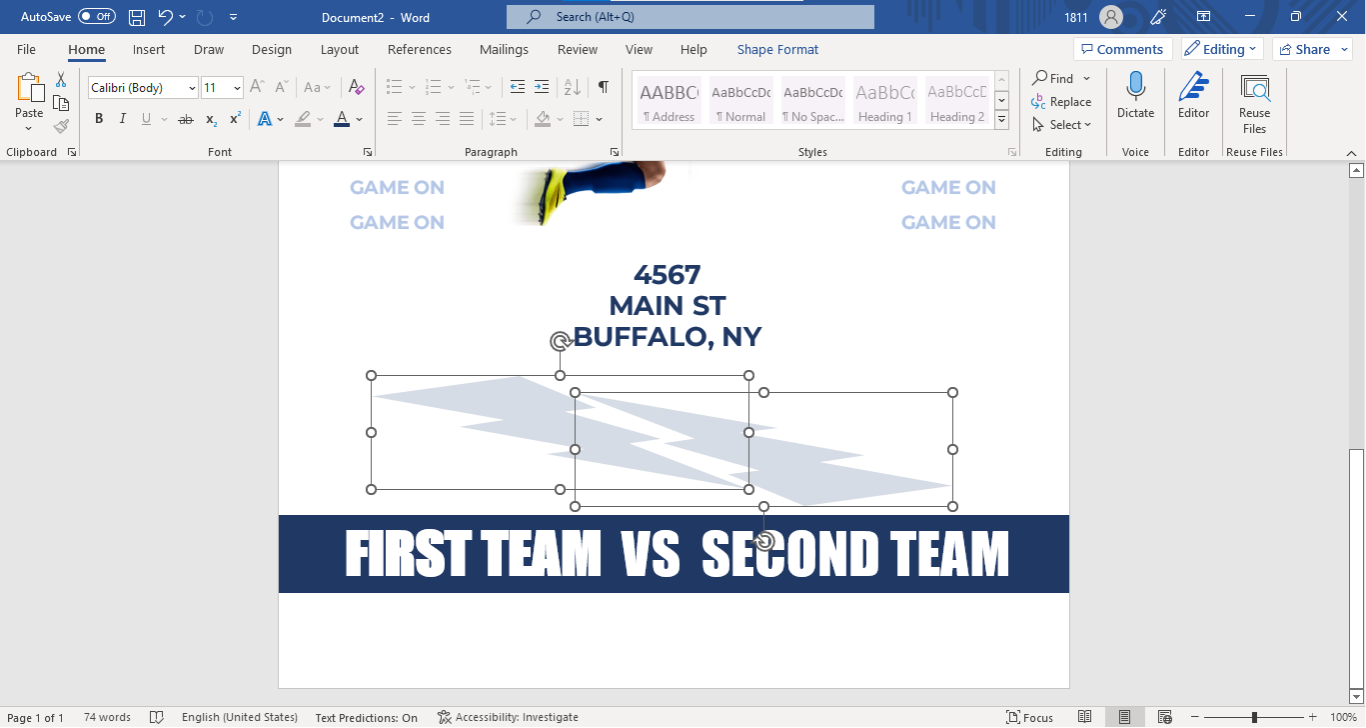
You should create a final new canvas and add a text box at the bottom of your content area for a footer section. Ensure that you position your cursor below the content area before following the described steps to create the footer area. Click Insert and then Shapes, then New Drawing Canvas which will appear at the bottom of the pop-up menu. Most flyers have both headers and footer sections.
Your footer section will contain texts, in most cases, rather than images. Therefore, click Insert tab, and you will be able to access the Text Box option on the ribbon for your text. In case you have fitted all your information in the content area, you do not need to add the footer section.


Step 5
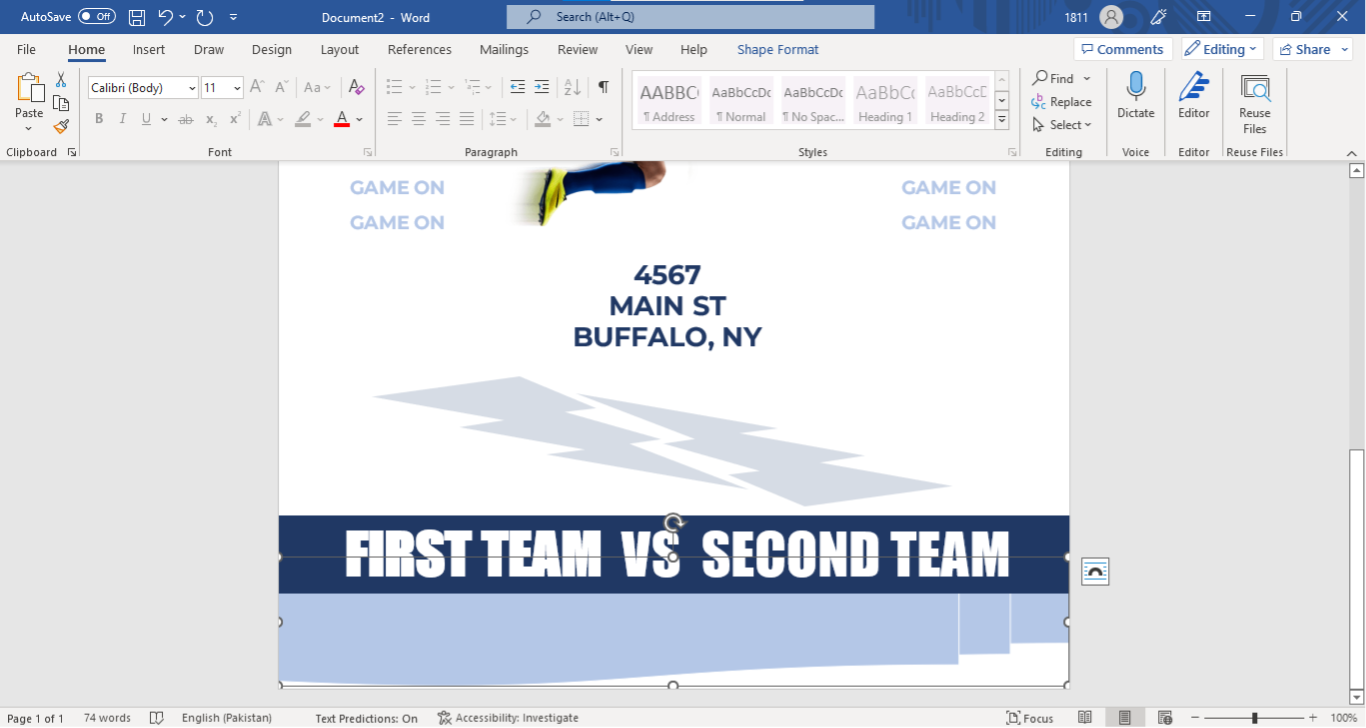
The final step is to change the sizing of the flyer elements and positions to ensure it all fits into your blank page. You can achieve this by dragging the corner of your flyer elements, mostly Word Art, text boxes, and images, so as to resize them to fit in your blank page.
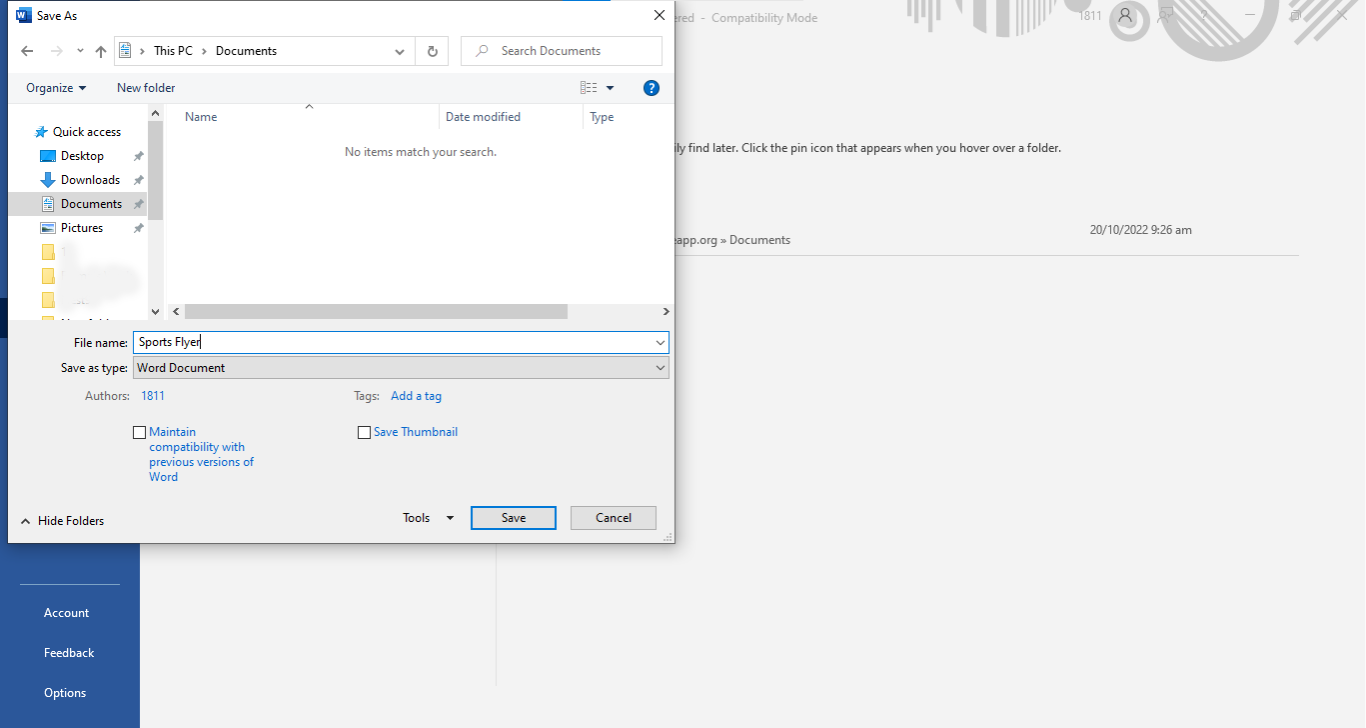
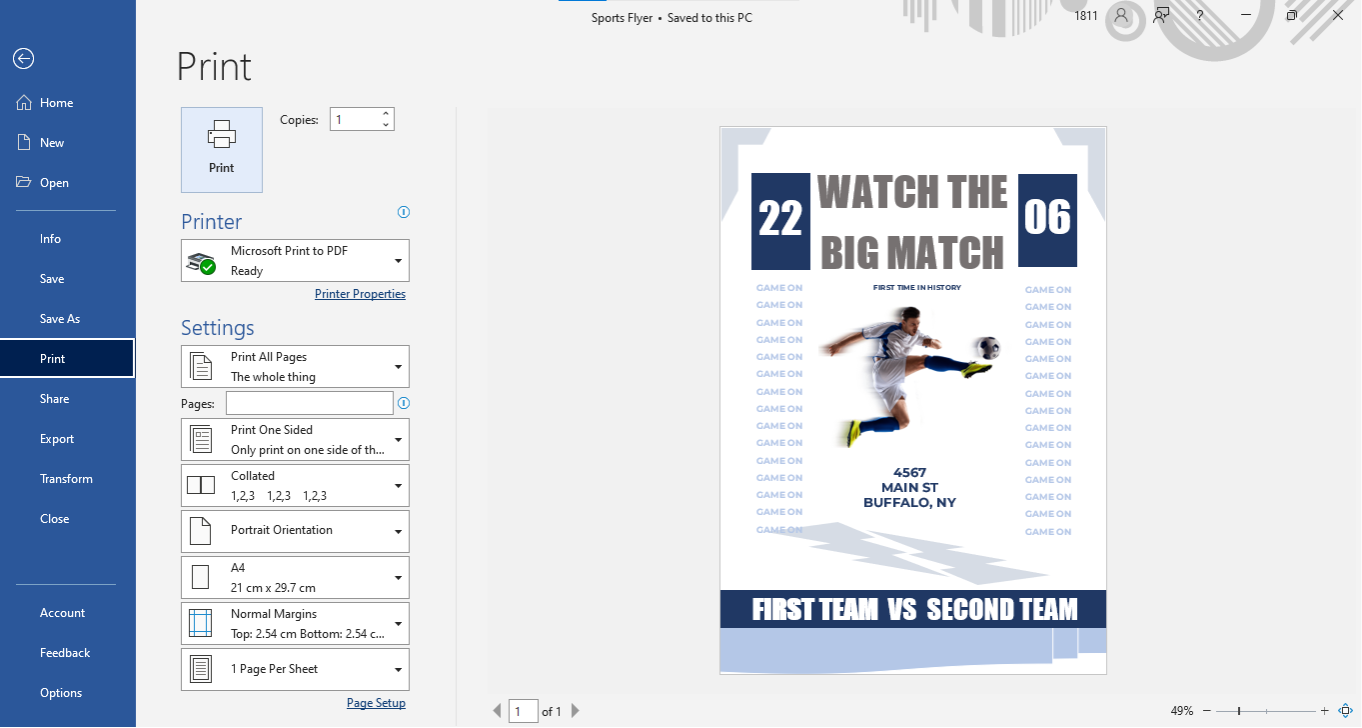
Ensure that your elements look appealing and attractive for you to make a flyer in Word that serves your intended purpose. Save your document once you have included everything, and print your flyer for use. Click File to access the Save, Save as, and Print options.

How to Make a Flyer Using a Template
When using MS Word, you can also access the flyer templates provided to make a flyer. They are time-saving and have different design elements you can customize to fit your requirements. In addition, the templates are free, easily accessible, and cover different topics for the different flyer needs you might have.
Here are the steps you should follow when using MS Word templates to create a flyer.
Step 1
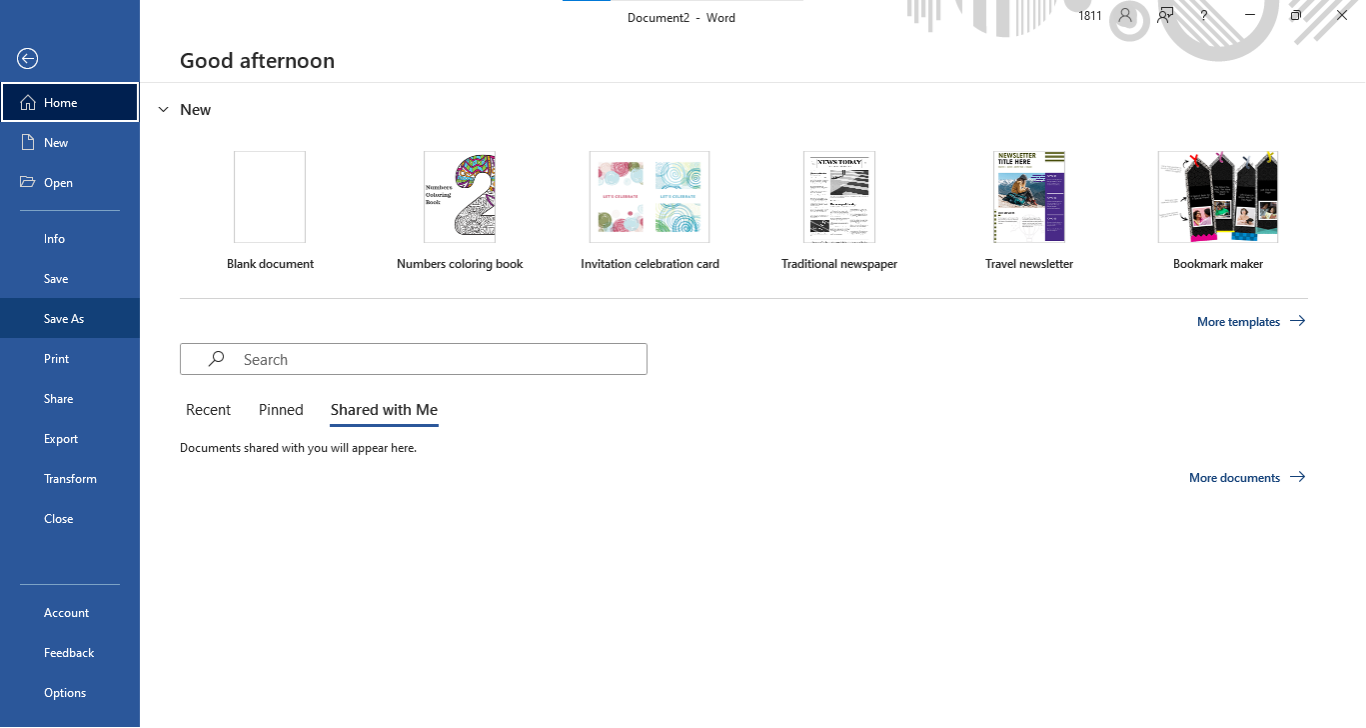
Open MS Word, then click File, then New, where you will access different templates. Next, click on the Search for online templates box and type Flyers to access flyer templates.
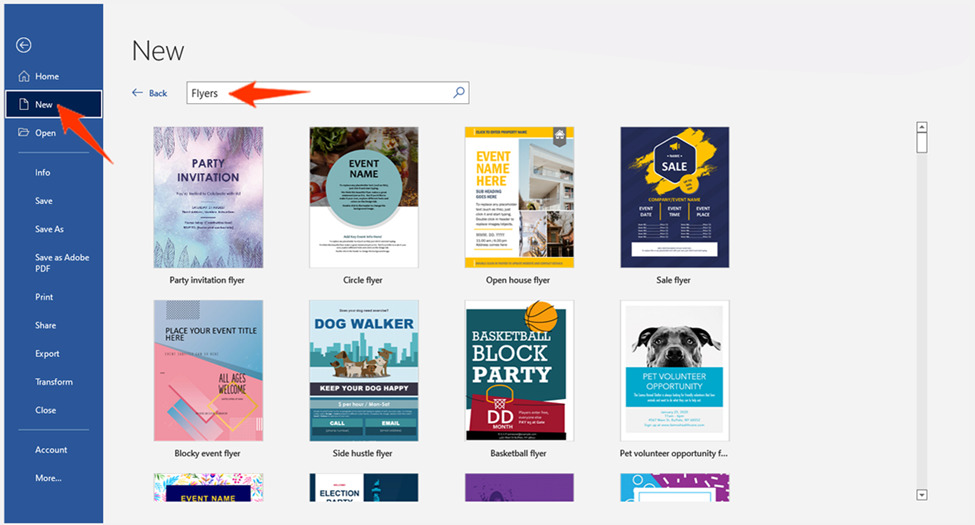
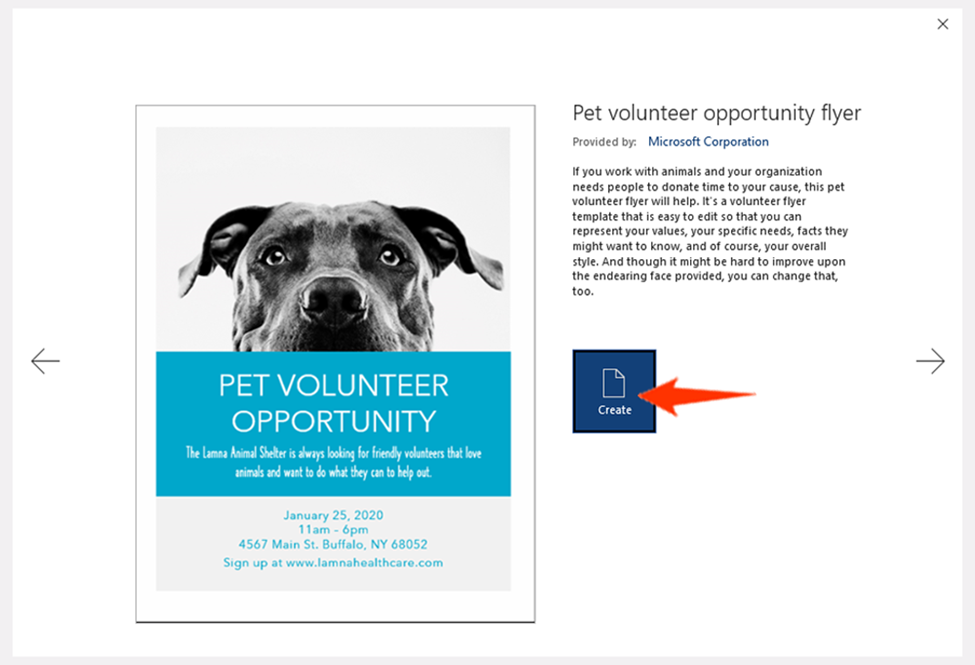
Select what you need and click Create, then start the editing process.
Step 2
The template usually has different images and text boxes with text that guide you when it comes to editing. You can choose to delete the images and text boxes to recreate a new layout in the template for your flyer or maintain the layout and only make changes.

Step 3
For the text, click inside the textbox and highlight the text to make changes. You can increase or reduce the size of the textbox depending on your text. You can also change the font type and size of the text.
Step 4
For the images, click Insert and add the images you wish to use after deleting the ones provided by the template. Then, drag the corners of the image to resize these images to your requirement. You can access images from your computer files (pictures), stock images, online sources, and the clipboard.
Step 5
Save your document and print it if satisfied by clicking File to access the Save, Save as, and Print options.
note
A template in Word makes it easier to make a flyer by the editing process is mostly similar to when you are creating a flyer from scratch.
MS Word Alternatives
Using MS Word to make a flyer can be limiting as Word only offers limited graphic options. Apart from MS Word, you can use other alternatives to make your flyer. You can use Photoshop and InDesign programs to access more graphic options for your flyer. You can also use Google Docs and online programs like Canva to create attractive and professional flyers that are simple to make. Both Google Docs and Canva offer flyer templates that you can use instead of creating your flyer from scratch.
Final Thoughts
Creating a flyer can be really important for a business person. It is an advertisement printed on paper that will help you attract people to your business or event if well created. That is why you need to learn how to make an appealing and professional flyer in MS Word using the options provided. Also, you can use the templates provided in MS Word or download free flyer templates from our website for more options.
About This Article