A good recipe card saves you from stopping halfway through dinner to work out what you meant by “a little” or “cook until done.” It keeps the quantities where you can find them, gives the method enough room, and leaves a place for that small change you want to remember next time.
These 30 recipe card templates are grouped by the job they can do in your kitchen: keep an everyday recipe handy, organize a recipe with more preparation, or build a collection of favorites with your own notes. Each design comes as a Word DOTX template, an ODT file and a linked Google Doc. The Word files are full US Letter pages, including two landscape layouts. Think recipe binder or page on the counter; they aren’t supplied as 3×5 or 4×6 index cards.
Keep the everyday recipes easy to reach
For a dressing you make often or a simple lunch, you probably don’t need a page crowded with extra boxes. You need to see what goes in, how much to use and what happens next. The simpler pages in this group give those details most of the space.
The Teal Ingredients and Notes layout is a useful place to start. Ingredients and directions sit side by side, with a small note area for something you tend to forget. Beige Open Writing Spaces is even plainer: two large areas let you write in your own way. Add the dish name clearly at the top of your copy so it doesn’t become another mystery page in the binder.
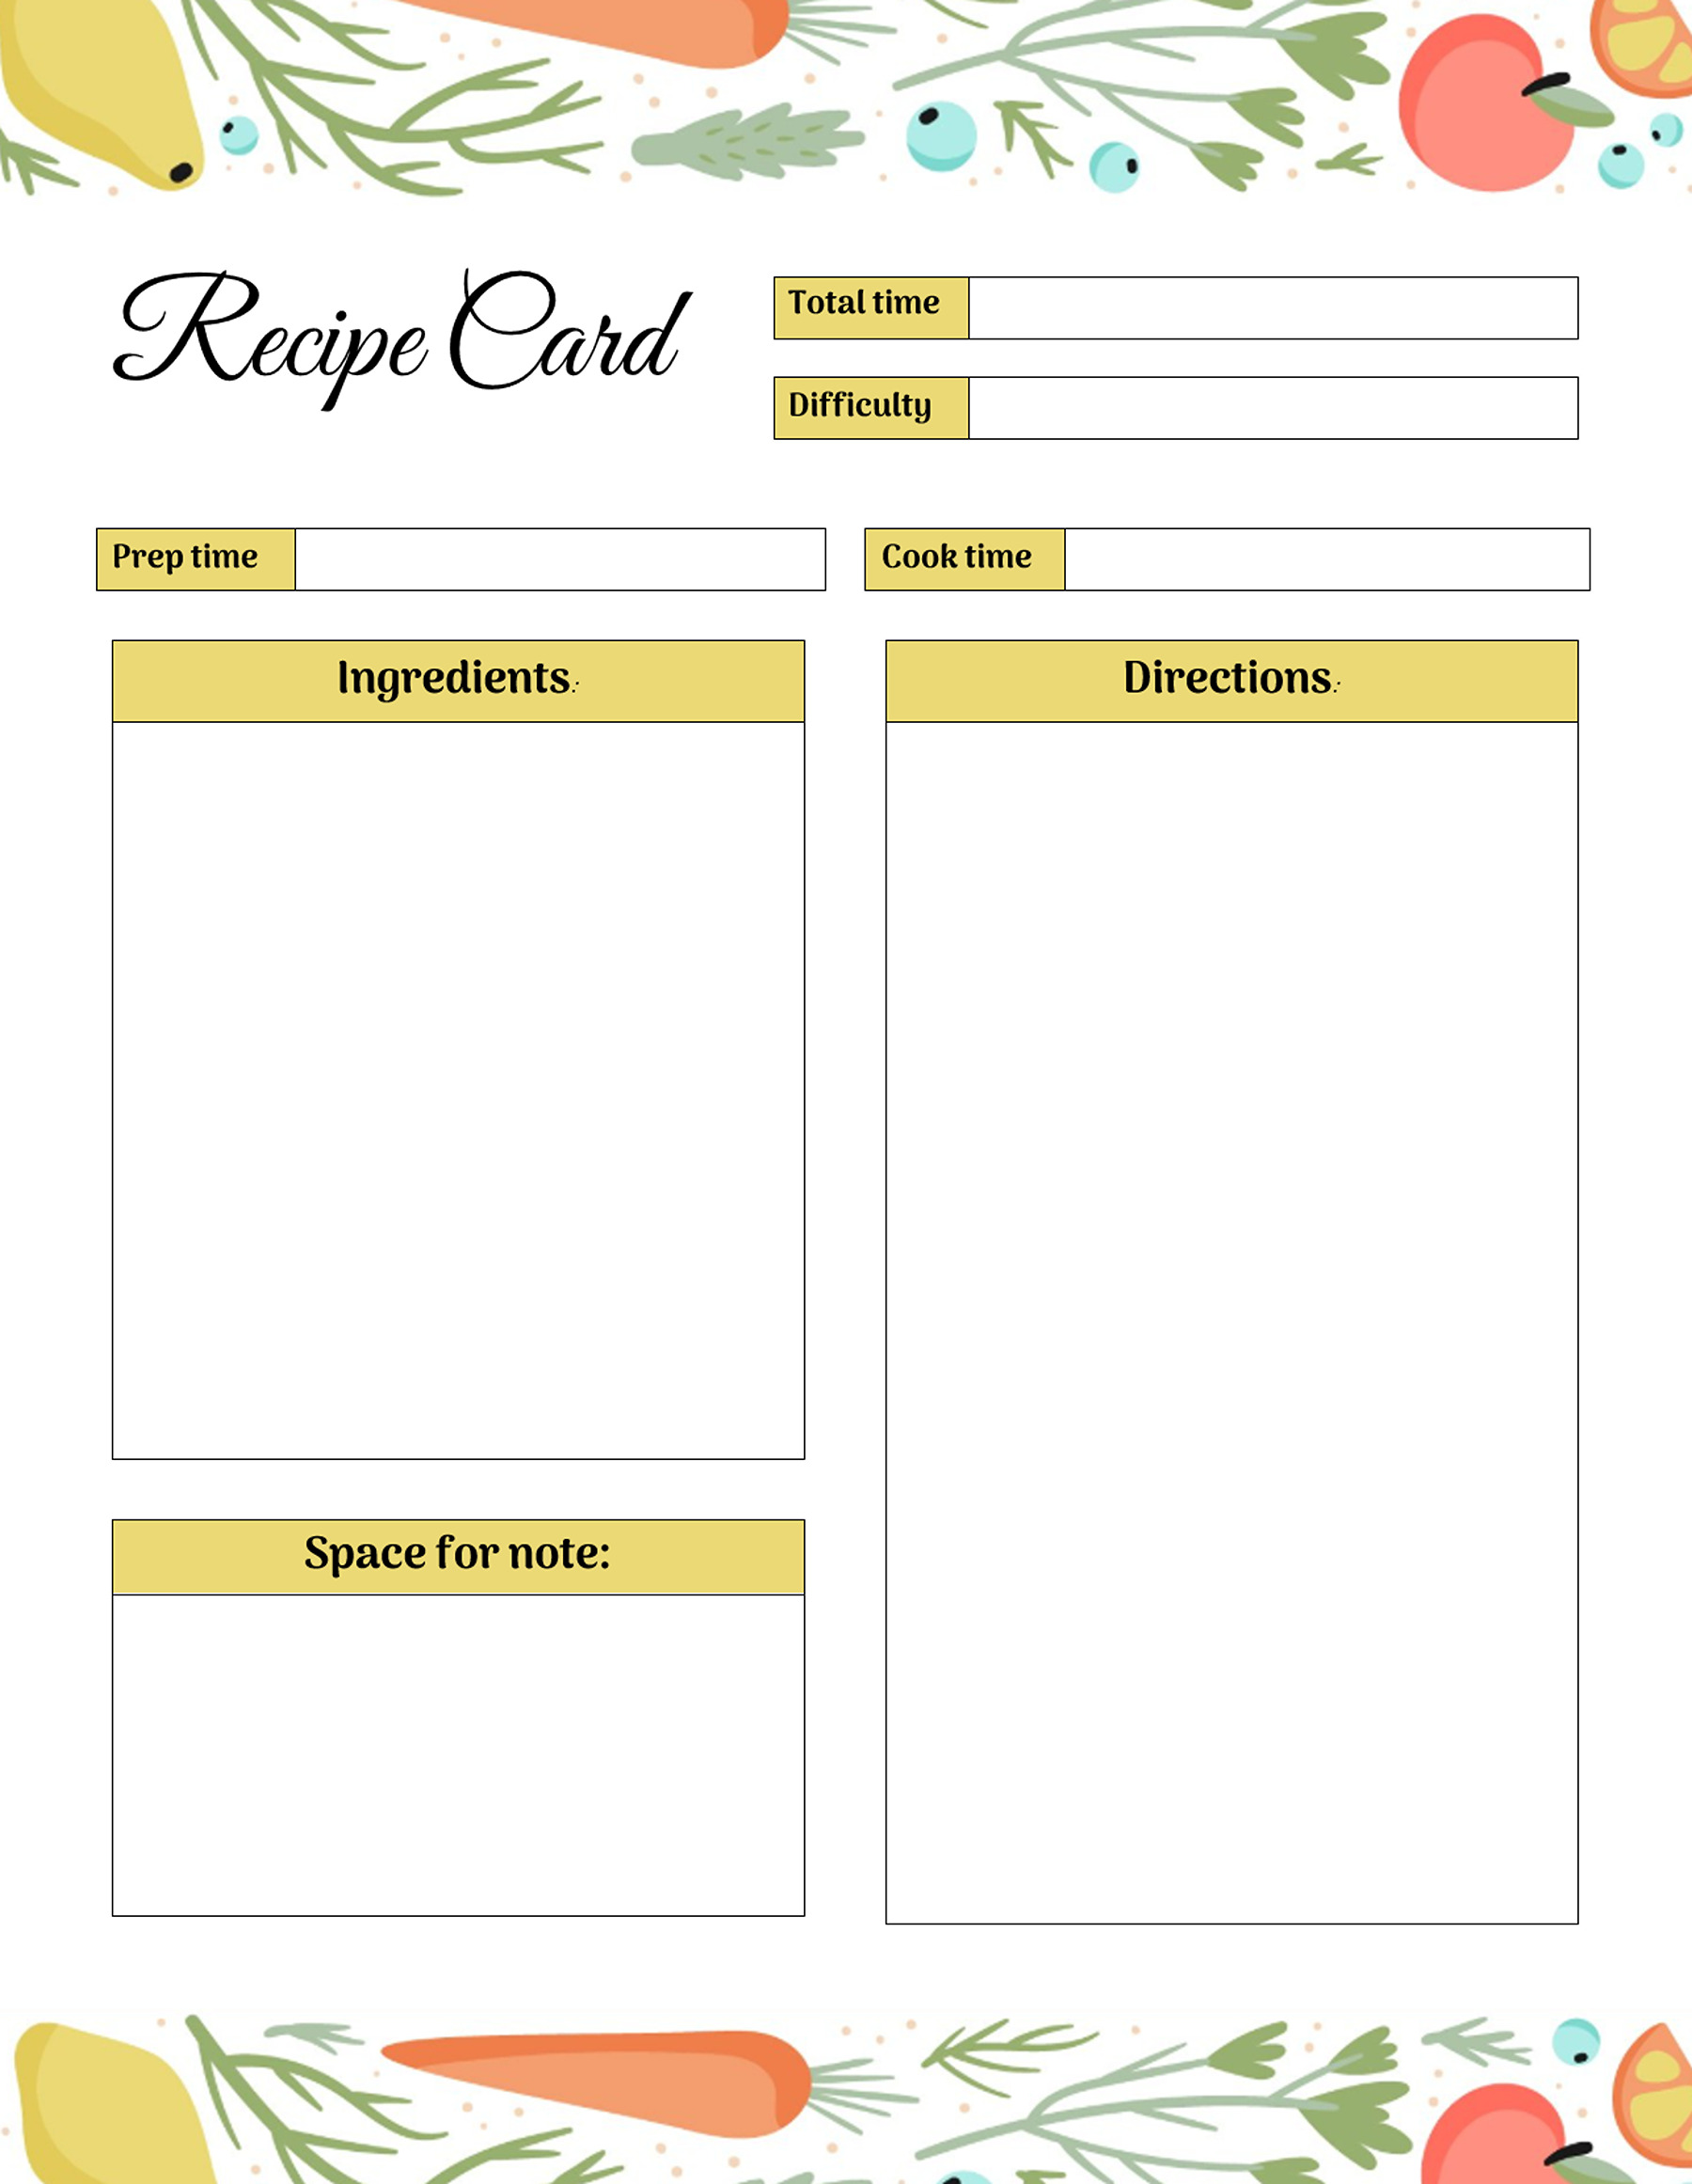
If you’d rather fill in a few helpful prompts, Yellow Border with Servings separates preparation time, cooking time and the number served. That last box matters when you’re deciding whether the recipe will cover tonight’s table. “Serves 4” tells you something that “20 minutes” never can. Orange Short-Method Card also includes a serving field, with shorter stacked sections for the ingredients and directions.
The stacked layouts work well when the whole method is brief enough to read in one pass. Aqua Carrots with Total Time keeps the header simple, while Food Plate Stacked Recipe gives the recipe a clear top-to-bottom path. For a familiar dish, that can be more comfortable than hunting around several small panels.
There is a trade-off: the short method areas won’t suit every recipe. Put the complete instructions into your chosen page before committing to it. If the last two steps are squeezed into the margin, move to a roomier design below. Small type is awkward to read when you’re trying to keep an eye on the pan.
Orange Short-Method Card
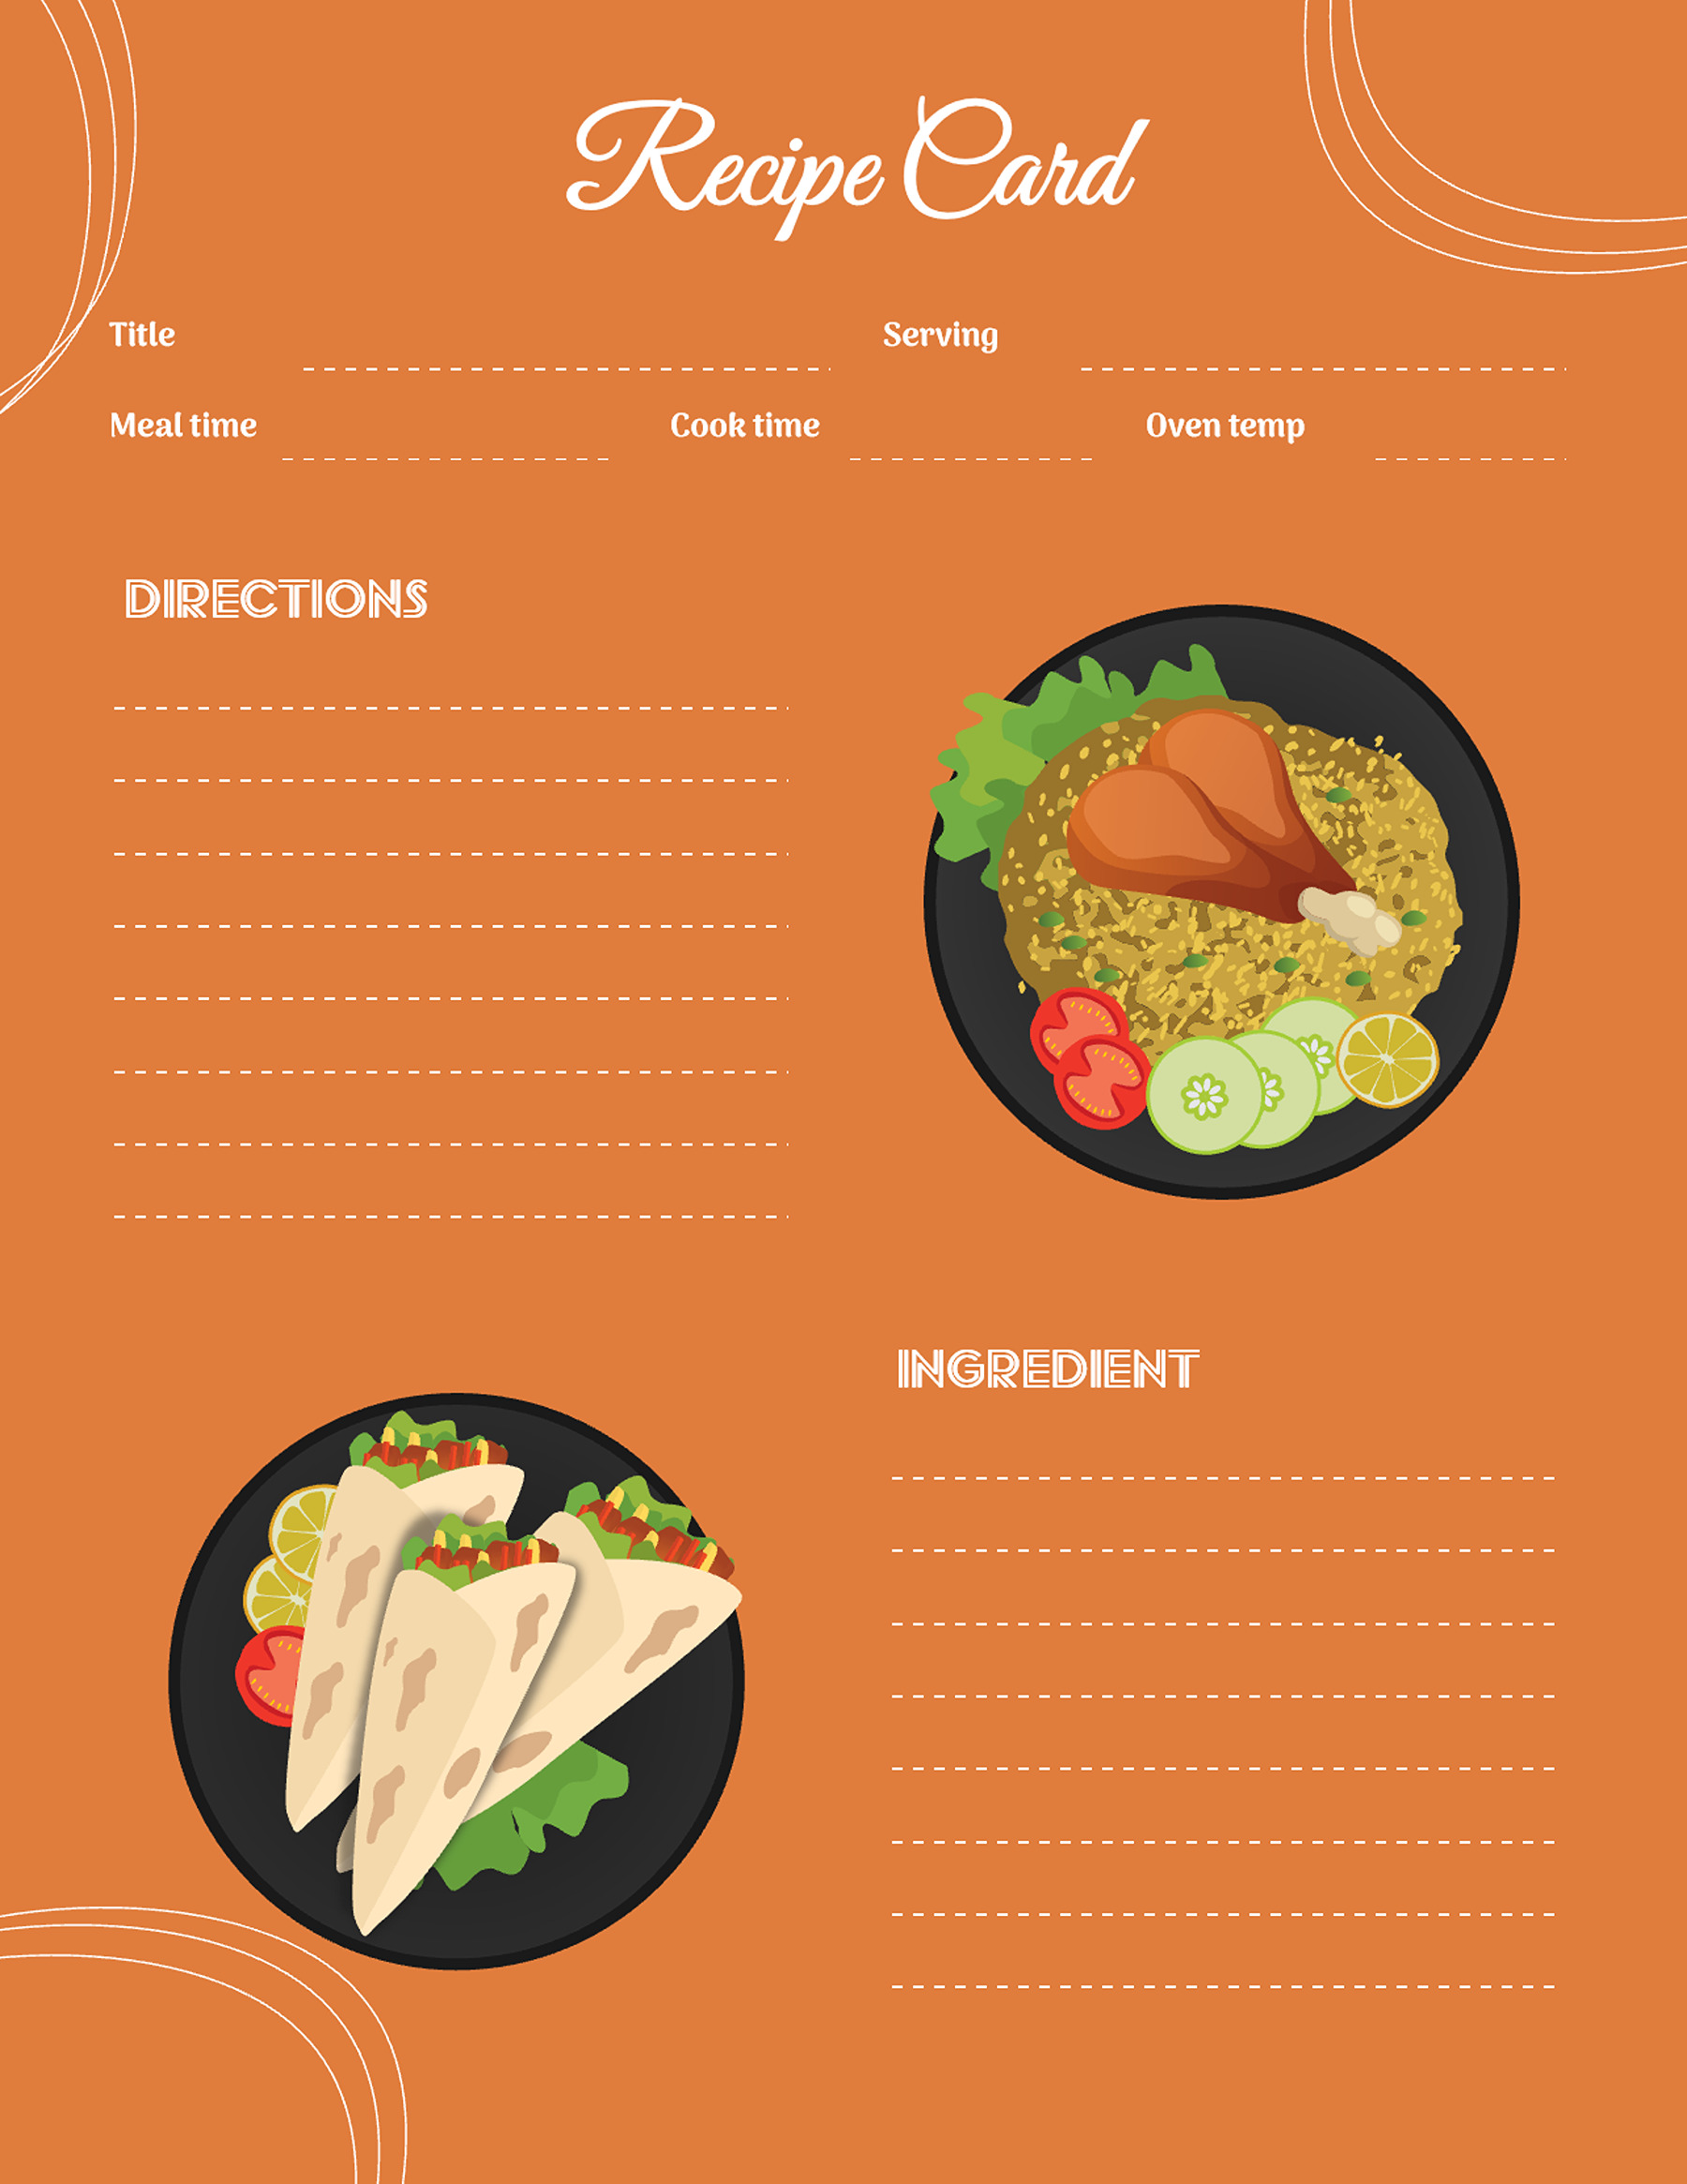
Yellow Border with Servings
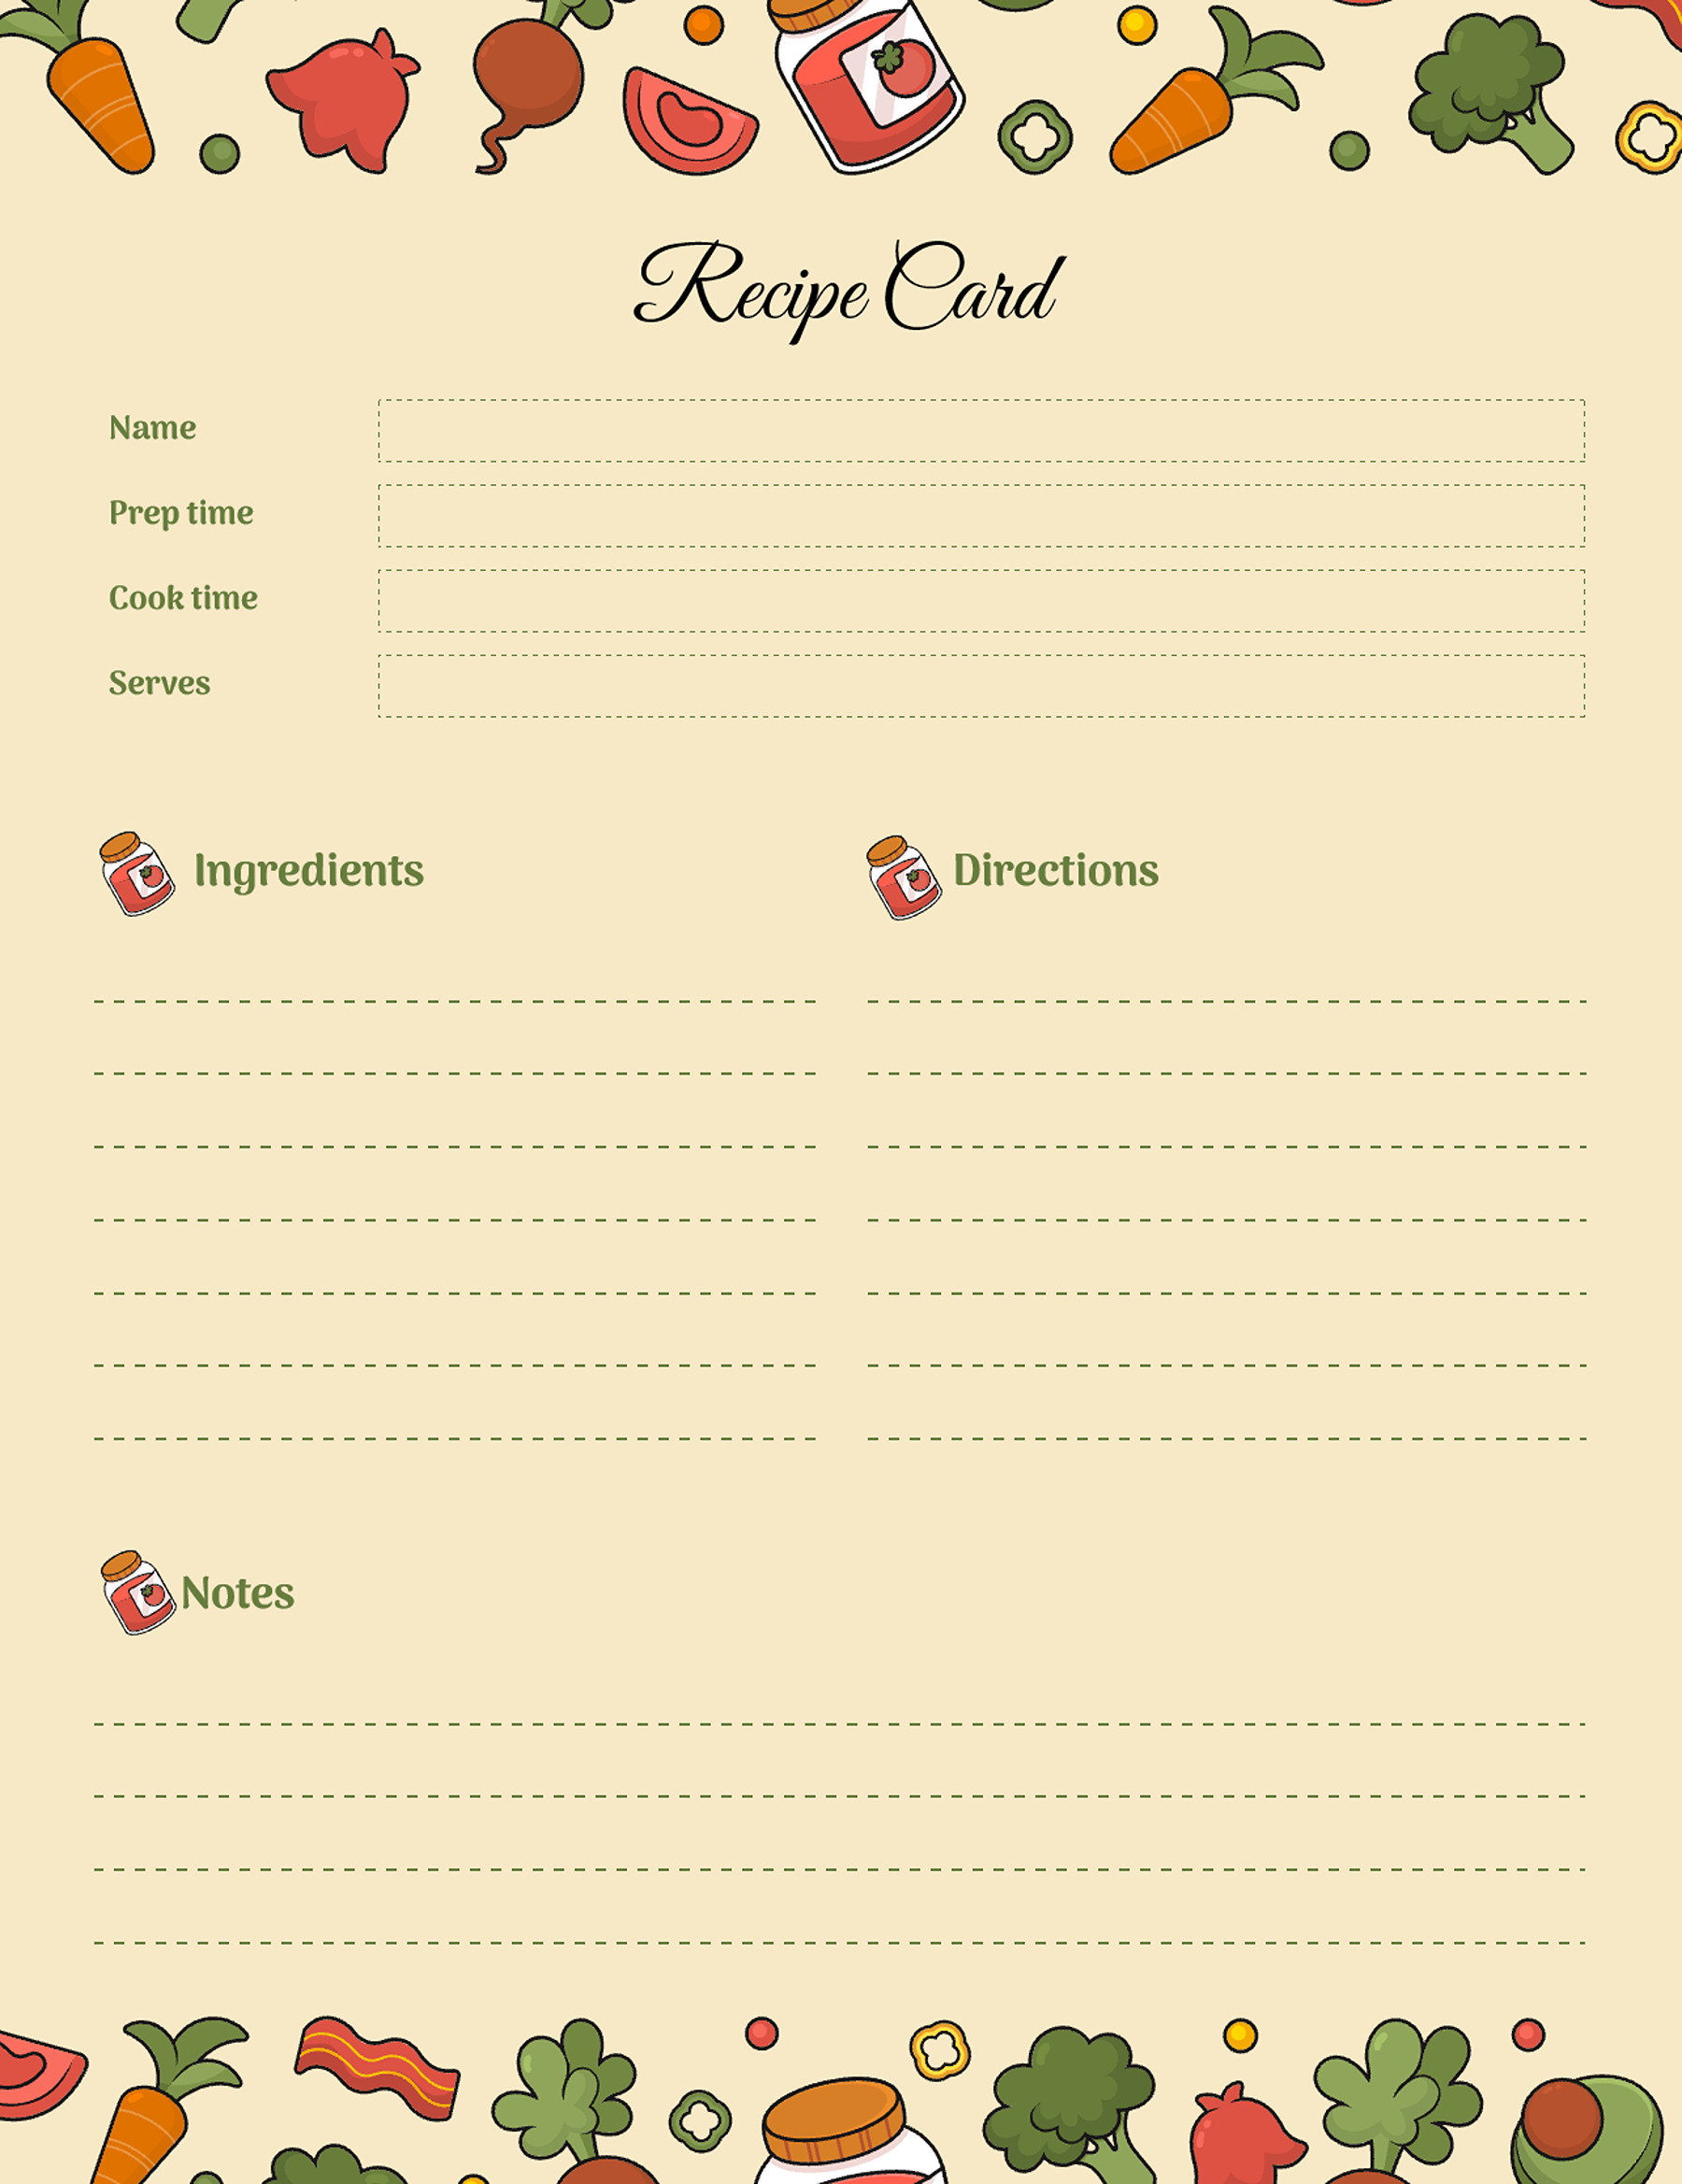
Yellow Utensils Simple Recipe
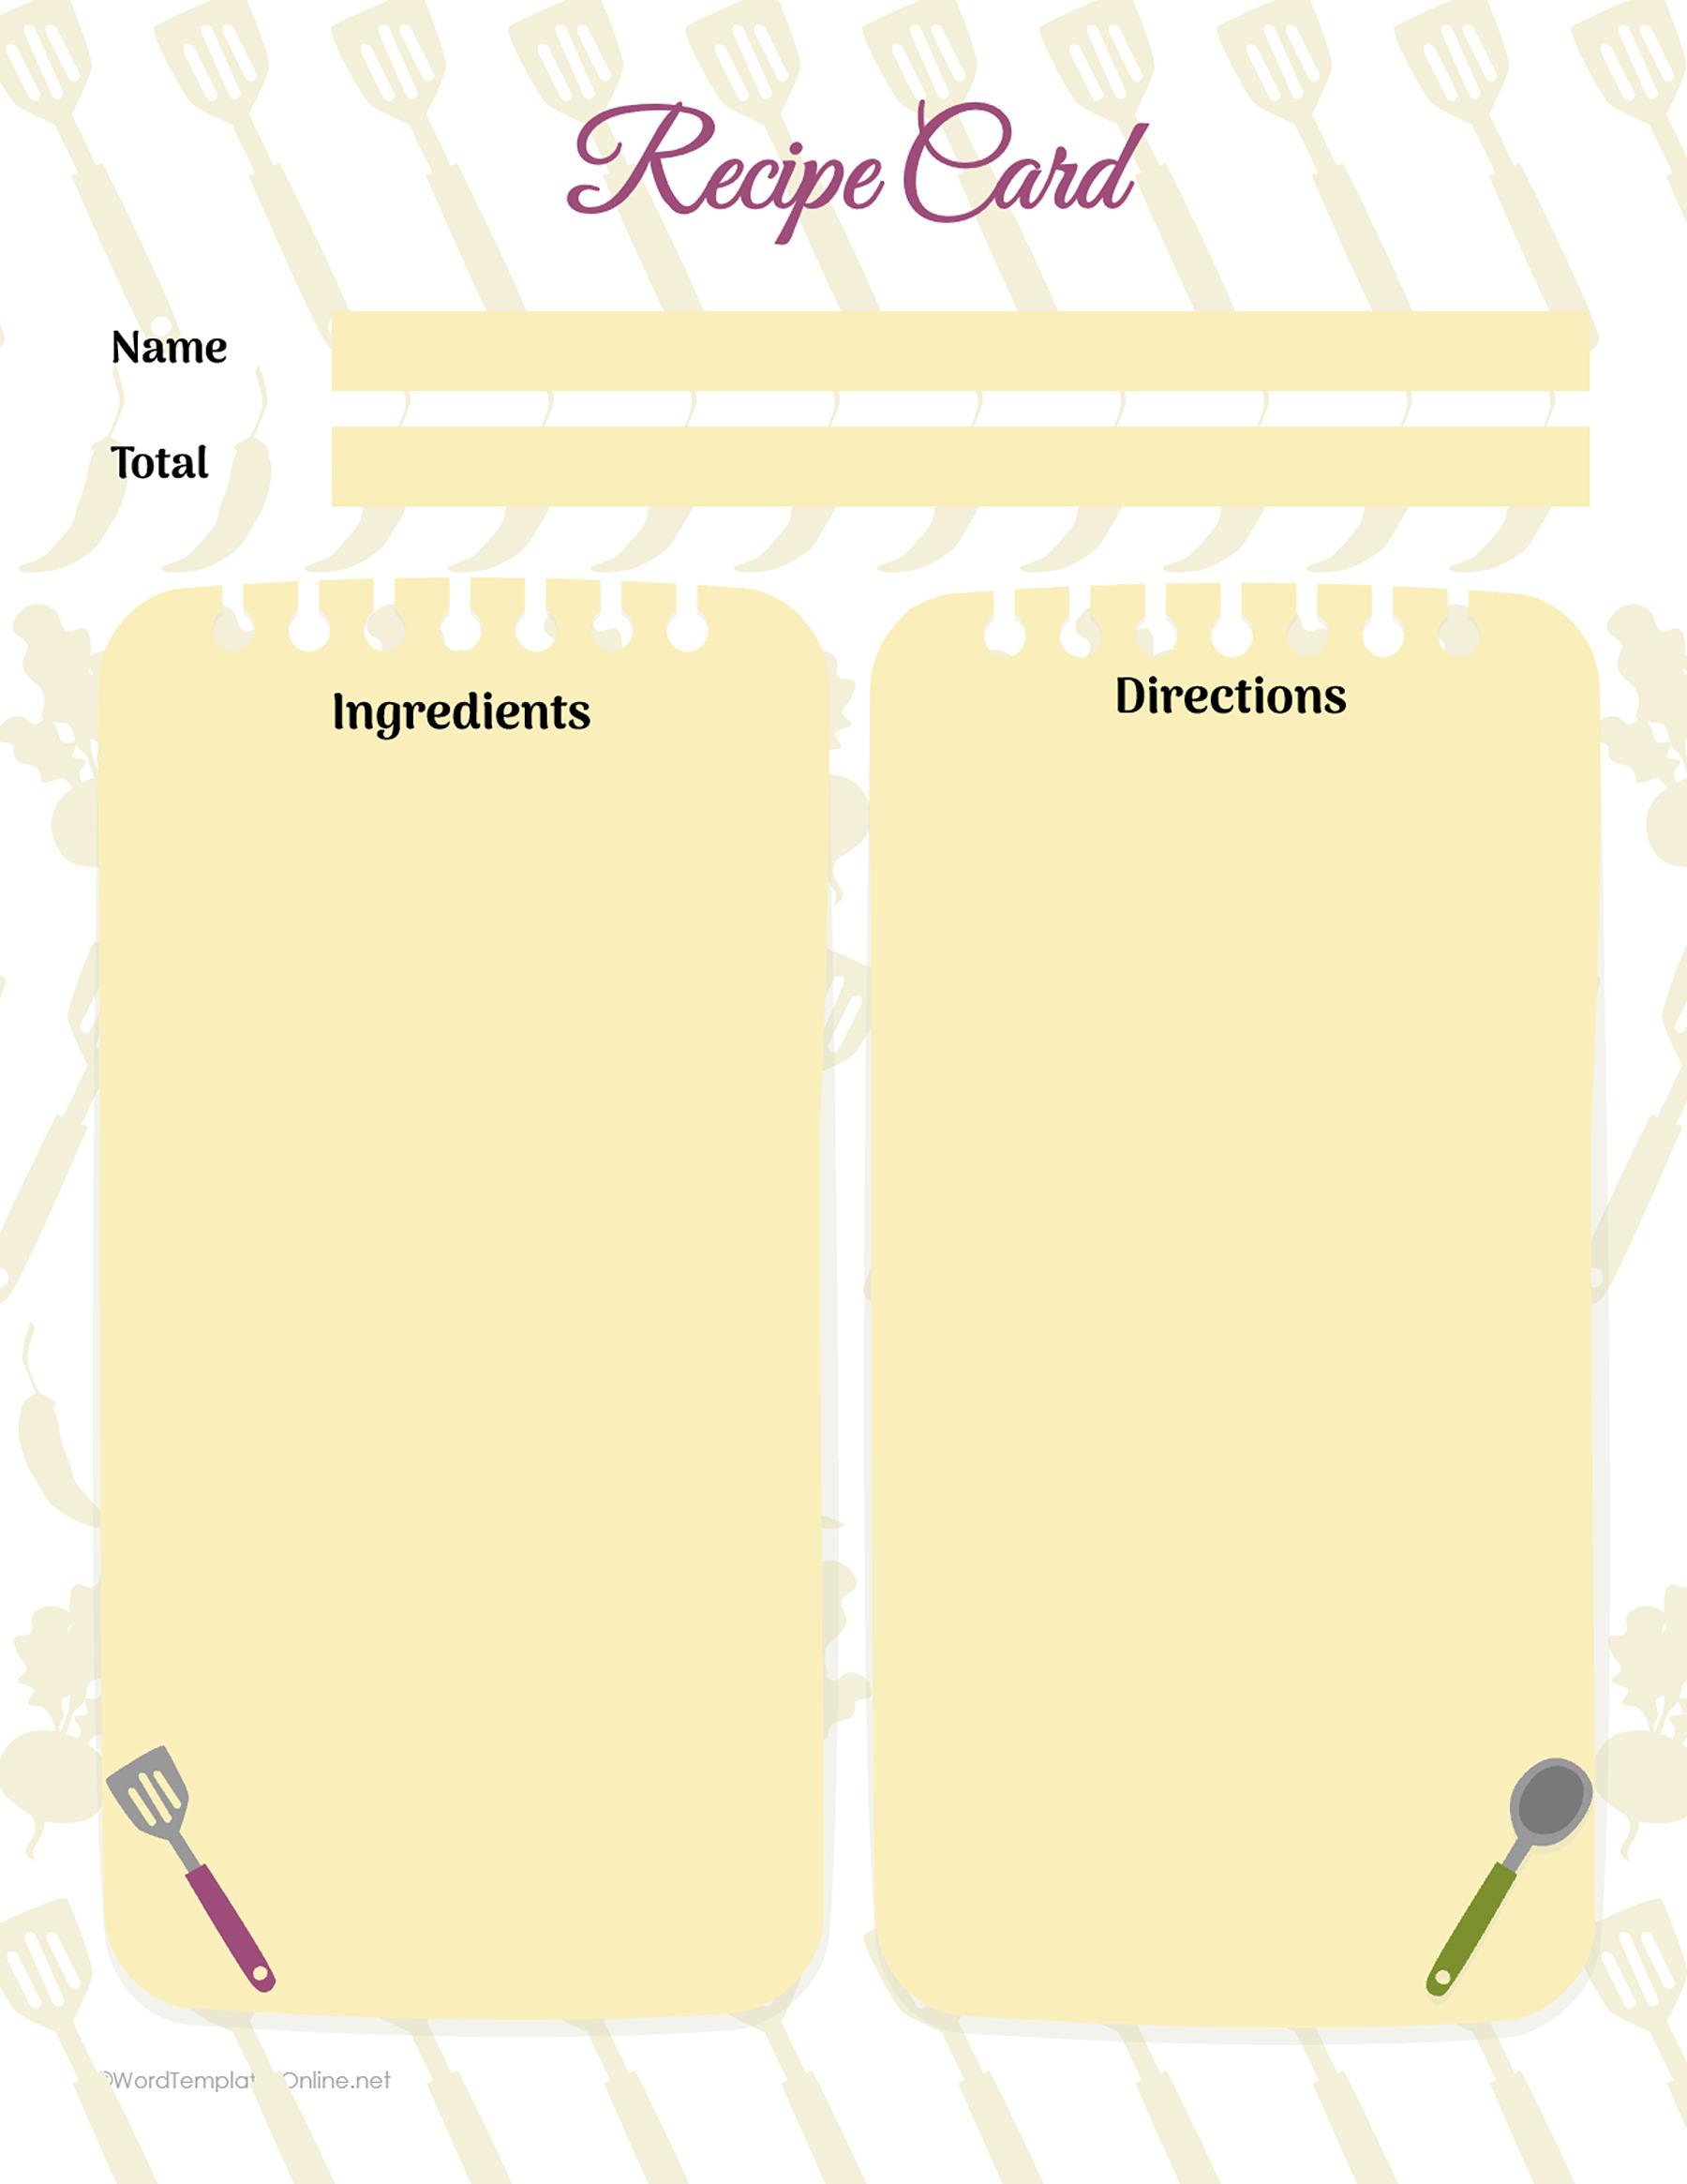
Teal Ingredients and Notes
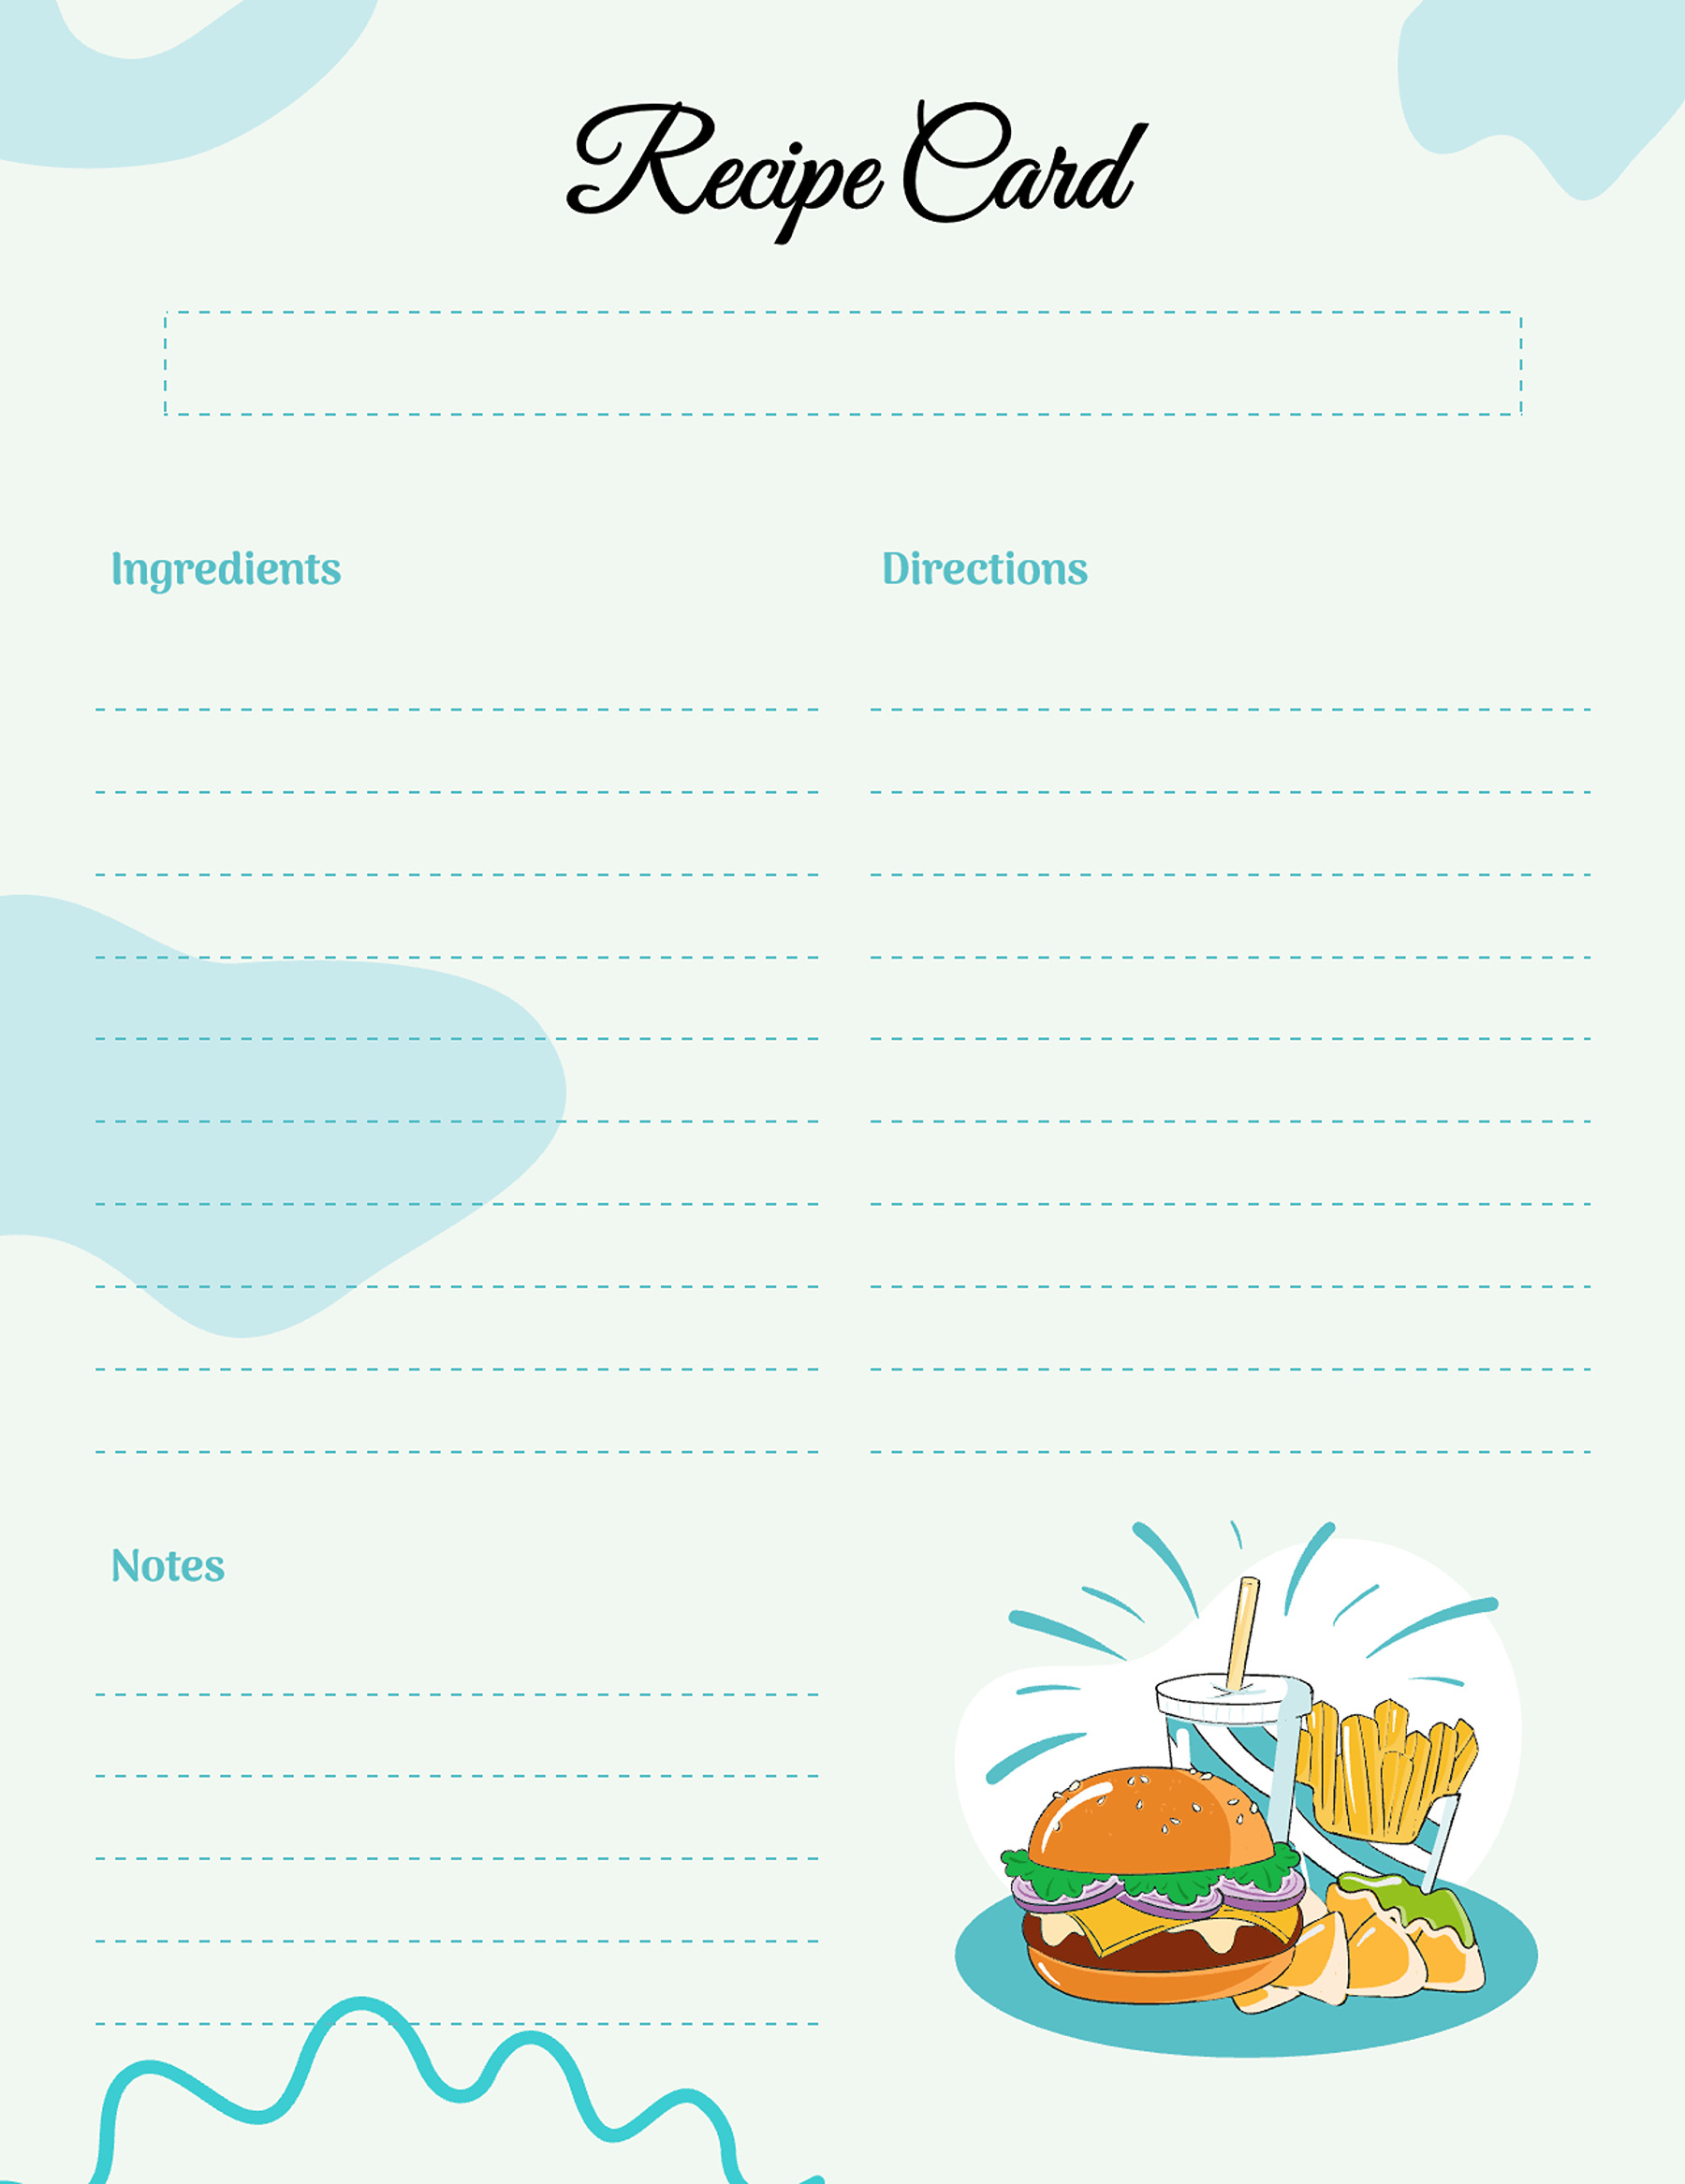
Muted Food Simple Recipe
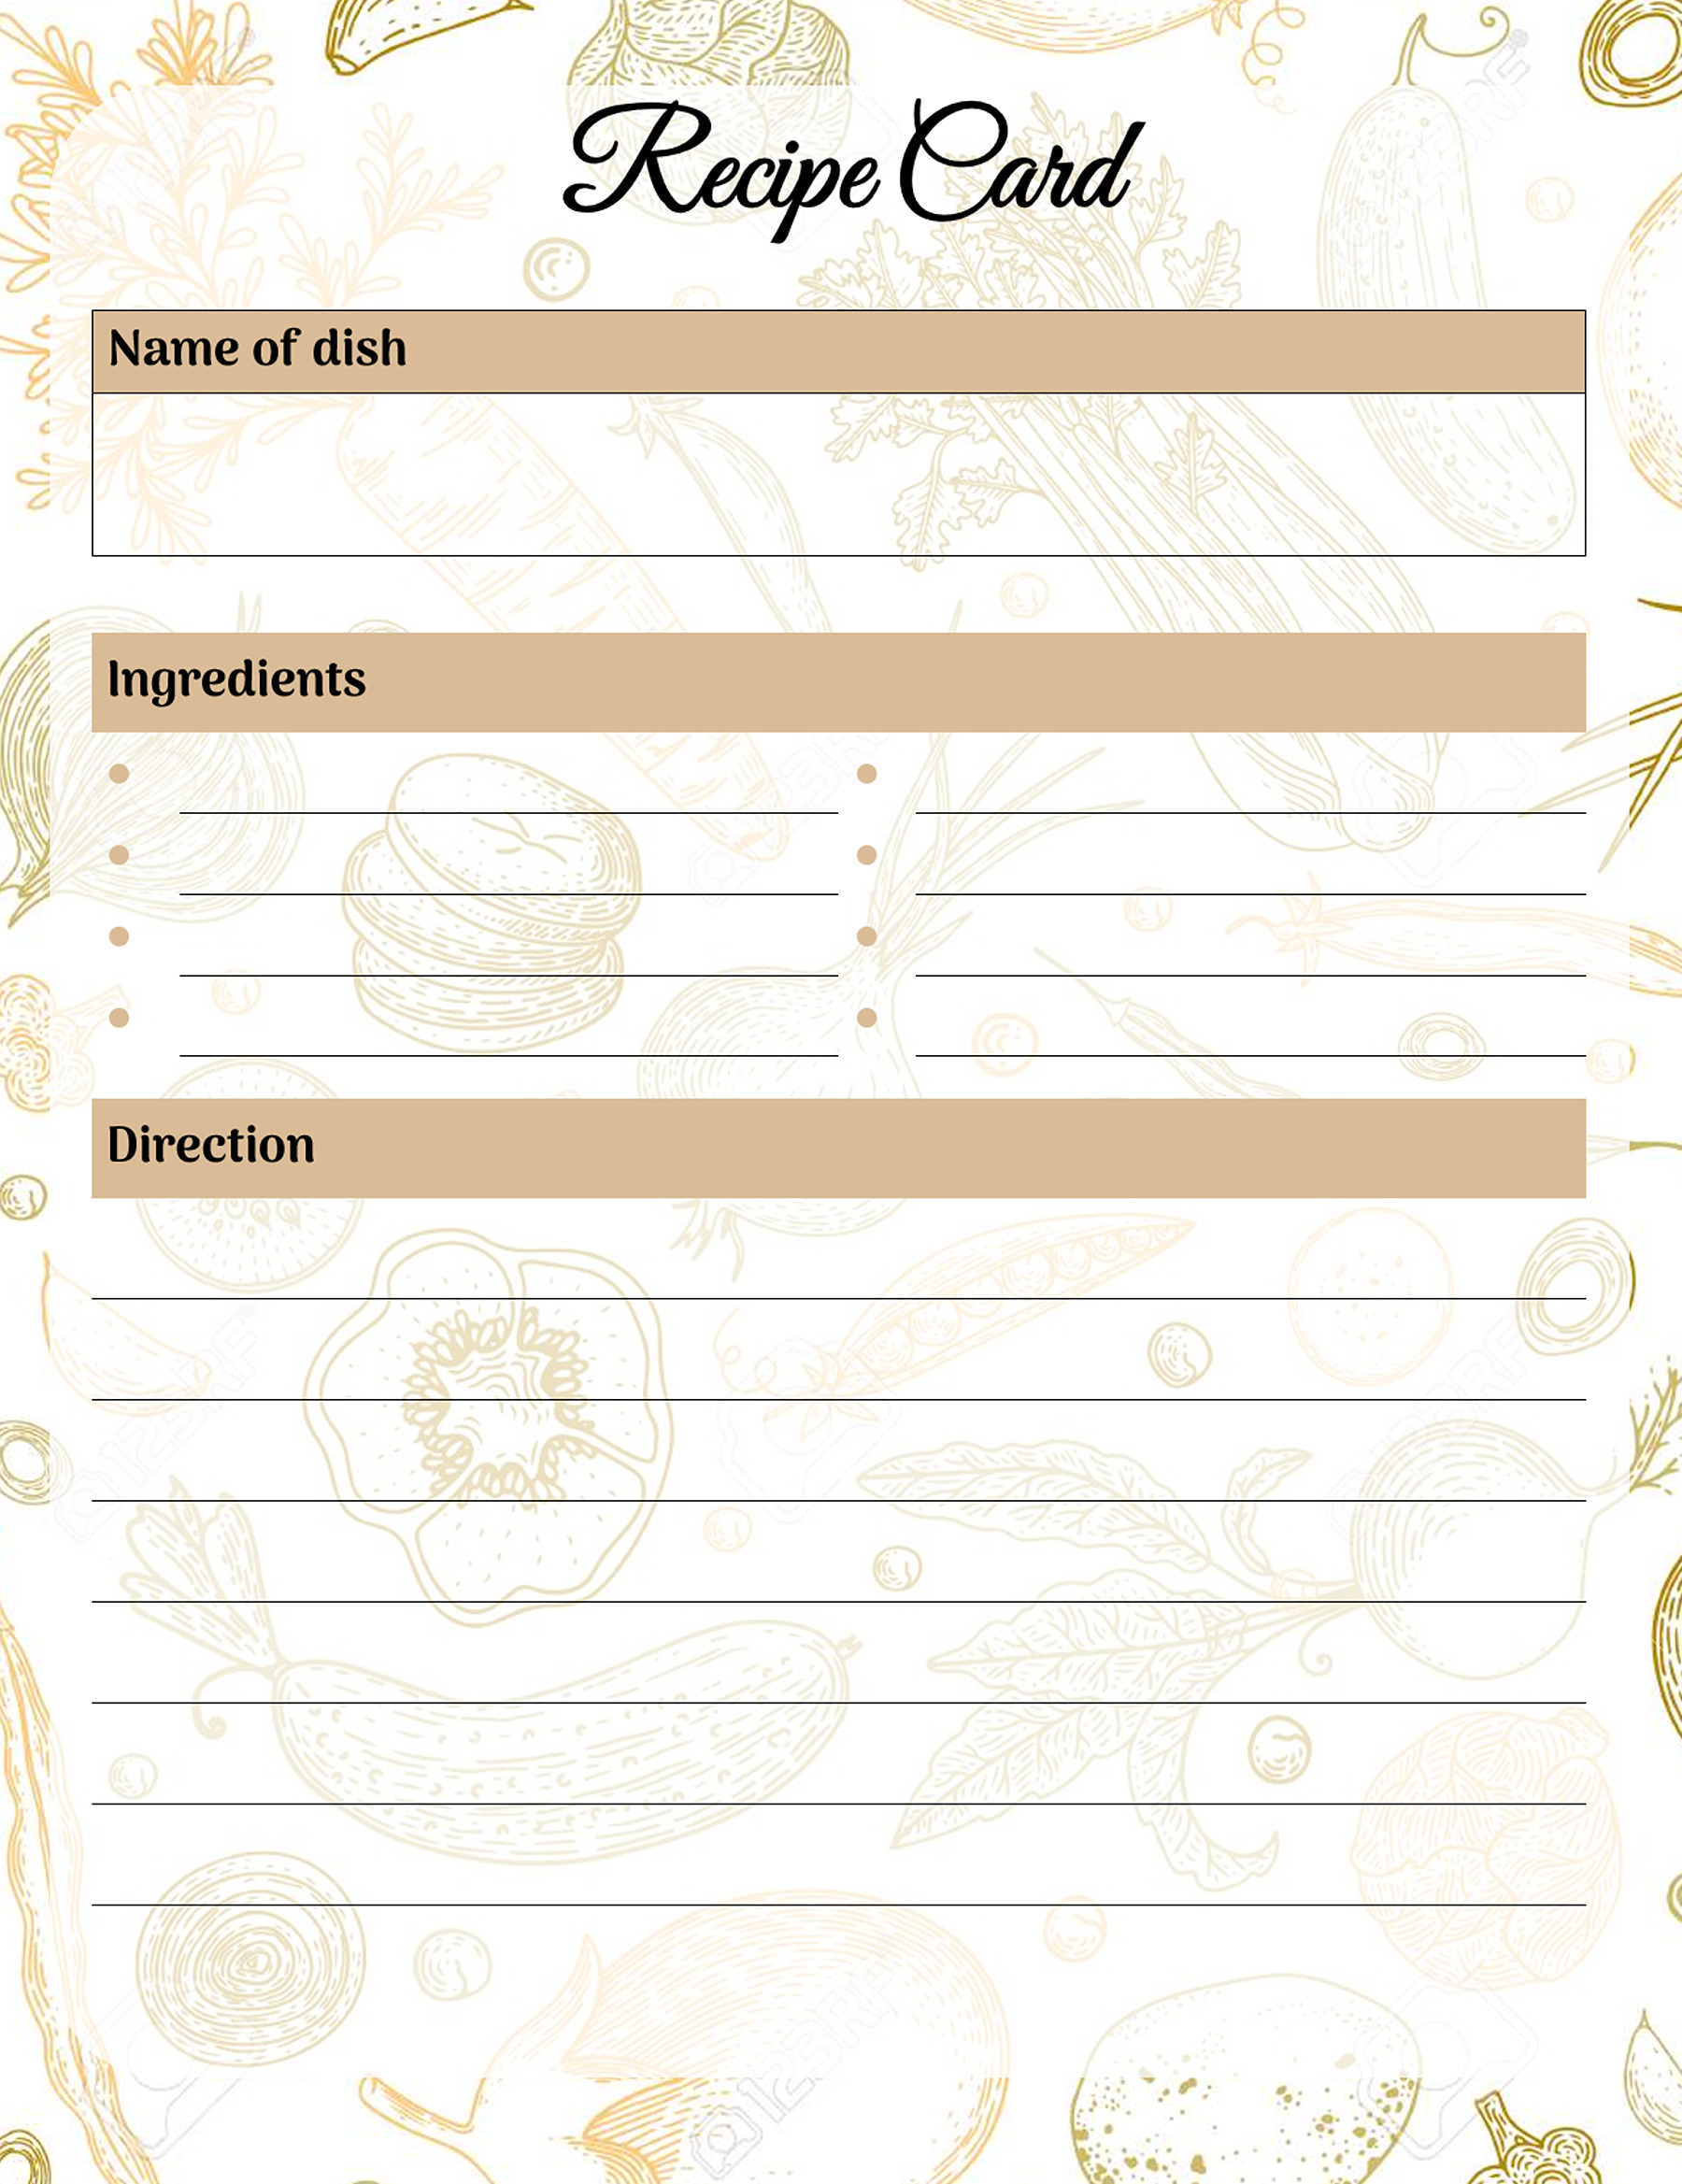
Beige Open Writing Spaces
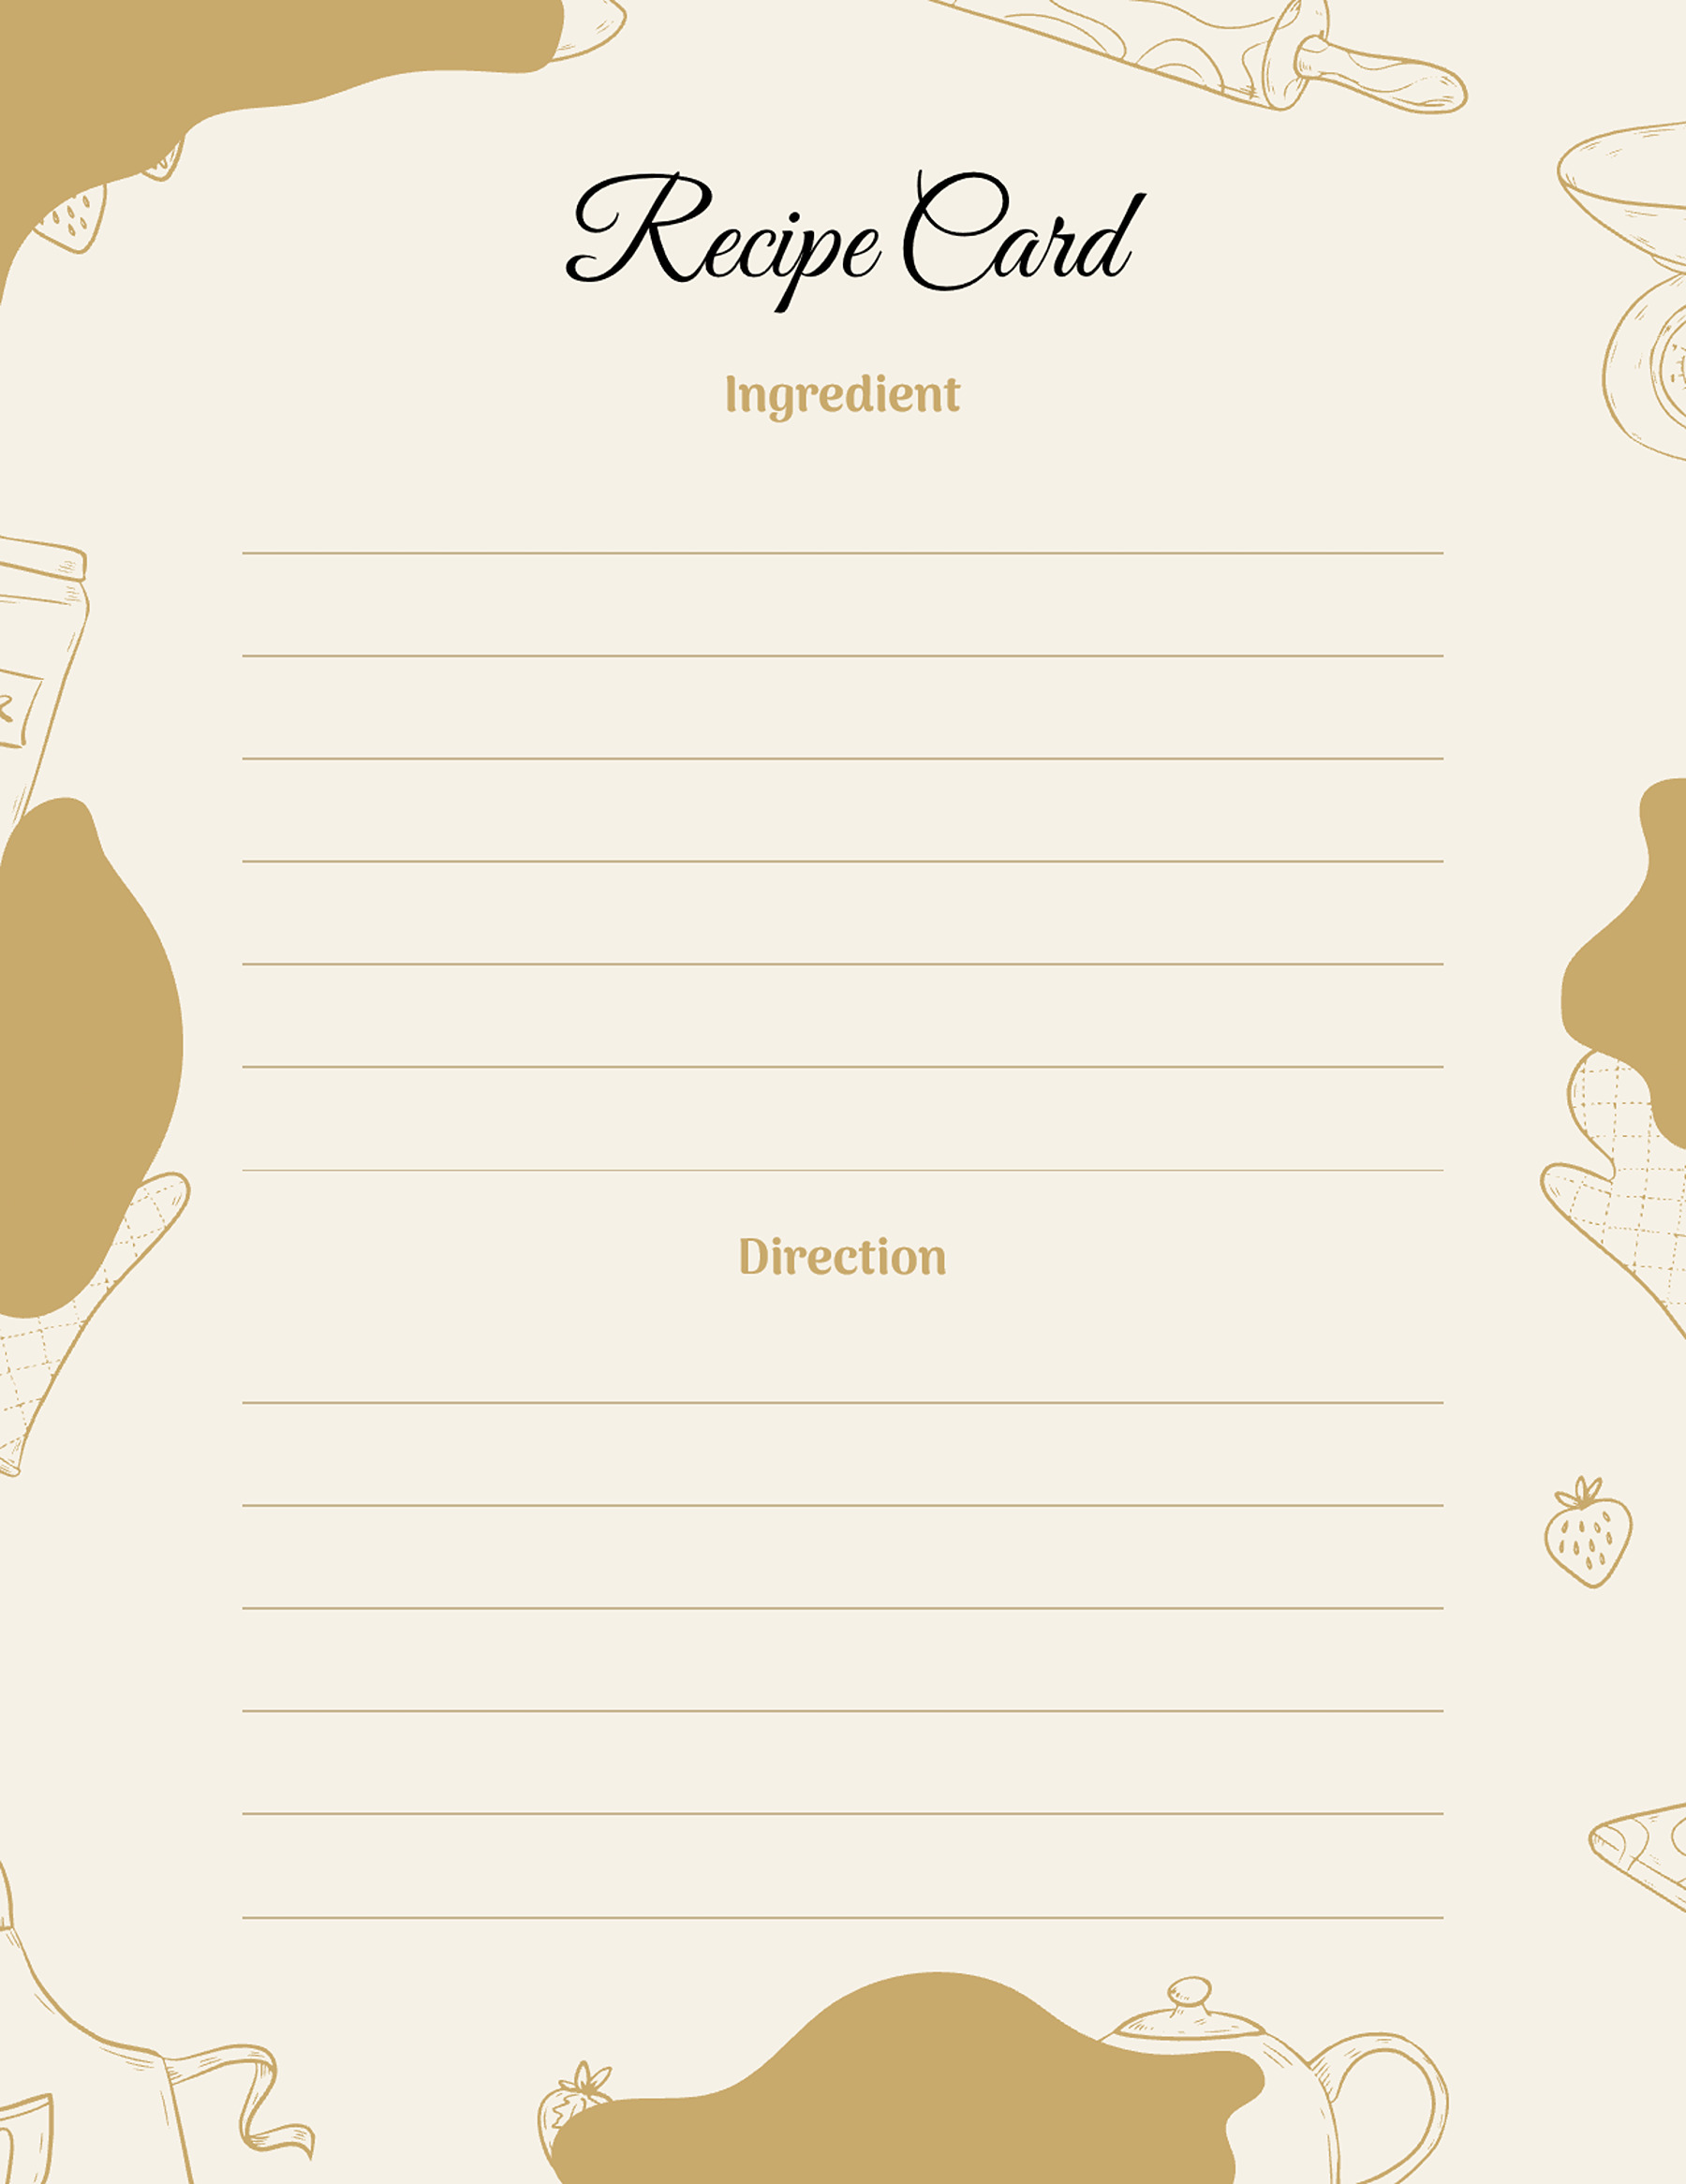
Green Pattern Everyday Recipe
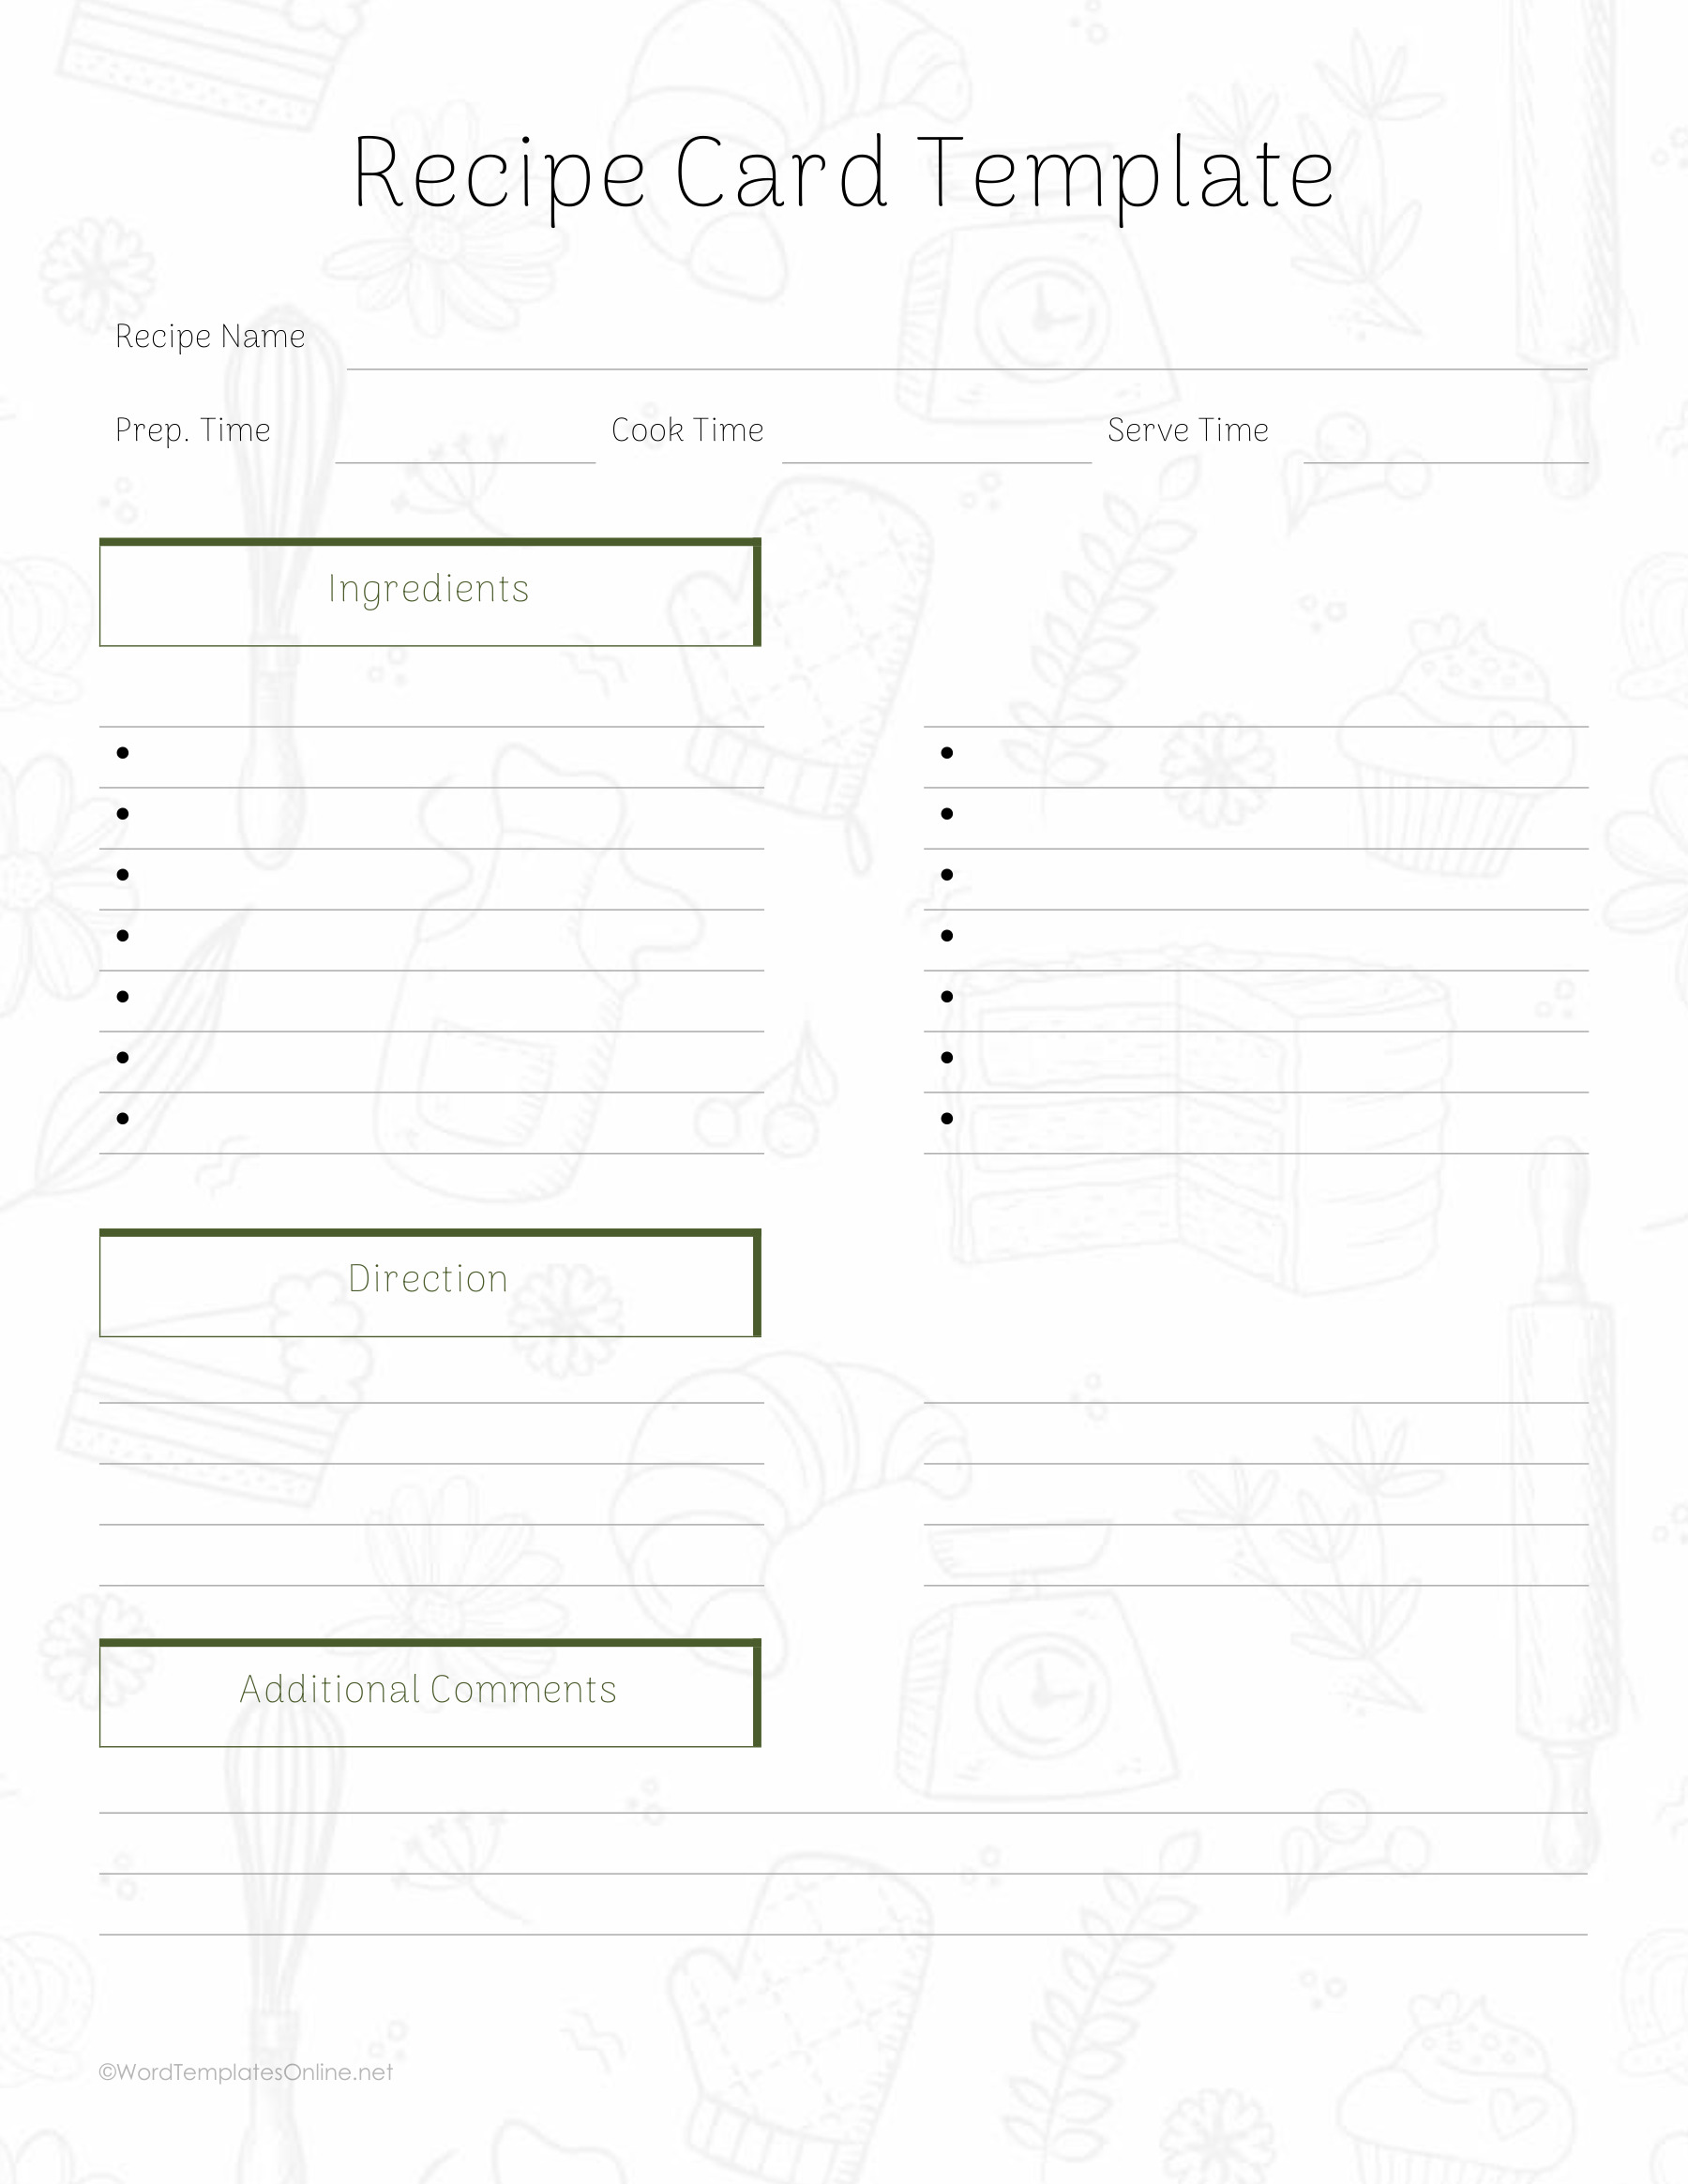
Food Plate Stacked Recipe
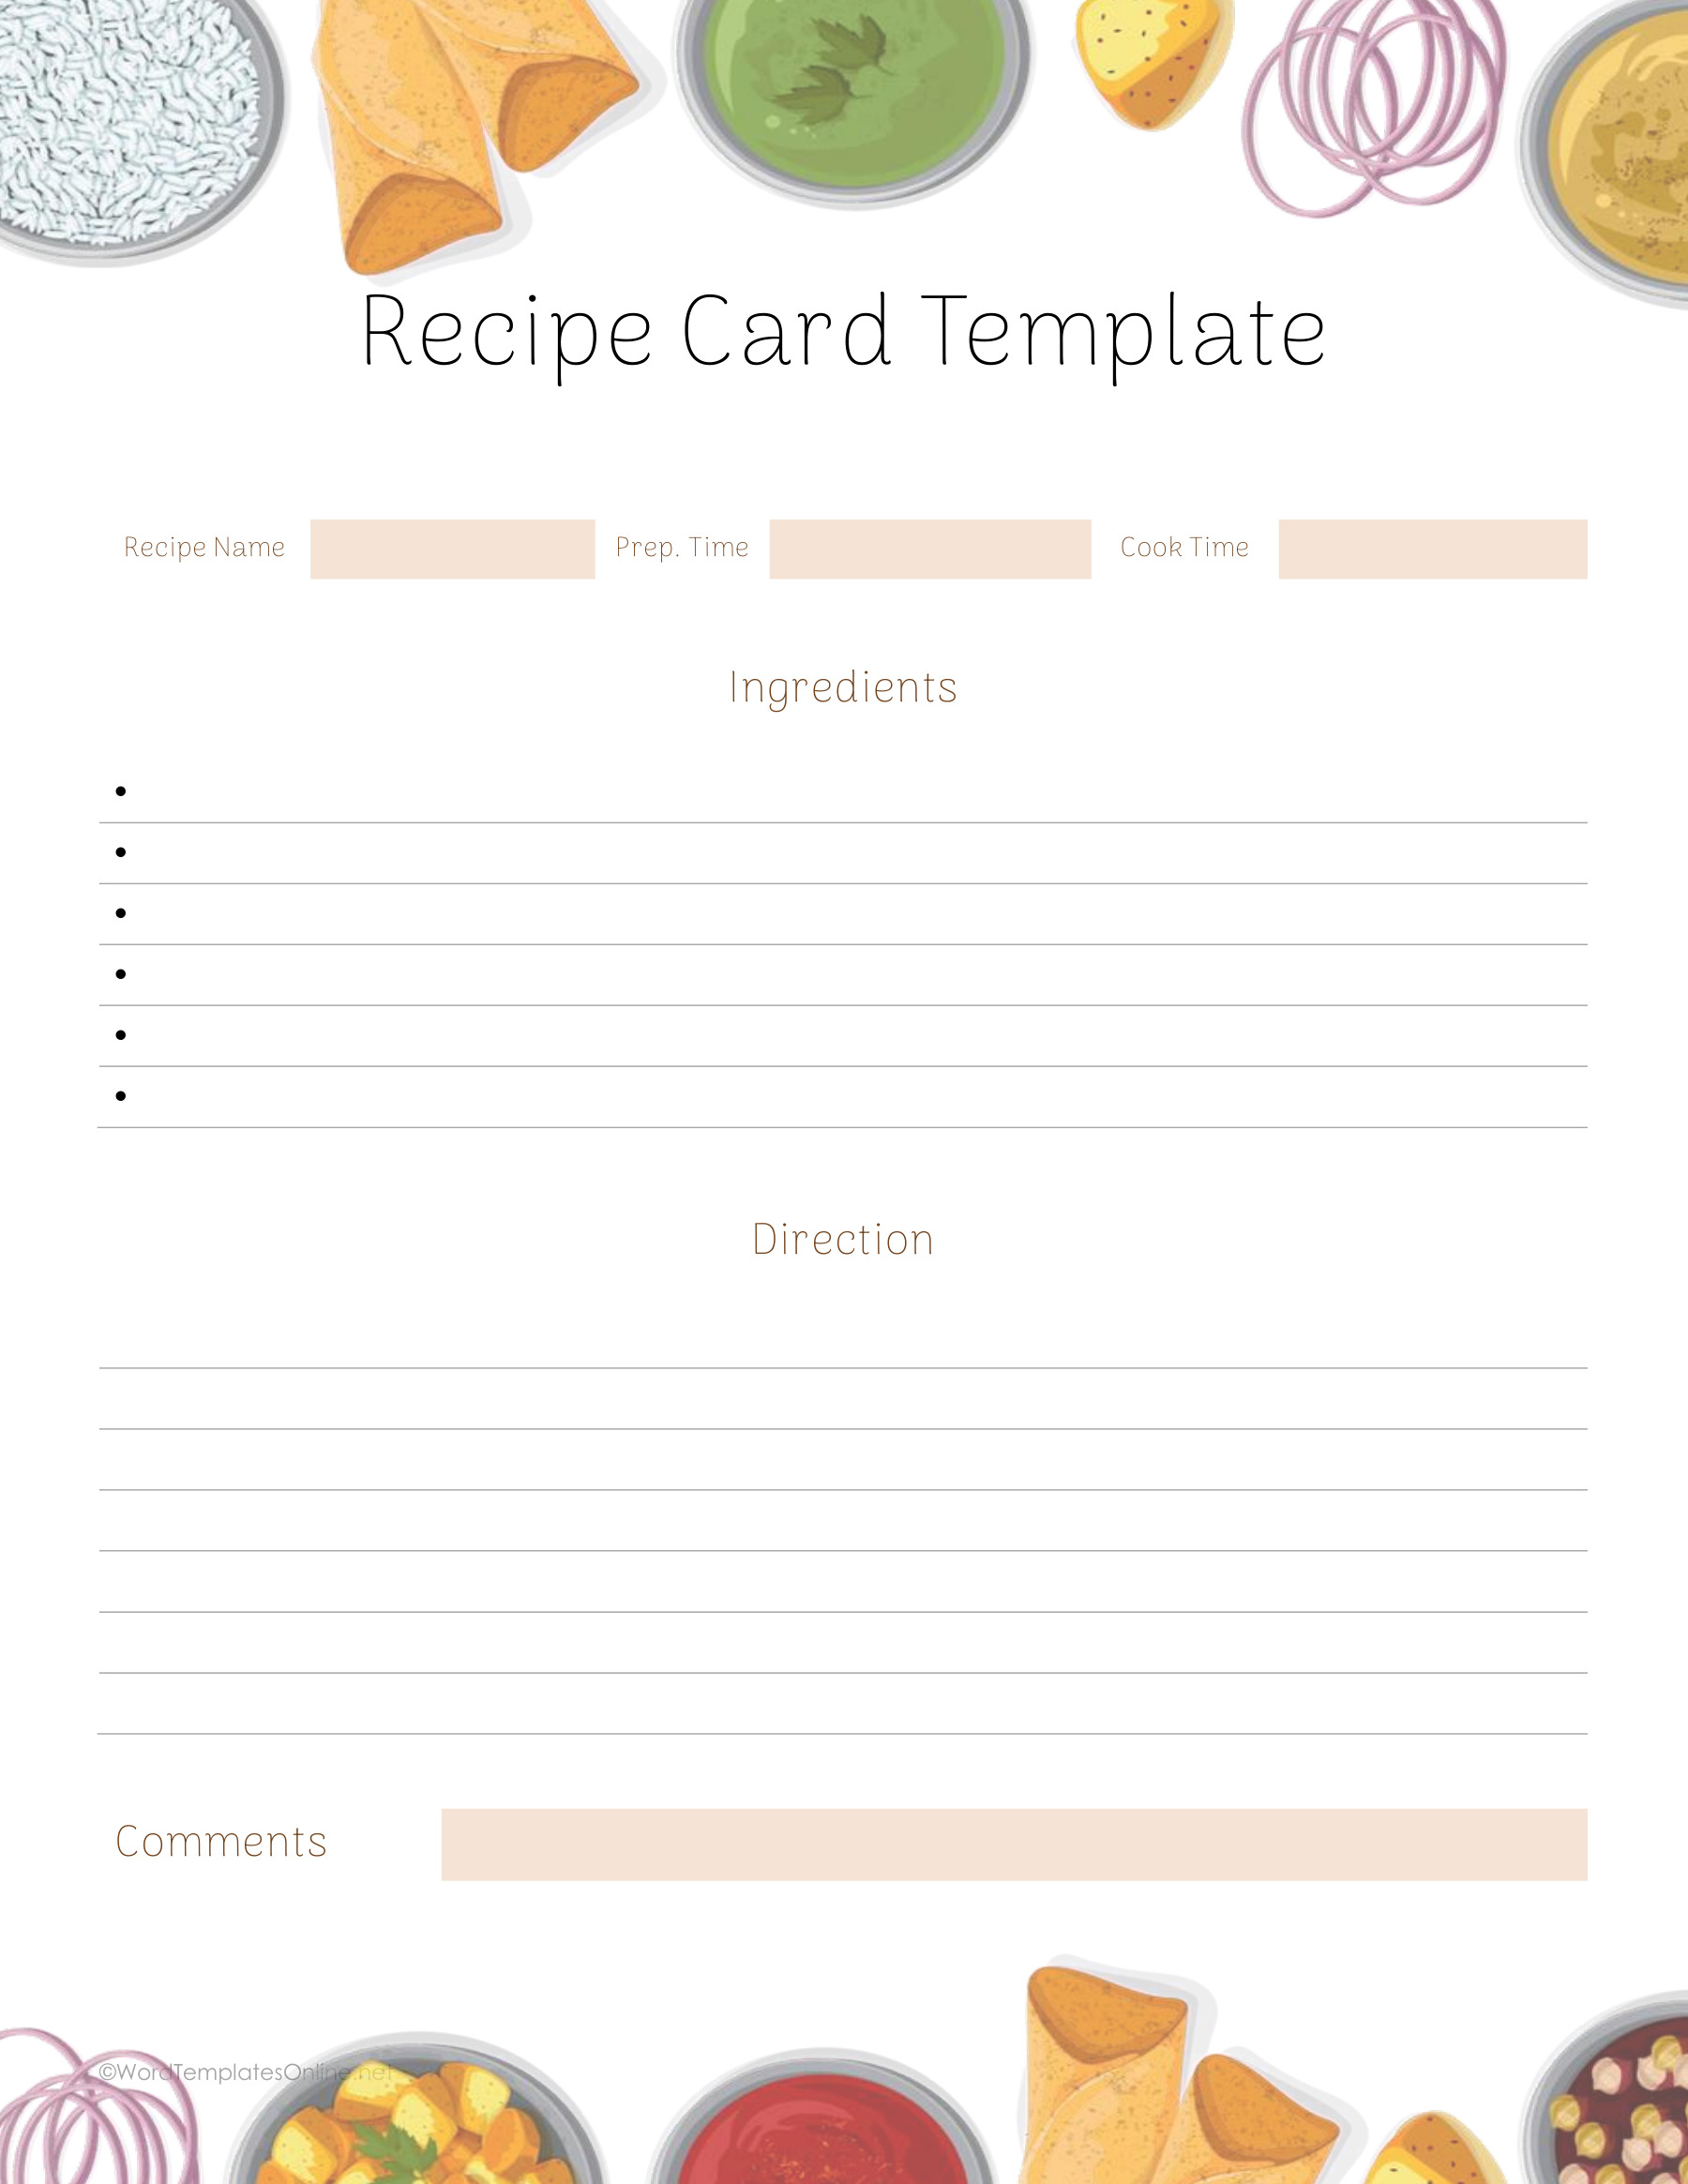
Pale Food with Recipe Category
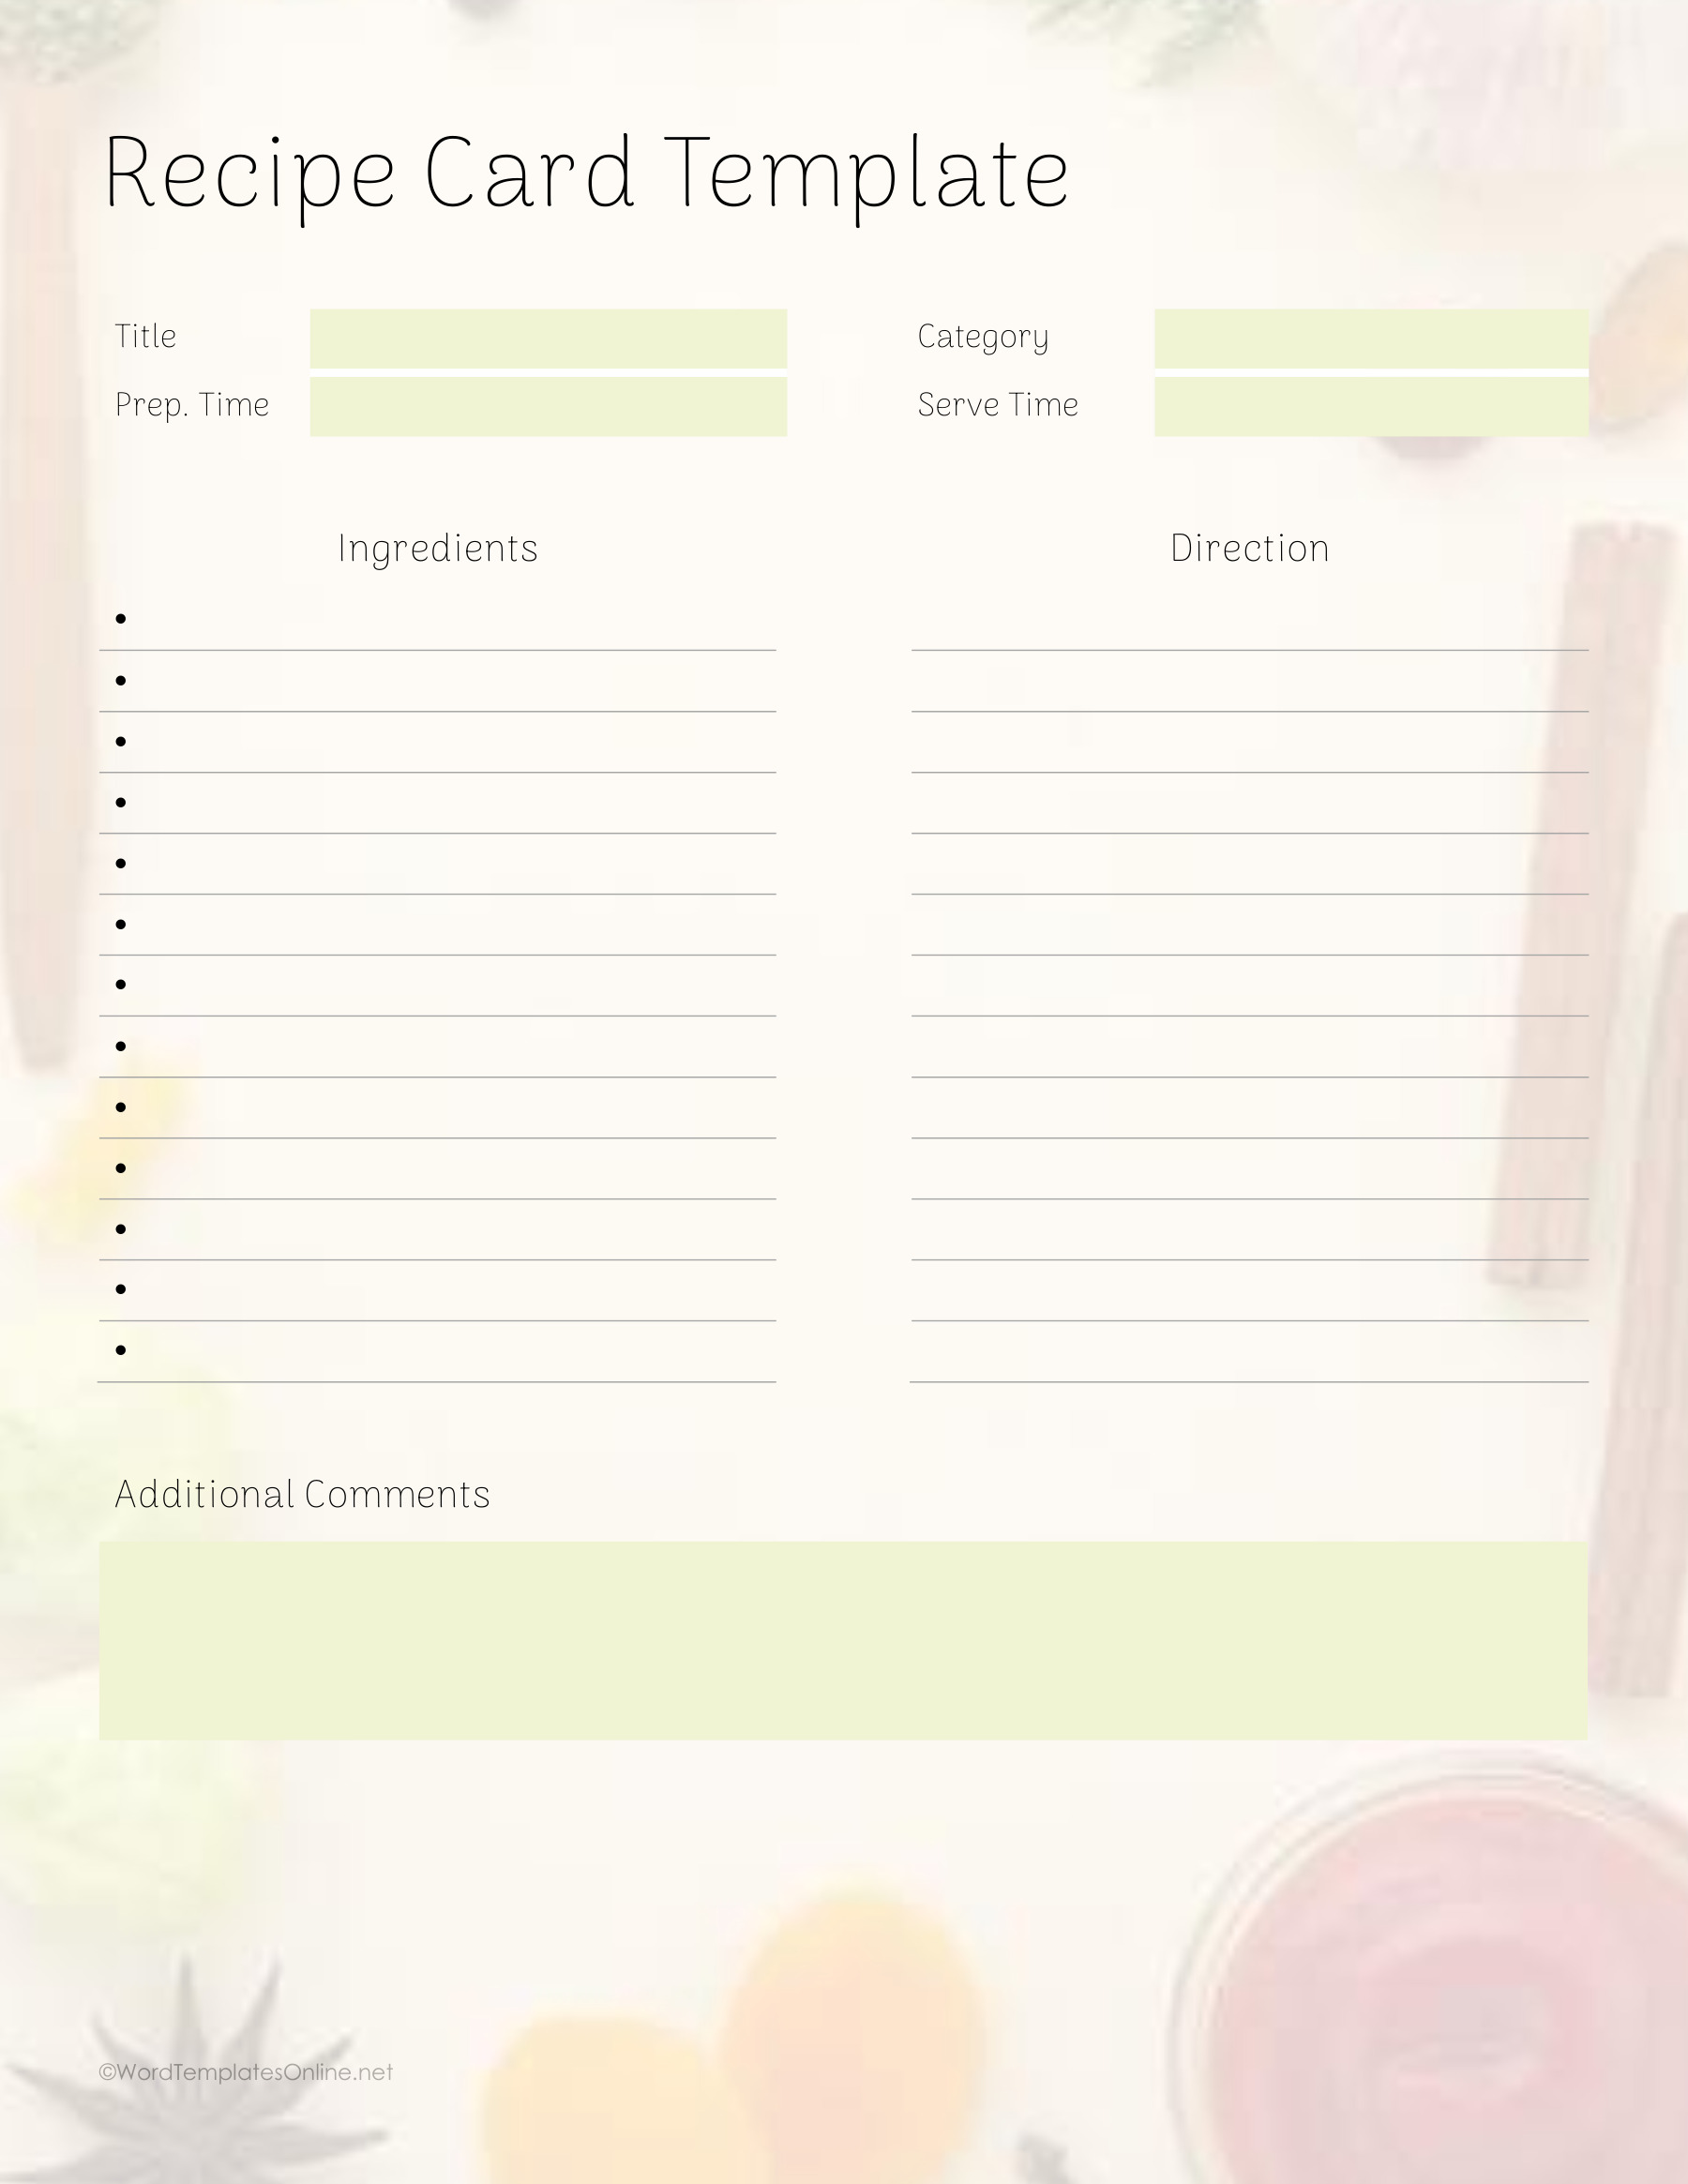
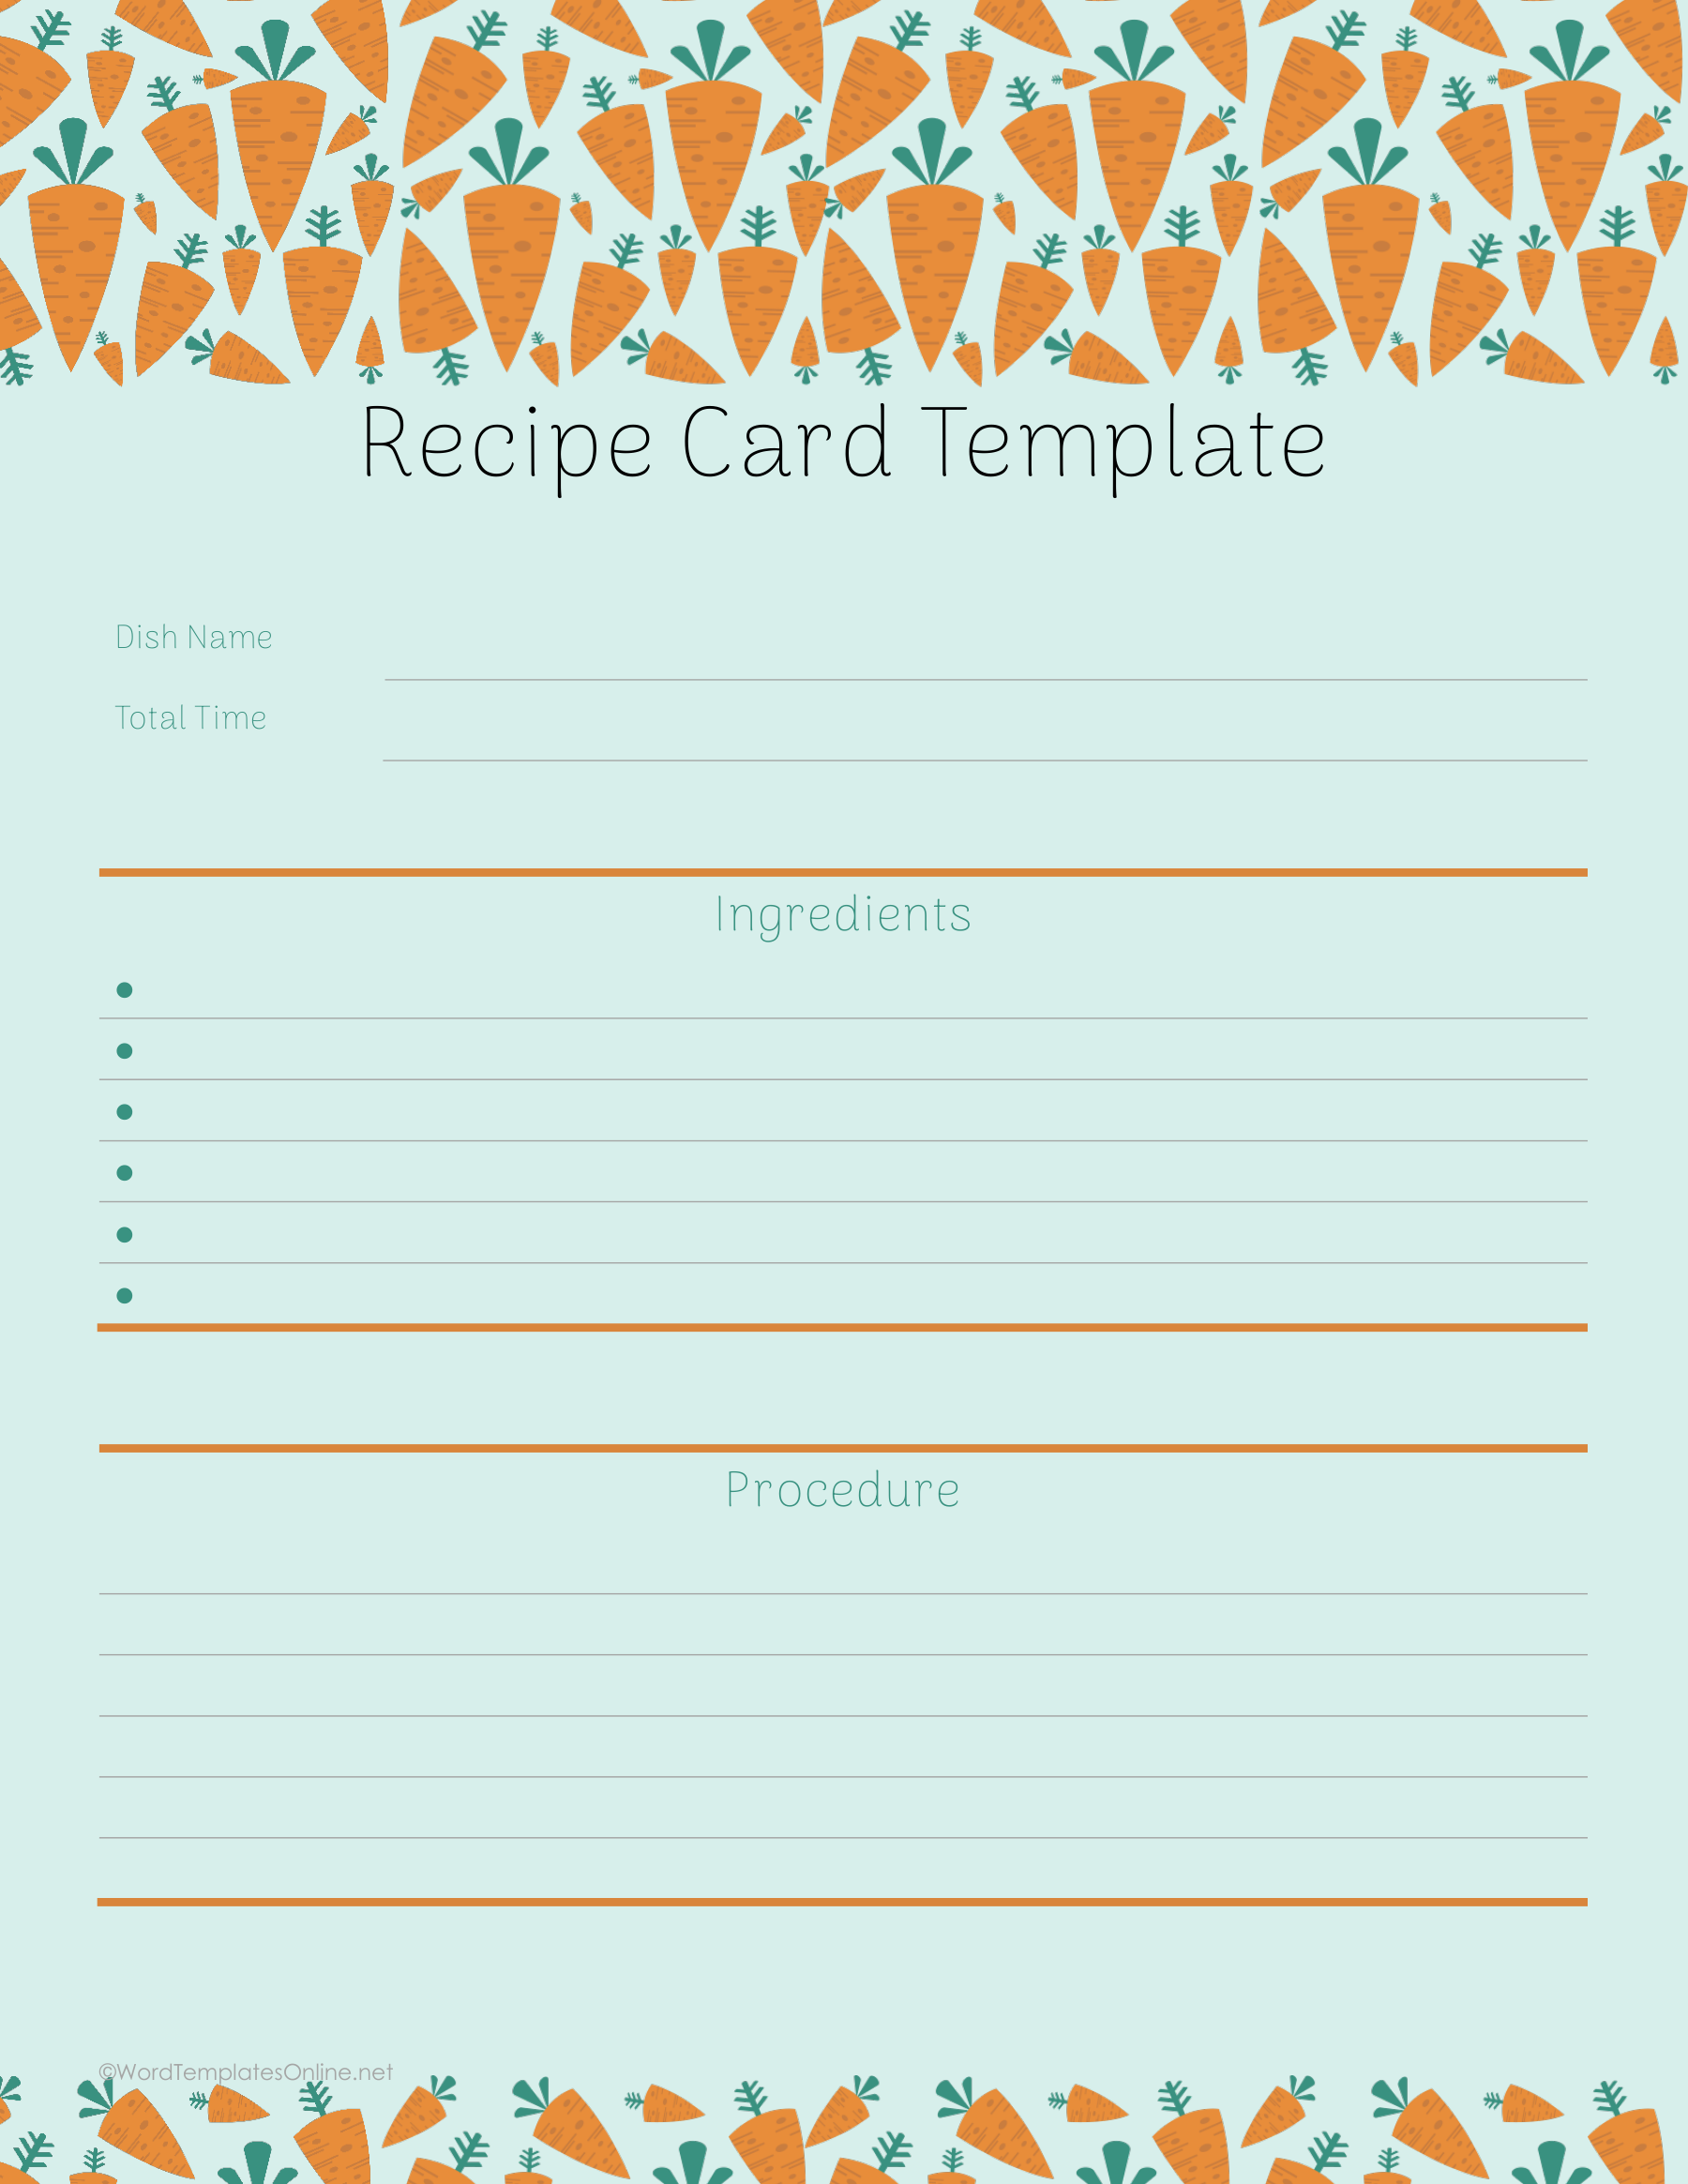
Aqua Carrots with Total Time
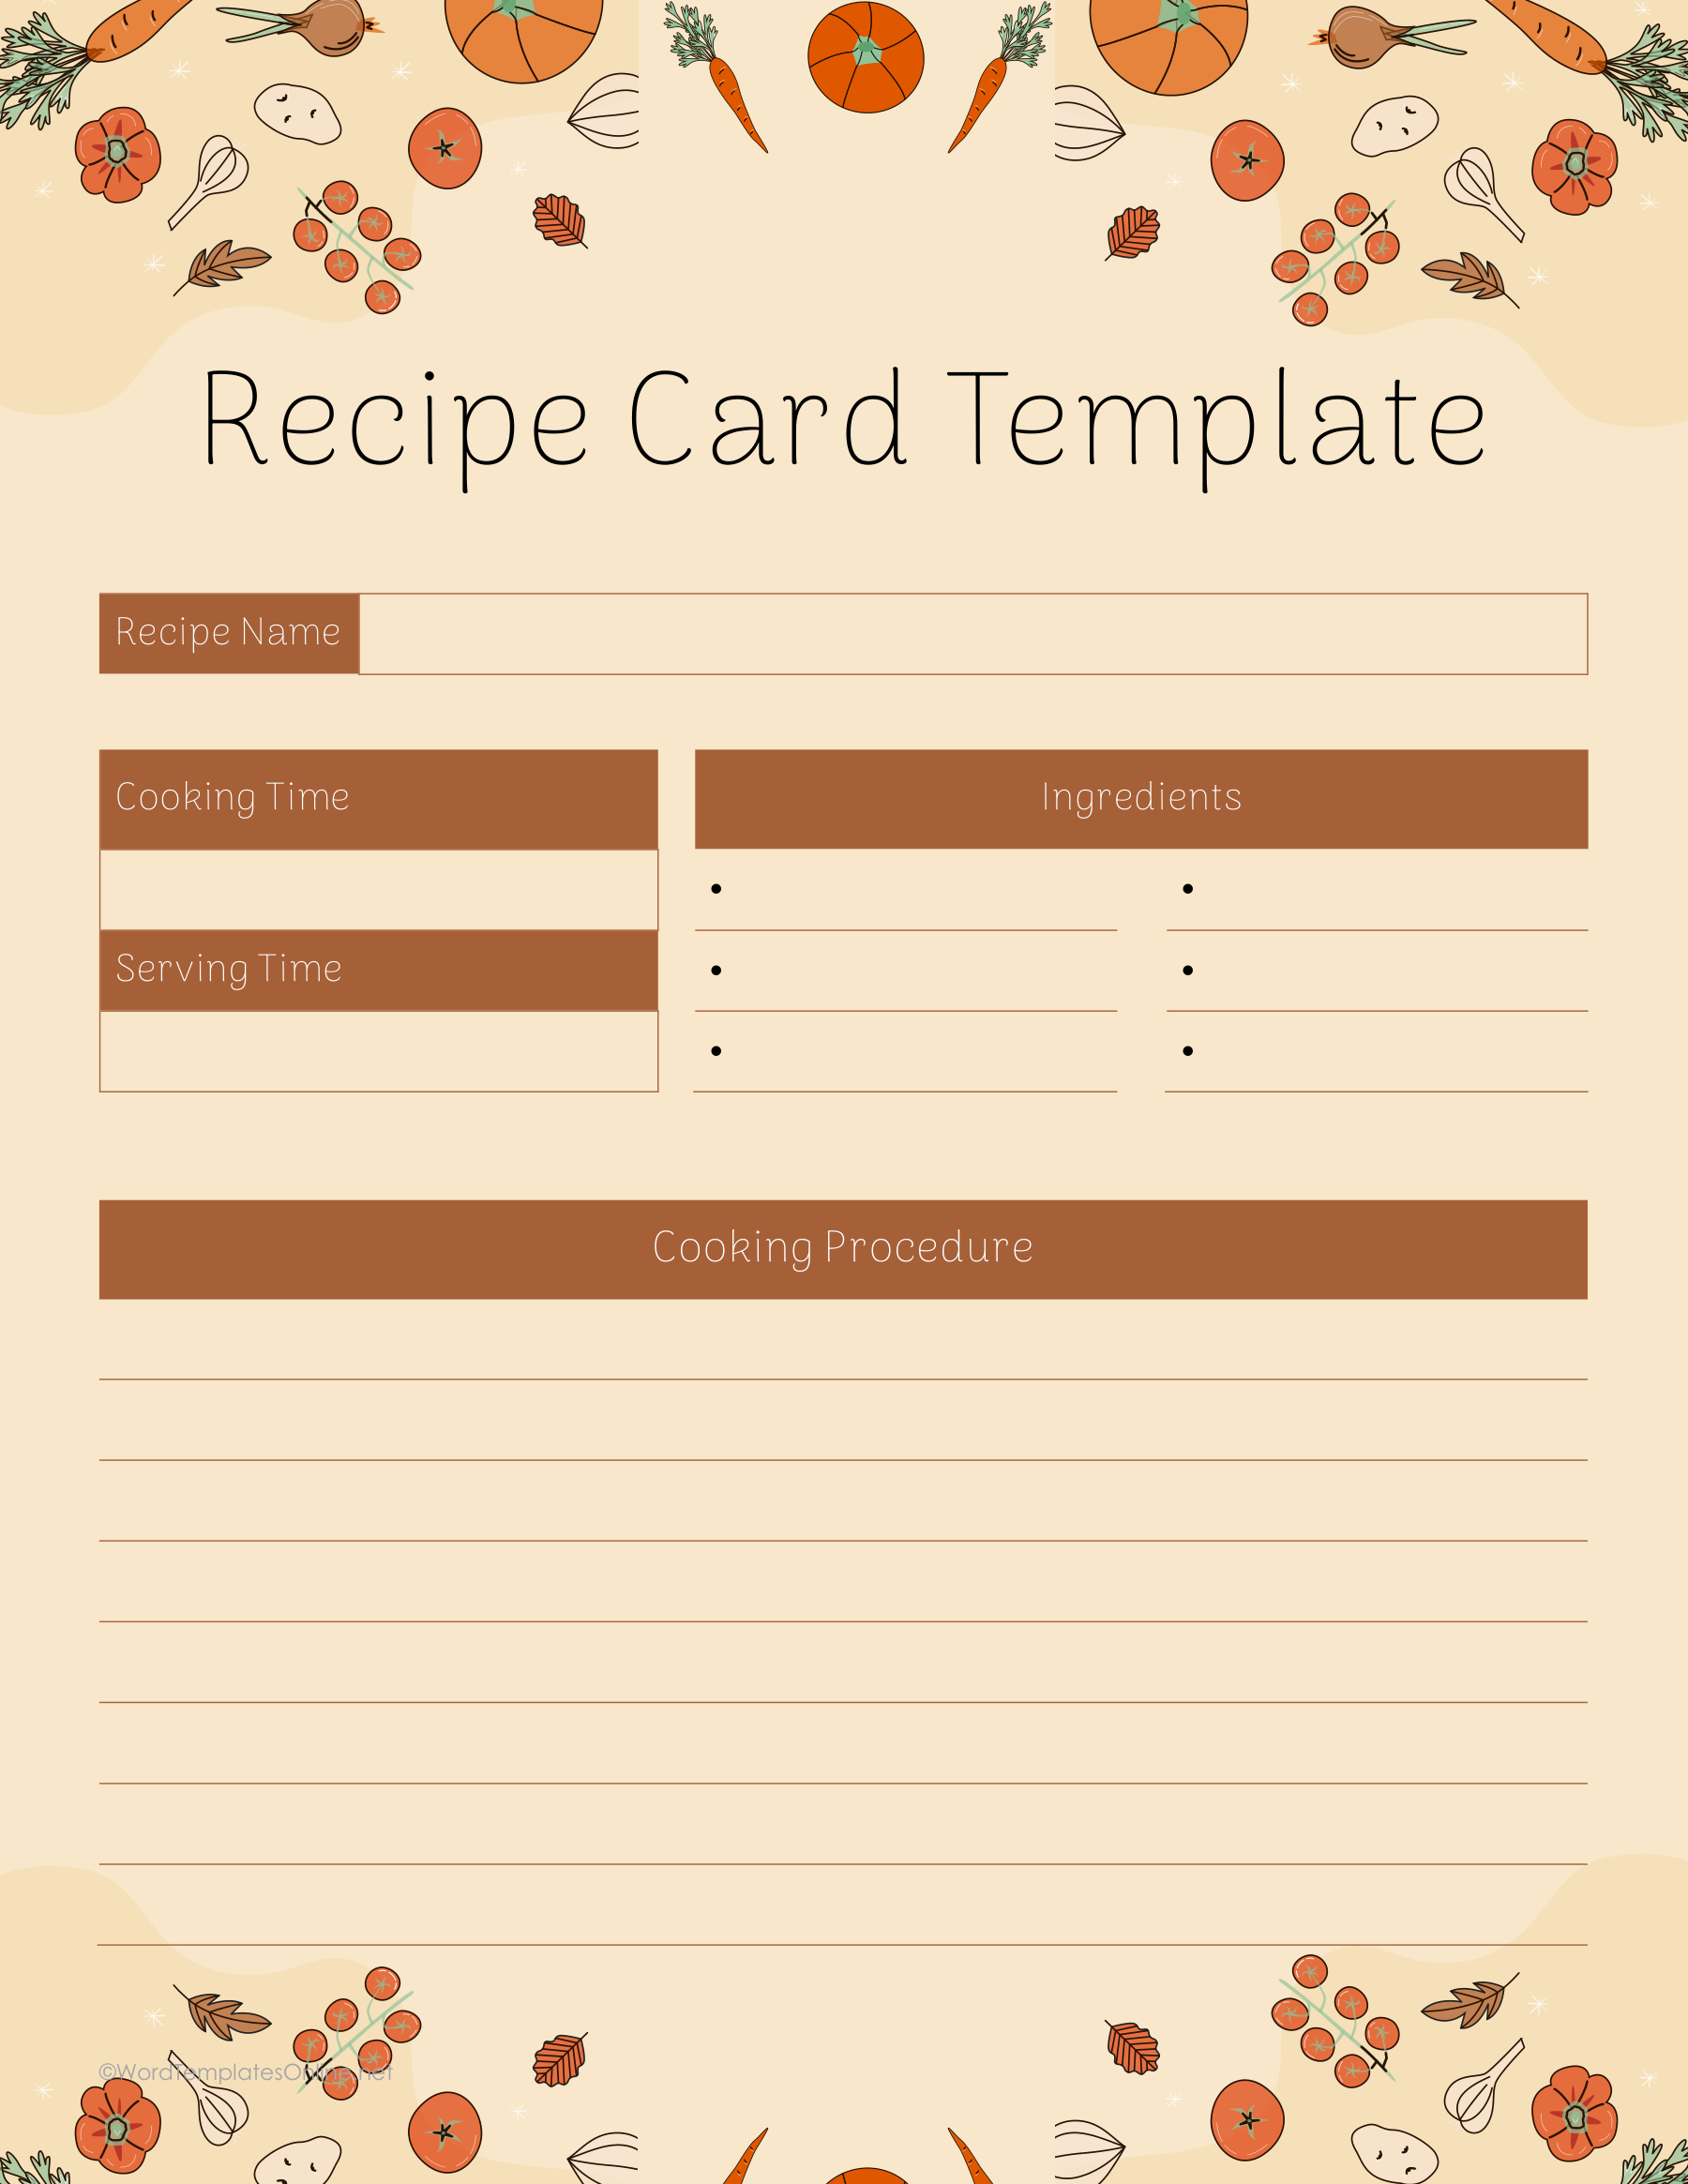
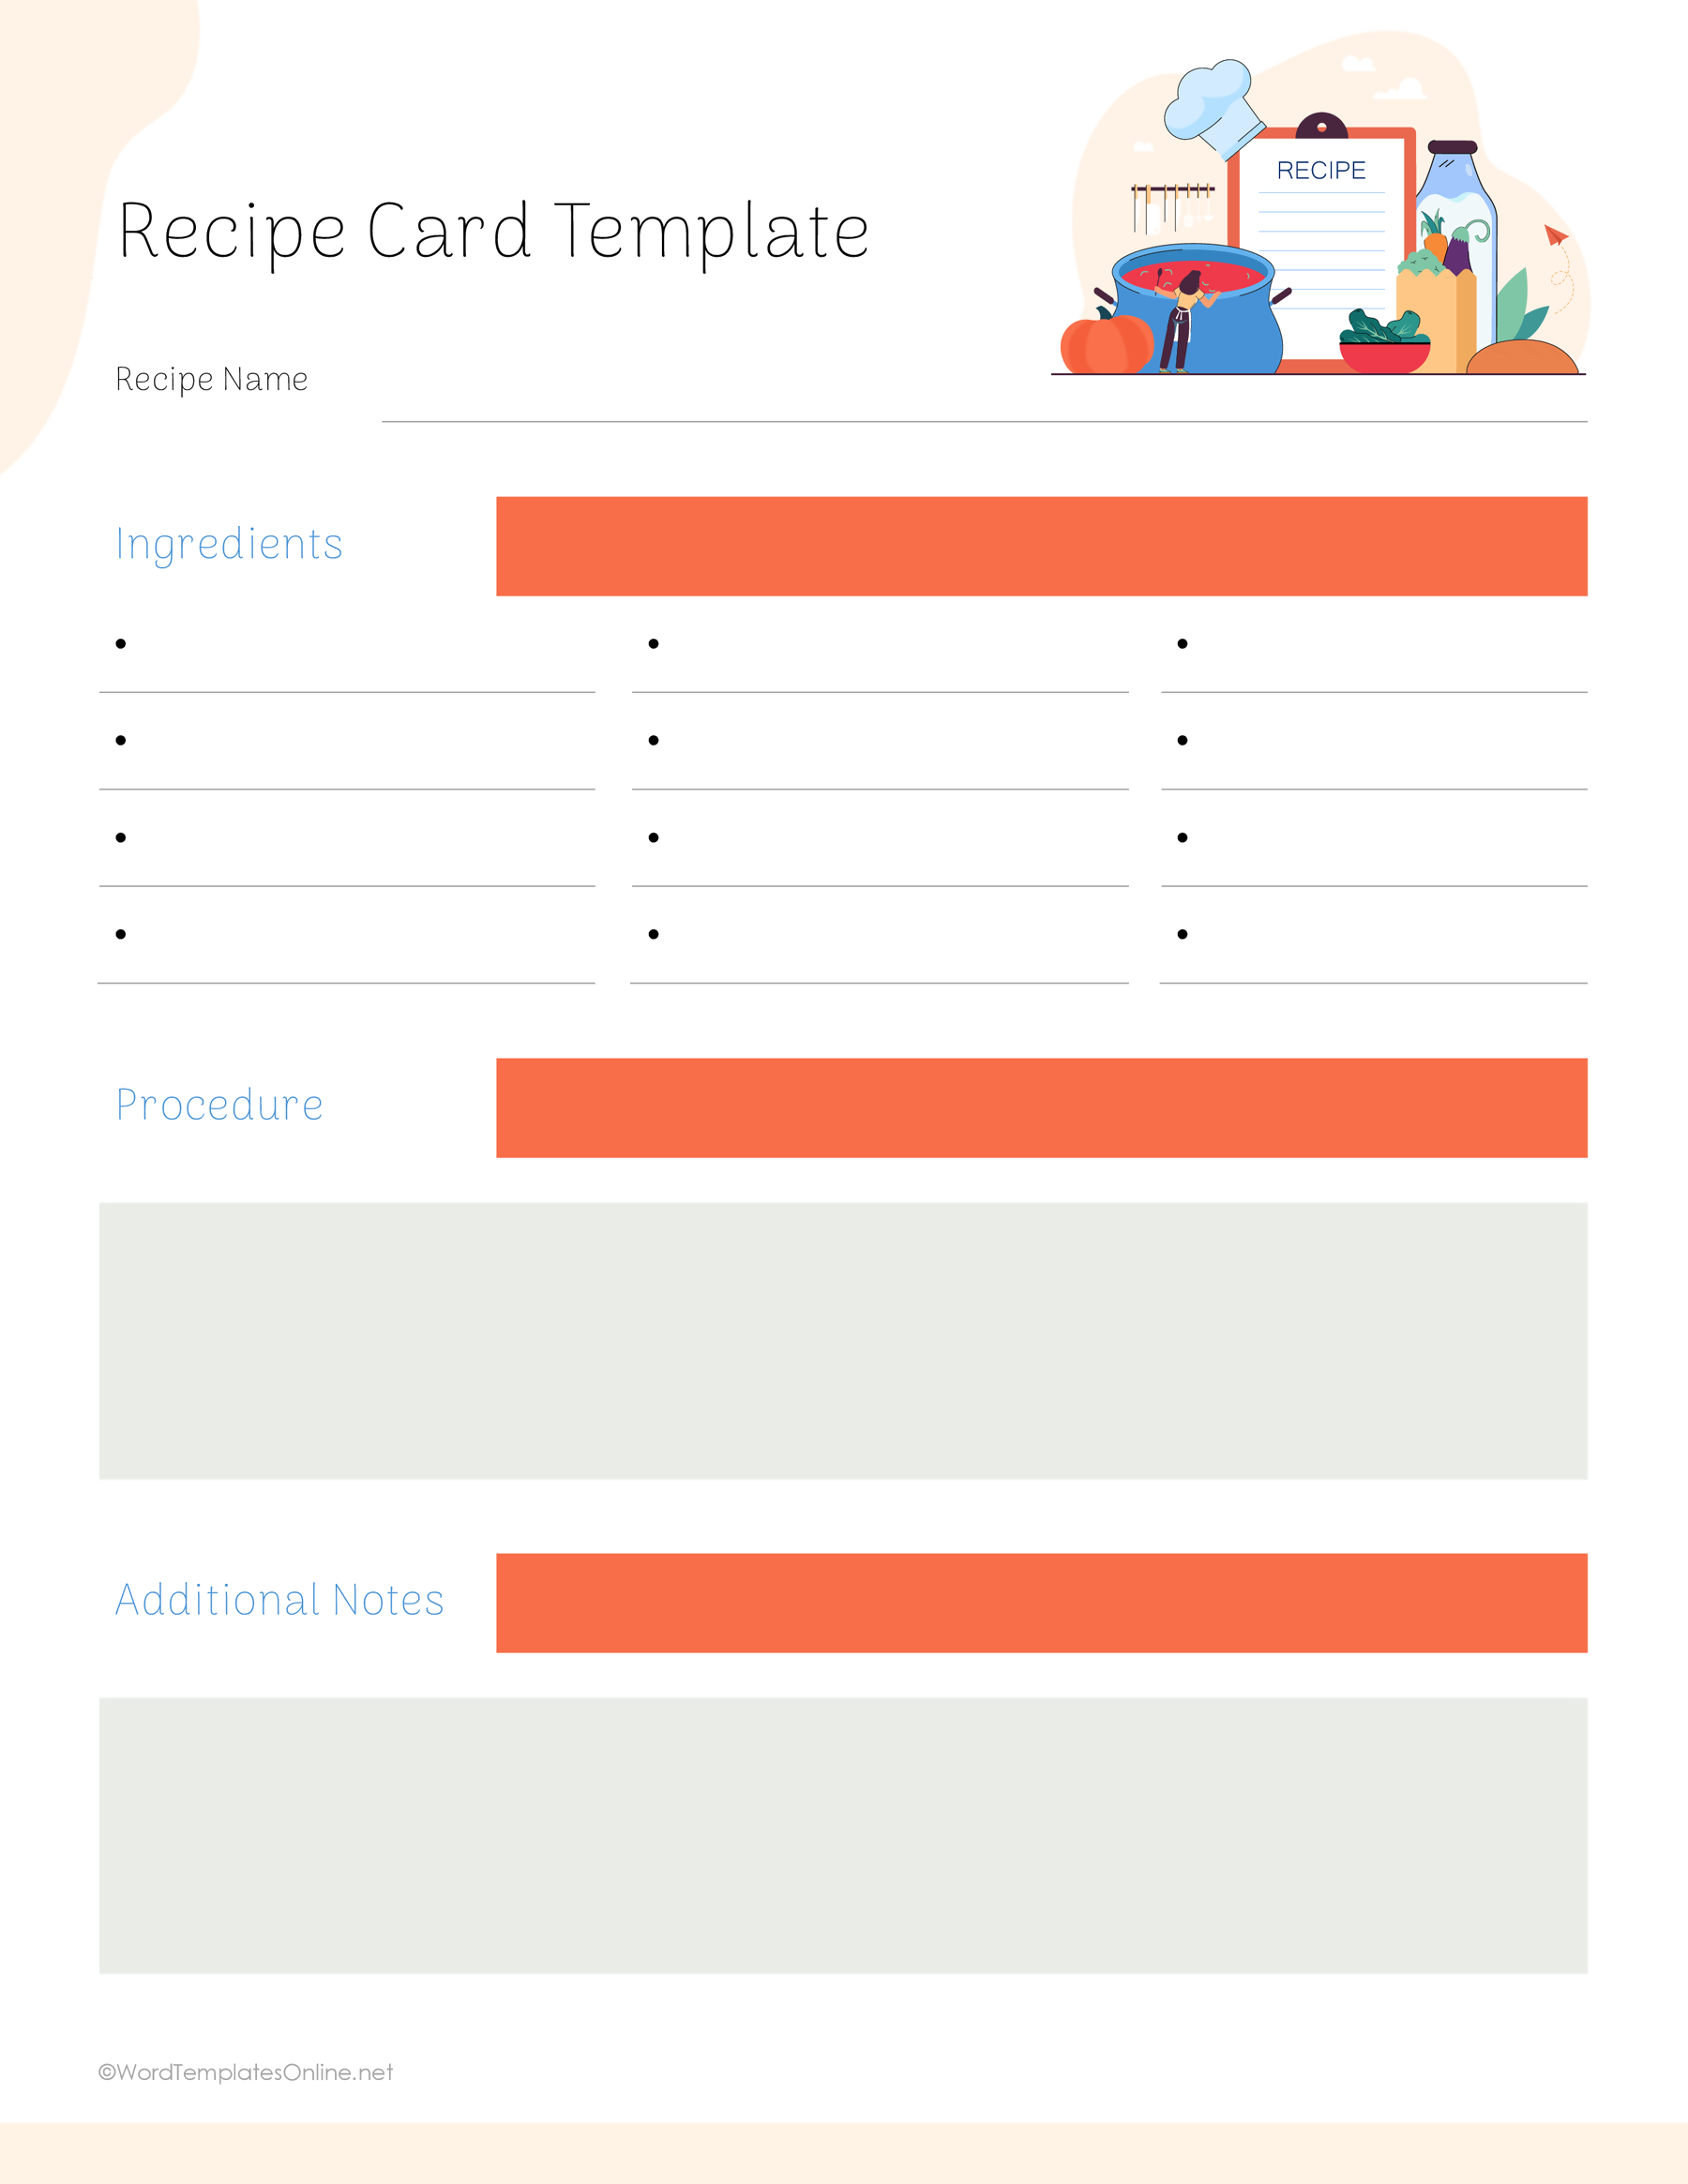
Orange Food with Cooking Procedure
Give the preparation and cooking steps room
A long ingredient list or a method with several stages needs a different kind of page. This group gives you options for keeping ingredients ready, separating timing details and following a fuller sequence without losing your place.
Ingredient Checklist Recipe has twelve checkboxes arranged in three columns. Use them to mark ingredients you’ve gathered and measured before you start. This is handy when the counter is getting busy: you can see what is still missing without rereading the whole list. The boxes are a manual checklist; they don’t change quantities for a larger batch.
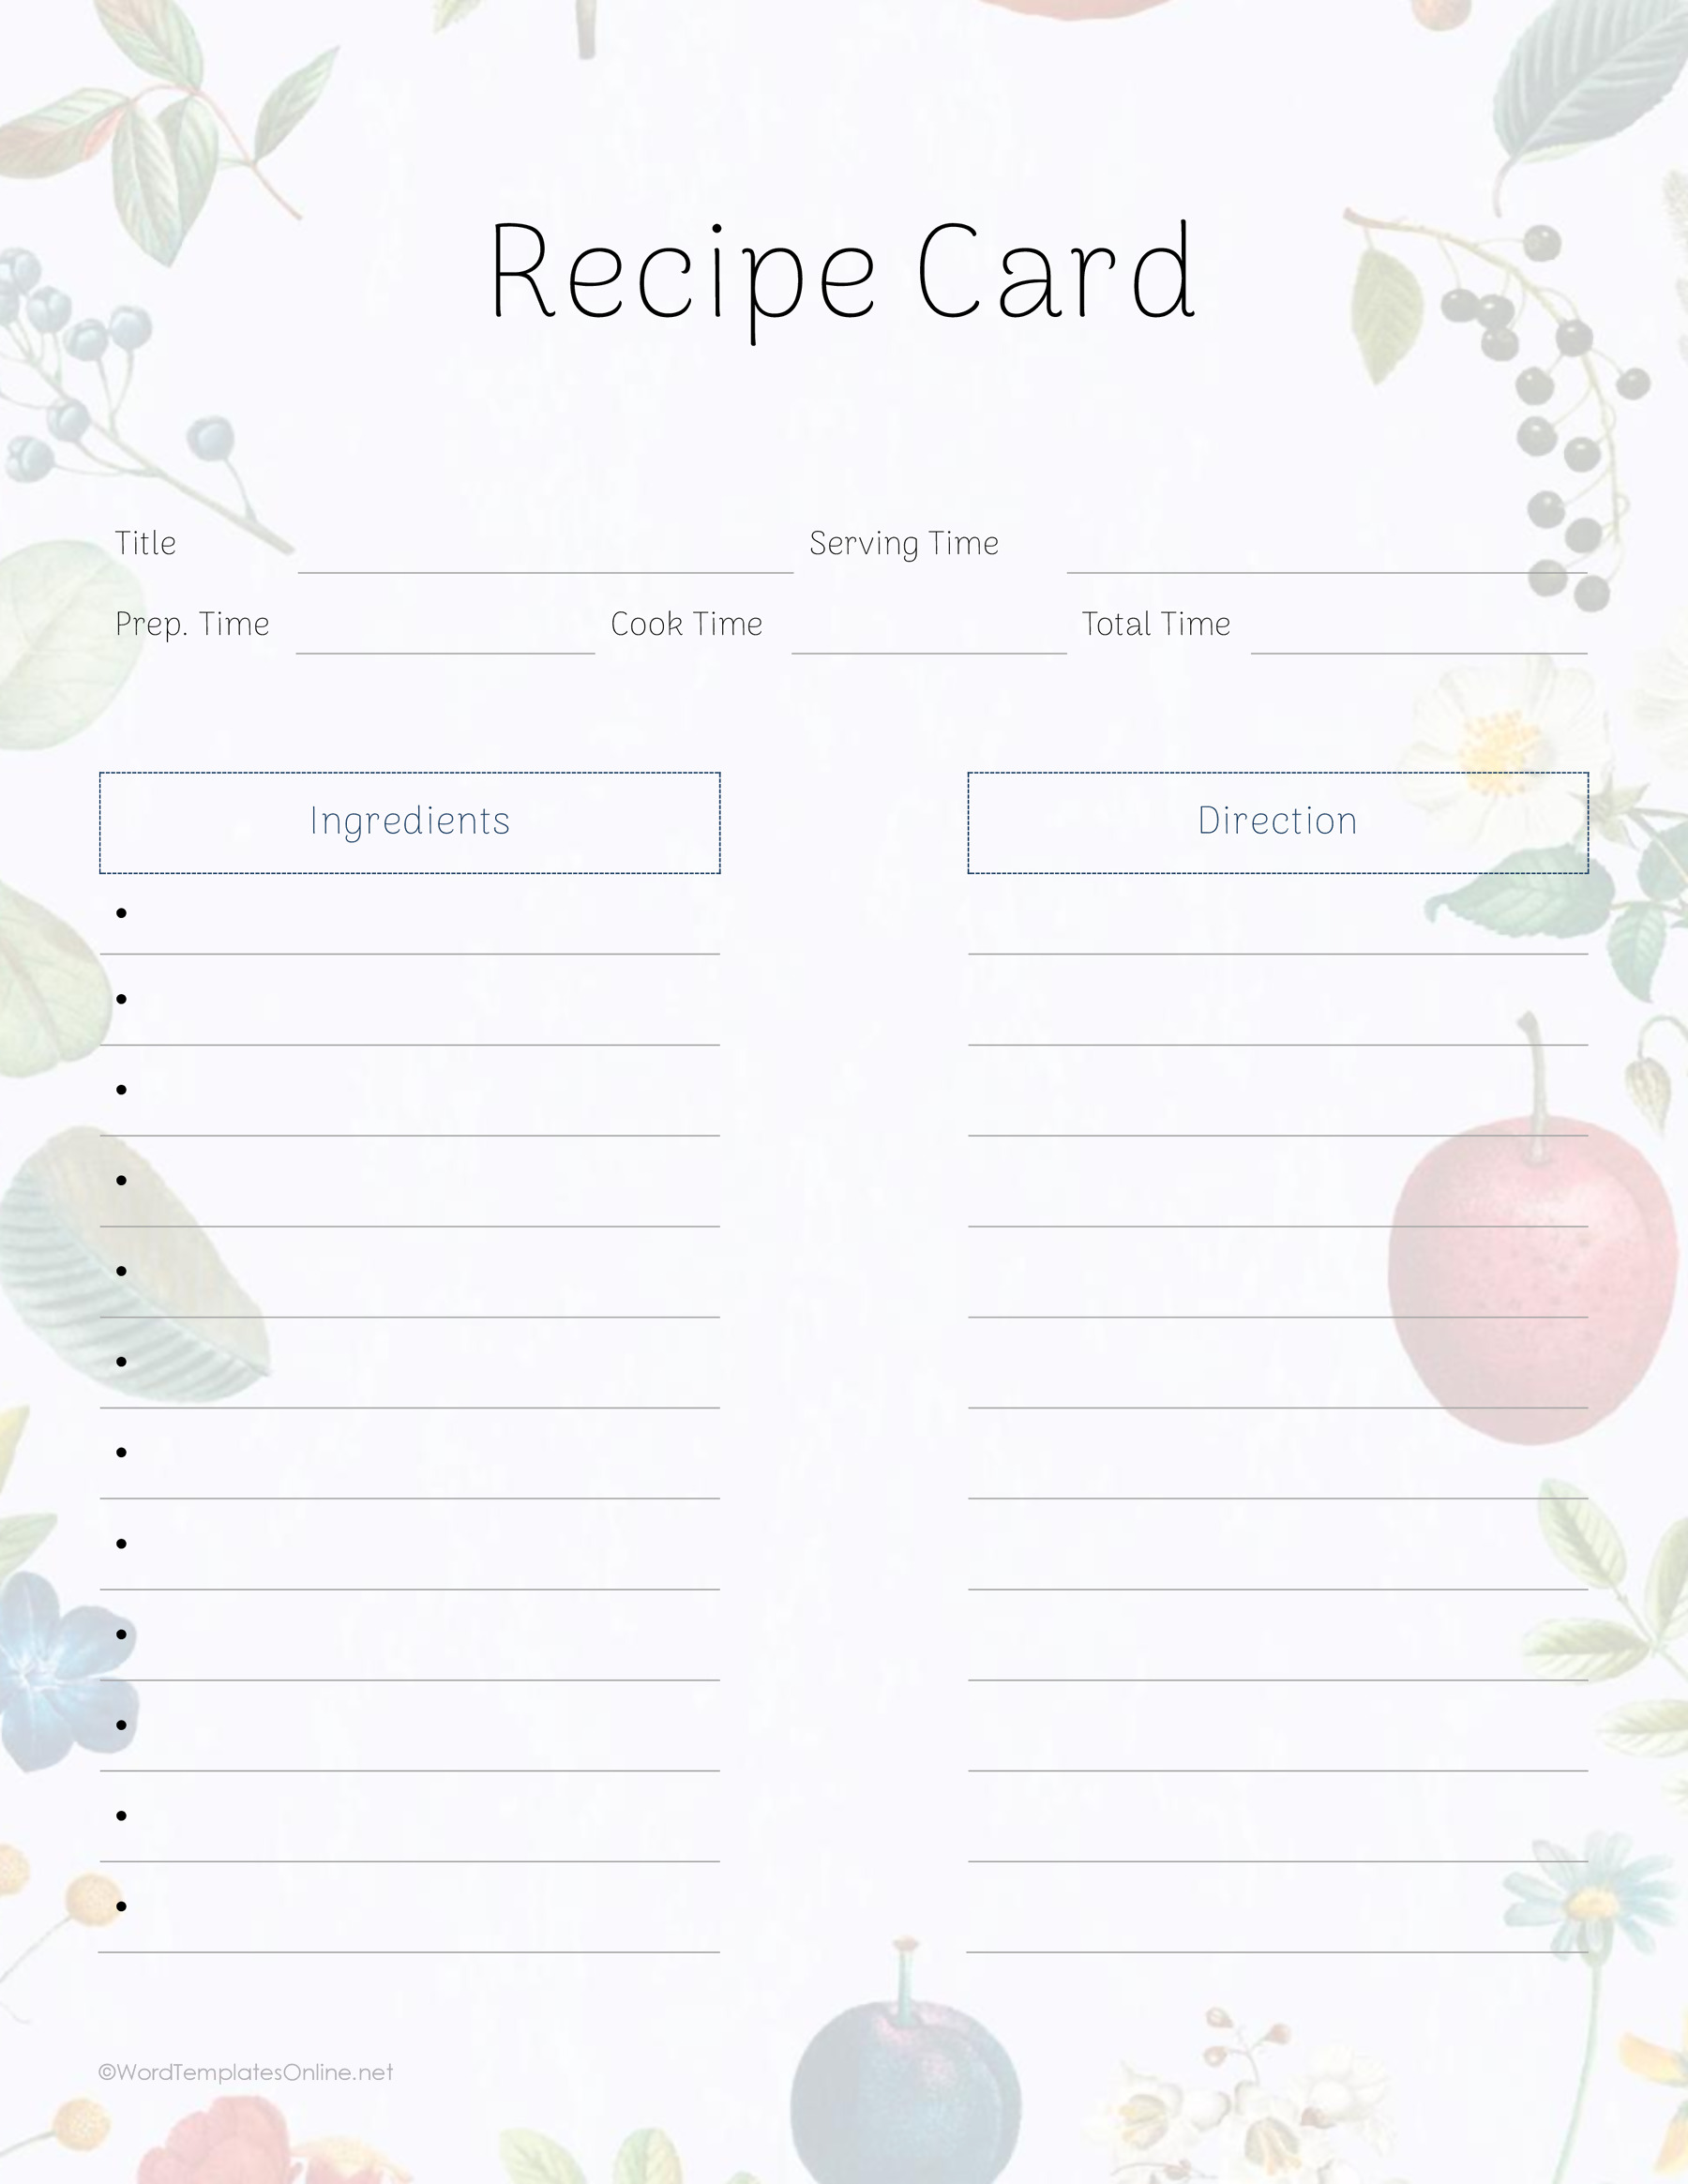
For a recipe that needs more explanation, look at Dessert Recipe with Long Directions, Pizza Border with Long Columns, or Pale Leaves with Long Method. Their side-by-side writing areas keep the ingredient list close to the instructions. That makes it easier to find an amount again when the method calls for it. The dessert layout also has a separate note area, so a reminder needn’t interrupt the next cooking step.
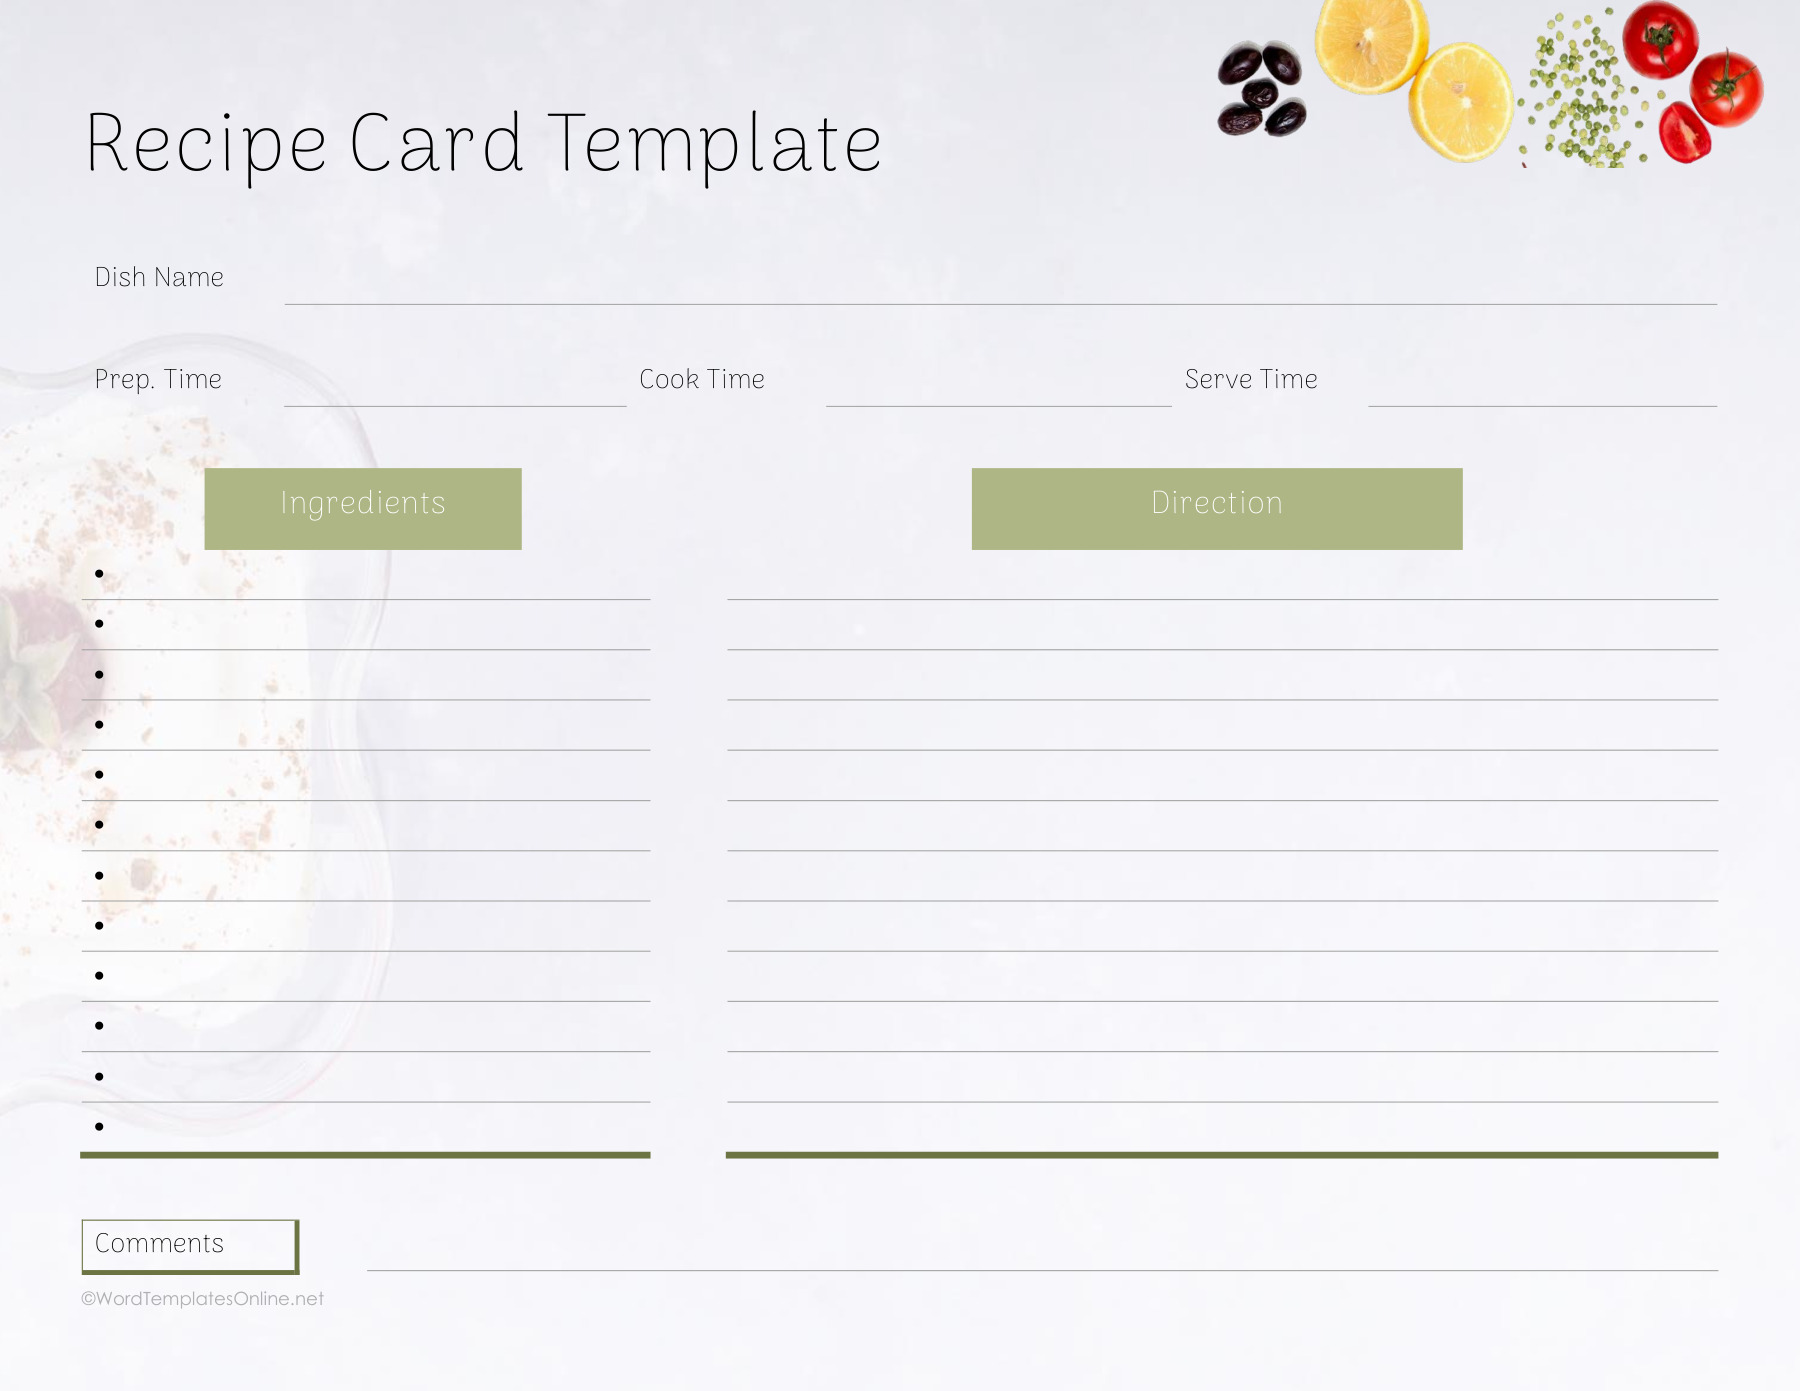
Peach Border with Wide Procedure offers a broader space for the method. Landscape Food Header Recipe spreads the record across a wider Letter page. These are worth trying when your instructions contain longer sentences or separate stages. The wider page will also take more space on the counter, so choose with your usual cooking spot in mind.
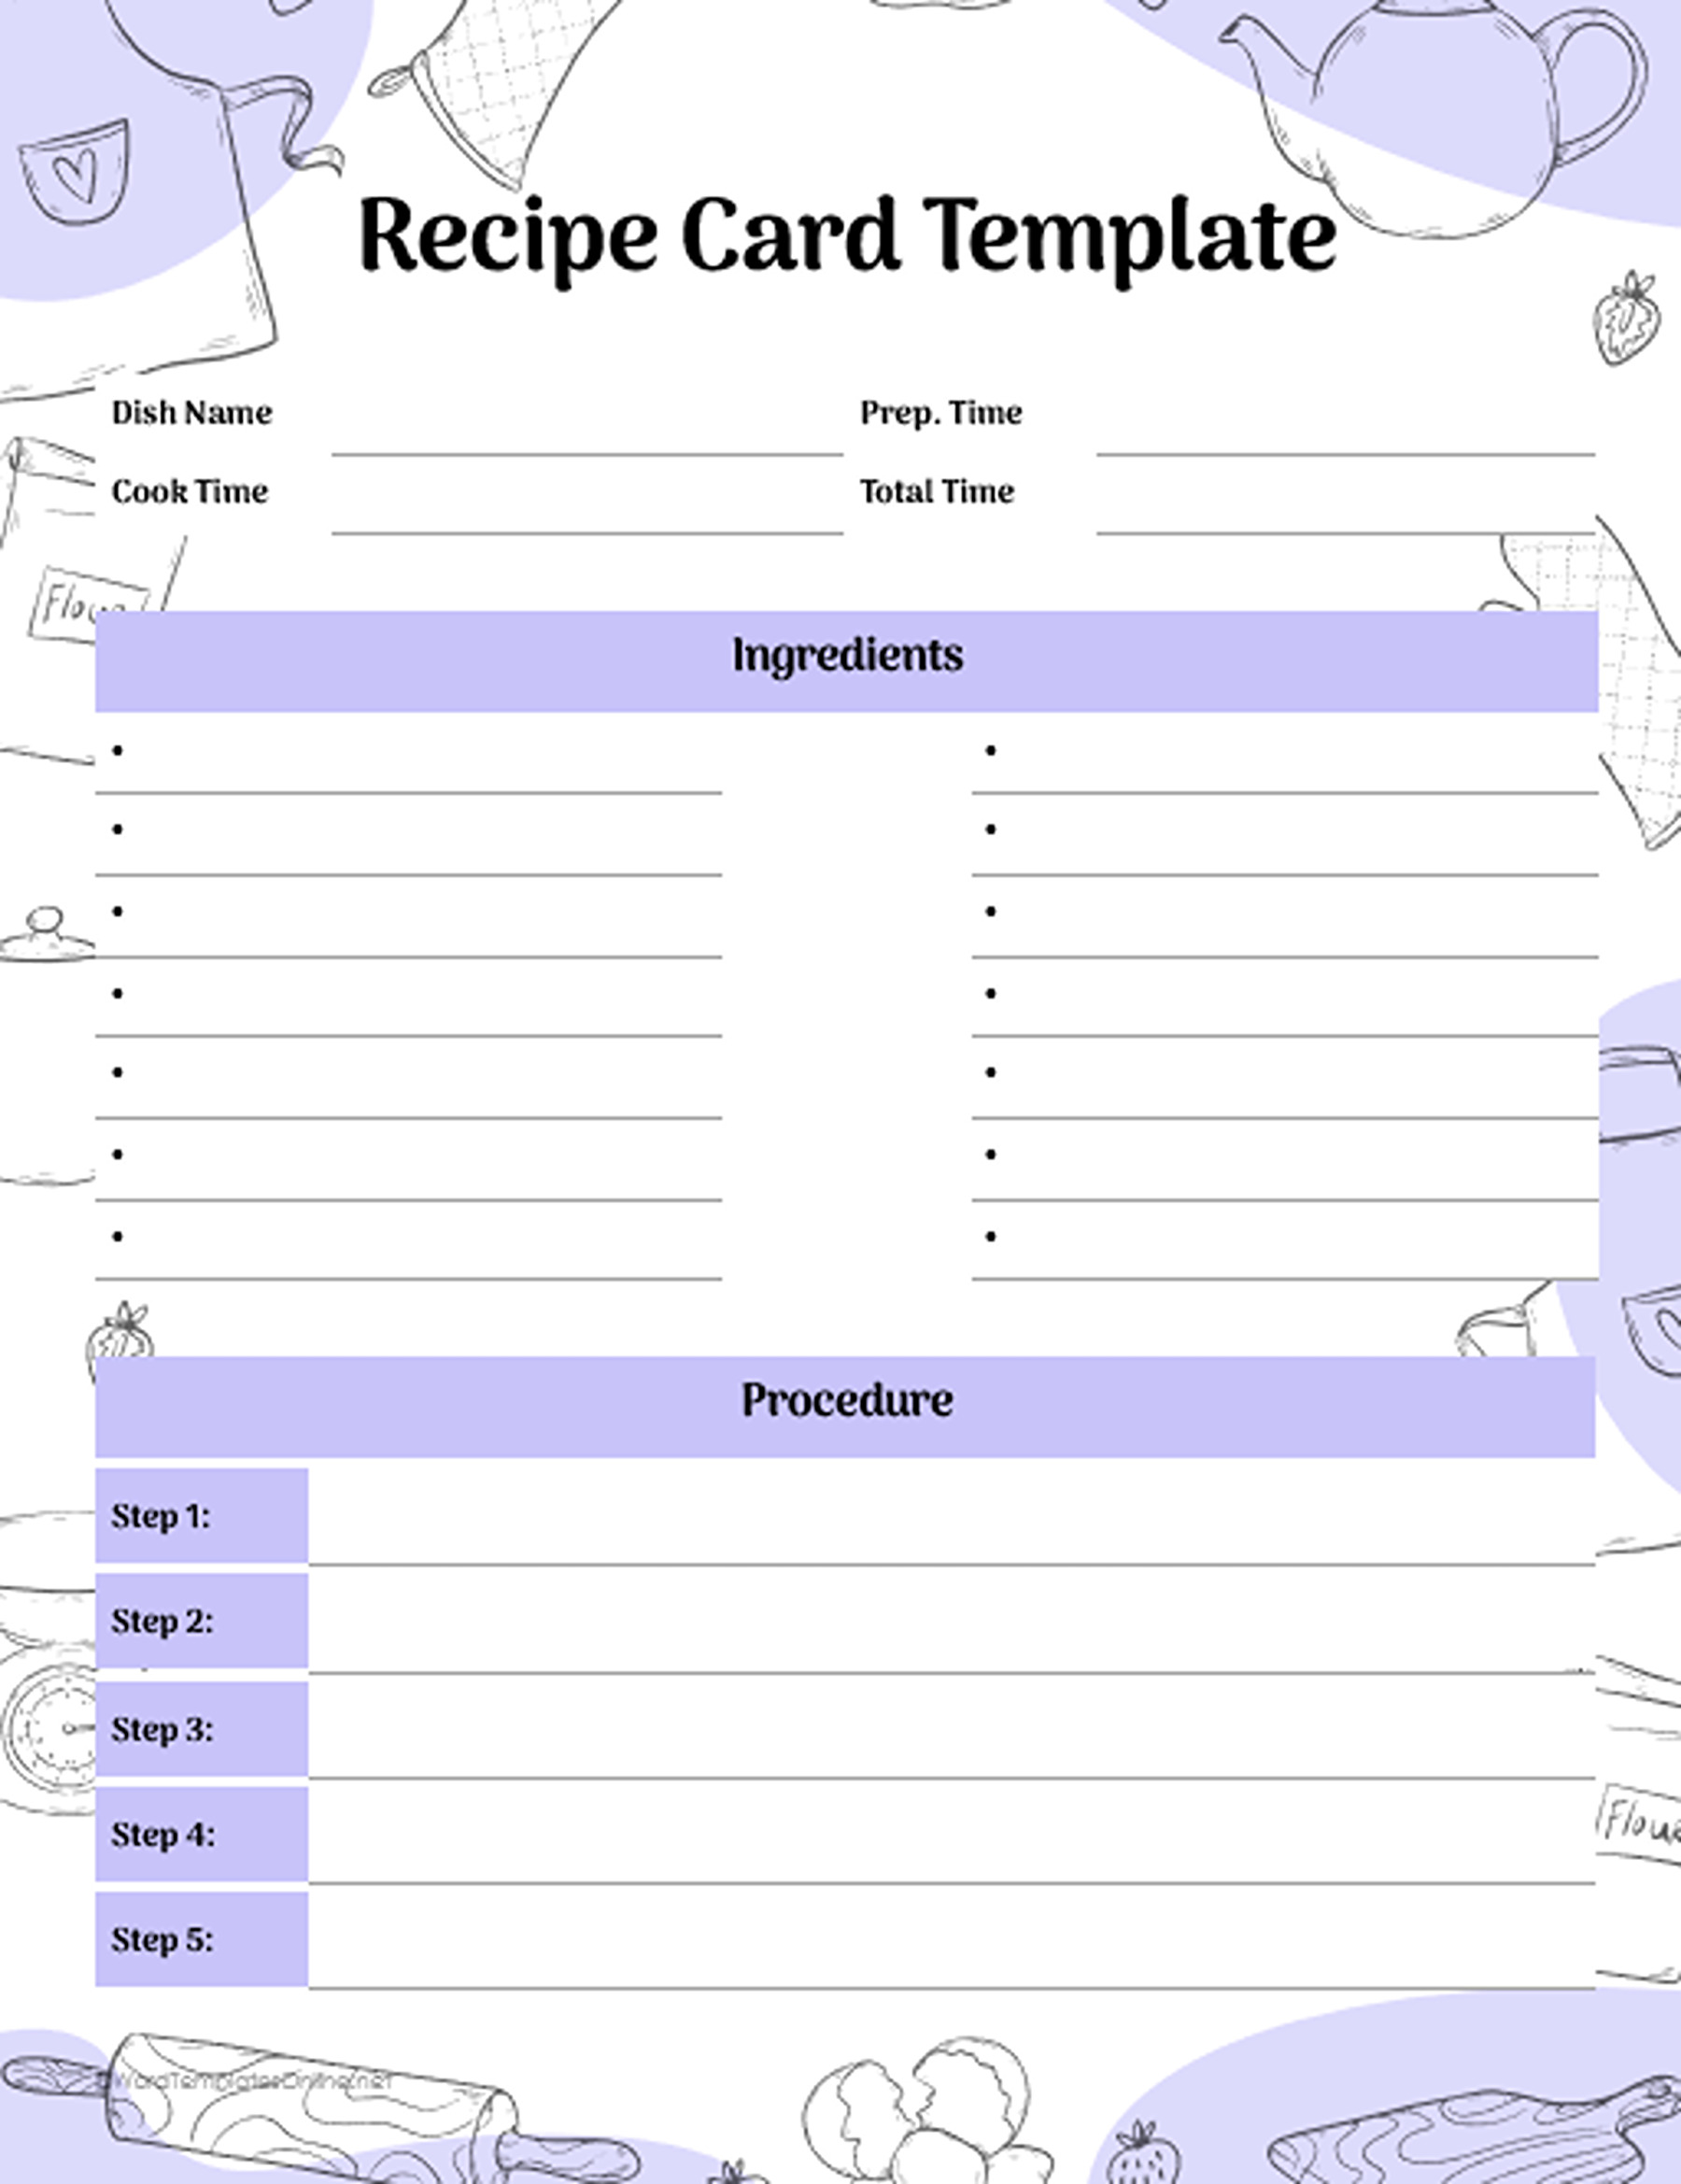
The Lavender Five-Step Recipe is the most structured option here. Five labeled steps can make a short sequence easy to follow. Use it when your recipe fits those five steps comfortably; don’t leave out an important instruction just to fit the layout.
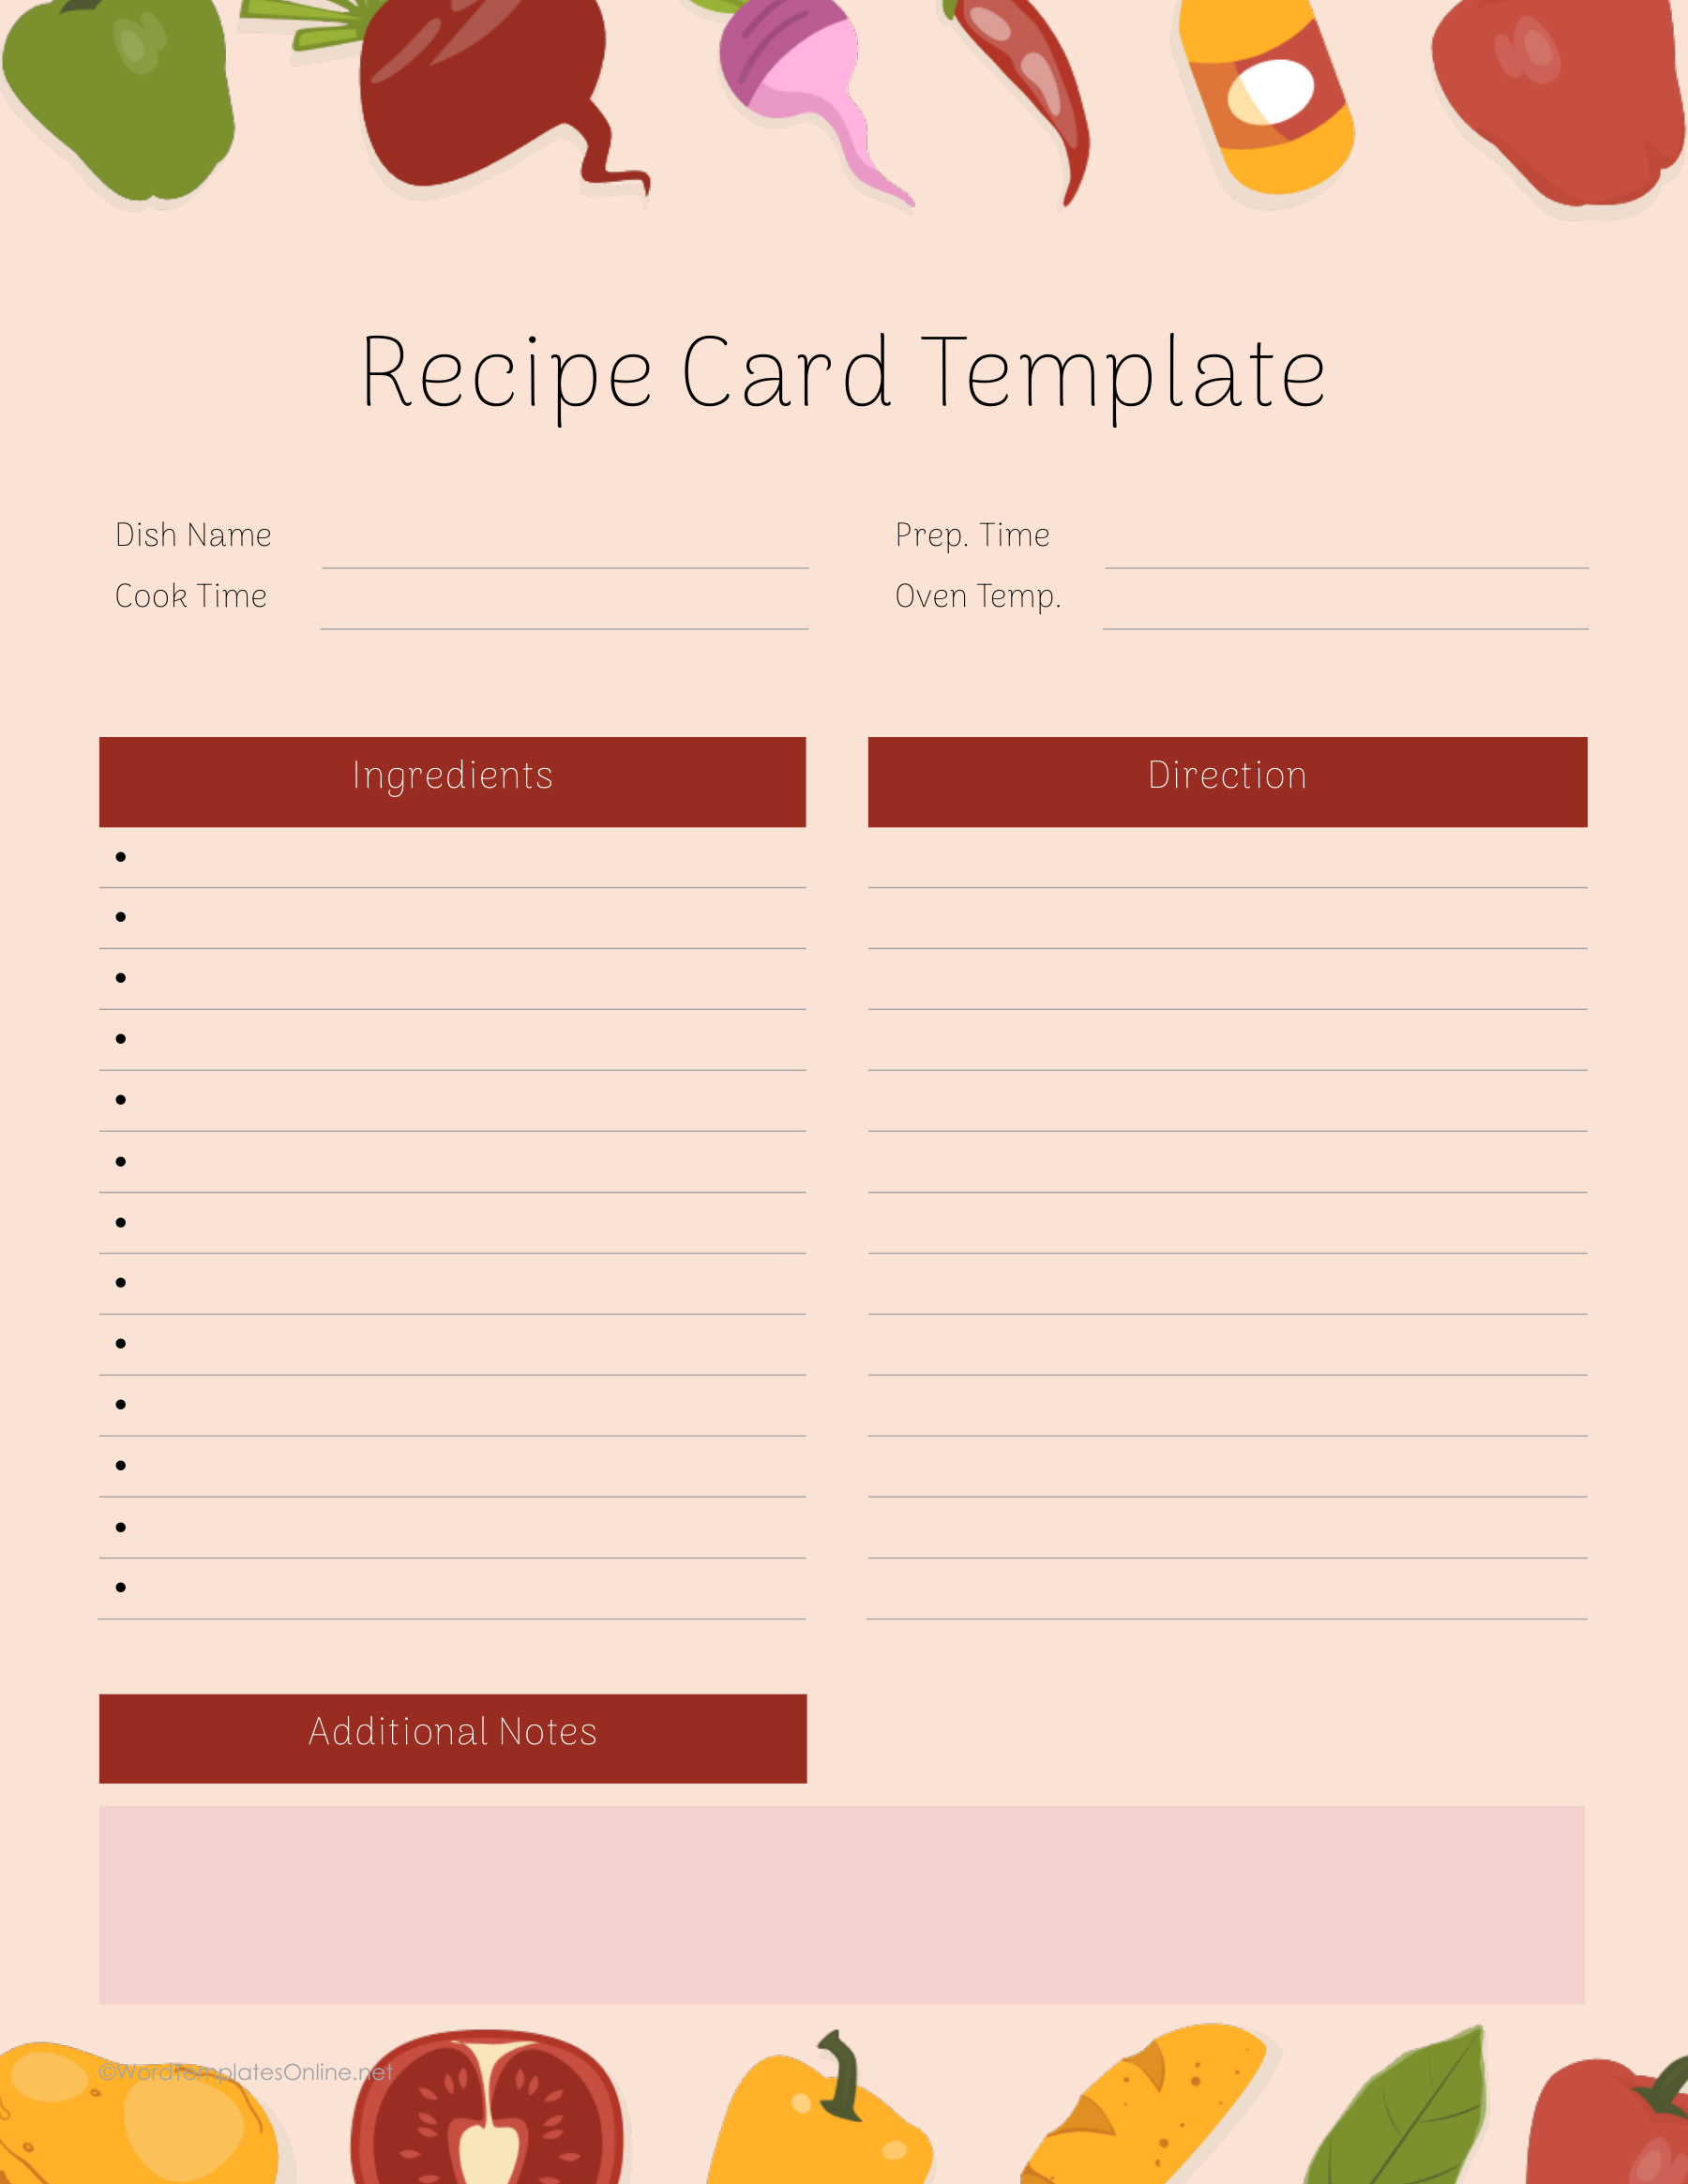
Several designs include preparation and cooking times. Record what those times actually cover, especially if the recipe also needs resting, chilling or cooling. “Serve time” and “Serving time” are time labels, so add a separate “Makes” or “Serves” entry when you need to show the yield. The Peach Border with Oven Temperature layout provides a dedicated temperature field, but the instructions should still say when the oven is needed and which setting the recipe uses.
A useful kitchen check is to trace every ingredient into the method. If an ingredient is used twice, say how much goes into each stage. If the instructions mention something missing from the ingredient list, add it before you print. A generous layout helps you see those gaps; it can’t fill them in for you.
Dessert Recipe with Long Directions
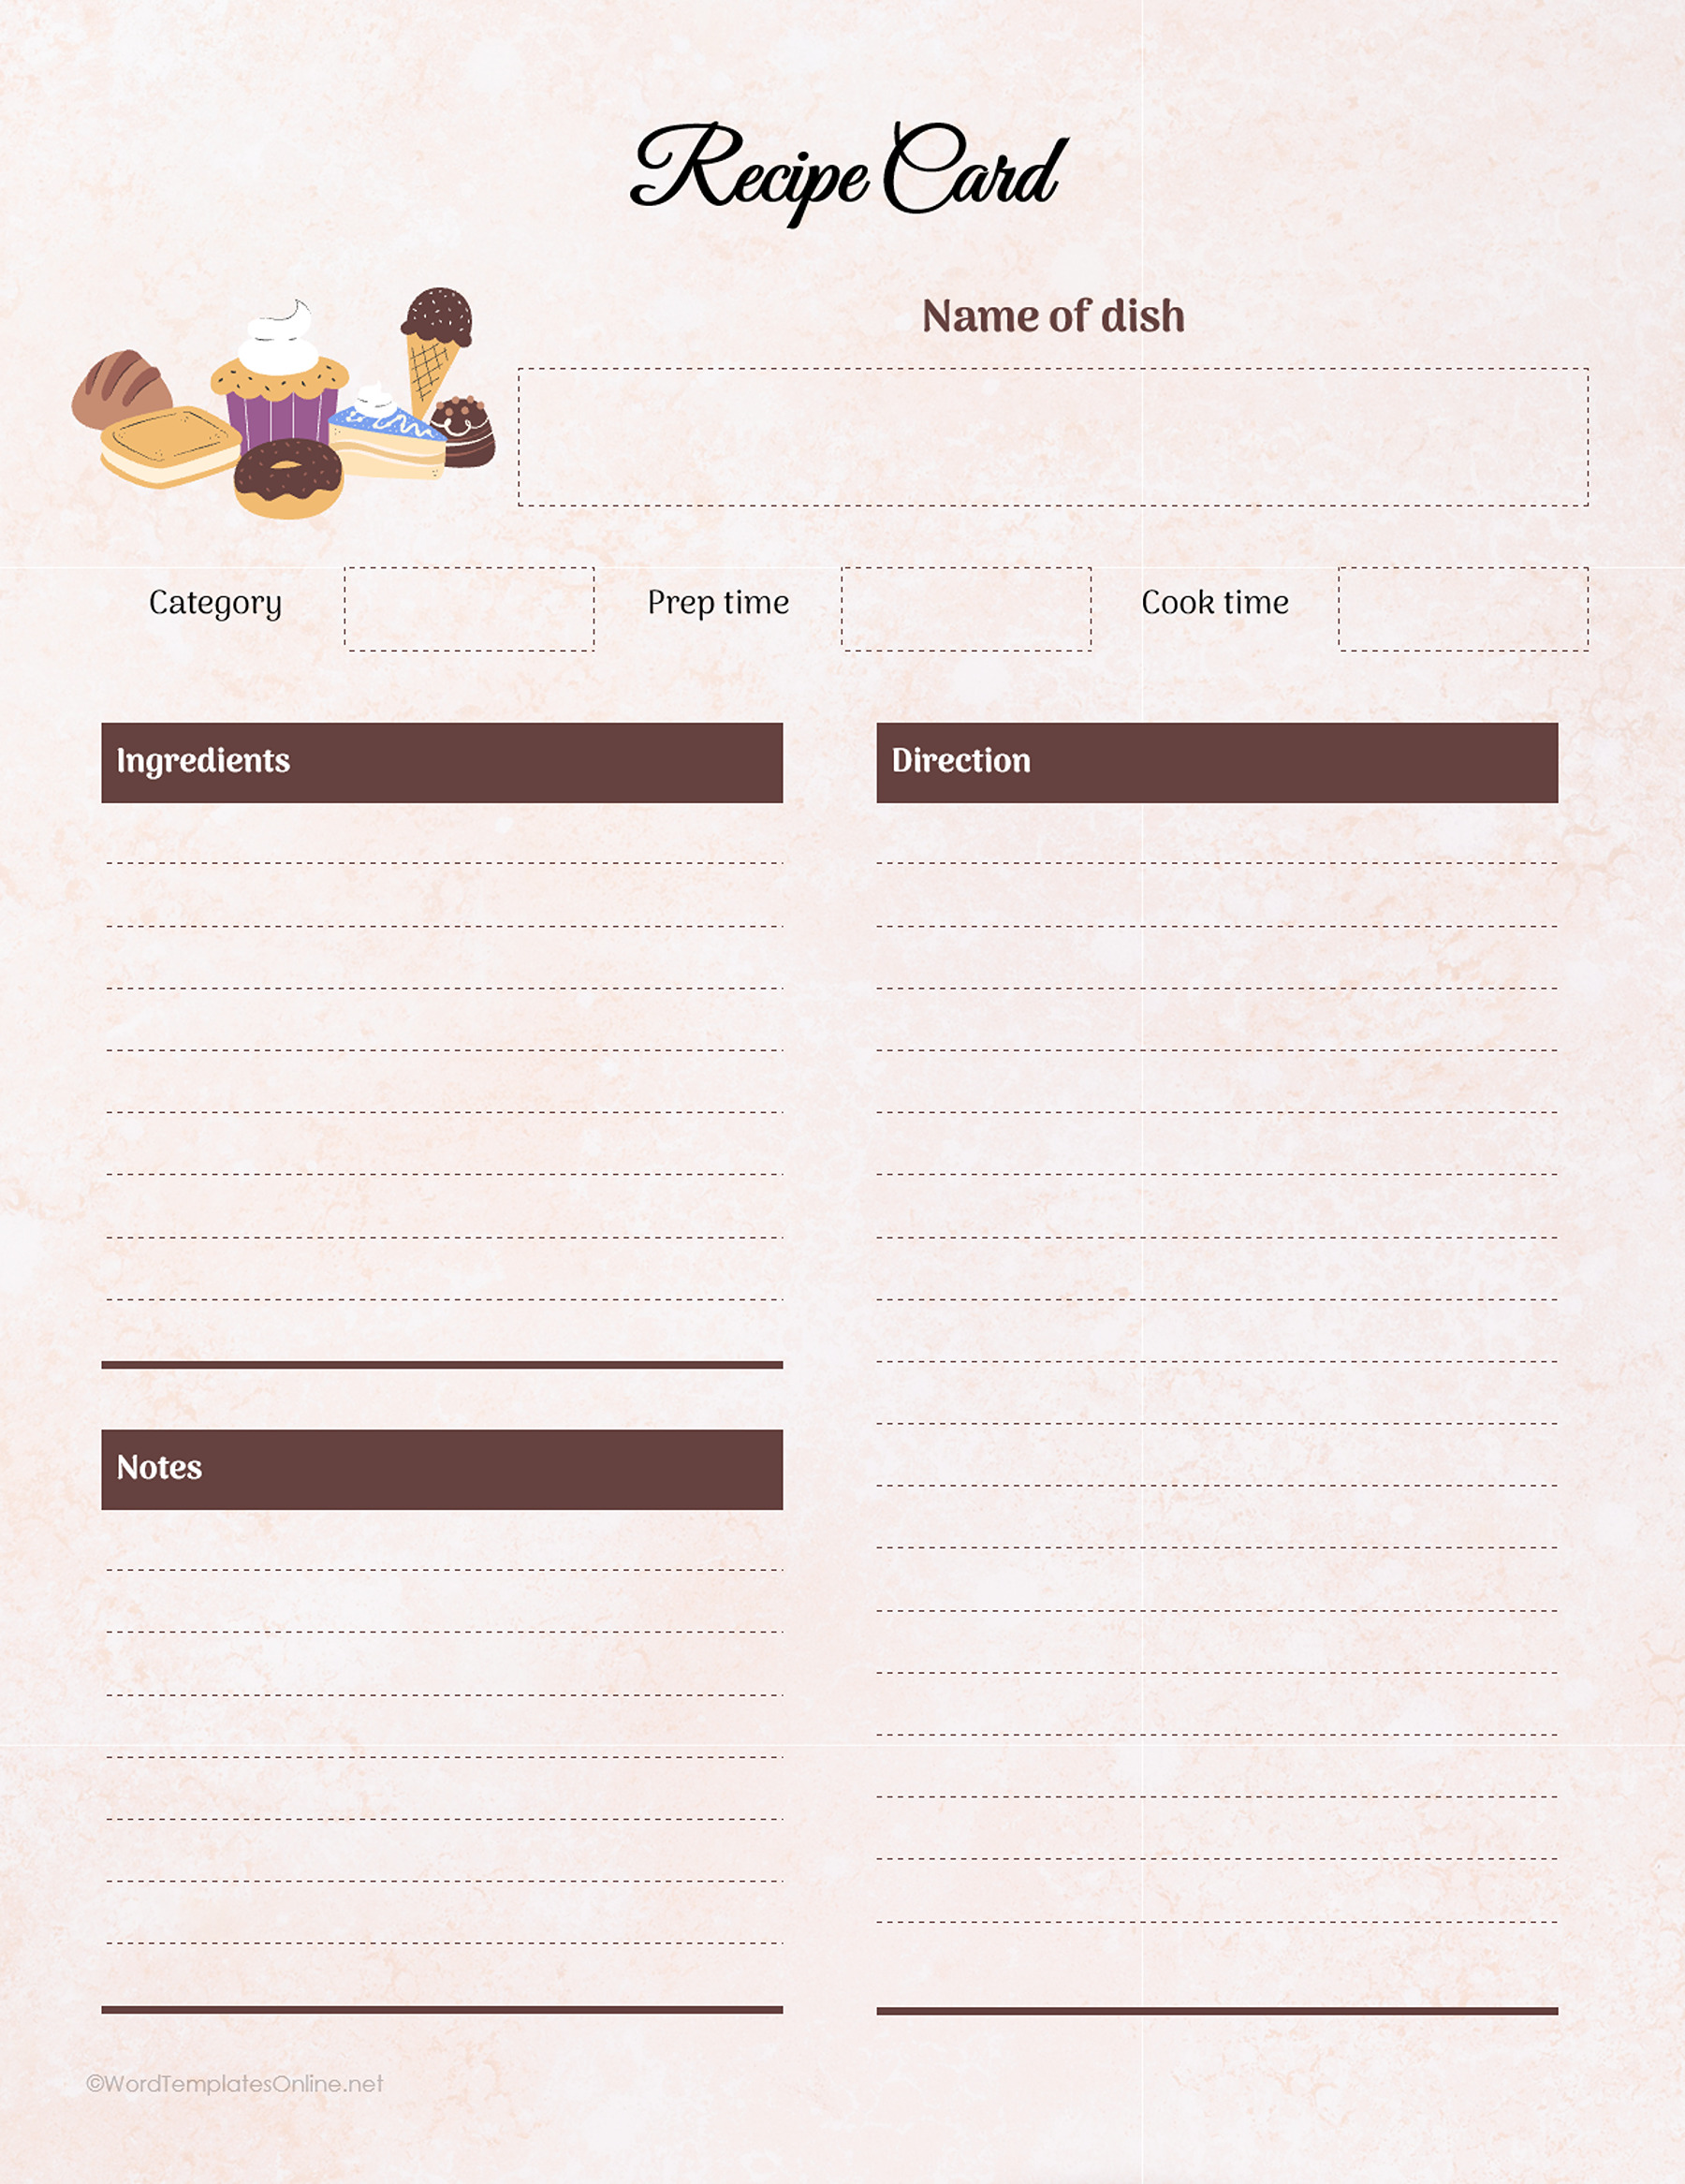
Pizza Border with Long Columns
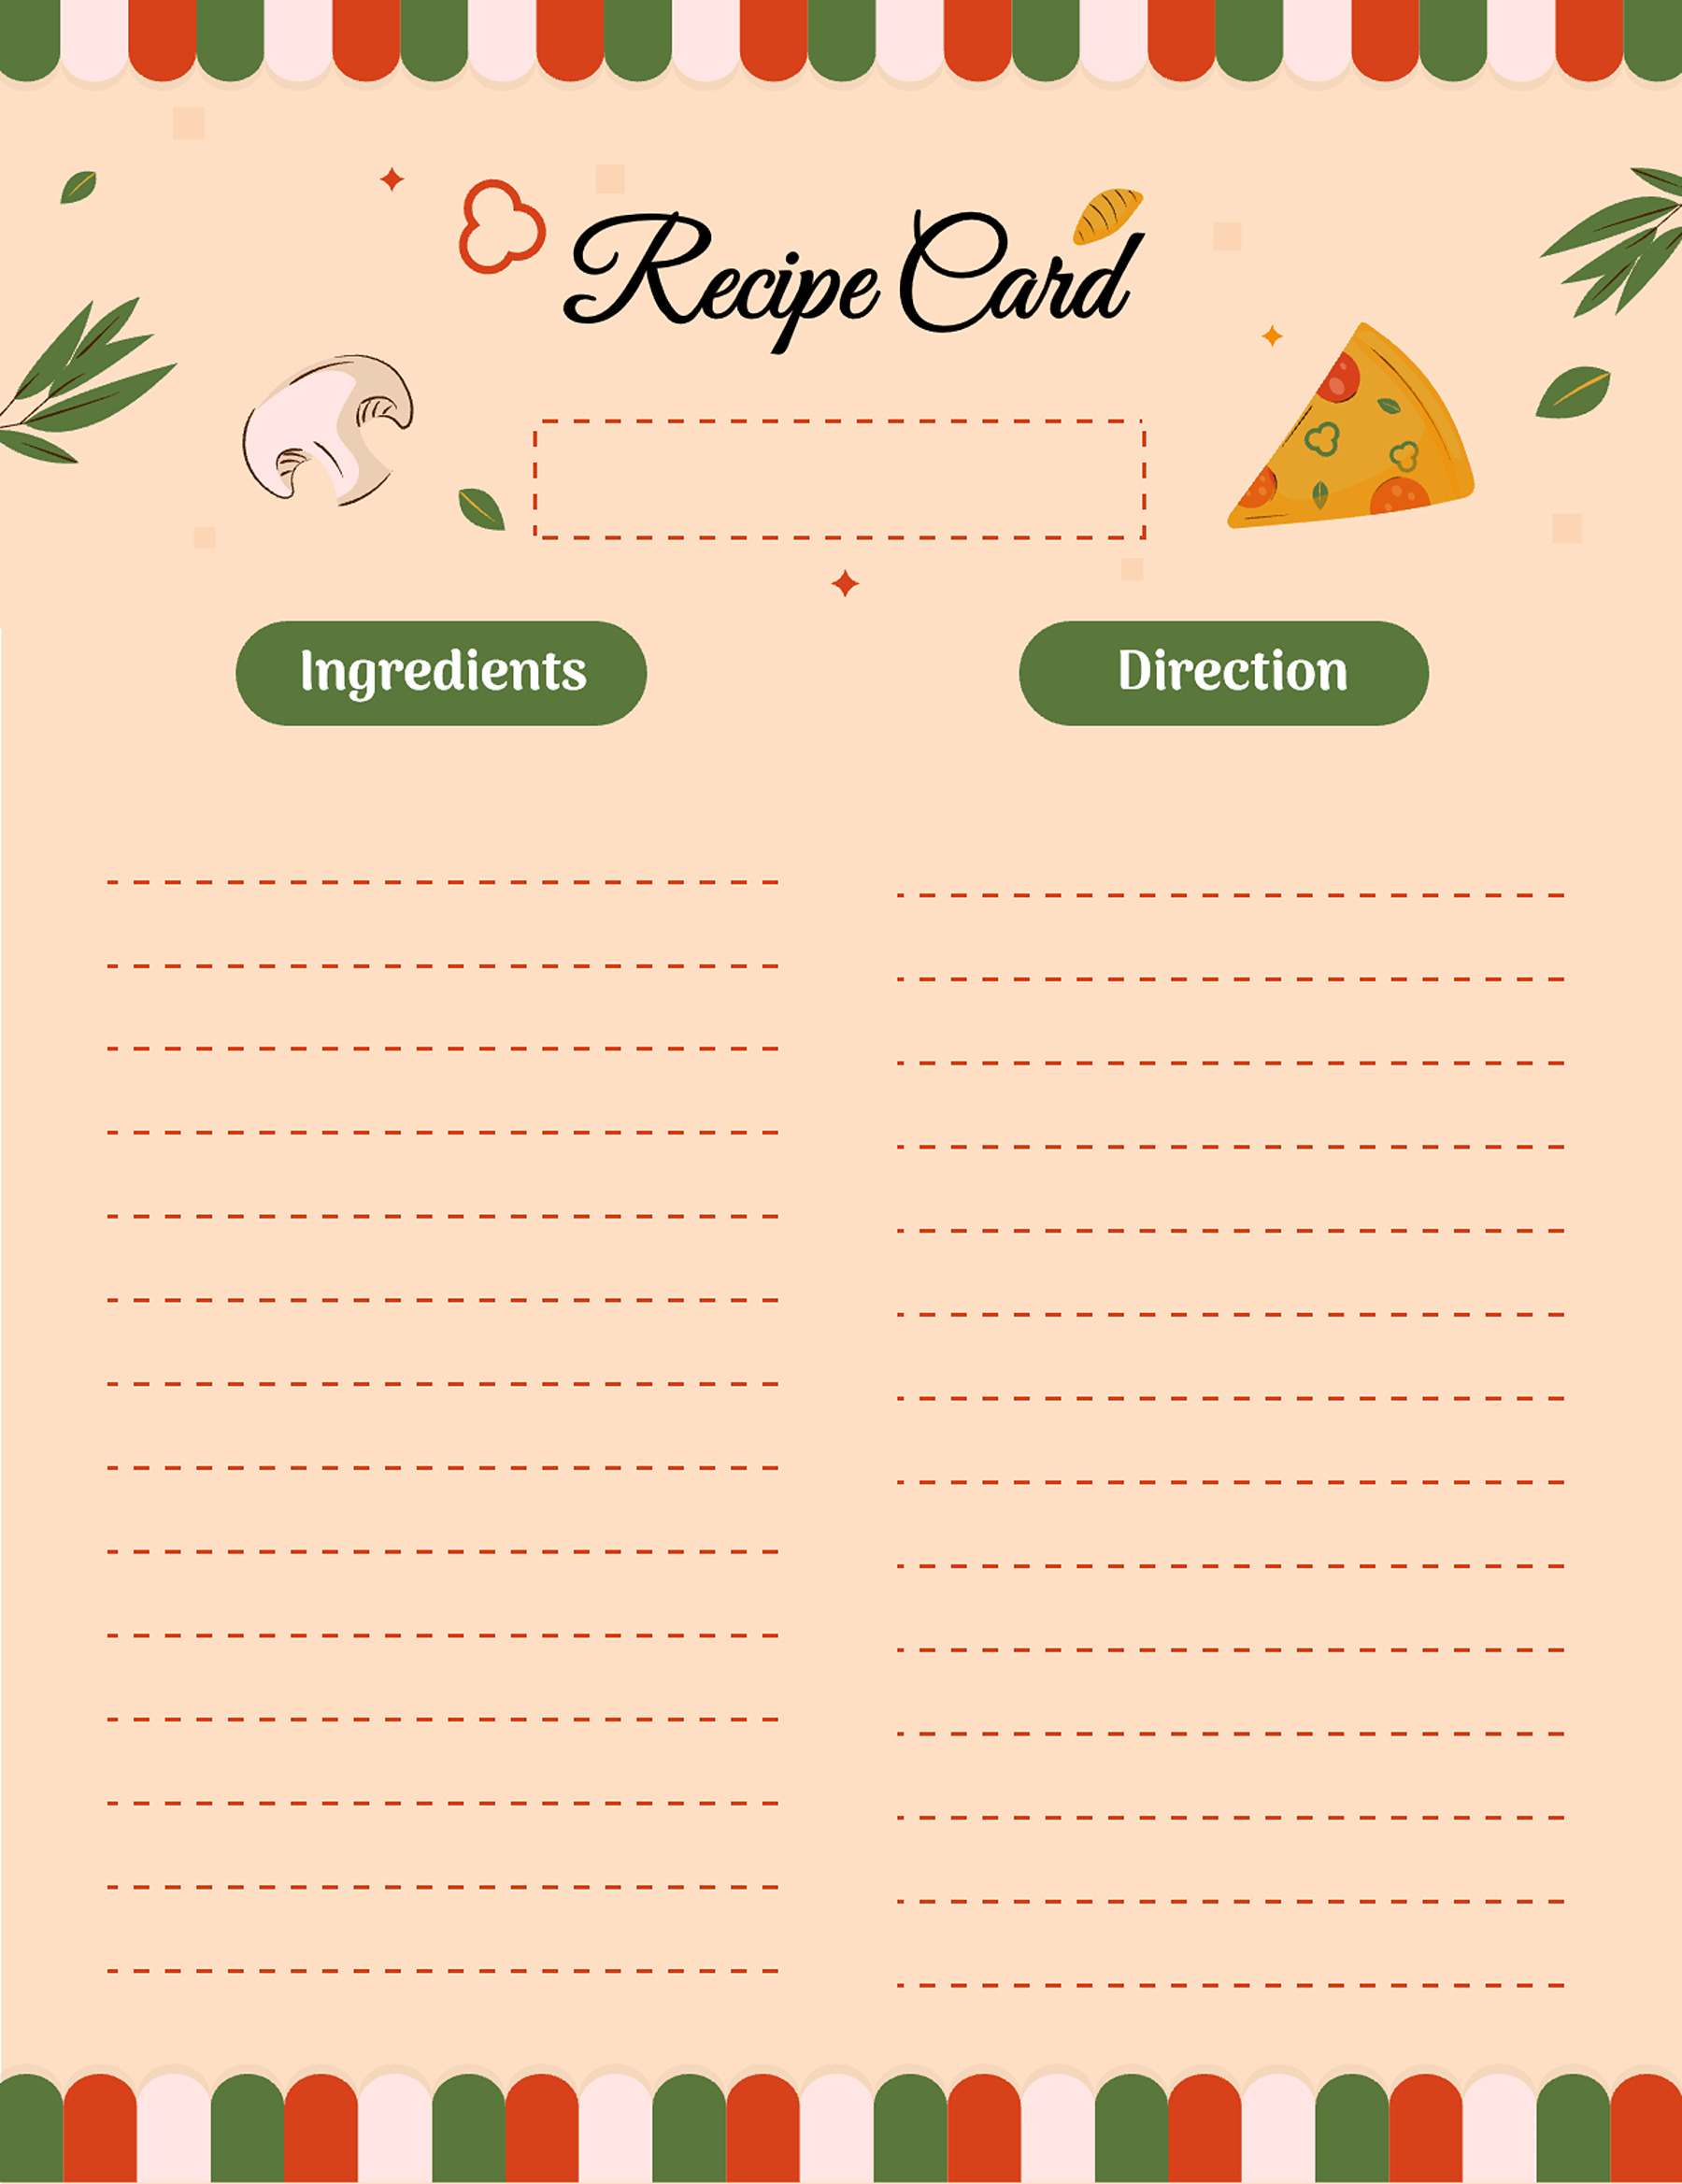
Carrot Border with Timing Details
Peach Border with Oven Temperature
Landscape Food Header Recipe
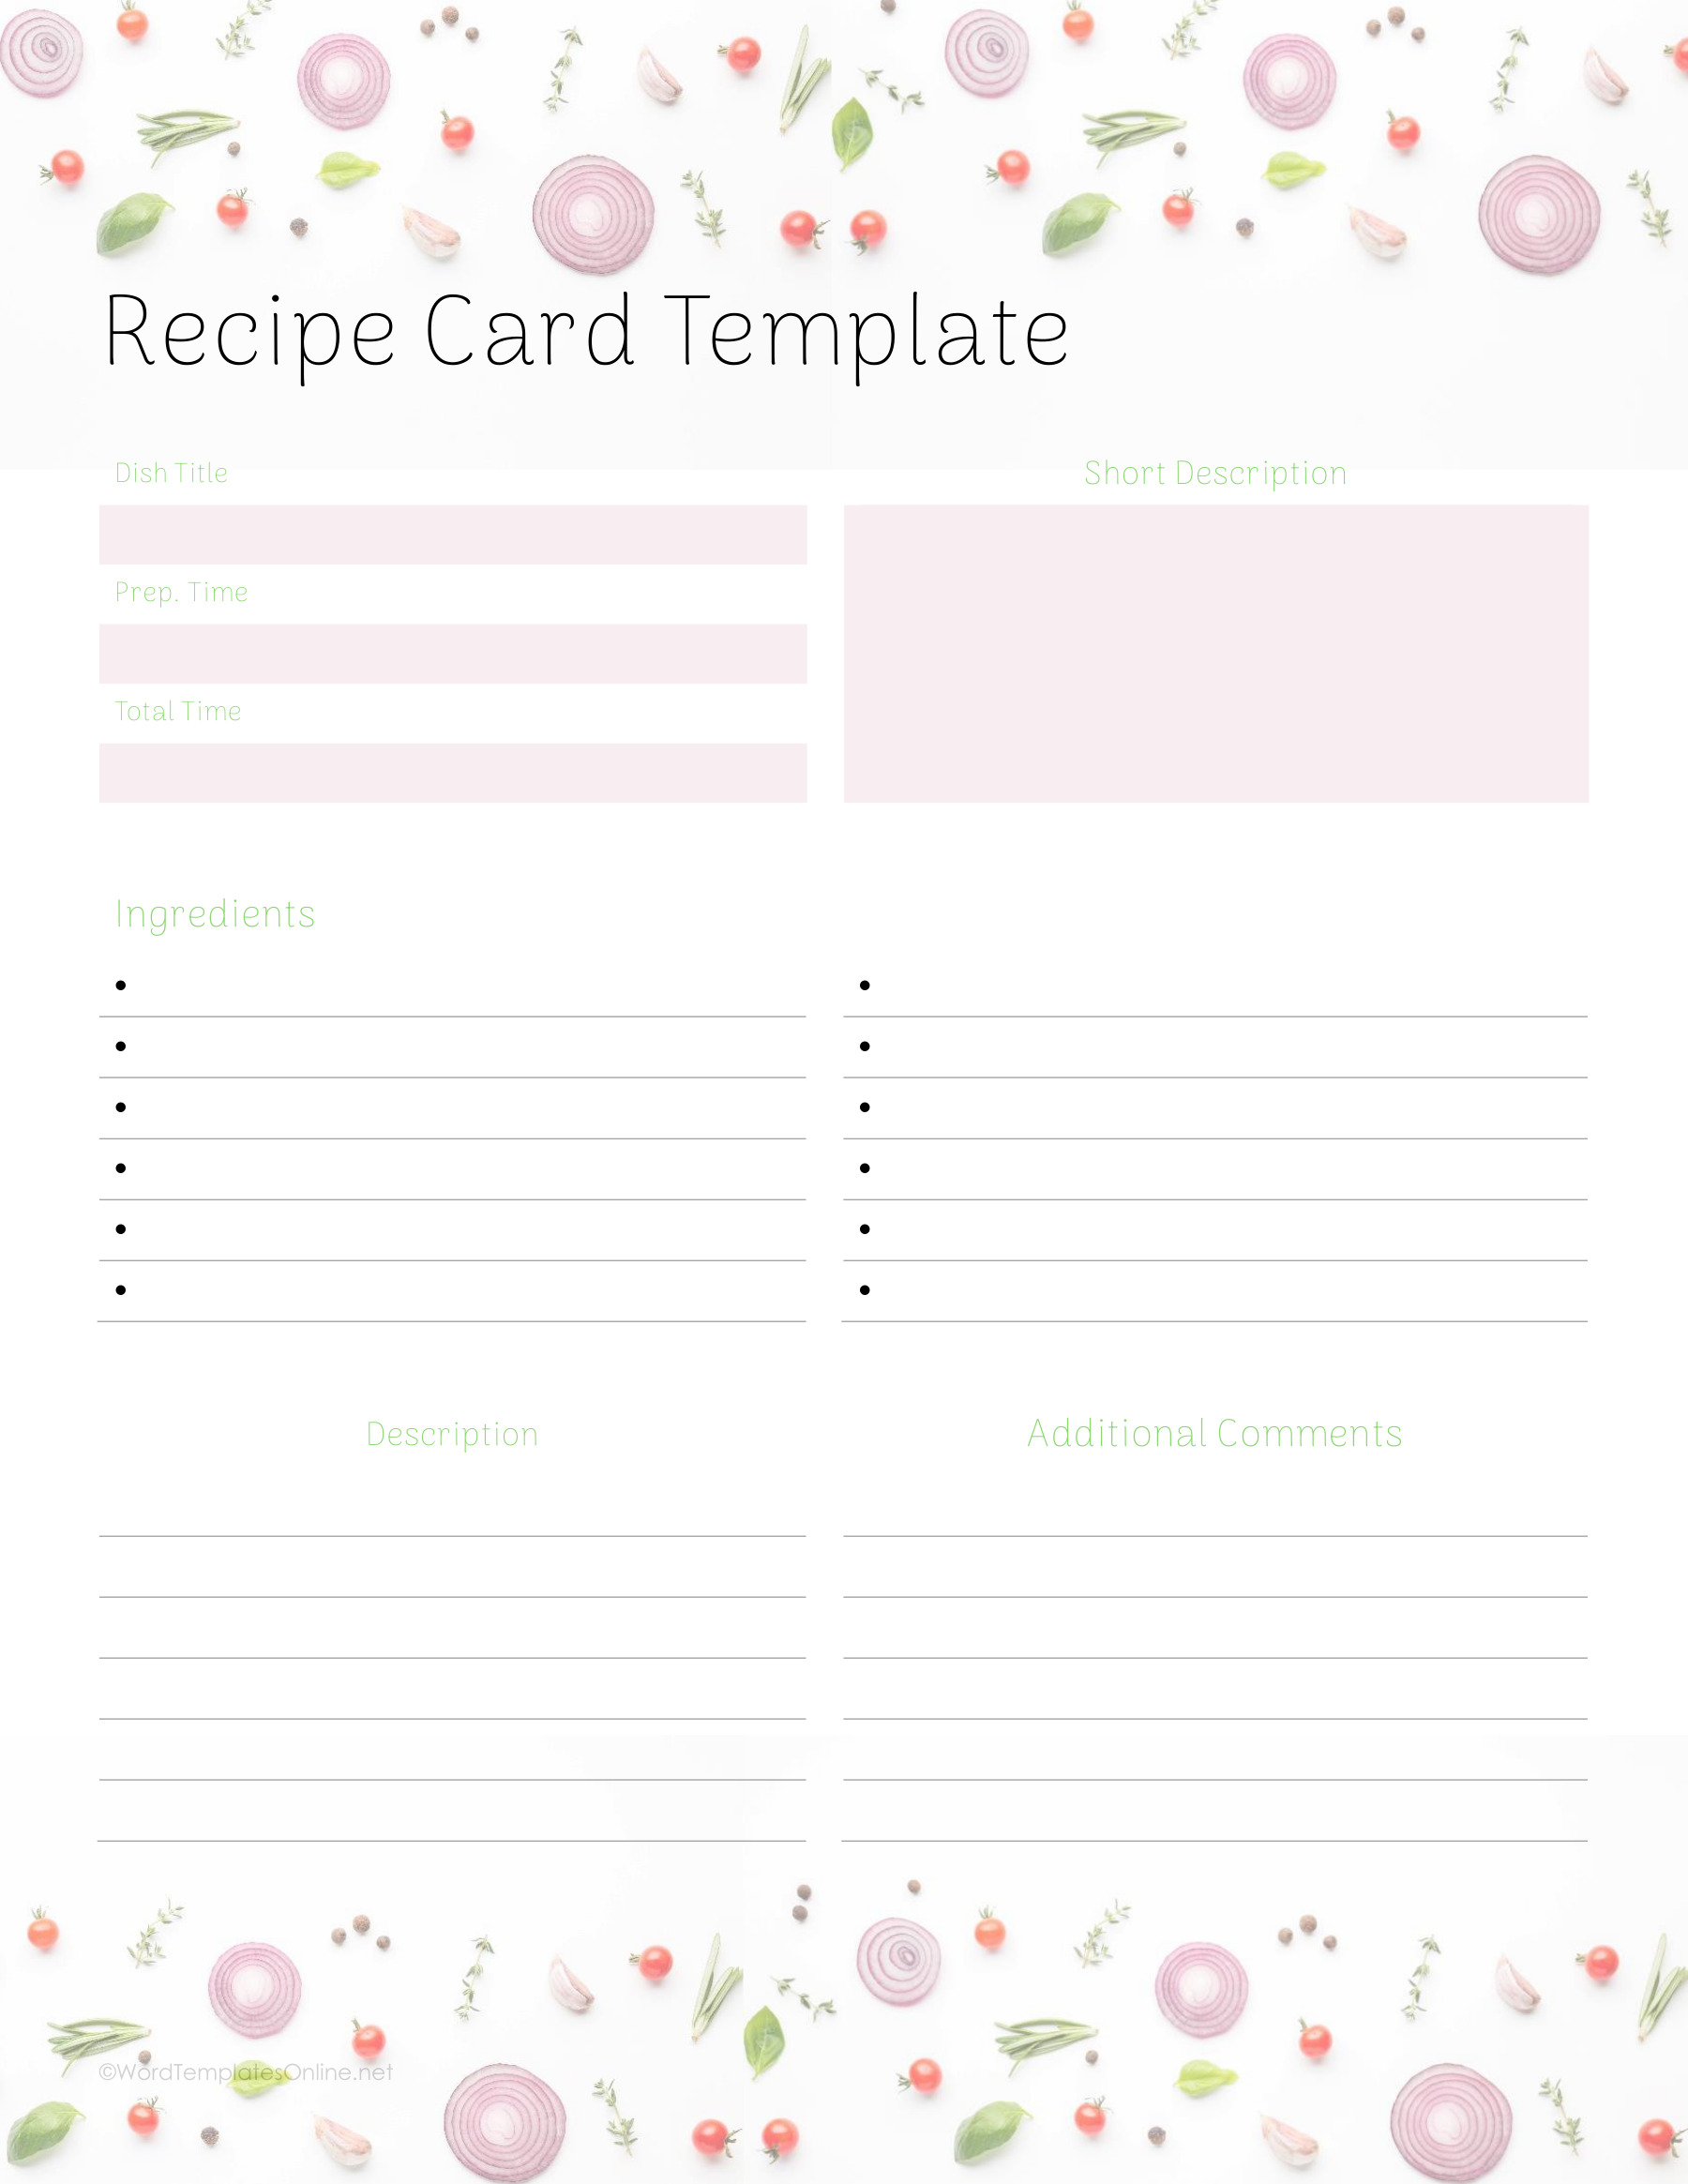
Light Vegetables with Description
Peach Border with Wide Procedure
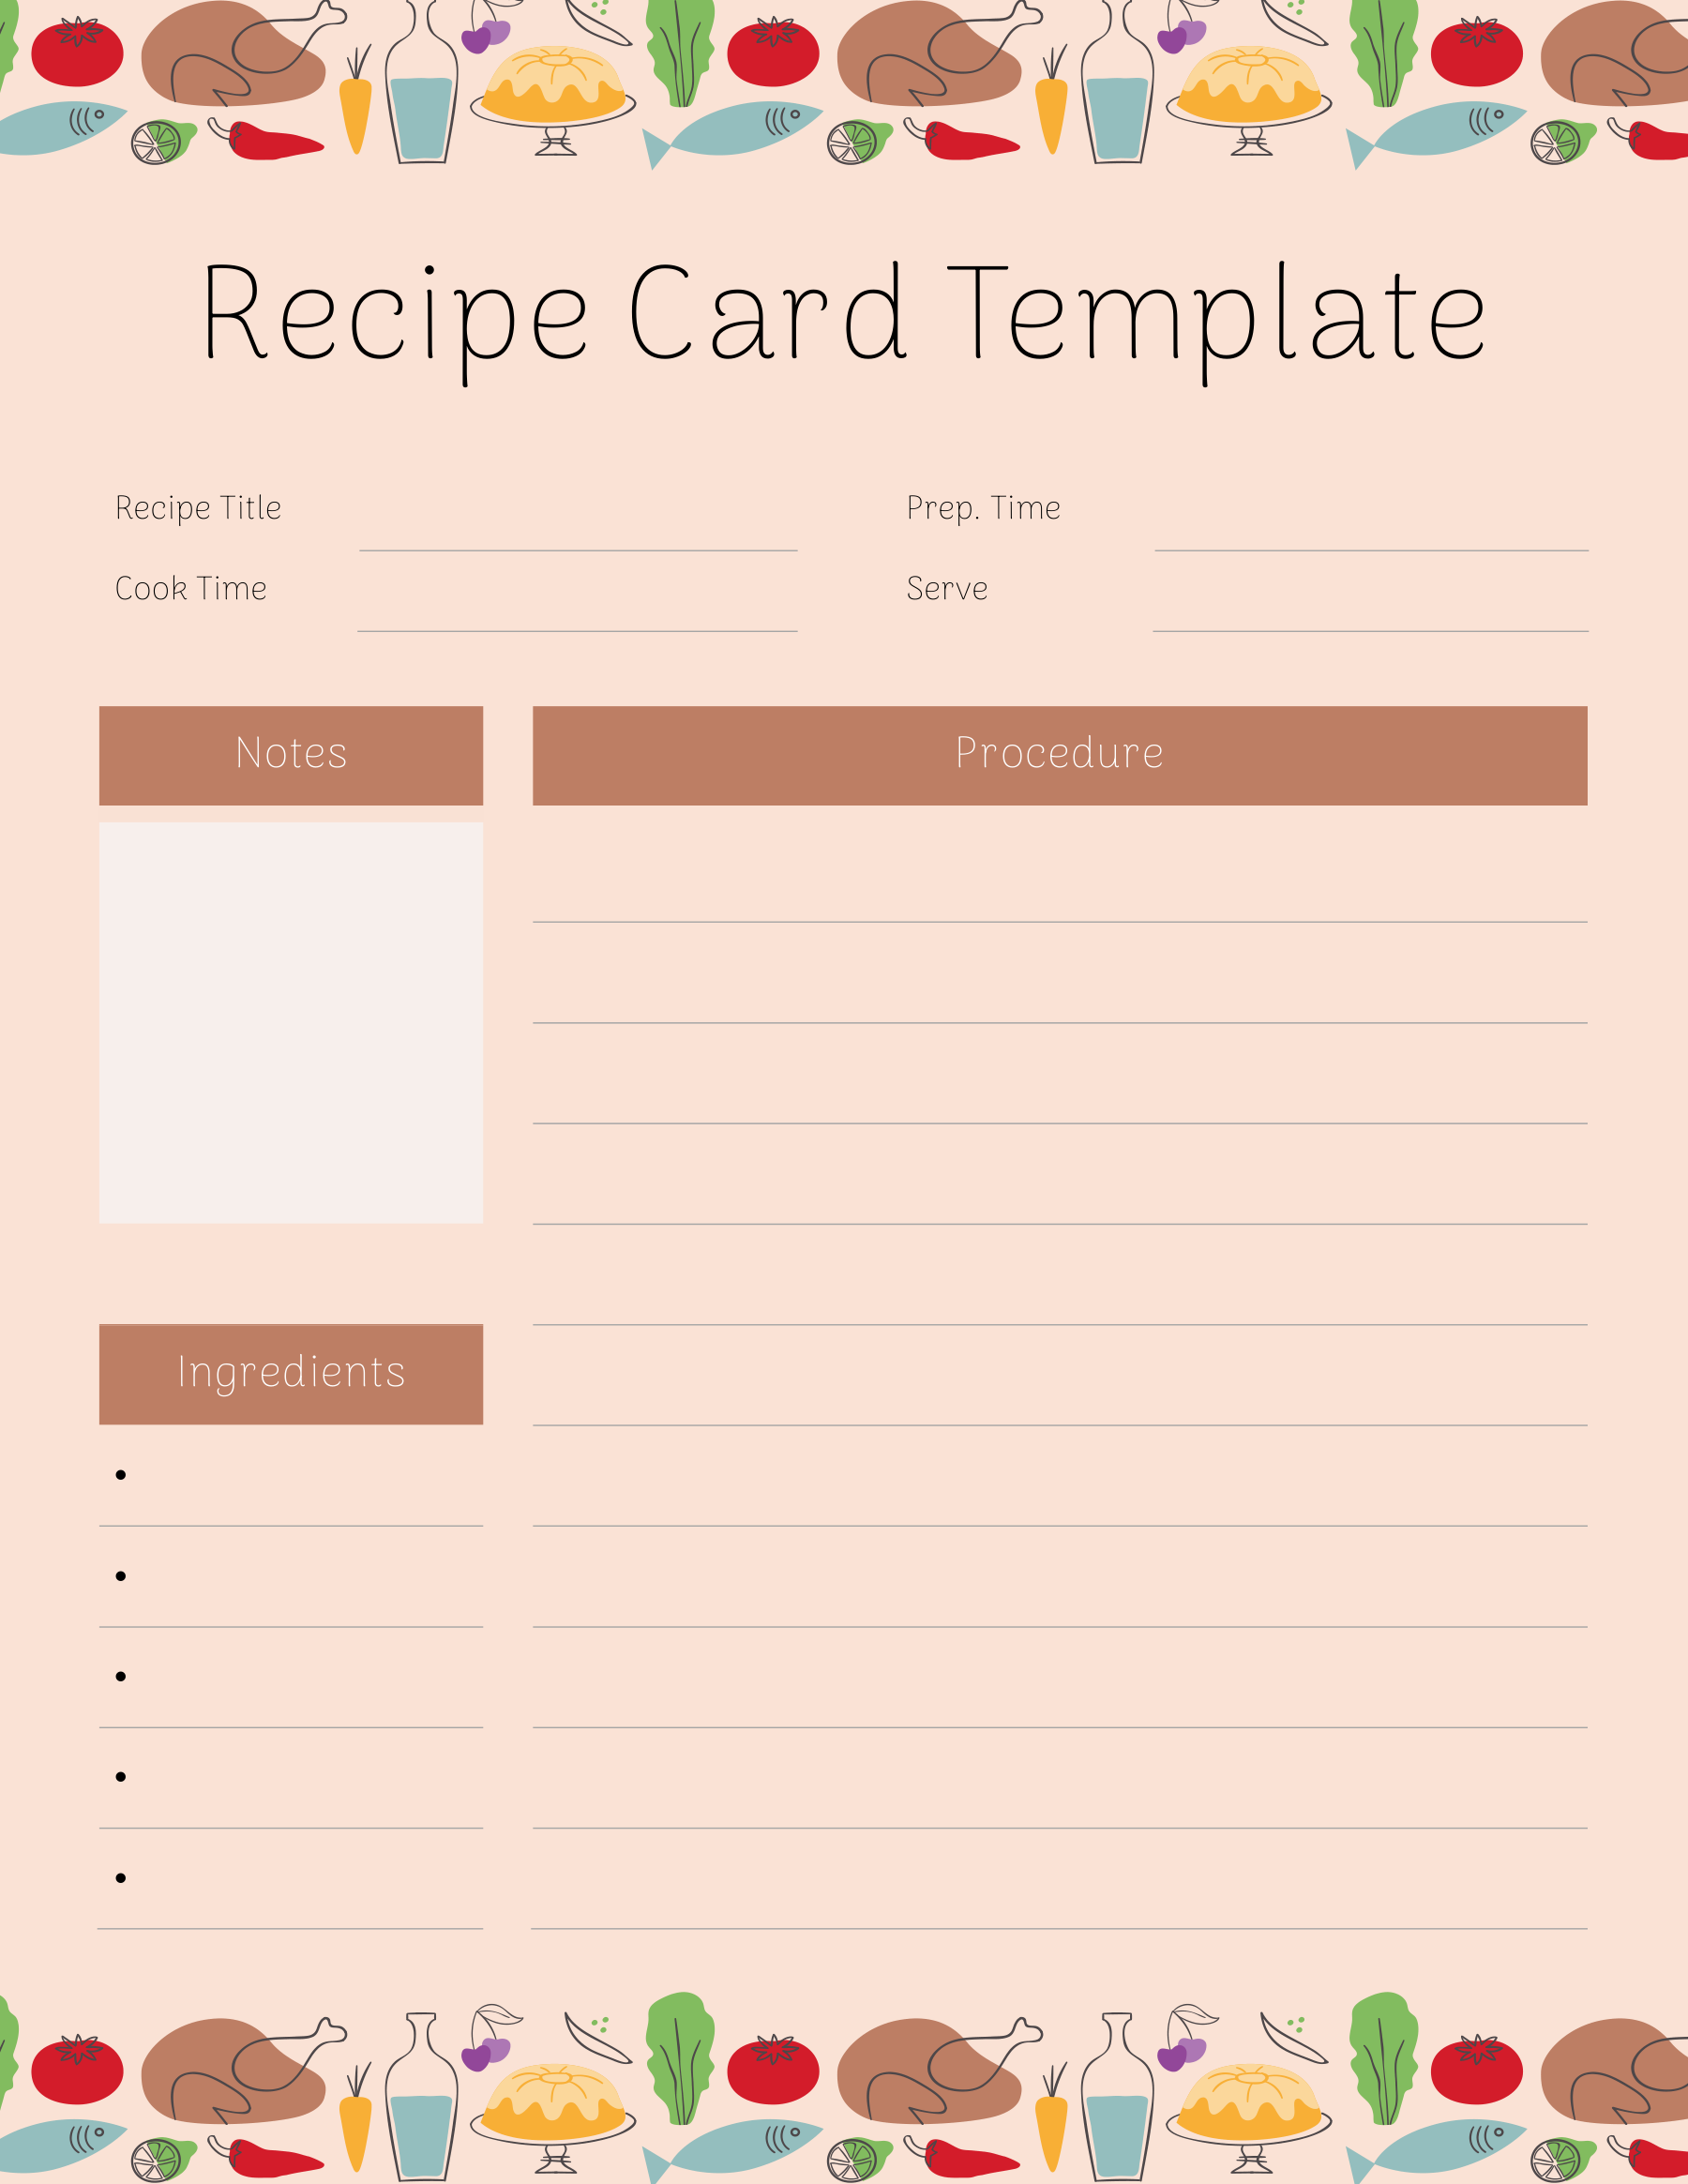
Ingredient Checklist Recipe
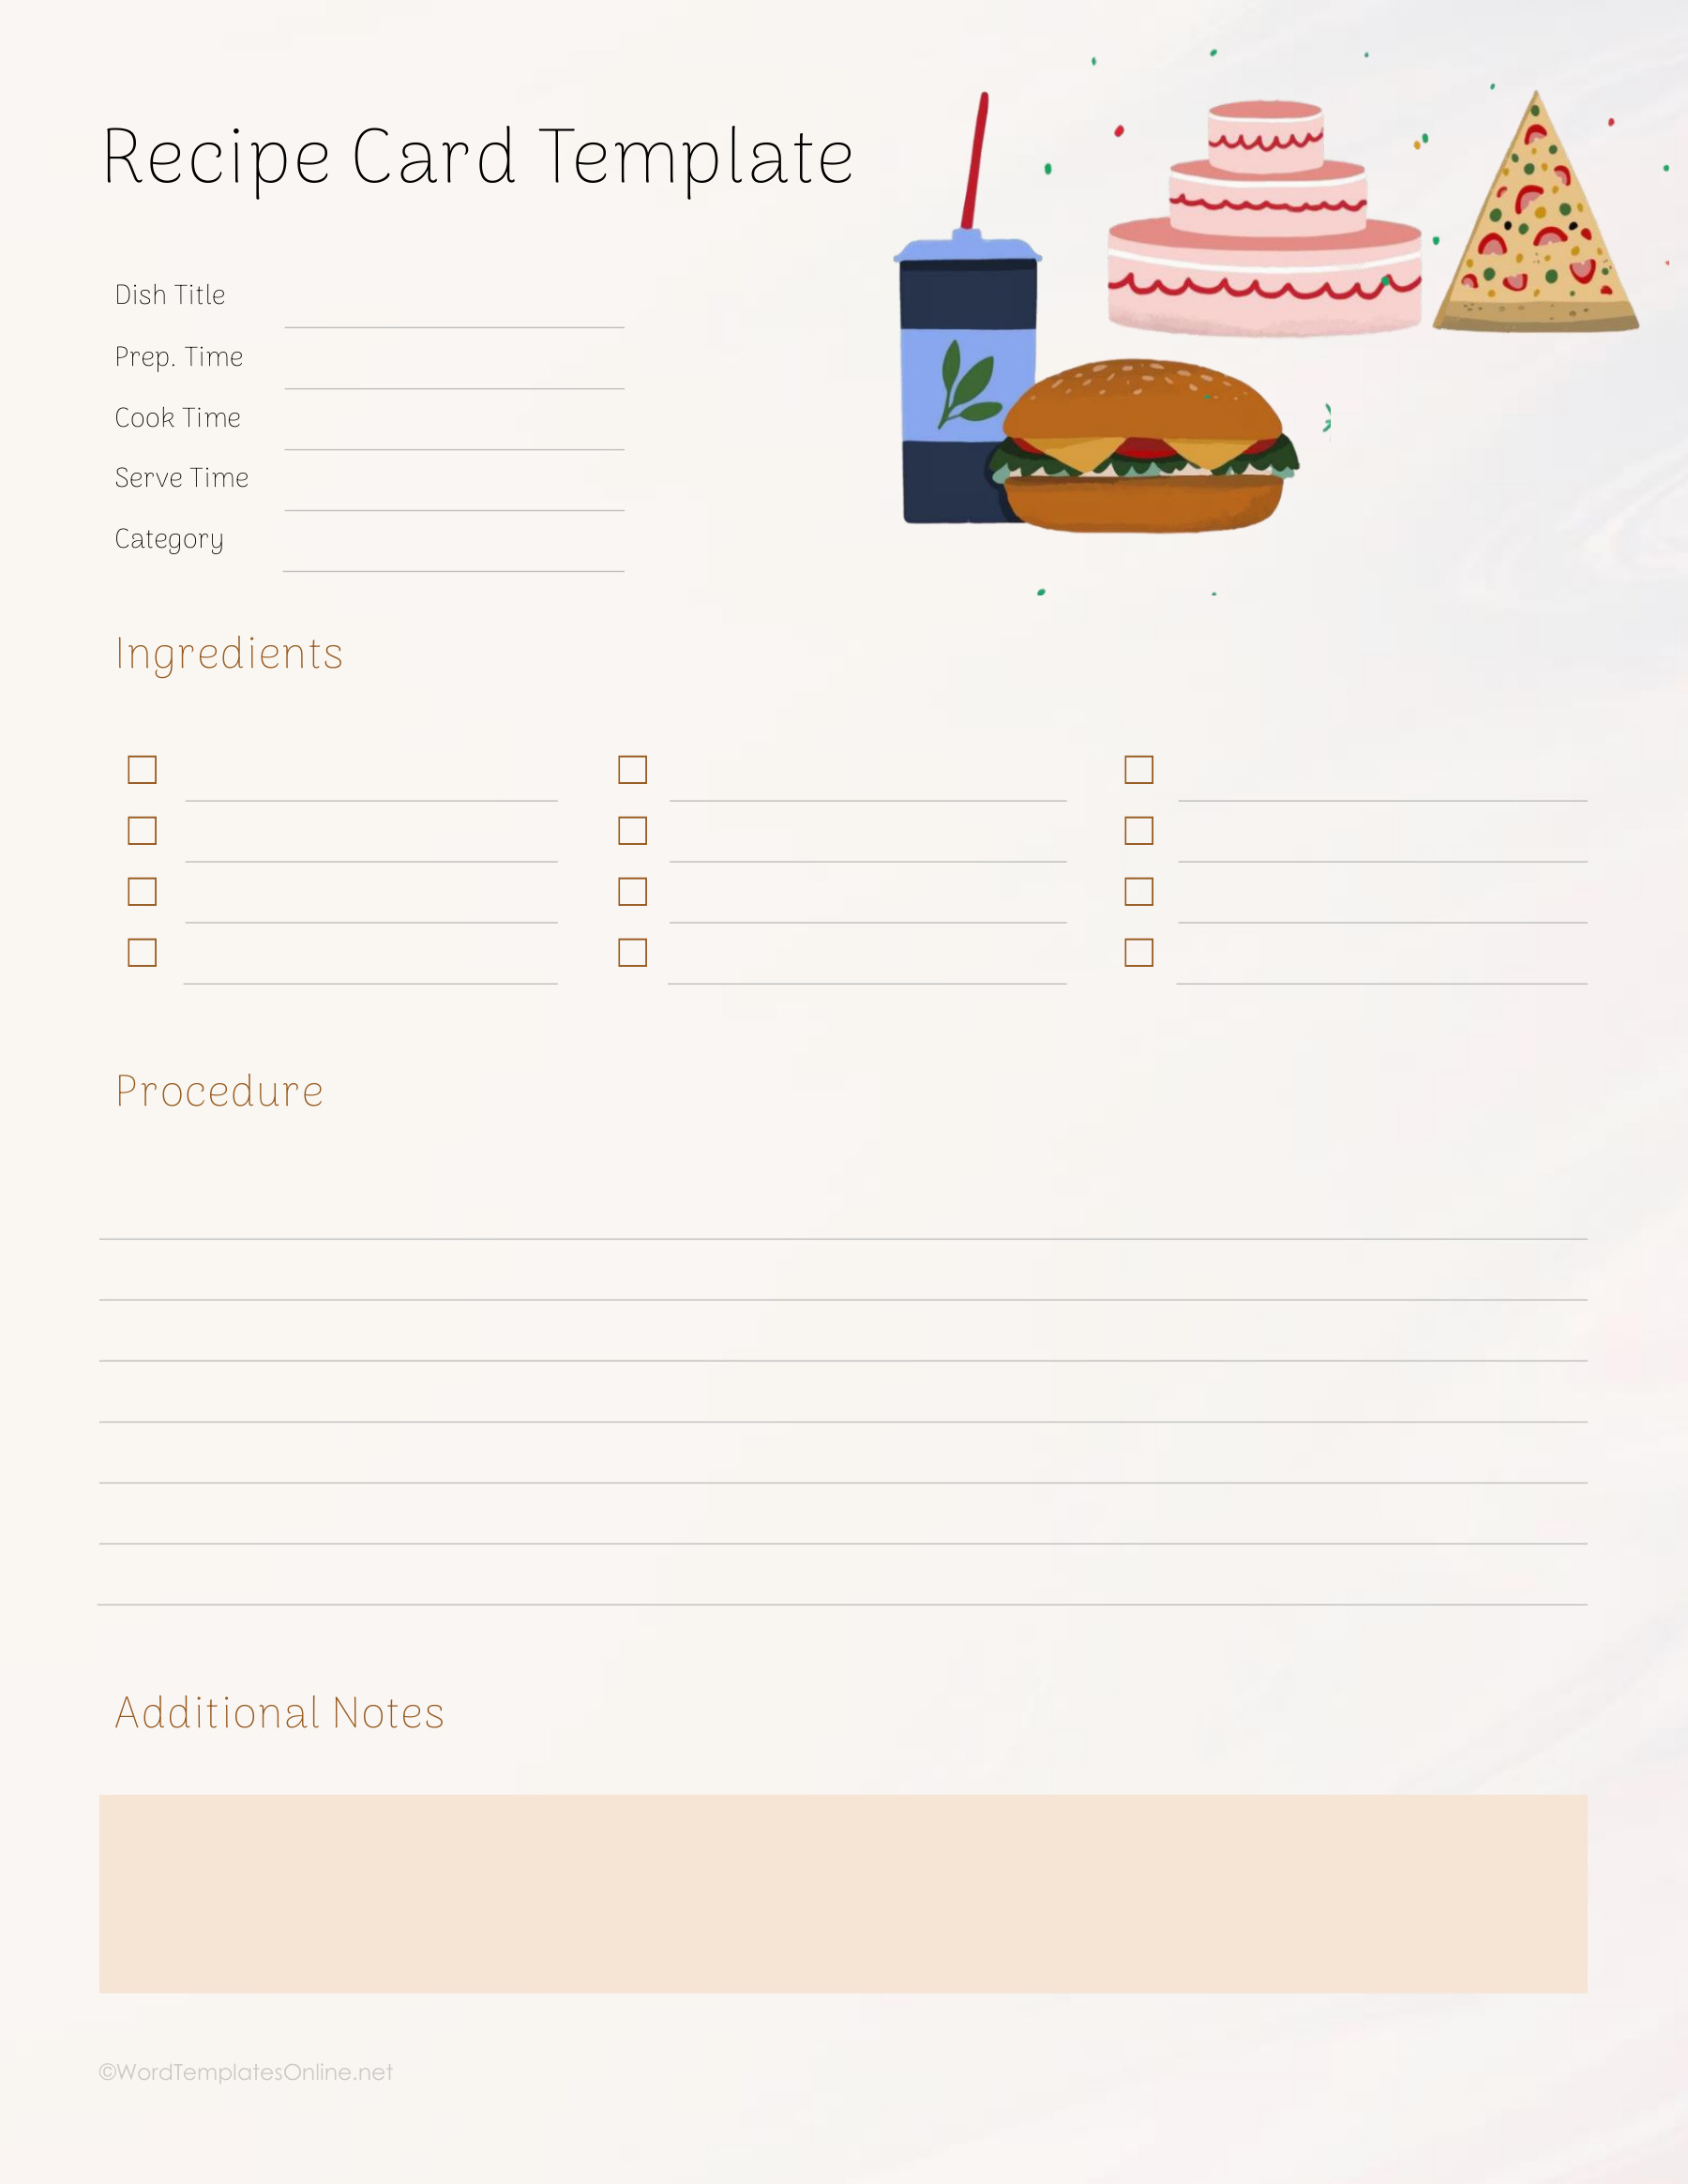
Vegetable Border with Long Columns
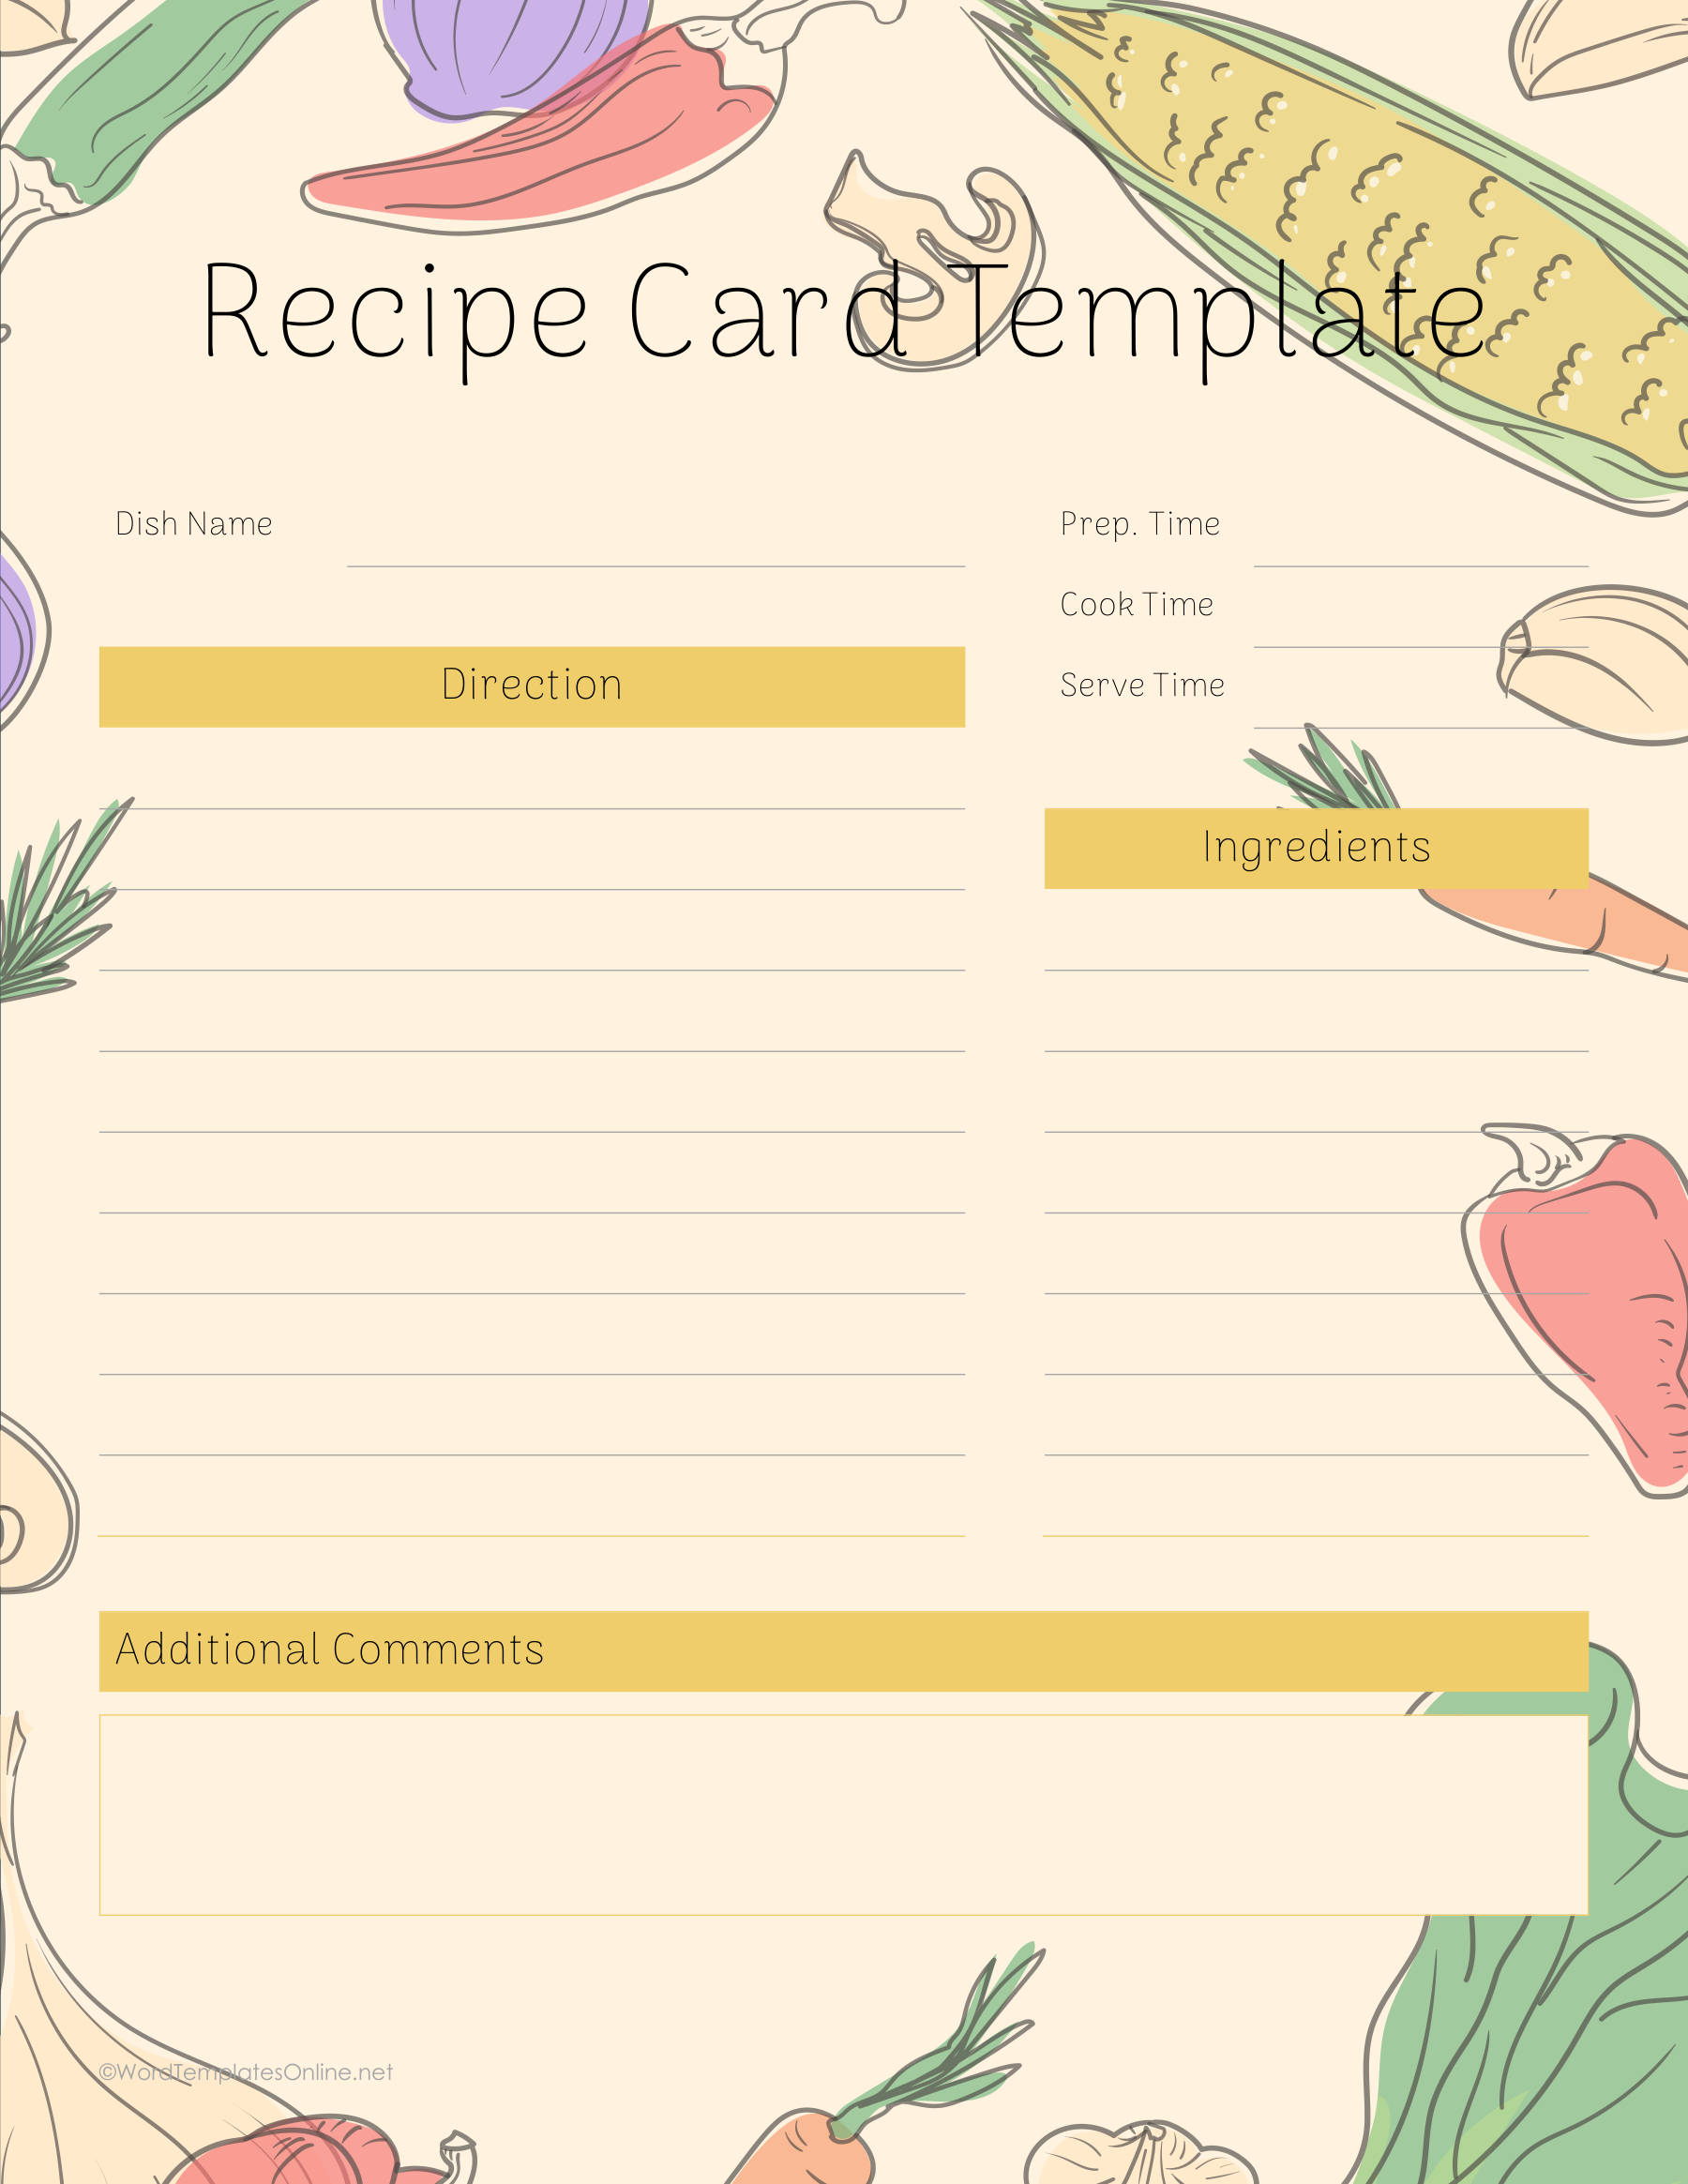
Green Vegetables with Timing Details
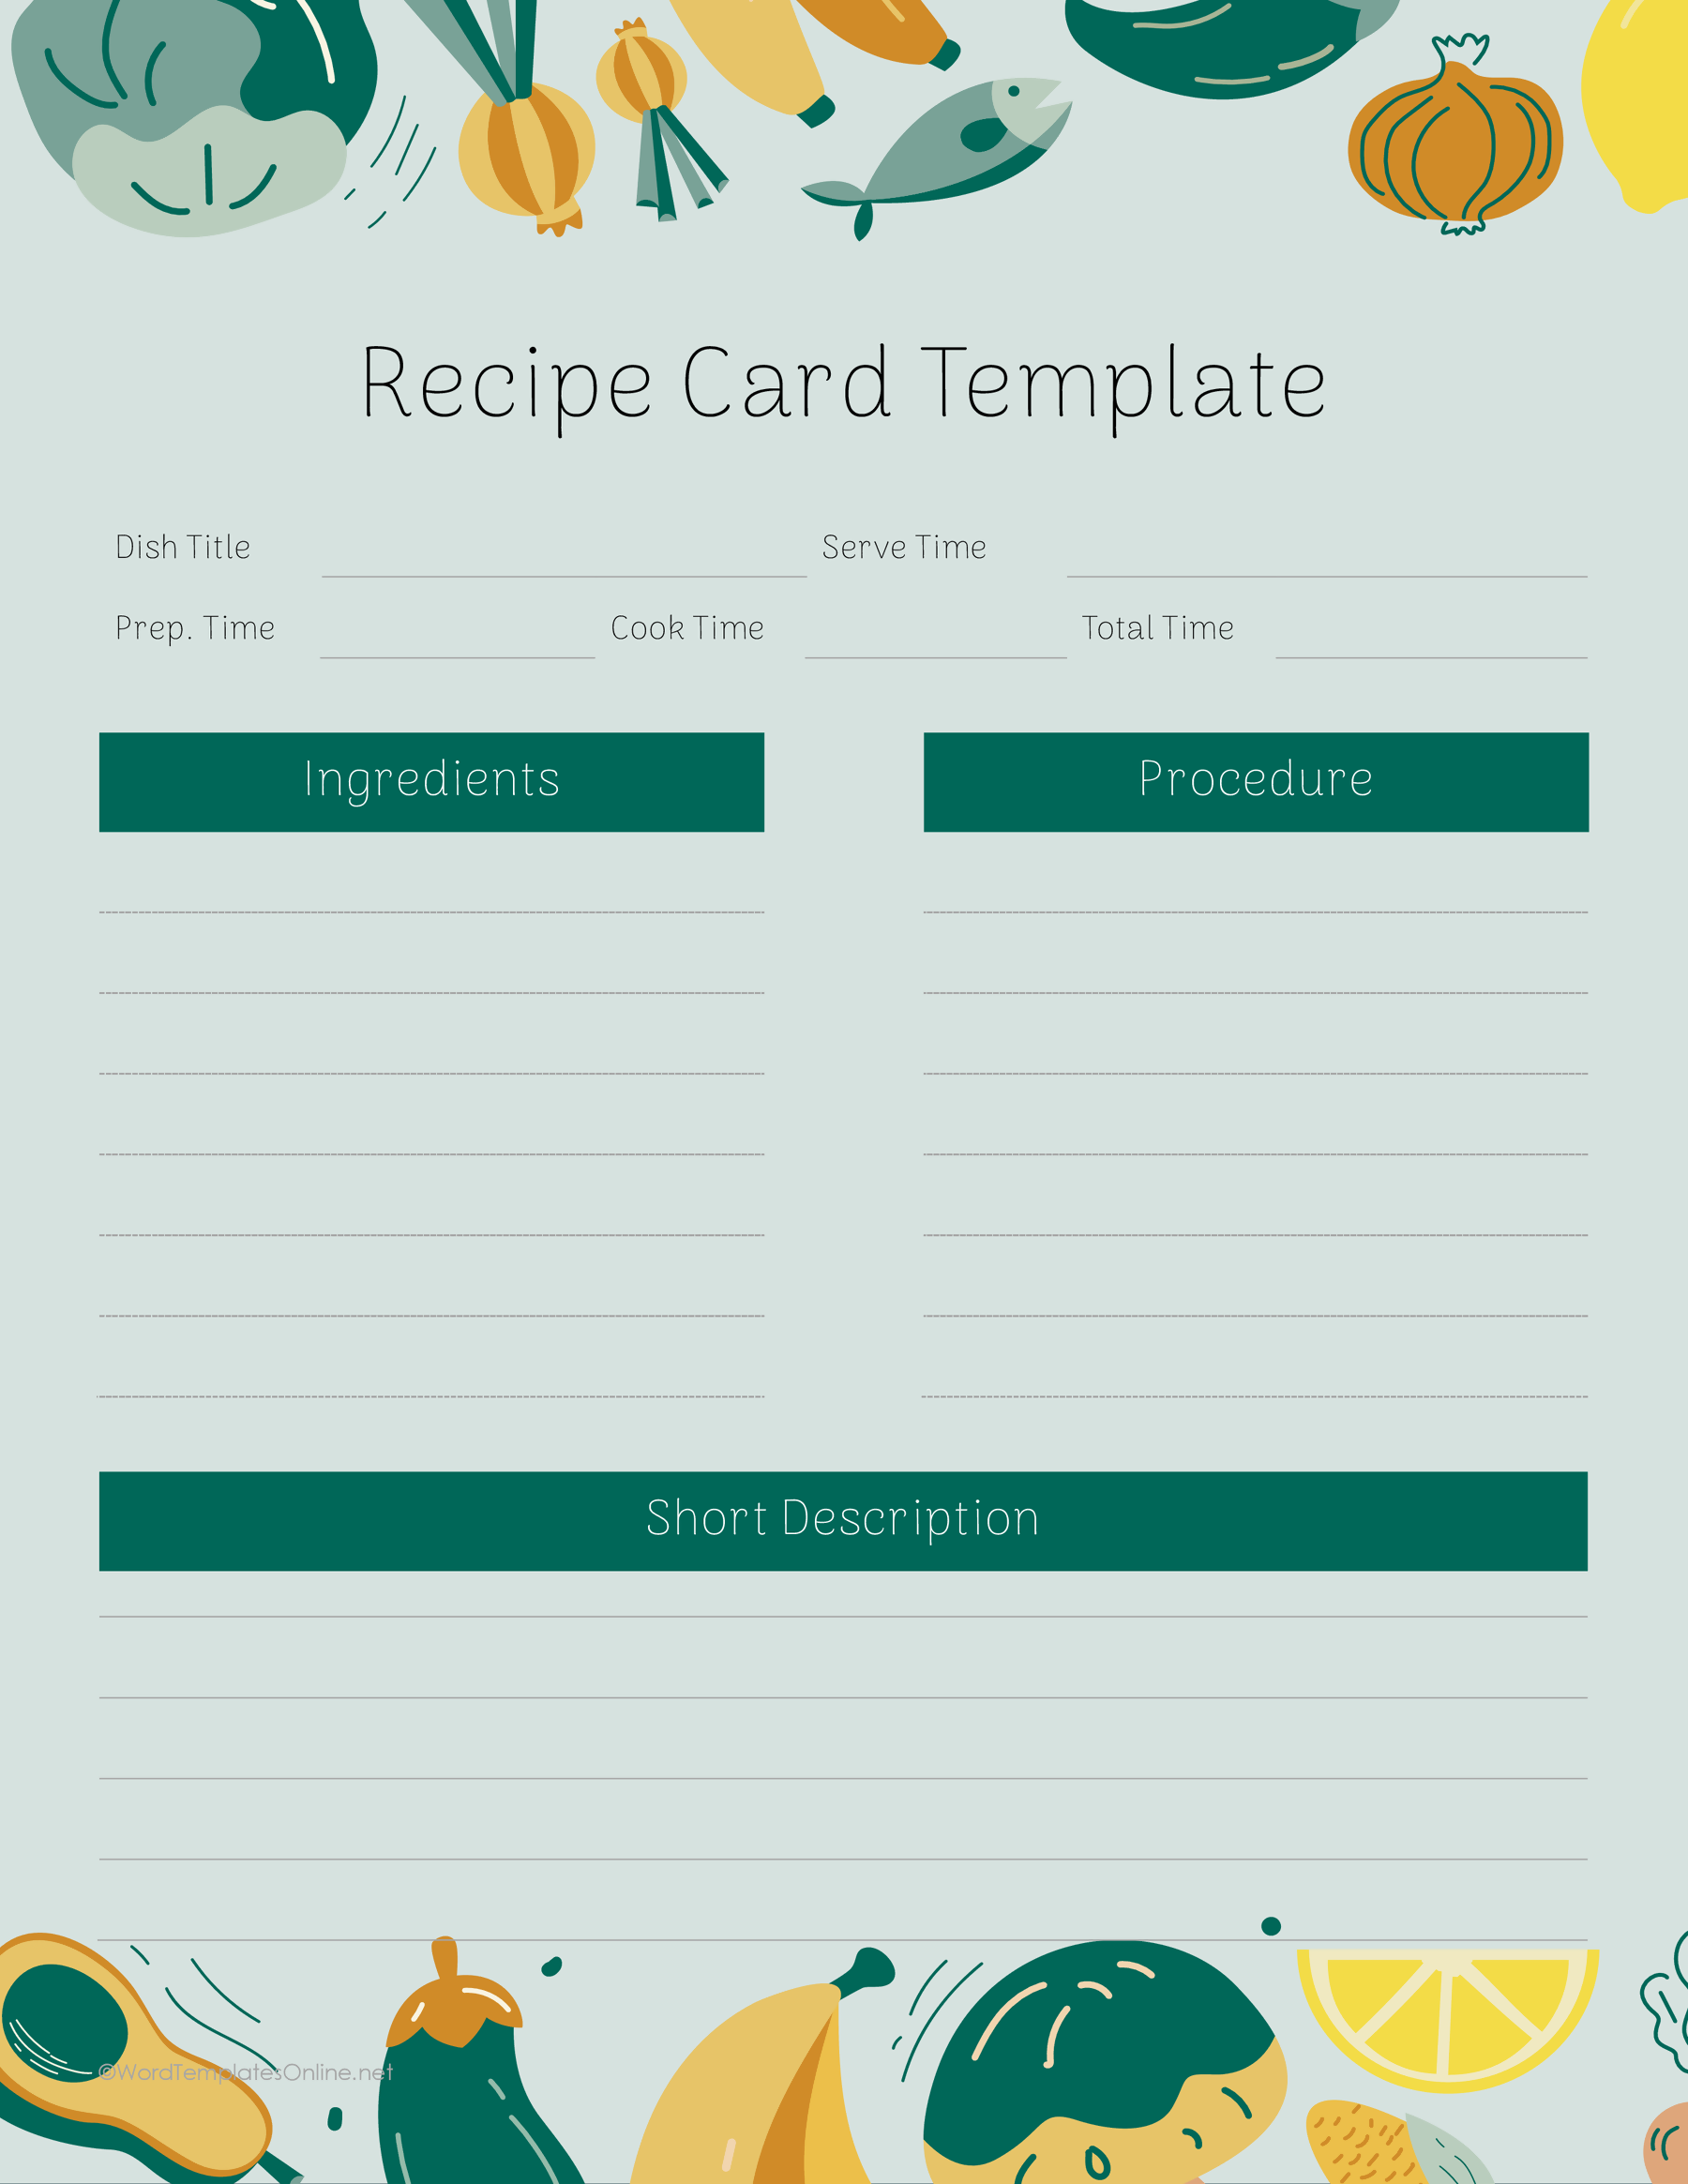
Orange Chef with Wide Procedure
Lavender Five-Step Recipe
Pale Leaves with Long Method
Save the favorites, along with what you learned
Some recipe pages become more useful each time you cook from them. You find a clearer way to describe a step, remember which pan you used, or finally write down the detail a relative always left out. This group keeps room for those notes alongside the recipe.
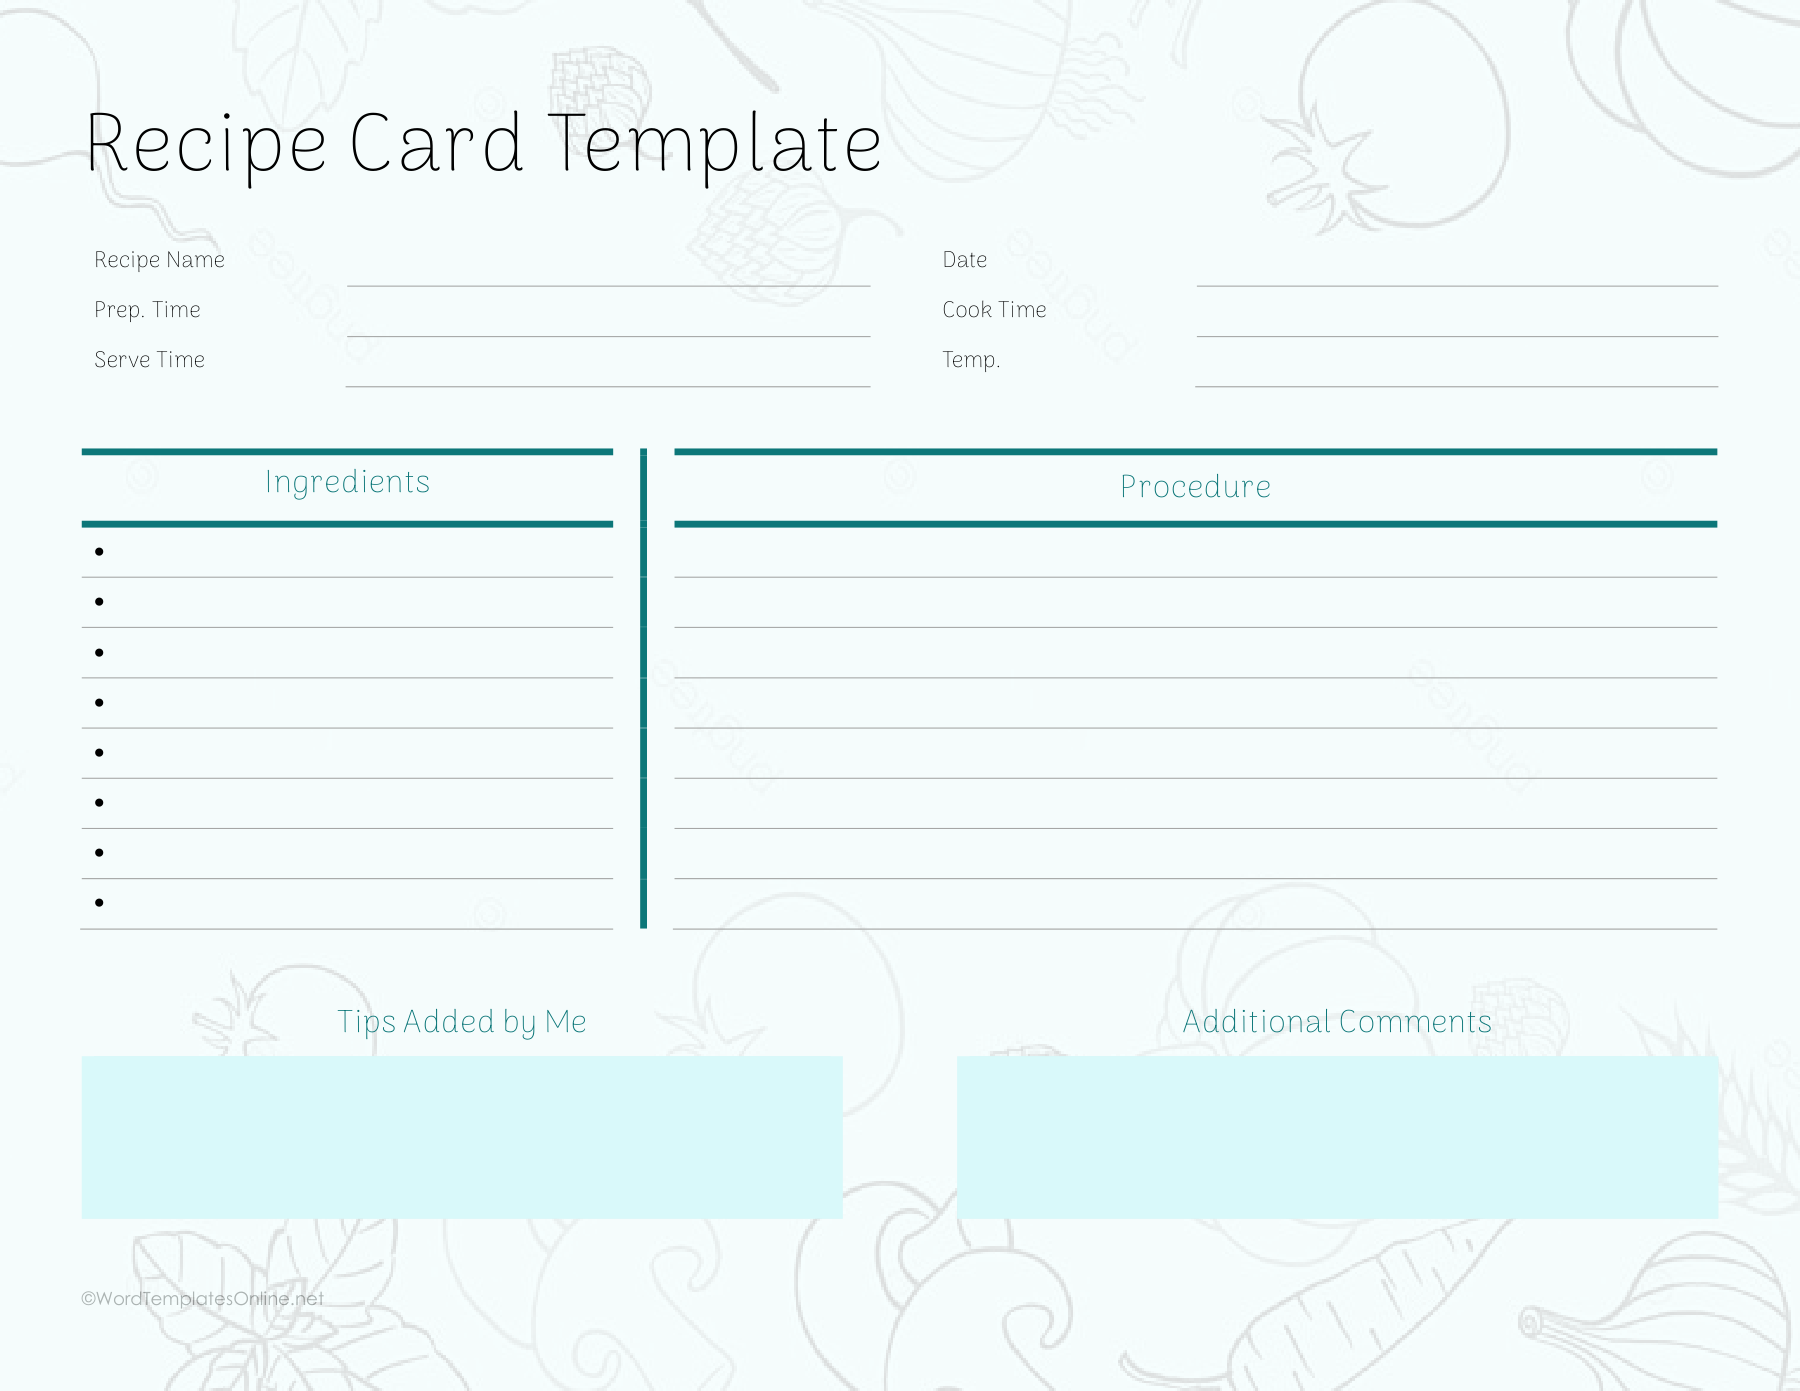
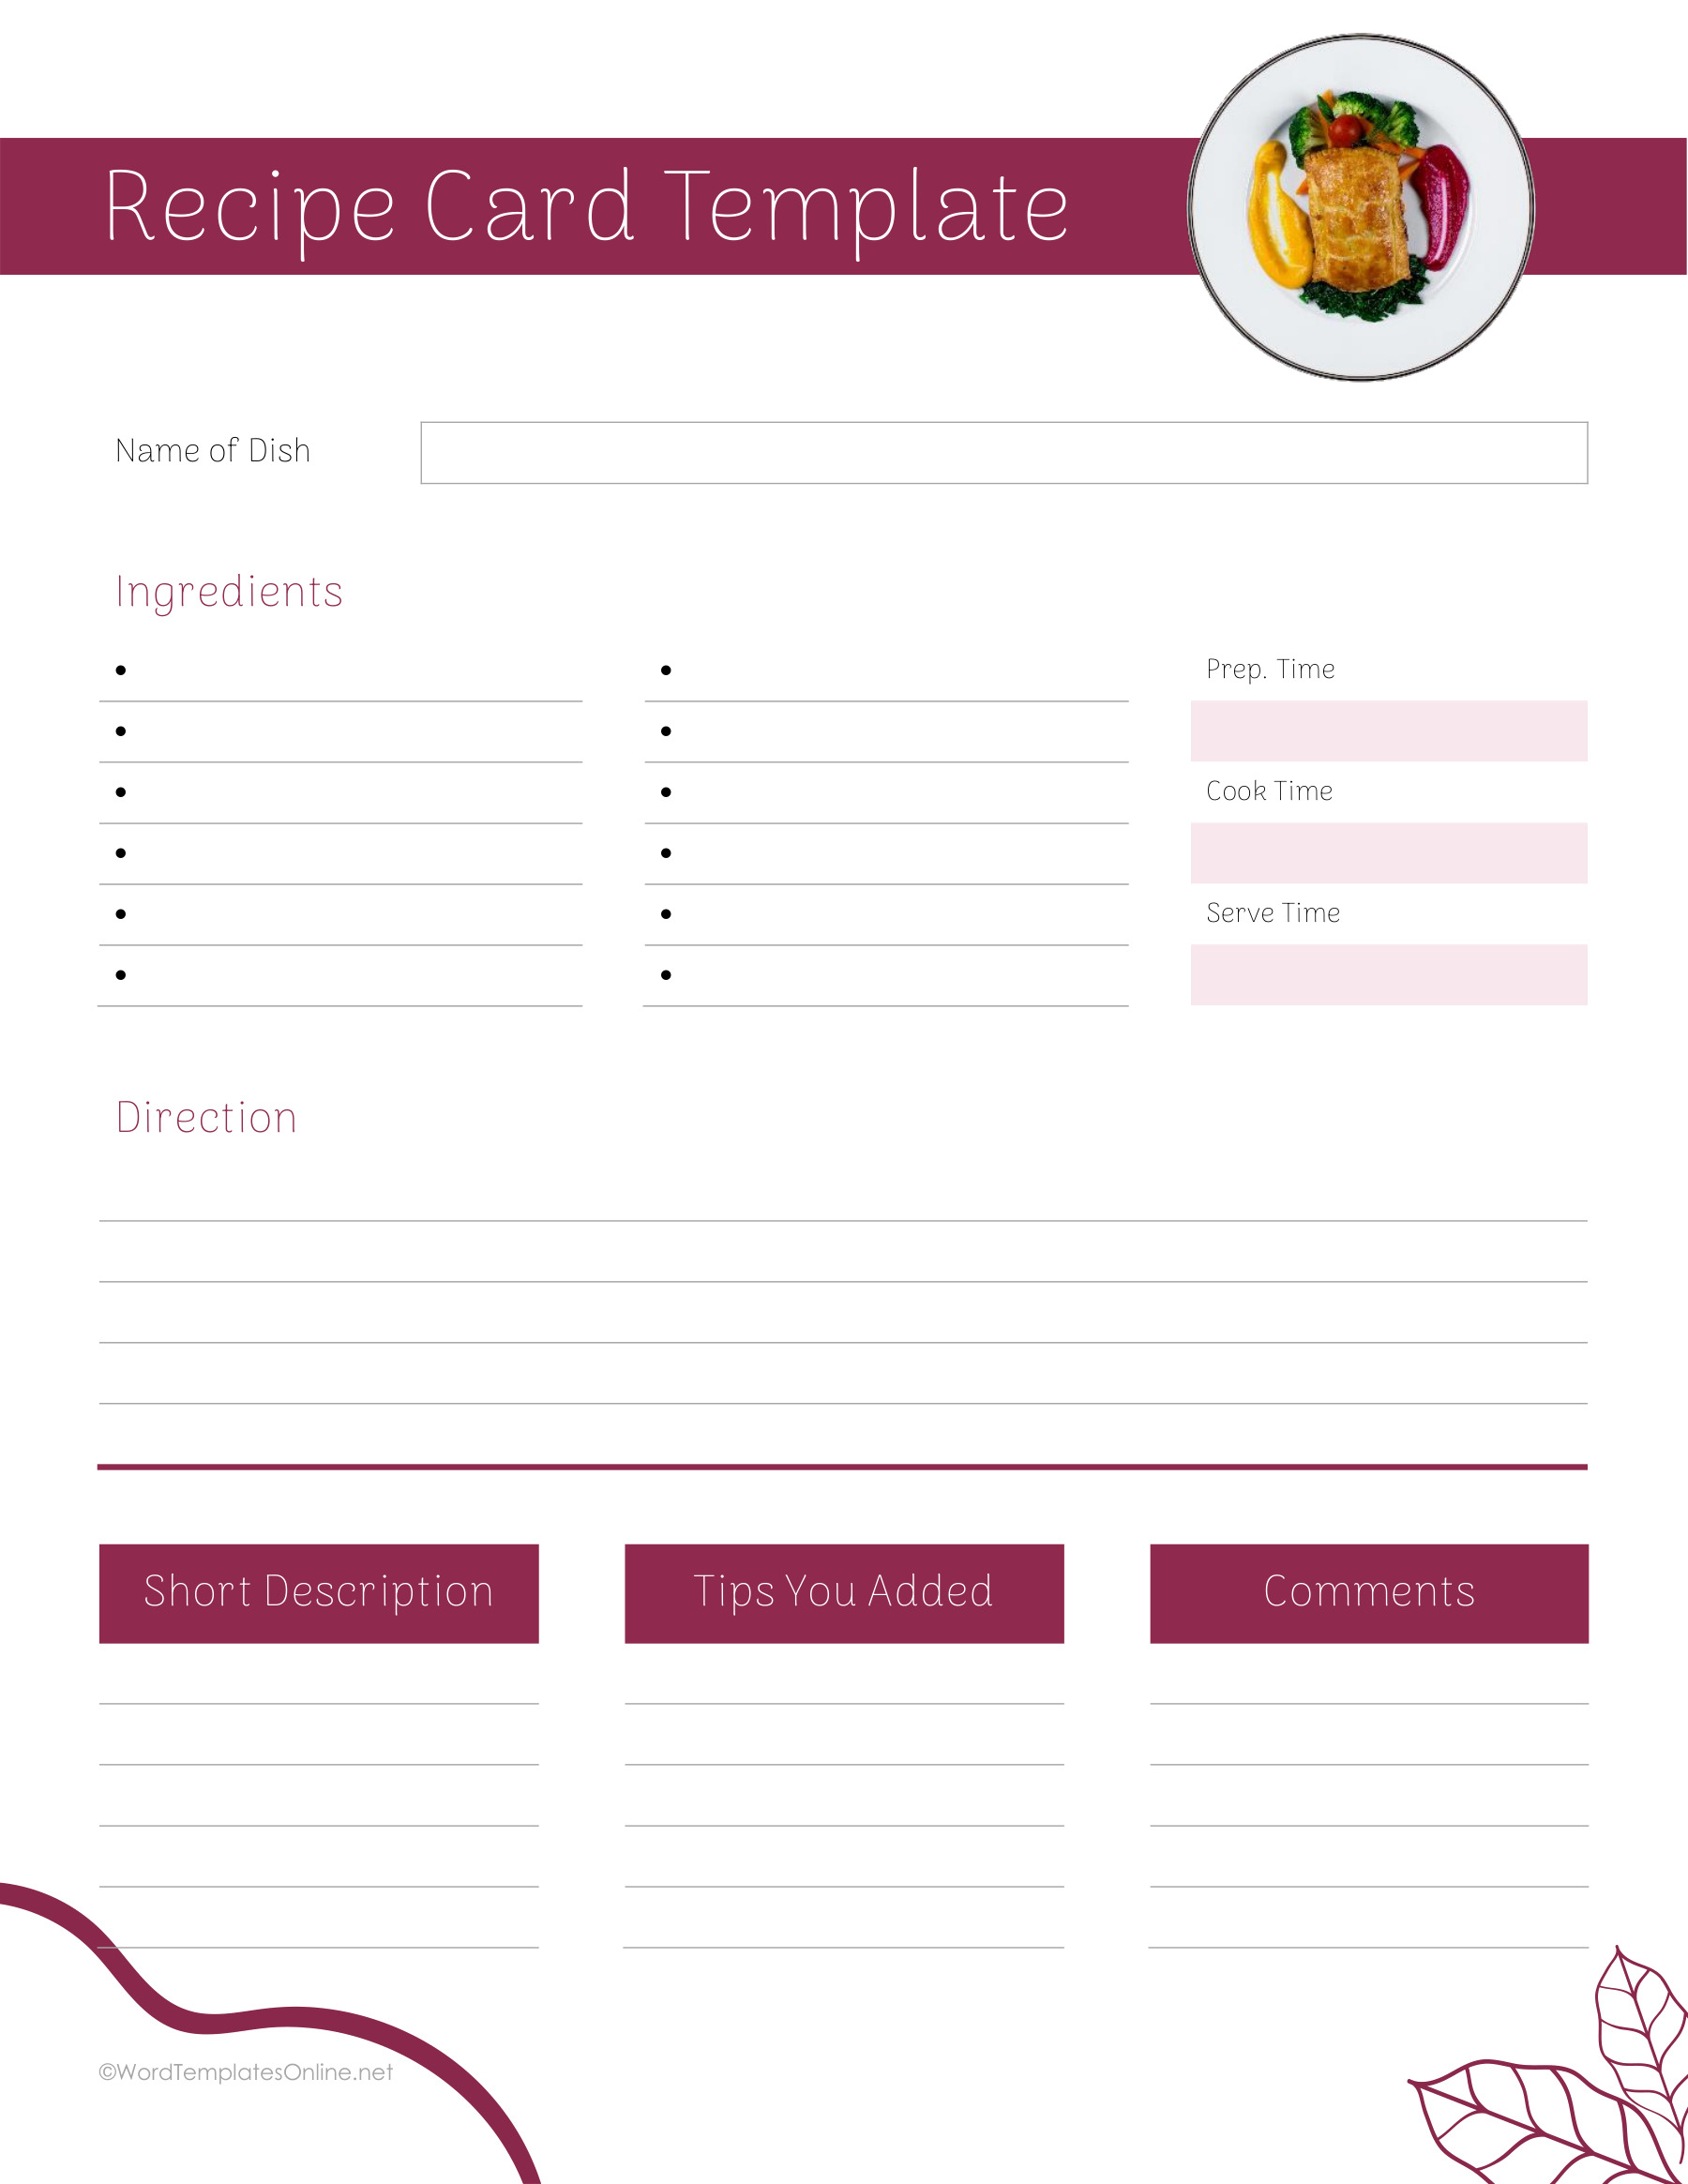
Aqua Landscape with Personal Tips gives you separate spaces for tips and additional comments, plus a date. It’s a good choice when you want to keep the main method tidy while recording what happened on a particular attempt. The Burgundy Plate with Tips and Red and Pink Personal Tips layouts make a similar distinction on portrait pages.
Keep a successful change separate from an idea you haven’t tried. “Made on [date]: [change and result]” is a record. “Next time: [idea]” is a plan. Those small labels help when you return to the page months later, or someone else borrows it. You don’t want an untested thought to look like an established step.
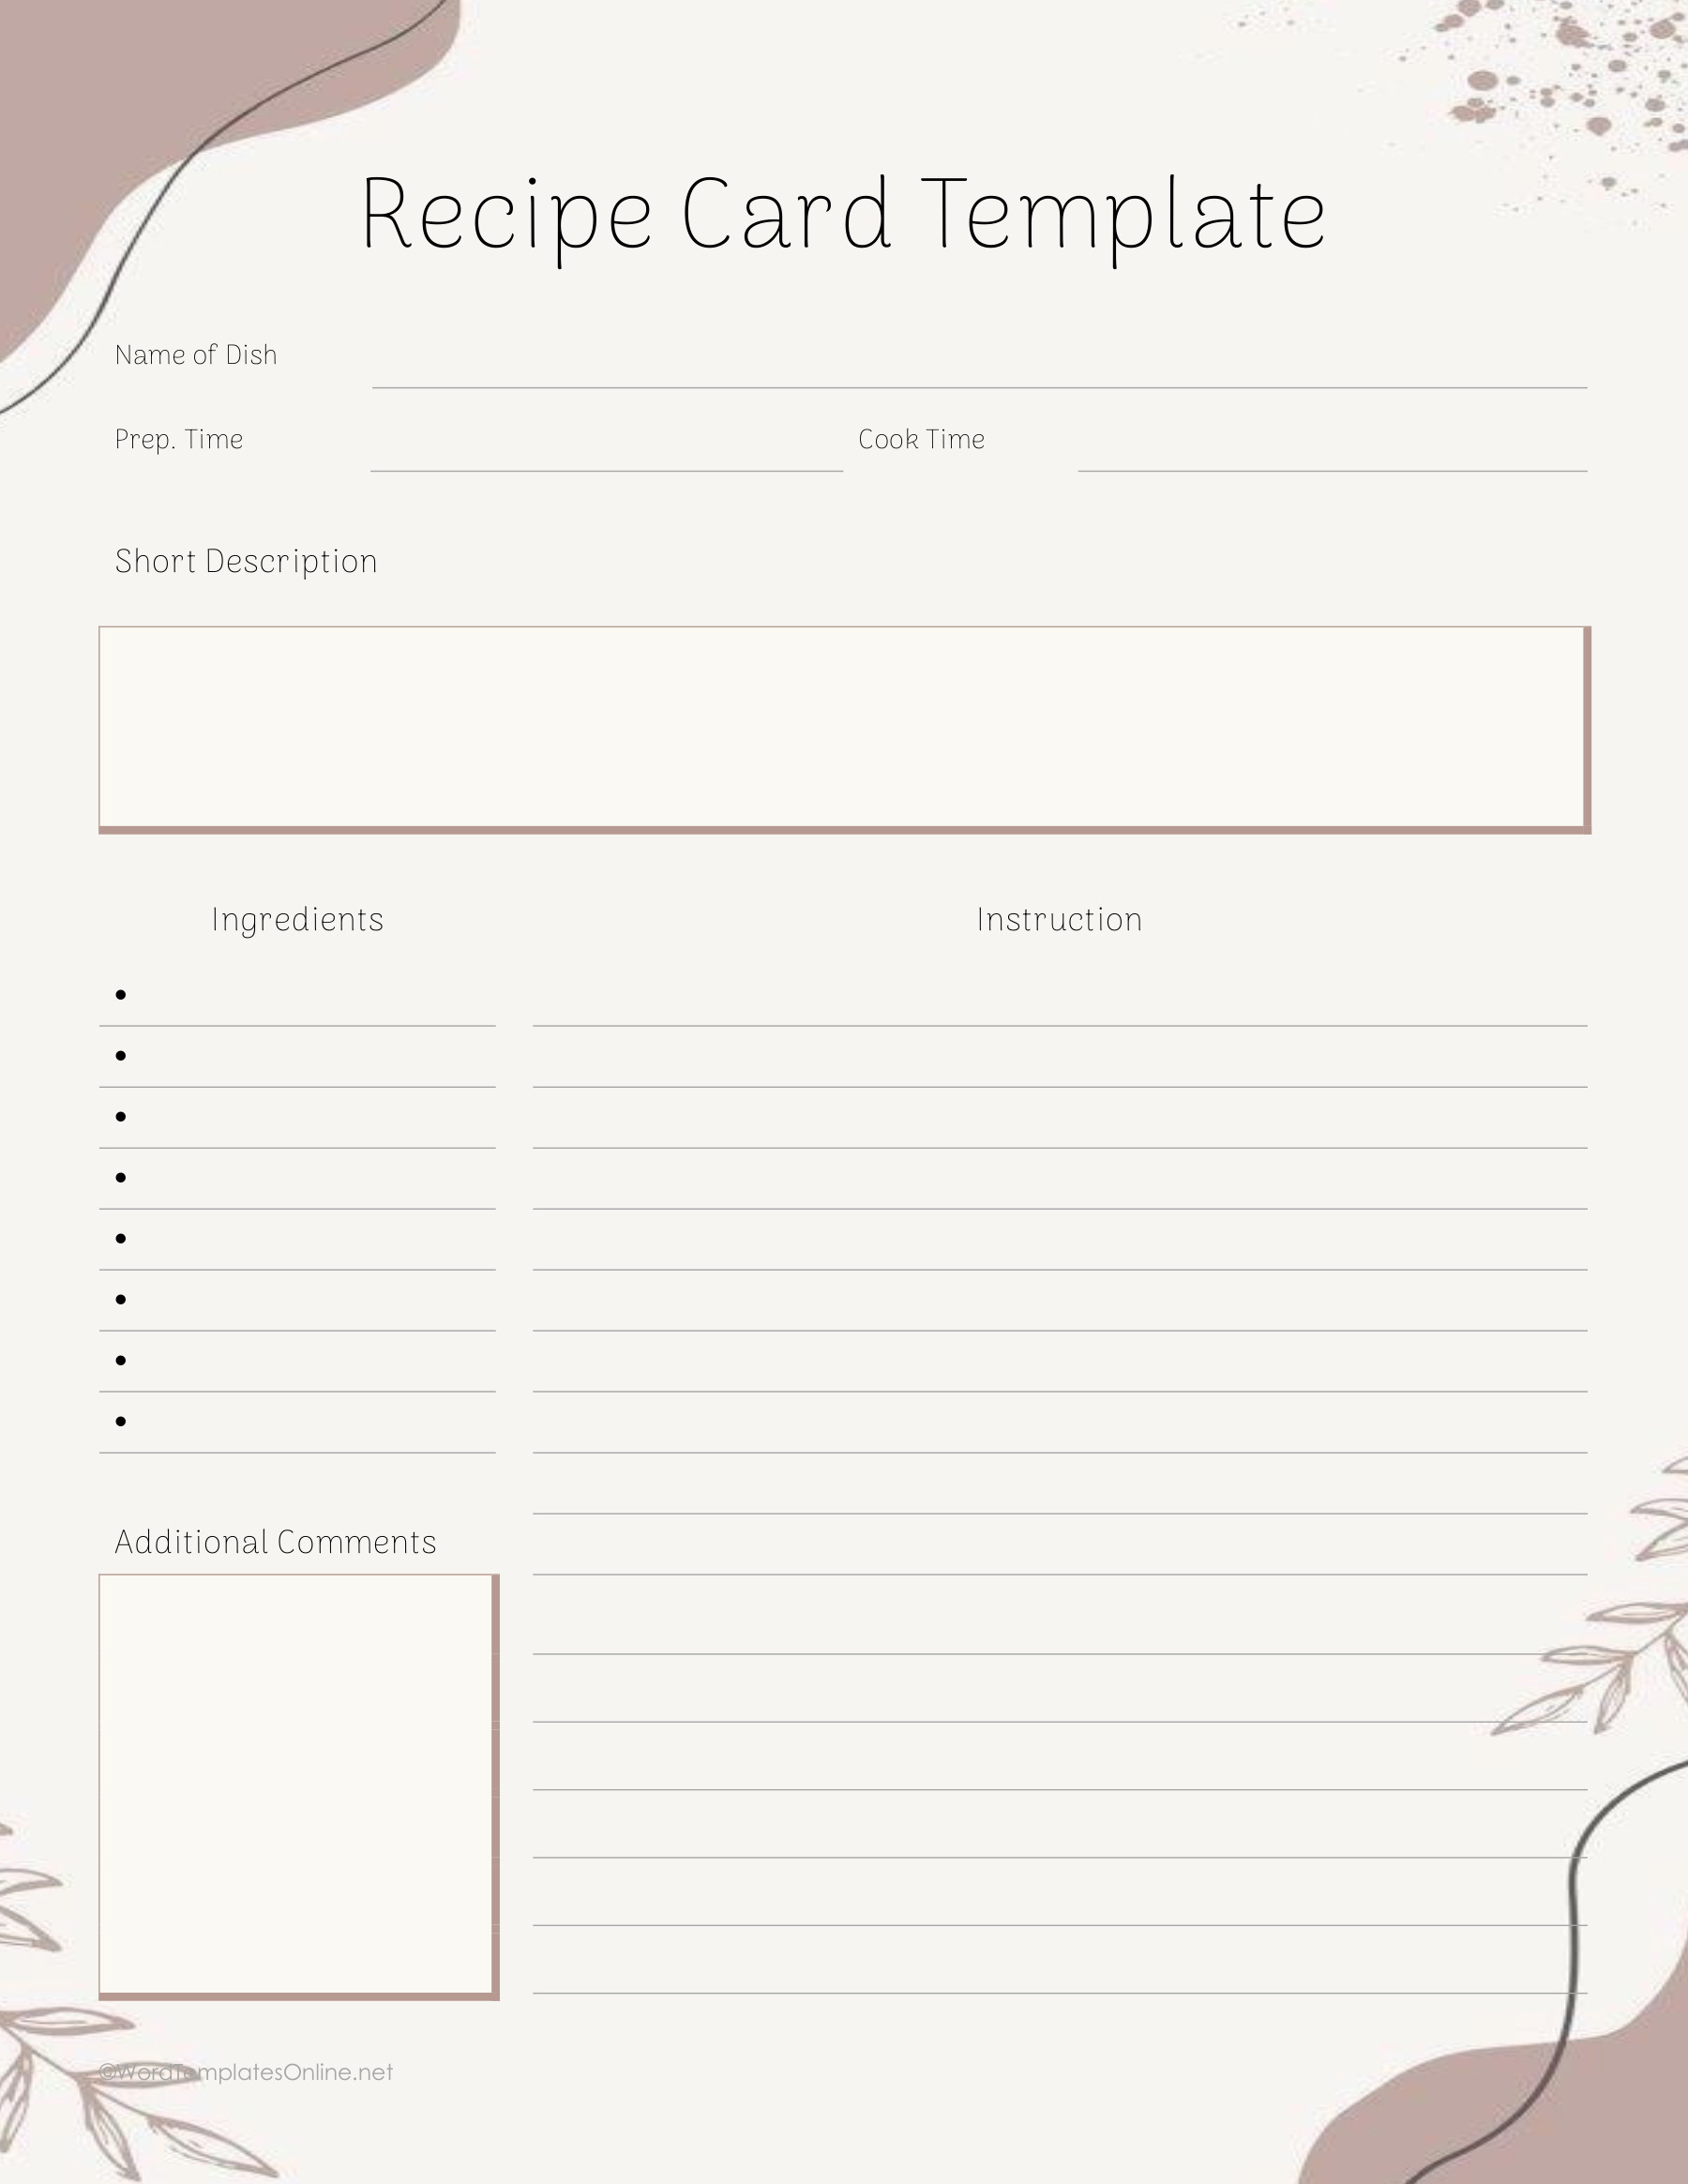
For a family favorite, Beige Recipe with Dish Description offers space to say what the dish is before the ingredients begin. You could add who shared it or the occasion you associate with it, then leave the method for the cooking details. Pale Food Corners with Wide Notes gives the notes a generous area beneath the main columns, while Coral Leaves with Notes Panel keeps them in a separate panel beside the recipe information.
These pages are especially useful when you’re writing down a recipe that has lived in someone’s memory. Ask about the parts they do without thinking: how the ingredients are prepared, which pan they reach for, what gets set aside, and how they know to move to the next step. The recipe-writing activity in Writing Boxes offers similar prompts about quantities, tools and the knowledge a cook needs explained.
Don’t guess a missing amount to make the page look finished. Mark the question and check it with the recipe’s source. The personal notes are there to preserve useful knowledge, not to make an uncertain recipe sound settled.
Pale Food Corners with Wide Notes
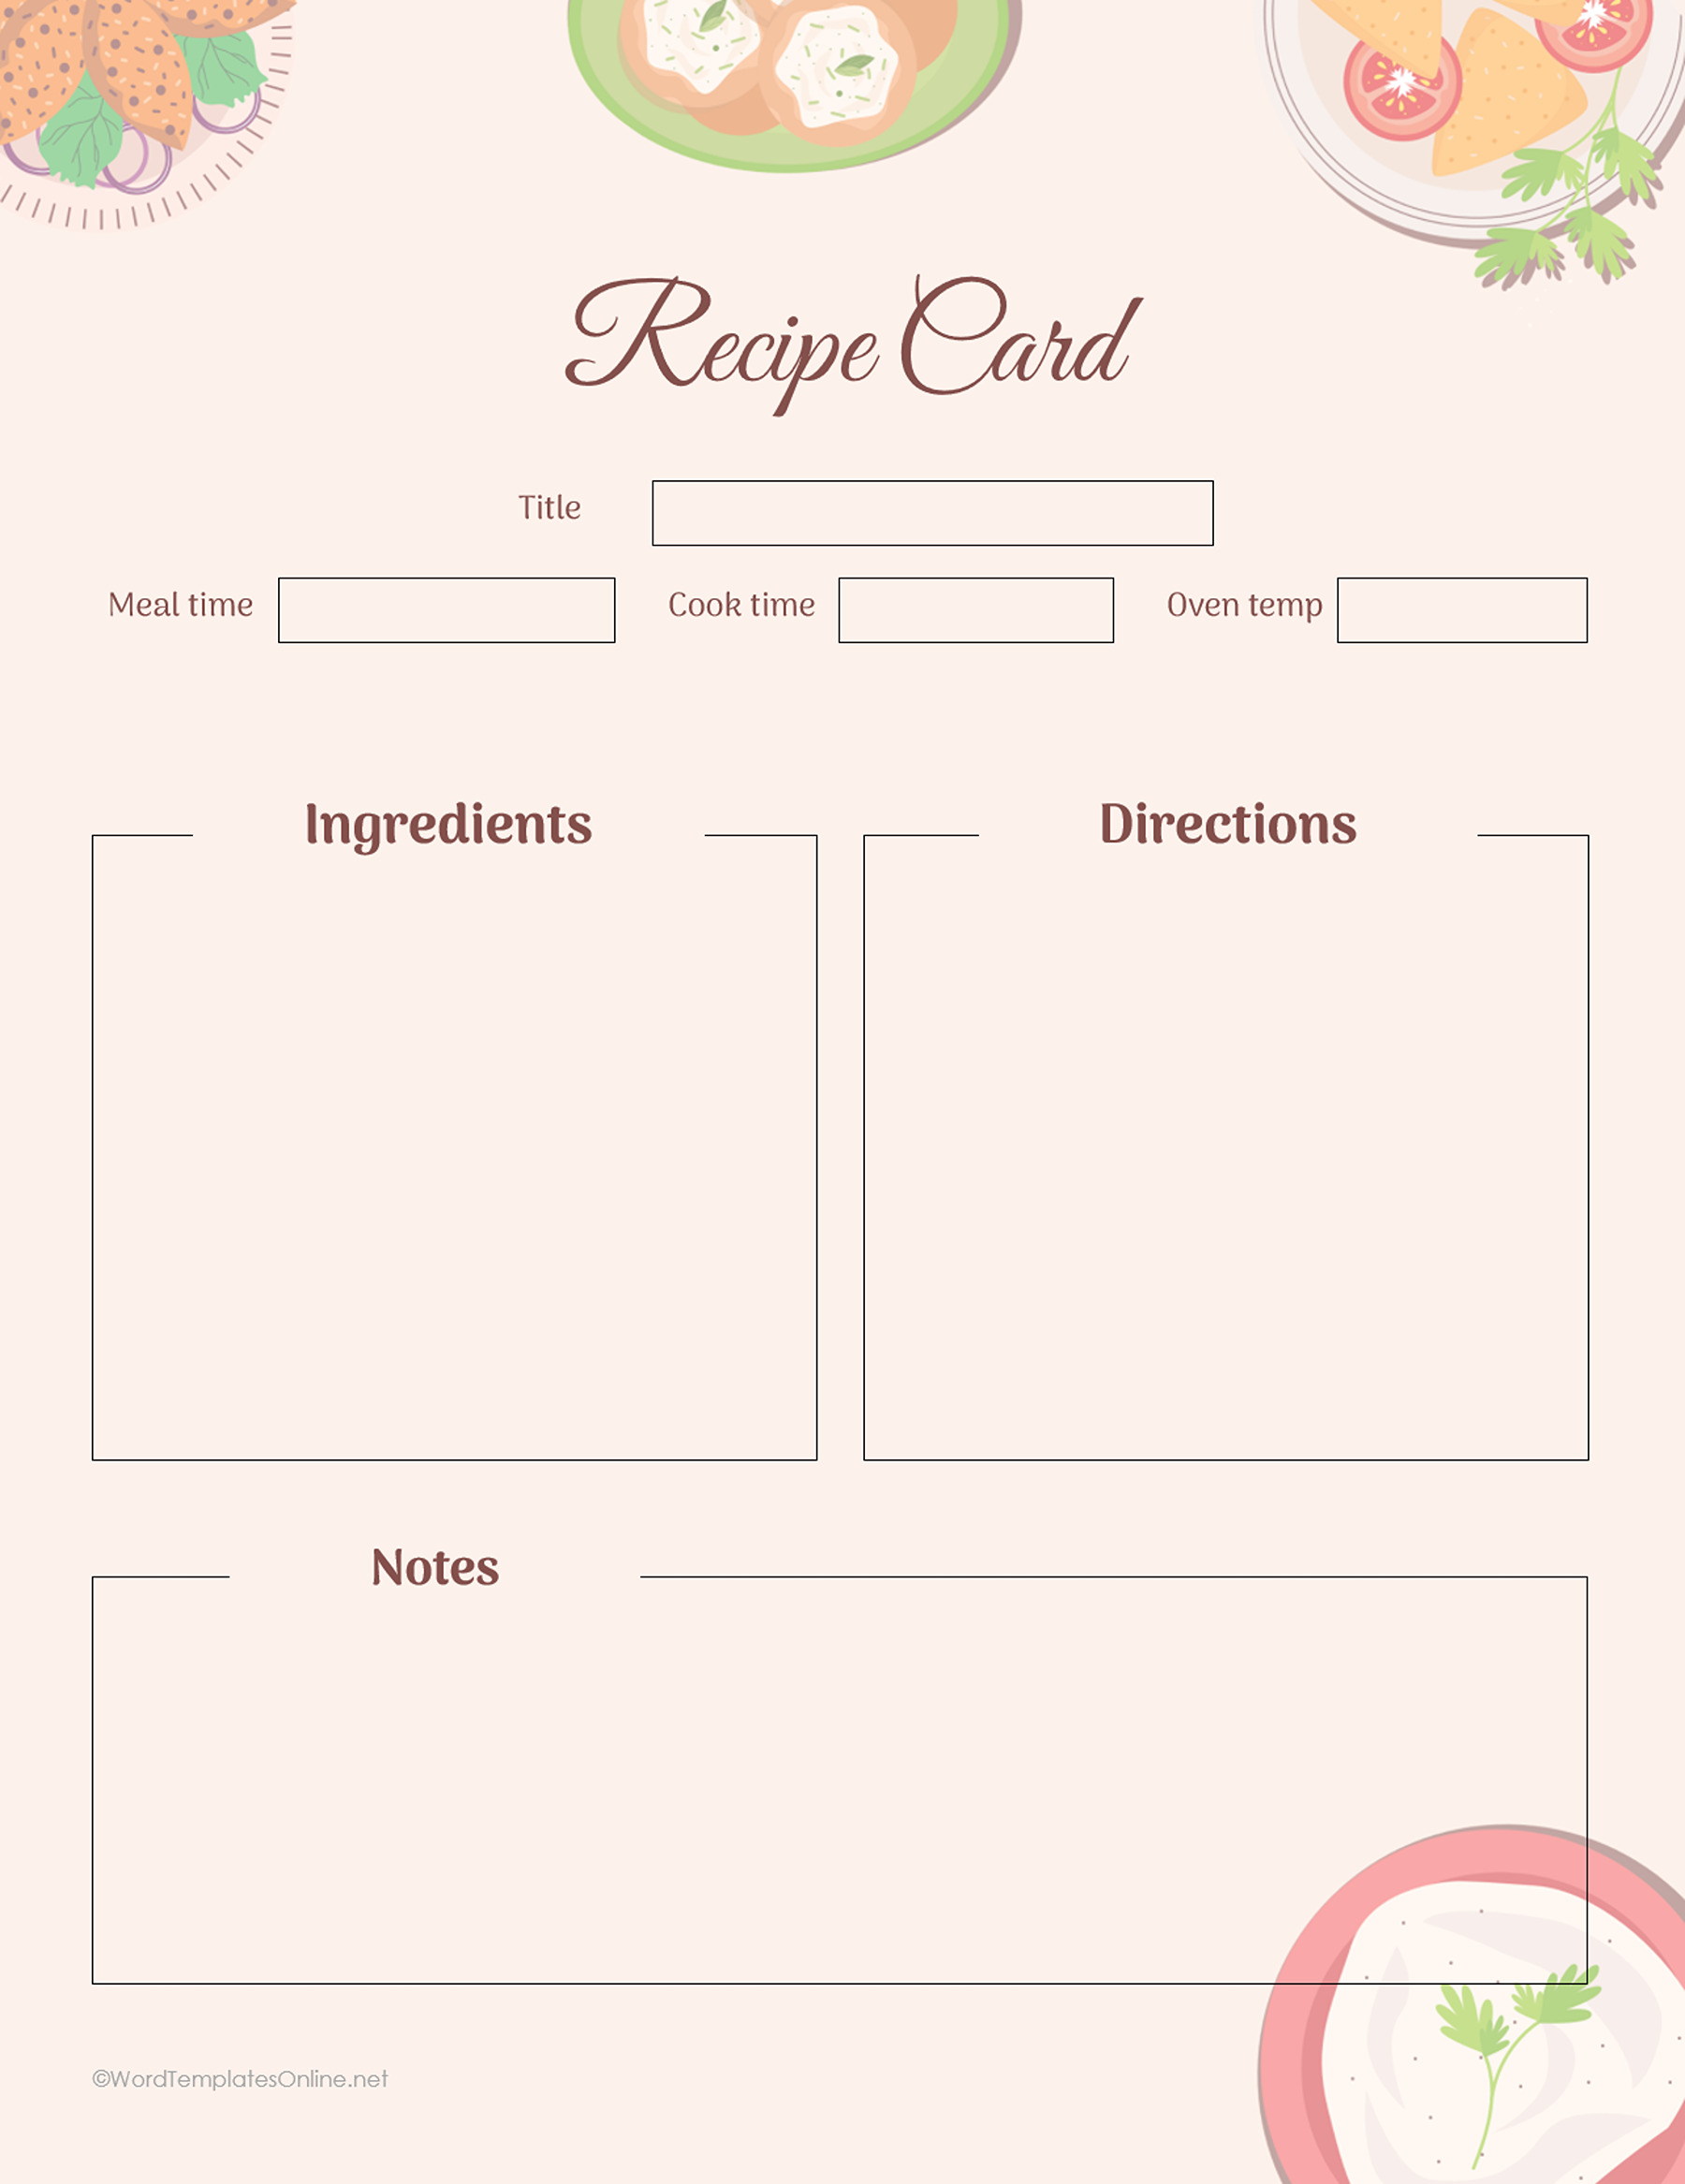
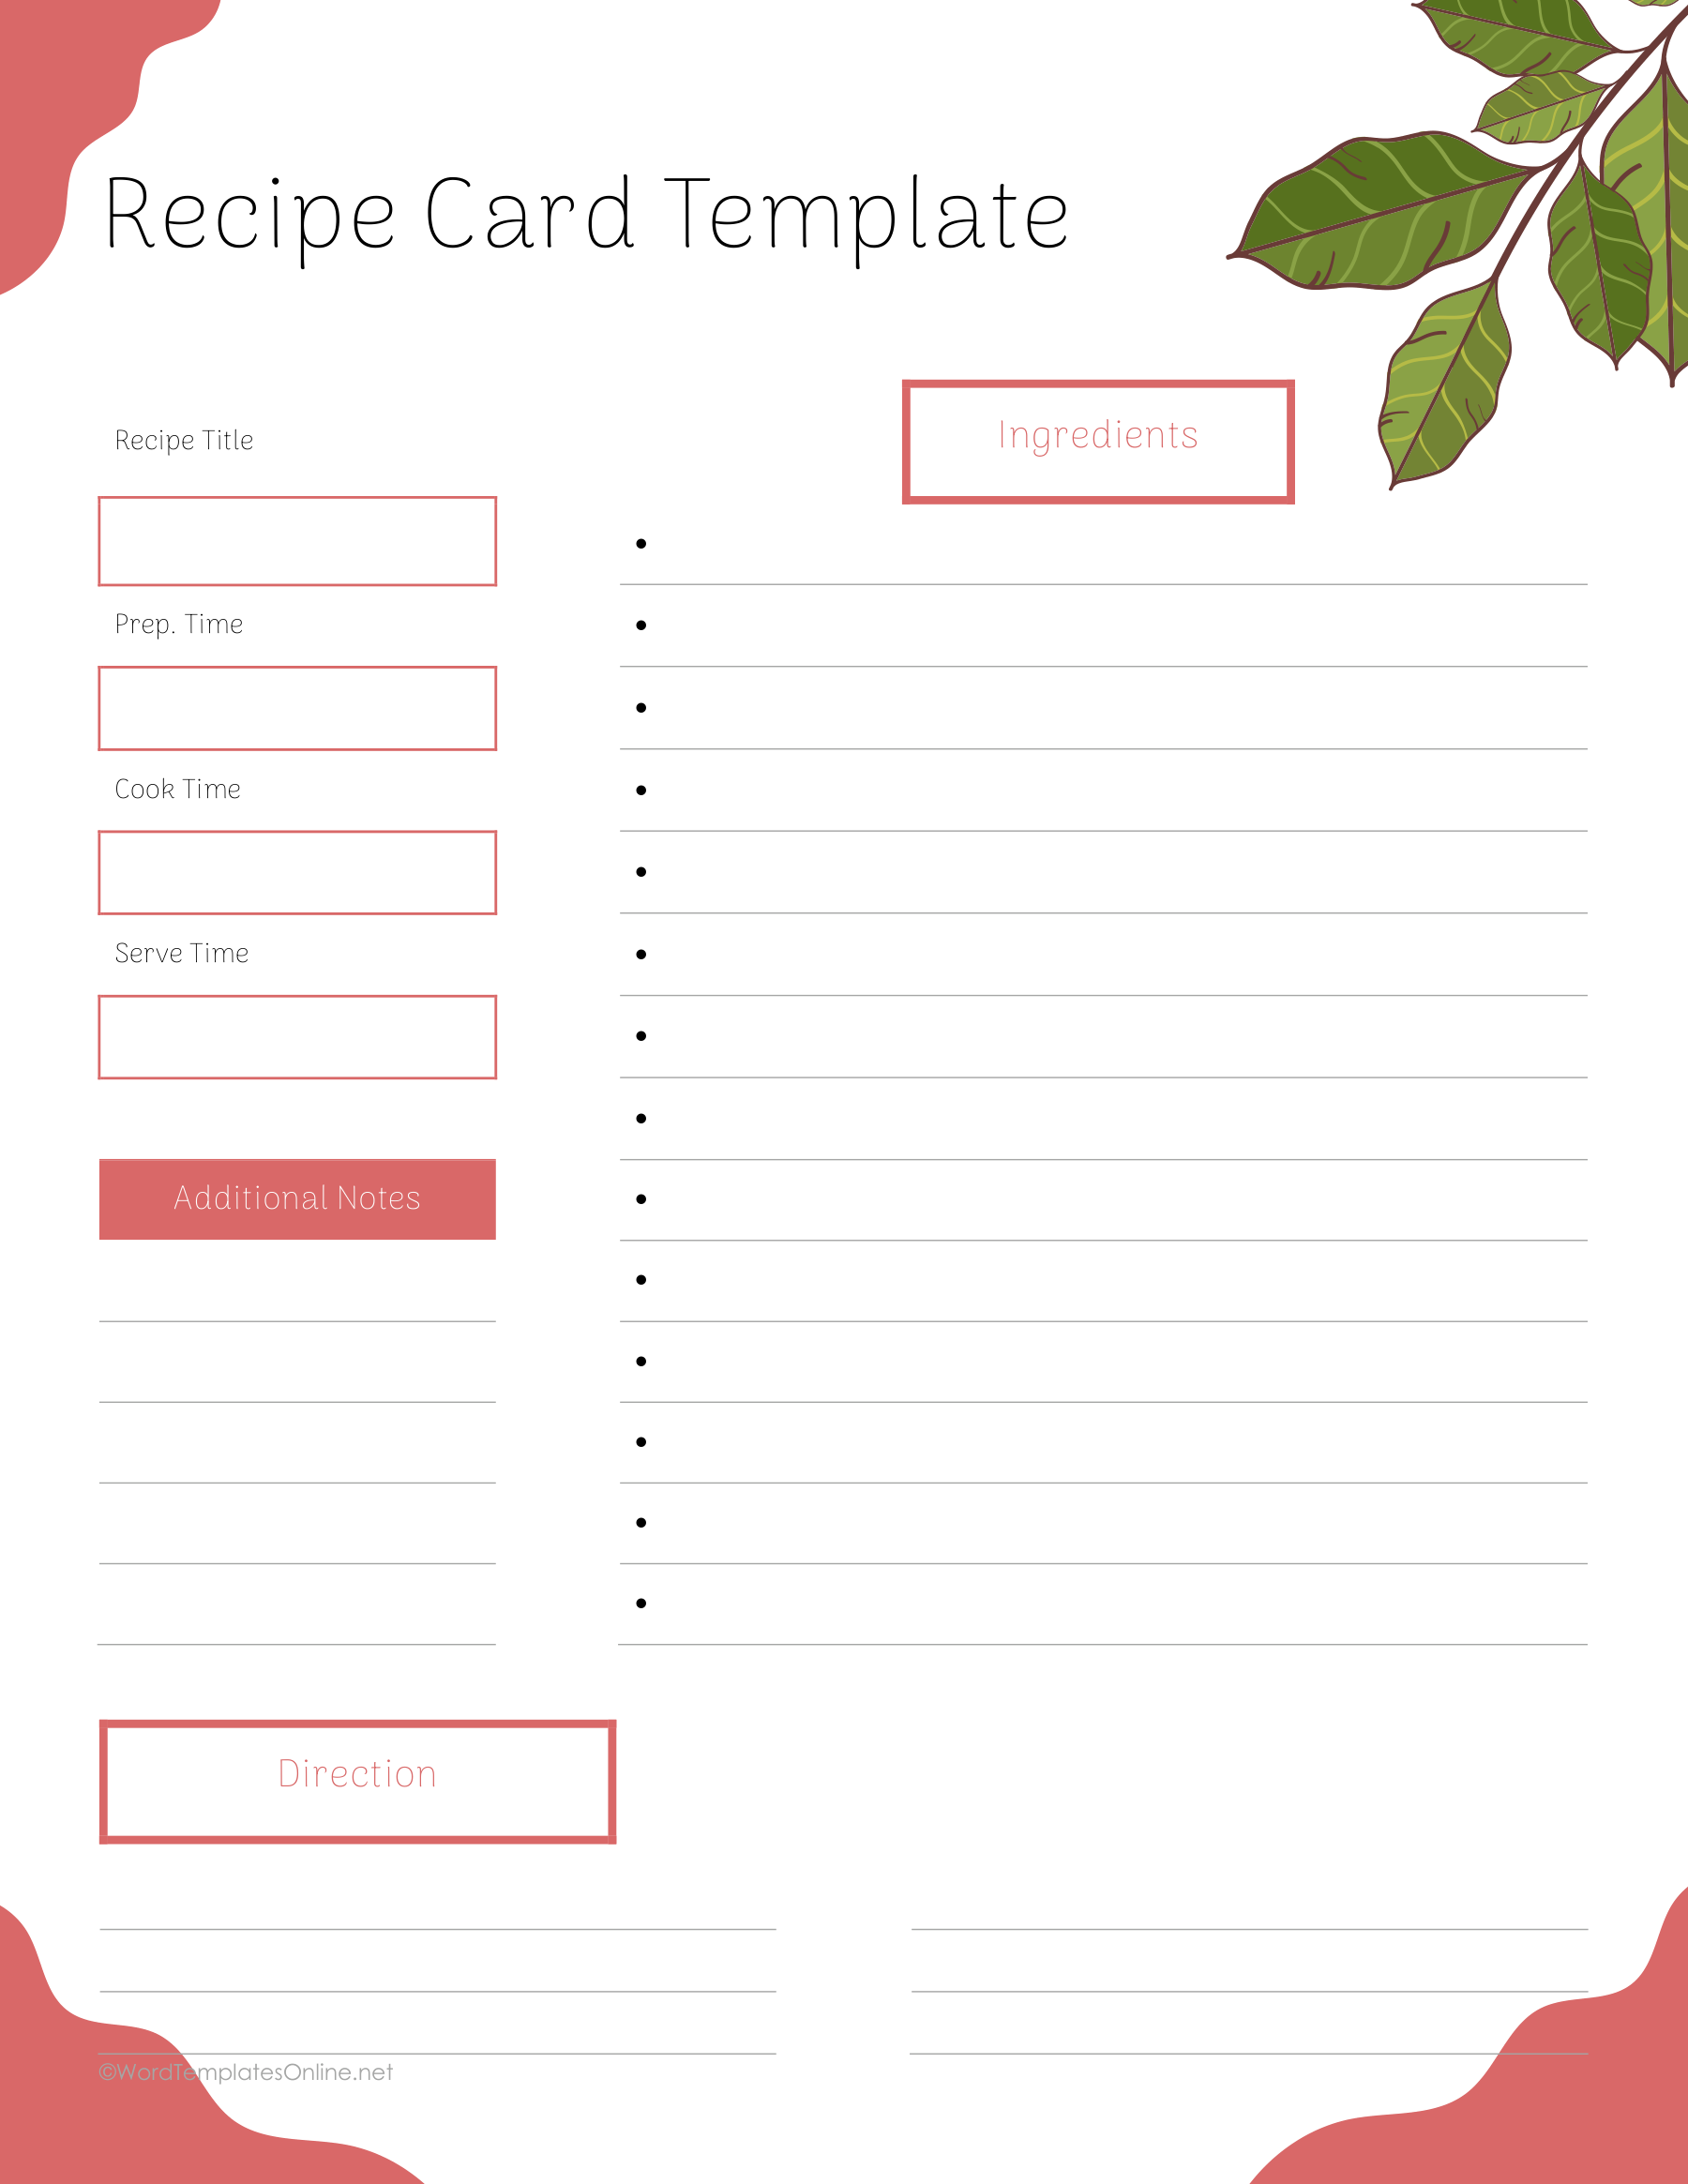
Coral Leaves with Notes Panel
Aqua Landscape with Personal Tips
Beige Recipe with Dish Description
Burgundy Plate with Tips
Red and Pink Personal Tips
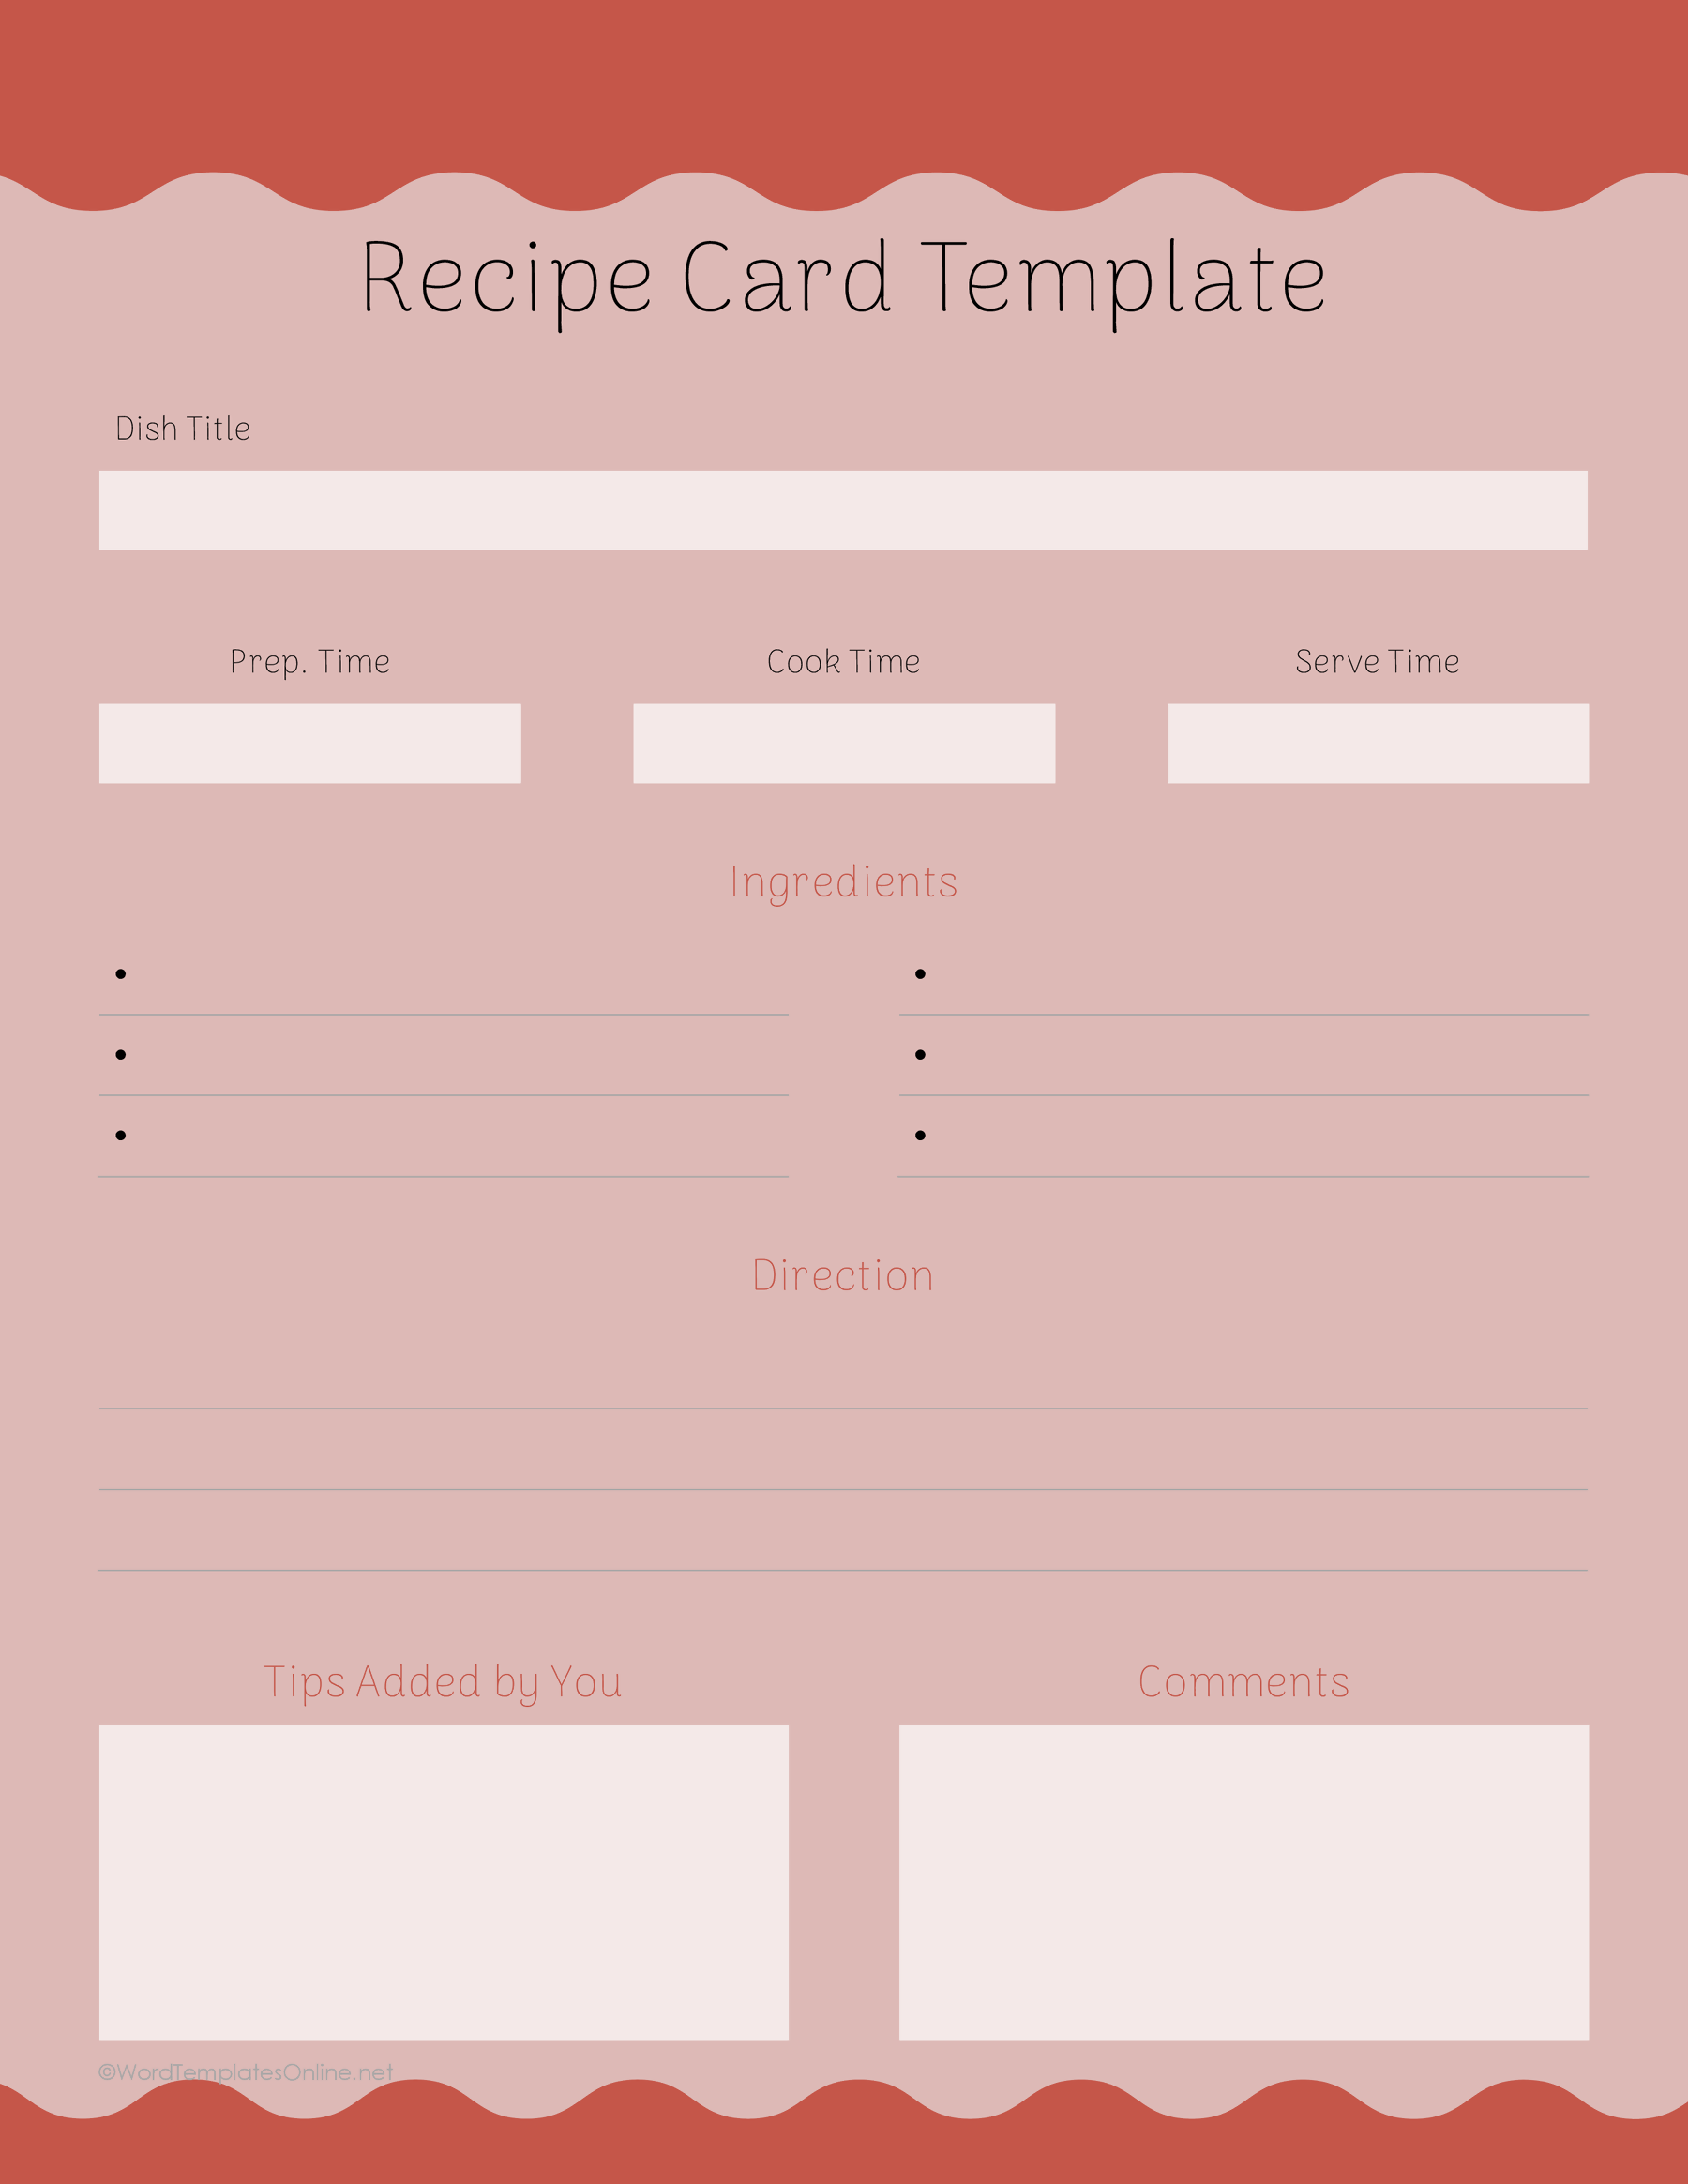
Write the card you would want beside the stove
Before you copy a recipe into a template, gather the complete version in one place. Start with a clear dish name and yield, then list each ingredient with its amount and unit. Include preparation details where they affect the next step: “onion, finely chopped” is more useful than discovering that instruction after the pan is hot.
Write the method in the order you’ll carry it out. Keep the recipe’s temperatures, timings and relevant completion checks intact. If you’re copying from a trusted source, keep a short source note or link so you can find the original again. A recipe card organizes instructions; it doesn’t establish that an invented cooking method is safe or tested.
Read the page once without relying on memory. Does “add the rest” have an obvious meaning? Does a divided ingredient have an amount at each use? Is a waiting period included where the cook needs to know about it? Clear answers here are more useful than filling every available box.
Make one working copy, then one print check
Keep the blank template so you can use it for another recipe. Open a working copy and save the completed recipe under the dish’s name. Microsoft’s Word template guide explains making a document from a template; the linked Google Docs and ODT options give you other supplied formats to work with.
Check the completed page in print preview, then print one proof at the size you intend to use. Read the smallest note and the longest instruction. If you want a smaller card, test that size separately; shrinking a full recipe page can make the text too small for comfortable cooking.
Once the recipe is readable and complete, put it where you’ll look for it. A weekly meal planner can hold the decision about when to make it. The recipe page can stay focused on getting that dish onto the table.
About This Article