A habit tracker is more useful when you can look back at it and understand what happened. That starts with one simple decision: what does a completed box mean?
Say you want to read more often. Writing “read more” on your tracker leaves you guessing about what counts. “Read for 15 minutes after lunch” gives you a specific action to record. You can choose a different amount or time to suit your routine. The important thing is knowing when you’ve completed it.
The ten habit tracker templates below give you different ways to keep that record. They include weekly, four-week, 30-day, 100-box and year-long layouts. Each is available in Microsoft Word (DOTX), OpenDocument (ODT) and Google Docs formats. You can edit them or print a copy and fill it in by hand. These are manual trackers, so they don’t automatically count streaks, update dates or send reminders.
Habit Tracker Template 01
Habit Tracker Template 02

Habit Tracker Template 03

Habit Tracker Template 04

Habit Tracker Template 05

Habit Tracker Template 06

Habit Tracker Template 07

Habit Tracker Template 08

Habit Tracker Template 09

Habit Tracker Template 10

Keep the first week easy to interpret
You don’t have to plan months ahead or track everything you want to improve at once. Start with a week and see how your chosen action fits into your usual schedule.
Let’s continue with the reading example. Suppose you plan to read for 15 minutes after lunch on weekdays. You have five planned sessions, not seven. Before you begin, write the dates on your tracker and decide how you’ll mark each day.
You could use a simple key:
- ✓ means you completed the reading session.
- × means you planned to read but didn’t complete the session.
- — means reading wasn’t scheduled that day.
Leave a box blank only while you haven’t recorded that day’s outcome. Once the day is over, add the appropriate mark. An empty box then means the record is unfinished, while a cross shows a session you know you missed.
This distinction becomes useful when you look back at your week. Without it, you might mistake a weekend you deliberately kept free for two missed reading sessions. You could also mistake an unfilled box for a missed session when you simply forgot to update the page.
You don’t have to use these exact symbols. You can make your own key and write it in the notes area or beside your record.
The weekly templates give you different ways to arrange those marks. The simple teal weekly grid runs from Sunday to Saturday and has room for several habits. Another layout separates morning, afternoon, evening and night routines across a Monday-to-Sunday week. That arrangement may suit you if you want to record several actions at different times of day rather than one reading session.
There’s also a weekly layout with ready-made prompts for activities such as reading, writing, walking and sleep. It offers a starting point if you’re still deciding what to track. You can change those prompts in your own copy. They’re examples of activities, not health targets you need to meet.
Whatever layout you choose, make each action easy to recognize. “Exercise more” might become “Take a walk after work on Monday, Wednesday and Friday.” “Write regularly” could become “Write one paragraph before dinner.”
You decide what is reasonable for your own schedule. A habit that you plan to do three times a week doesn’t need seven checkmarks to count as a completed week.
Leave the missed day visible
Imagine your reading tracker shows completed sessions on Monday and Tuesday. You miss Wednesday because an appointment runs longer than expected. Then you read again on Thursday and Friday.
The row isn’t perfect, but it tells you something useful. Reading after lunch worked on four days. On Wednesday, your usual time wasn’t available.
There’s no need to fill in the missed day to keep a streak going. Doing that would make the record less useful when you return to it.
One missed session doesn’t tell you whether your whole plan is working. If the same difficulty keeps appearing, though, it’s worth looking at the reason. Perhaps Wednesday needs a different reading time. You might try a shorter session in the evening or decide to keep the original plan for another week.
This is where a tracker with room for notes can help.
Among the weekly designs, one has five habit rows with separate spaces for what worked and what could improve. You can use those spaces to record a quick observation, such as “Lunchtime worked most days. Wednesday needs a different time.”
Another weekly design gives you more room for learning notes and an action plan. It also has space for due dates, completed actions and a rating you enter yourself for effort. That extra detail may be useful if you want to plan a specific change for the following week. If you only need to record a few marks and a sentence, the simpler reflection layout may be enough.
You don’t have to write a lengthy review. A short note that helps you remember what happened is usually more useful than an explanation you won’t want to read again.
At the end of the week, ask yourself: What should stay the same next week, and what needs a more workable plan?
Maybe the timing was inconvenient. Maybe the action was too vaguely defined. Or perhaps everything worked well enough that you don’t need to change anything.
Keep your original marks either way. They belong to the week you actually had, not the week you hoped to have.
When the record lasts longer than a week
After you’ve settled on what to track, think about how much time you want to see on one page.
A weekly record is easy to review in small pieces. A longer one lets you see more dates together. Neither is automatically better. What matters is whether the grid covers the period you intend to record.
This is especially worth checking with monthly habit trackers. A page labeled monthly doesn’t necessarily have a space for every day of the calendar month.
Two designs in this collection show four consecutive weeks, with seven days in each week. That gives you 28 days. One is a floral landscape layout with space for to-do items and notes. The other uses a burgundy portrait layout with additional notes.
Both can work if you want to follow an activity for four weeks. But four weeks aren’t the same as a complete calendar month. If you’re recording every day in a 30- or 31-day month, you’ll need somewhere to put the remaining dates.
The pink monthly grid offers a different arrangement. It has 30 numbered day columns on one landscape page. You can see a longer stretch without moving between weekly sections. However, it doesn’t include day 31. If you want to record an entire 31-day month, you’ll need to account for that extra day separately or use another layout.
Think back to the reading example. If you start recording on the 5th of a month, a four-week tracker covers the next 28 consecutive days. It doesn’t automatically stop at the end of that month. A numbered 30-day grid also needs its dates defined before you begin.
Write the actual start and end dates on your working record. That way, when you review it later, you’ll know which period the marks represent.
What about 100 days or a full year?
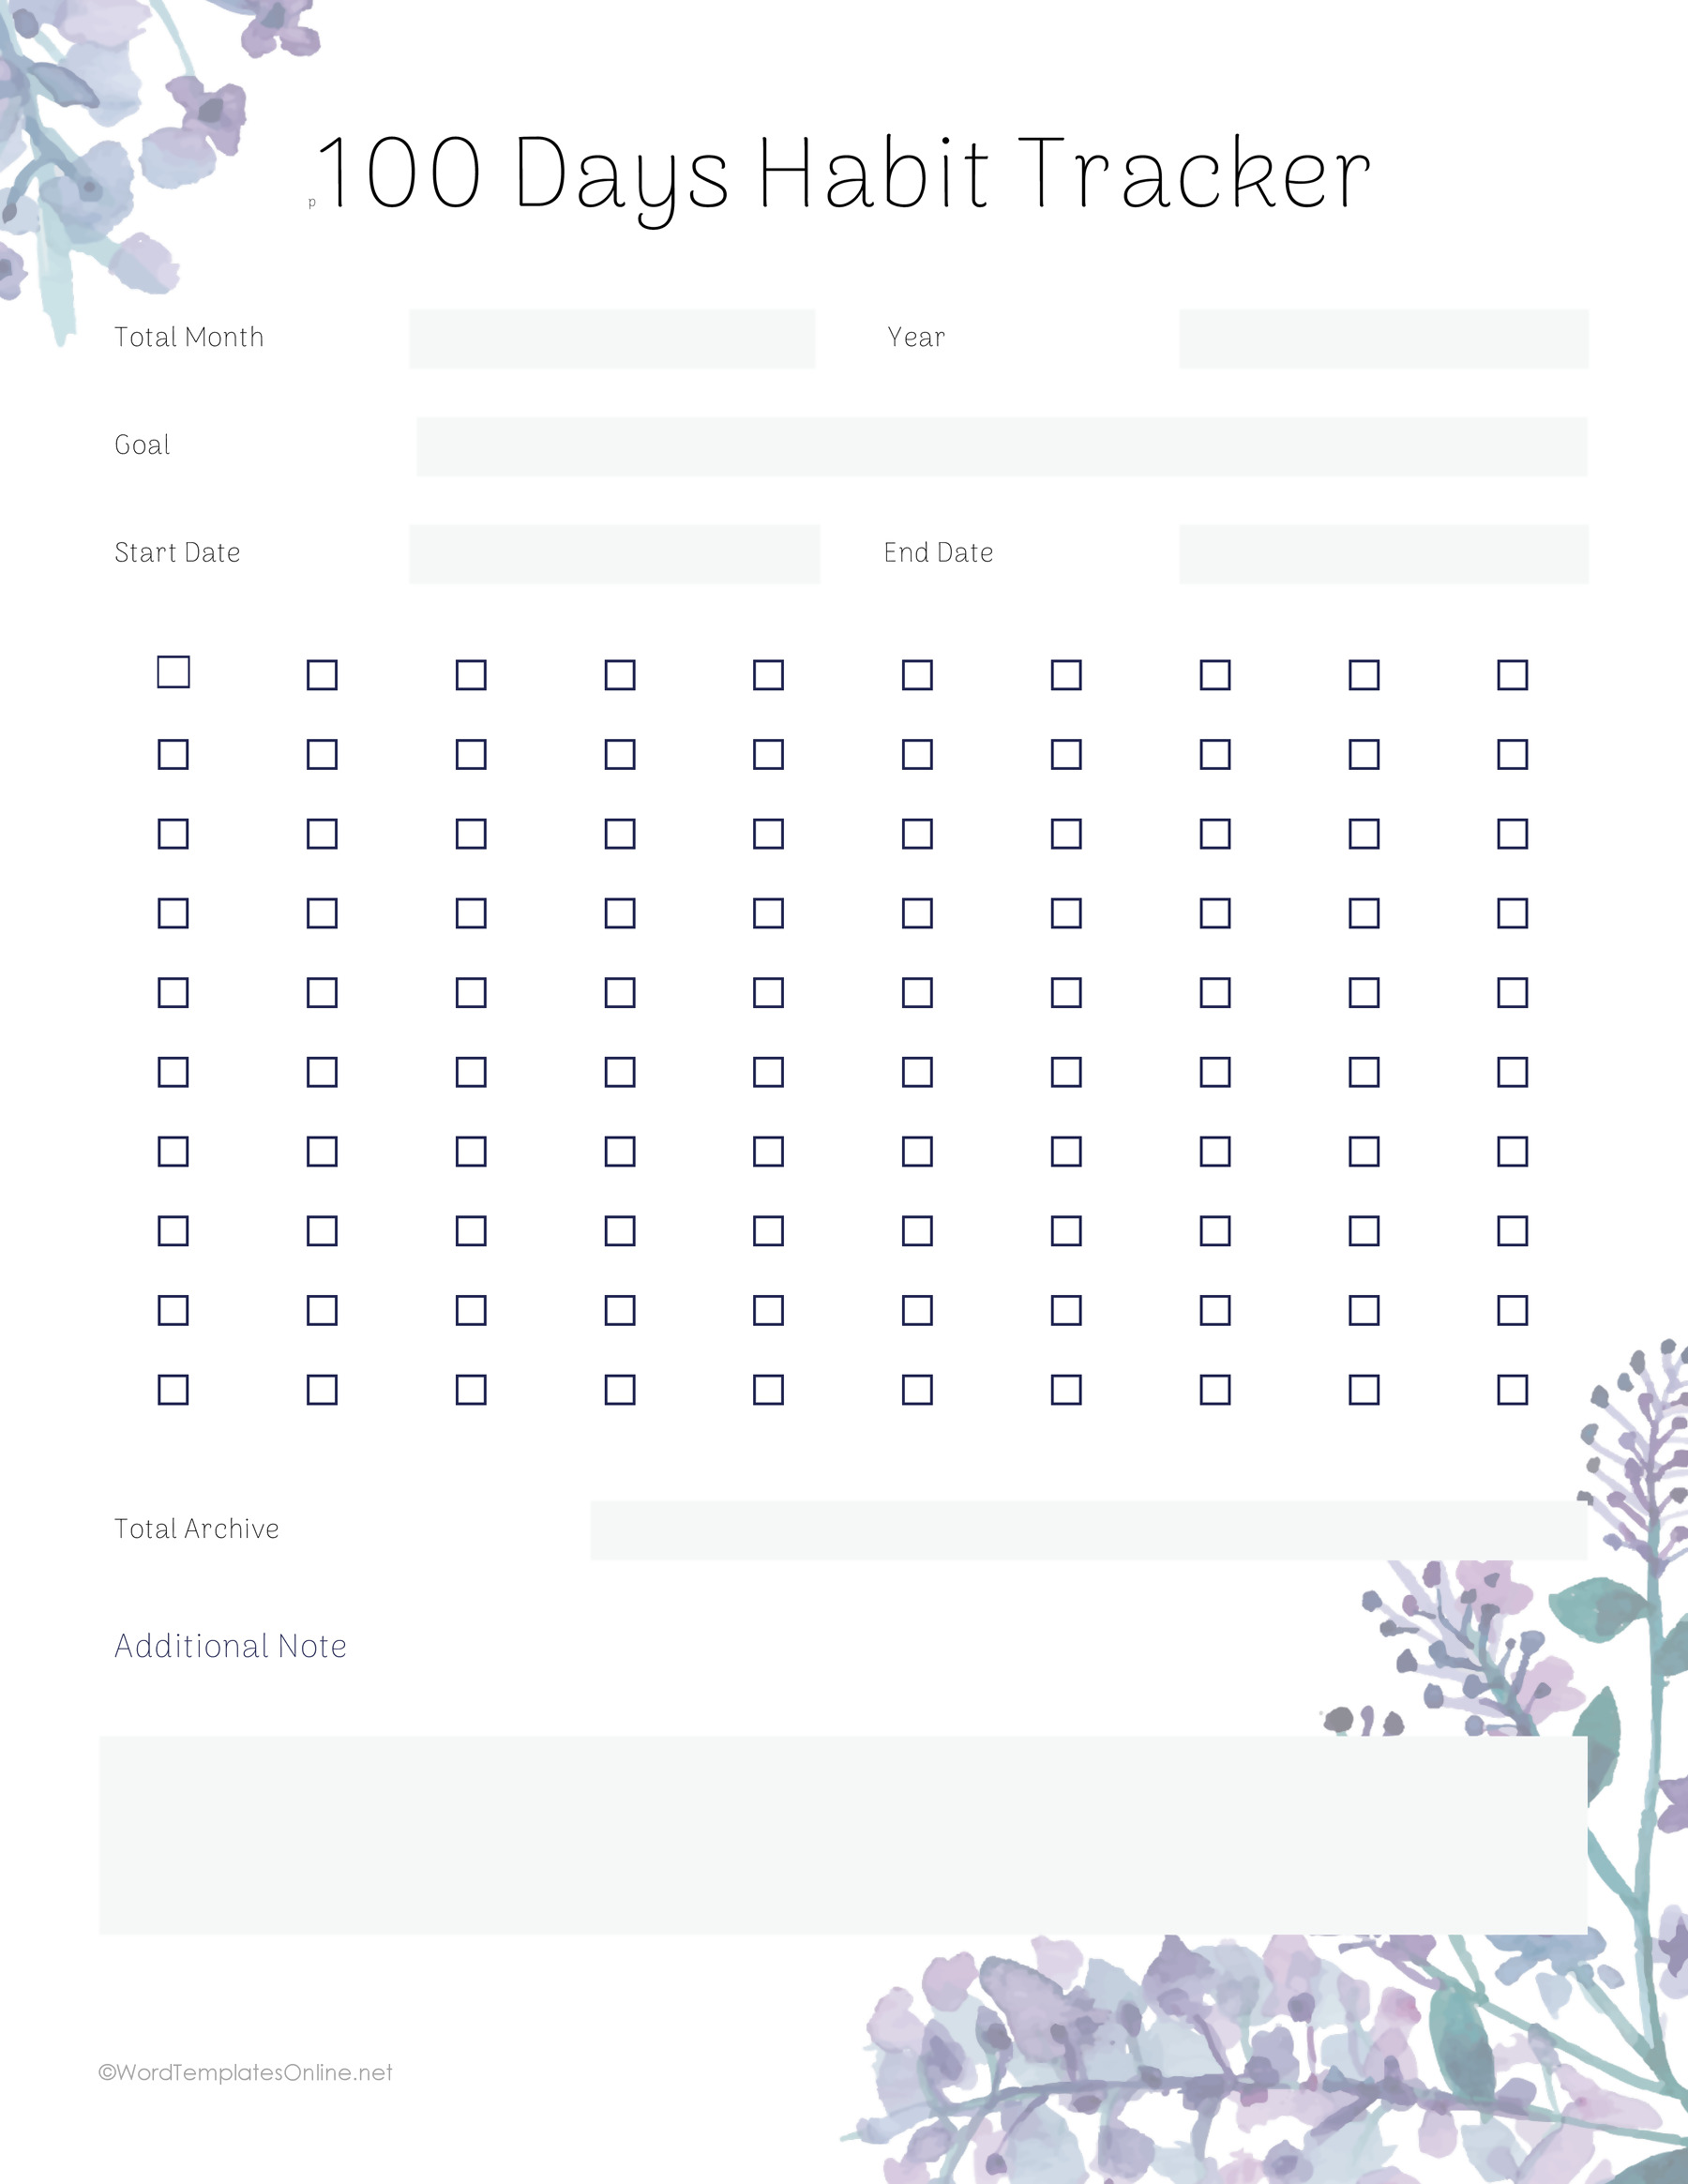
If you want to follow one action for longer, the collection includes a 100-box tracker and a year-long record.
The 100-box layout gives you a place to record one chosen goal over an extended period. It includes start and end dates and space for notes. You might use one box for each planned occasion or each day, depending on the convention you set at the beginning. Reaching the last box means you’ve completed that record. It doesn’t guarantee that the activity has become a habit.
The year-long layout has twelve month rows and numbered columns from 1 to 31. It gives you a place to follow an action across the year without making a new weekly record each time.
You’ll need to handle dates that don’t exist in certain months. April has no 31st day, for example, and February has fewer days than the other months. Mark those spaces as not applicable rather than recording them as missed sessions. The page doesn’t automatically handle the calendar or calculate results for you.
Longer records also make a consistent marking key more important. If a checkmark means “completed as planned” in January, it should mean the same thing in October. Otherwise, the marks become harder to compare.
Carry the useful record into the next period
Once you’ve chosen a layout, make a working copy and keep the blank original for later.
The Microsoft Word downloads are DOTX template files. Microsoft’s guide to working with Word templates explains how to make a document from a template. You can also work with the supplied ODT file or linked Google Doc in a compatible application.
Add your habits, dates and marking key before you begin. If you’re filling in the record digitally, remember that the boxes are manual marks. They aren’t verified clickable controls.
If you prefer paper, check the layout in print preview before printing several copies. The Word templates use US Letter pages. Most are portrait, while the floral four-week sheet, pink 30-day grid and year-long record are landscape.
Take a look at the smallest labels, writing space and page count after making your changes. Google’s instructions for printing Google Docs cover the print options if you’re using that format. A single printed or exported copy can show whether your edited page is comfortable to use.
When the week or another chosen period ends, read through your marks and notes. Keep the actions and dates that made sense. Change anything that was difficult to follow or didn’t fit your schedule.
A missed day doesn’t mean you have to start over. You can carry what you learned into the next record and continue from there.
About This Article