An appointment schedule is a type of planner used to manage meetings, appointments, and other events.
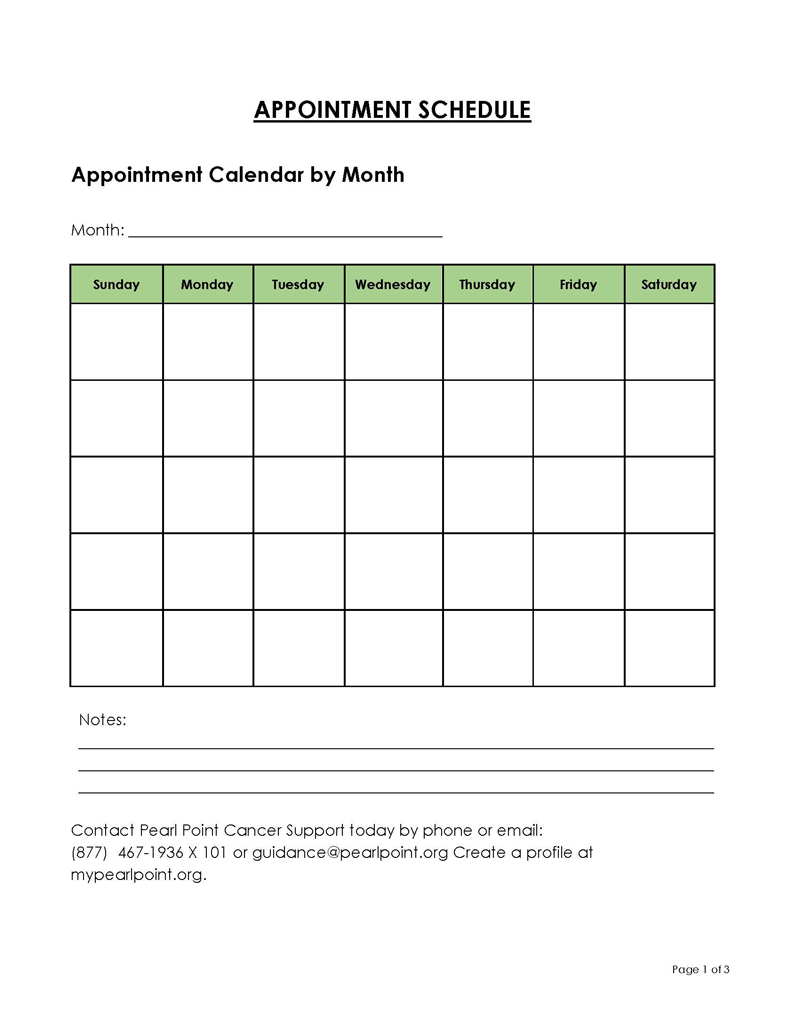
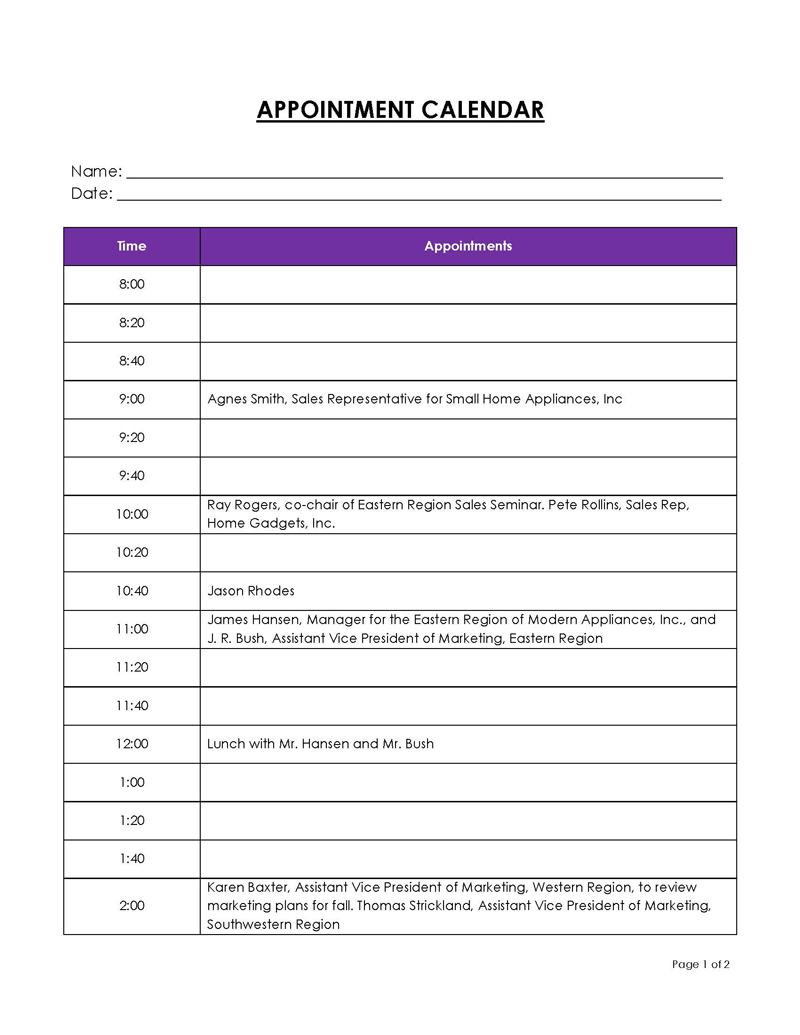
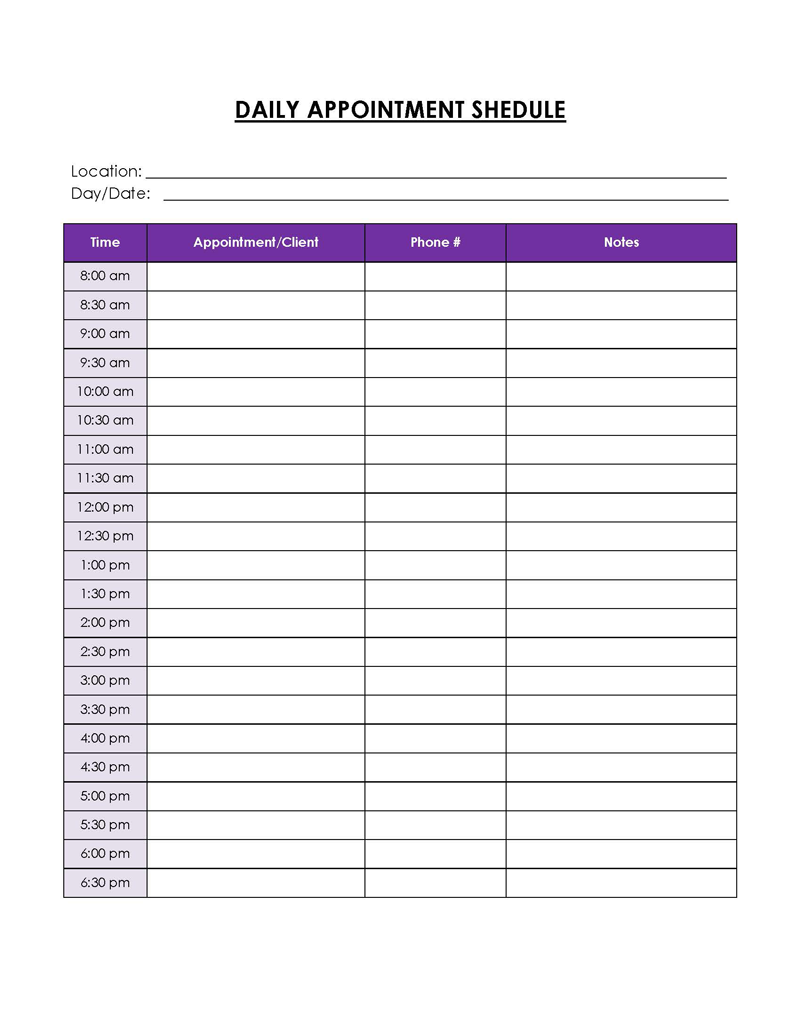
It usually includes the date, time, address, and location of each event. It can be created in Excel or in any other spreadsheet program that allows you to rearrange blocks on a calendar to display your preferred schedule. You can also use templates to create a personalized planner for your daily, weekly, or monthly events in an orderly manner.
This article will discuss why managing your appointments and events is essential and provide you with general tips and strategies for creating an effective appointment scheduler.
Reasons Why an Appointment Scheduler is Essential
Information organization is becoming increasingly vital for efficiency and effectiveness. If you are maintaining a busy schedule, an appointment calendar is a vital tool to help you get more things done in less time. Without this tool, it can be tough to manage your day efficiently and avoid missing essential appointments and meetings. You can plan your day in advance, avoid unexpected interruptions, and streamline time management with an appointment schedule.
Here are the main reasons why it is useful to have a planner for your appointments:
Increases productivity
Maintaining an organized schedule enables you to efficiently manage your time and enhance your productivity. You are less likely to waste time if you keep track of the daily tasks that need to be completed because you will know exactly what needs to be done and how much time you have to complete them. The possibility of having unfinished tasks is also limited, increasing your overall productivity.
Loyal customers
Businesses use scheduling to ensure that clients know when they will visit the business. This way, clients will not face any inconvenience from unnecessary waiting.
Improved organization
You can keep track of your appointments, view them in calendar format, and access them from anywhere at any time.
How to Create an Appointment Calendar in Excel
Microsoft Excel offers advanced features to help you schedule appointments and events efficiently. You can create your calendar using the built-in functions or Excel’s advanced features to manage your planning.
This process of creating a schedule using Excel is relatively simple and can be done following the steps described below:
Step 1- Launch excel
Open the Microsoft Excel application and open a new workbook.
Step 2- Create the column headings
You can easily add columns and rows by accessing the “Cells” tab and clicking on the “Insert” option. A sub-menu in the ribbon will allow you to add new rows above or below the current row, columns to the right or left of the existing table, or adjust the width of existing rows and columns.
Create column headings for each category you want to include in your appointment schedule. Common column headings include the date, time, client name, service provider, and duration.
Step 3- Enter the data
Enter your data for each category in the corresponding column.
Step 4- Format worksheet
Format your data as a table by selecting the range of cells that contain your data and clicking on the “Format as Table” button in the “Home” tab. Choose a table style that works best for you. You can find these styles in the “Table Styles” group in the “Design” tab.
Use conditional formatting to highlight certain appointments by type. For example, you can use conditional formatting to highlight appointments that are overbooked or to color-code them based on service type.
Step 5- Add filters
Add filters to your table so that you can easily sort and filter your data by any column heading. To do this, select the range of cells that contains your data and click on the “Filter” button in the “Data” tab.
Step 6- Insert images
You can insert images into your new Excel appointment schedule template by accessing the “Insert” tab and clicking on the “Pictures” submenu. To insert an image from a file, click on the “From File” button. You can resize the selected image by simply dragging any corner of the image box. Drag it to the position you want it to appear in to move the image. Right-click the cell or adjoining cells if you want them to match the existing cell’s background color. Click on the “Format” option, select the “Fill” icon in the drop-down menu, and click on “More Colors.” A color dialog box will appear, where you can choose a preferred color.
Step 7- Save the file
Save your document as a template so that you can reuse it in the future. To do this, click on the “File” tab, select “Save As,” choose “Excel Template” as the file type, and give your template a name.
Step 8- Print your document
You can easily print your appointment schedule by accessing the “Print” tab and clicking on the “Page Setup” option located at the bottom of the ribbon. Choose a printer you want to print your Excel calendar on, choose which pages to print, and adjust additional settings like paper orientation, output quality, and the number of copies.
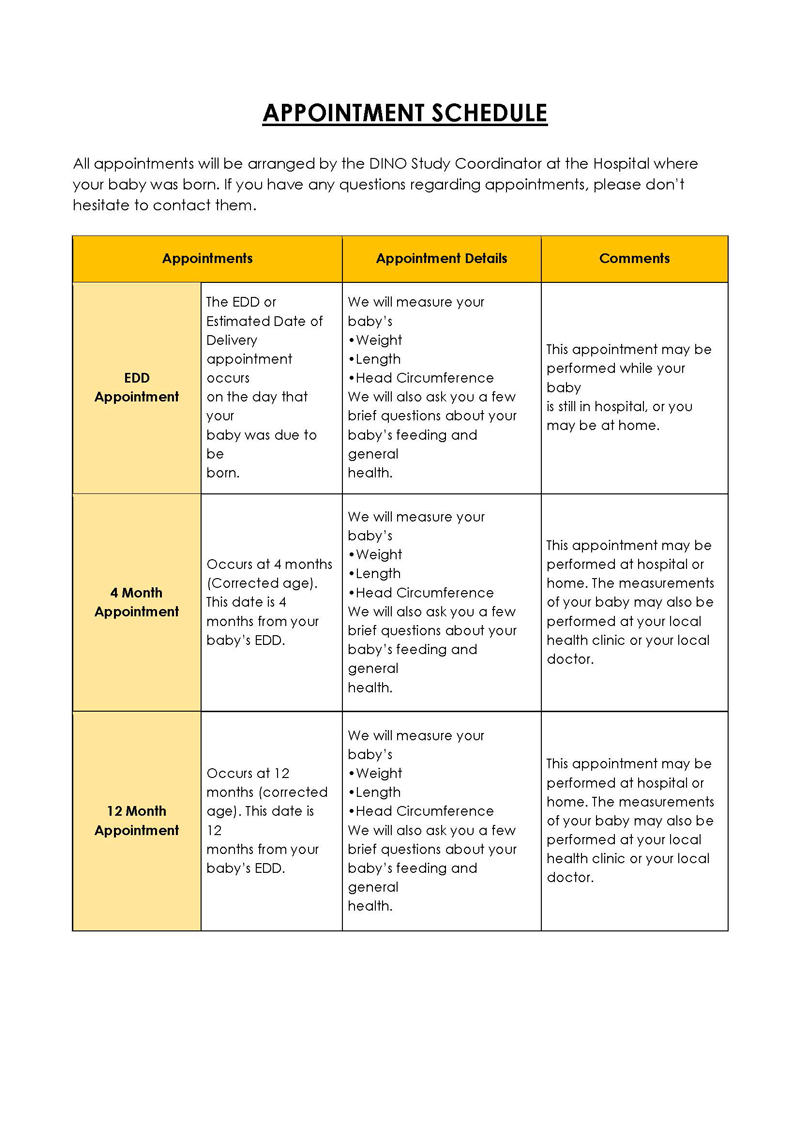
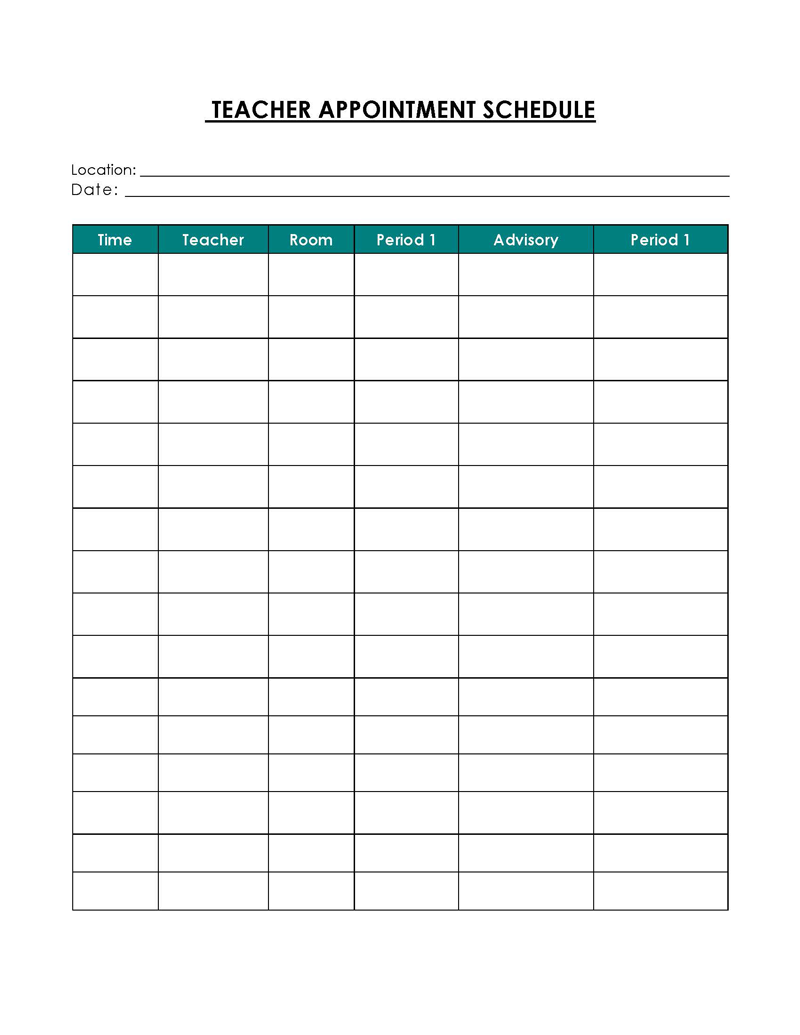
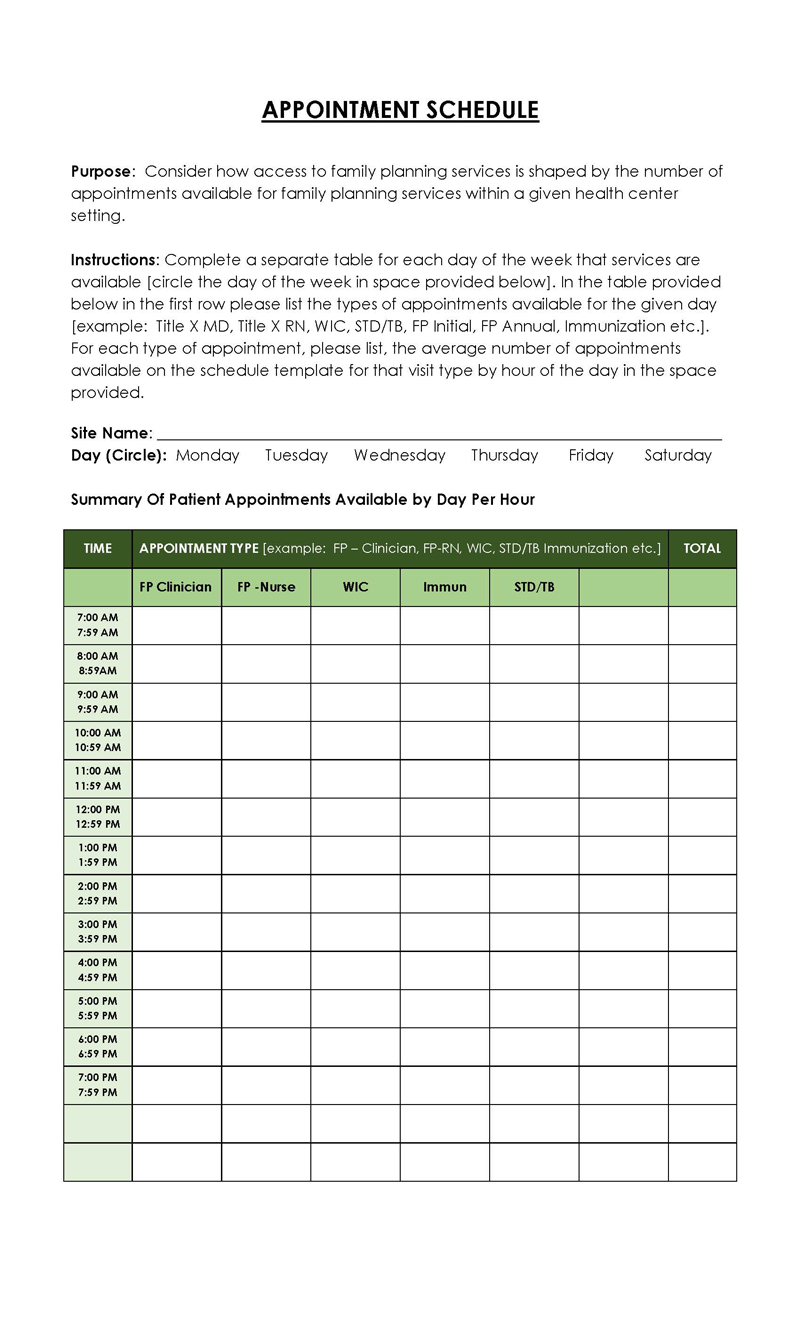
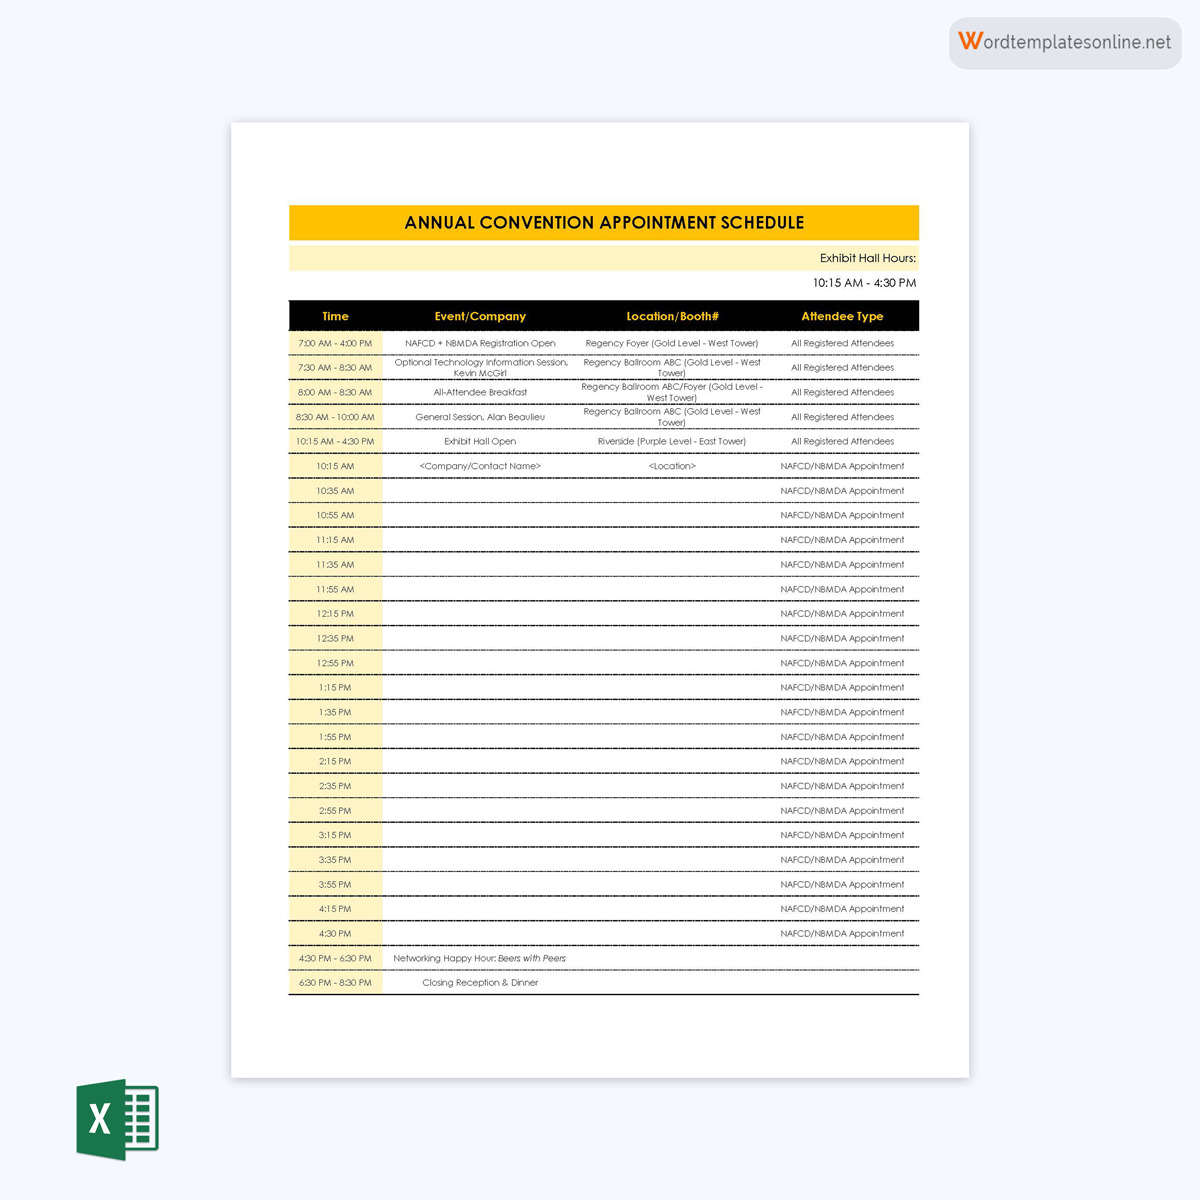
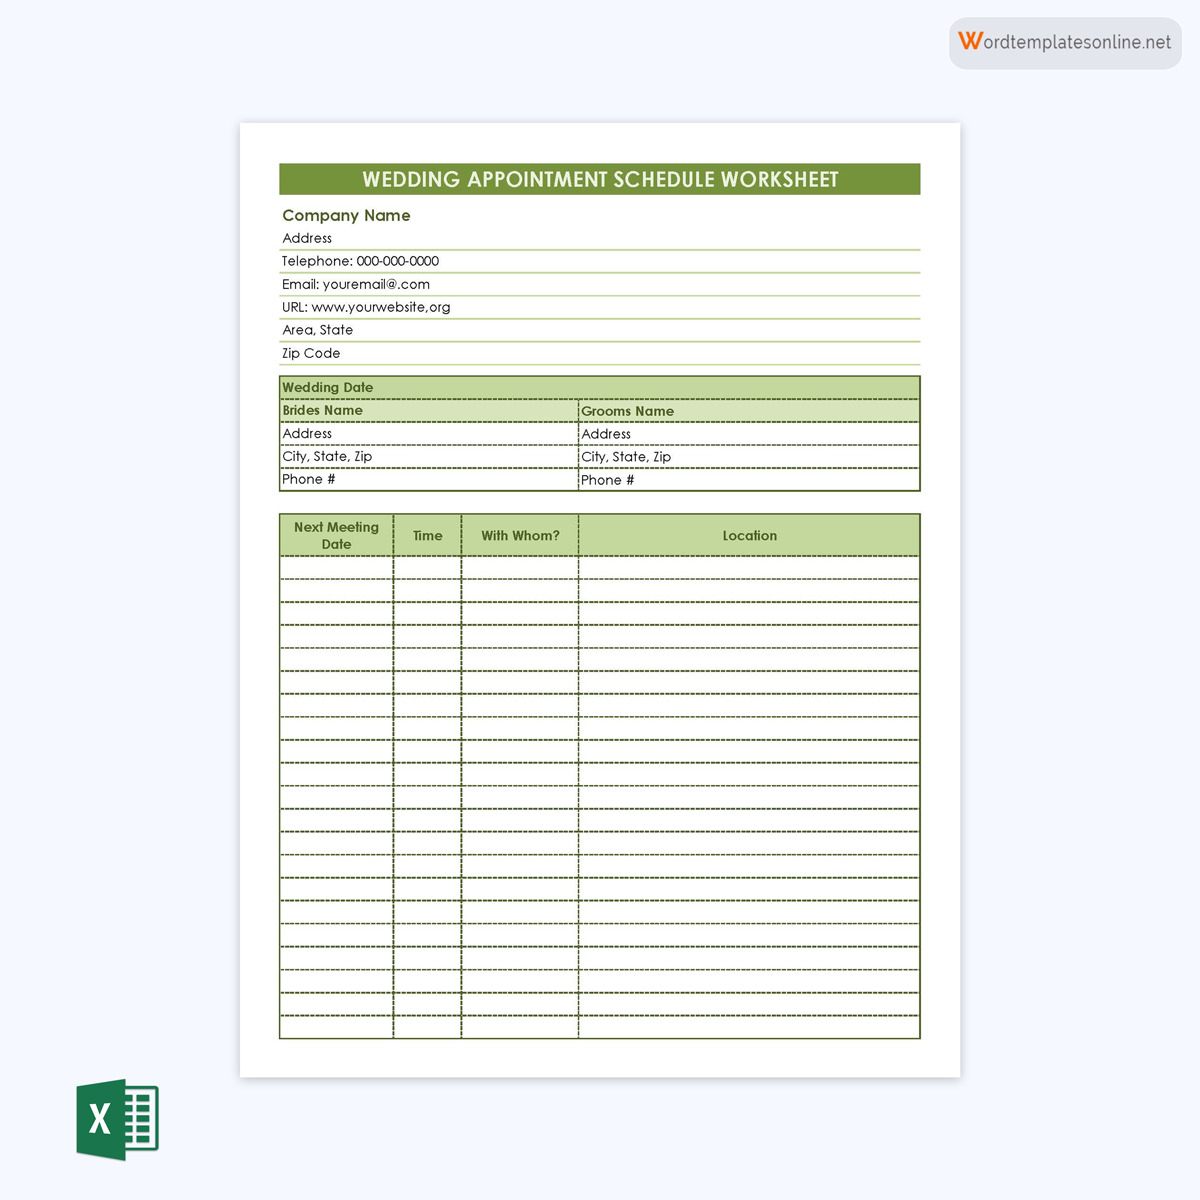
Appointment Schedule Templates
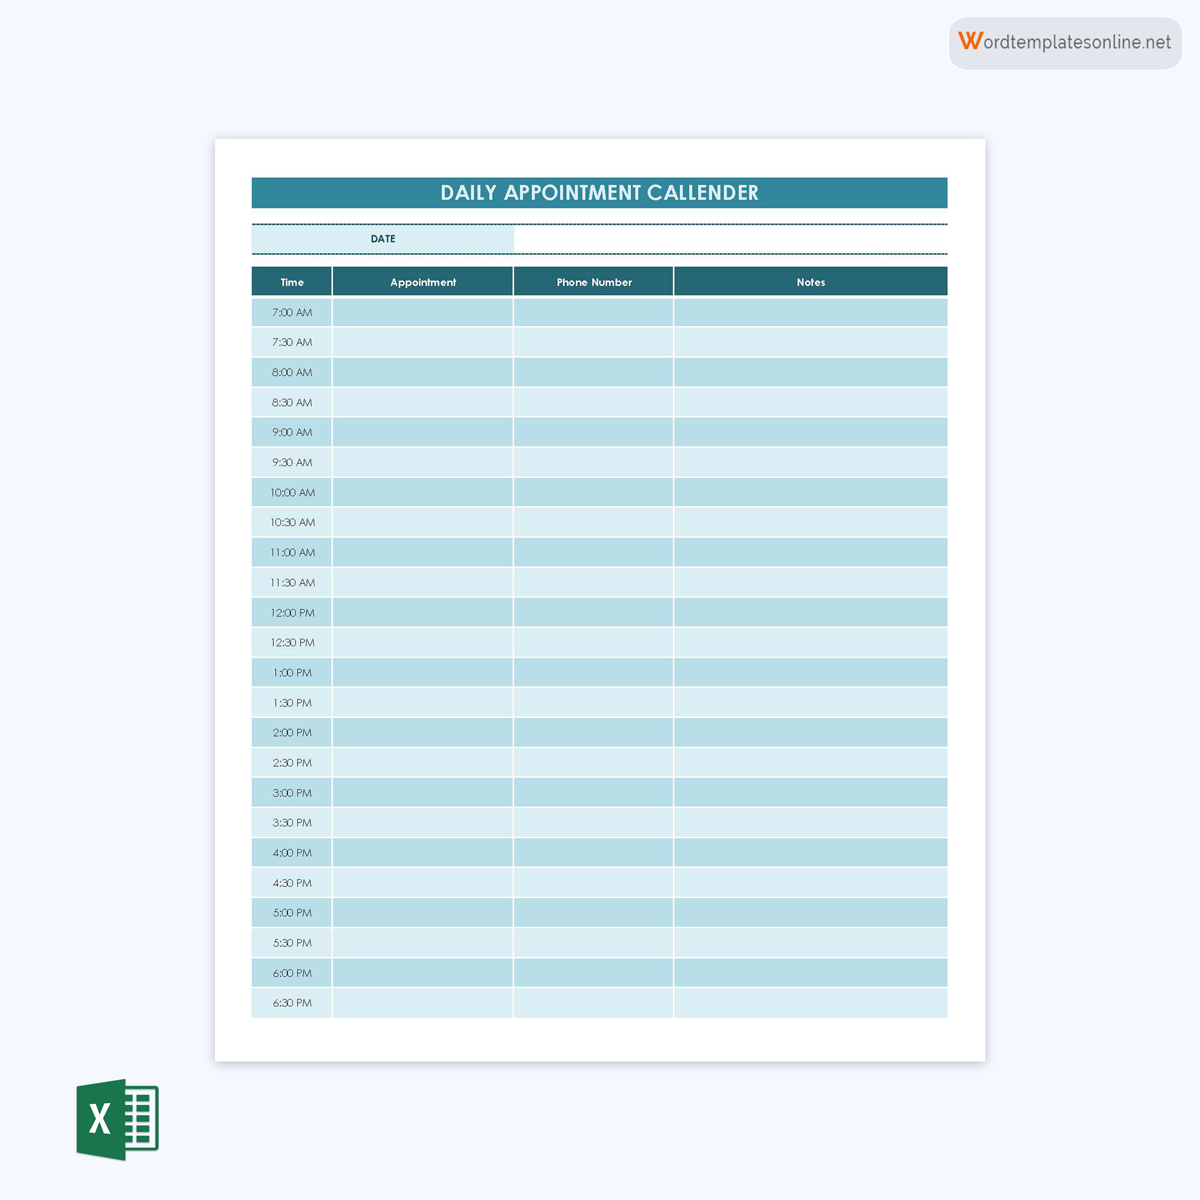
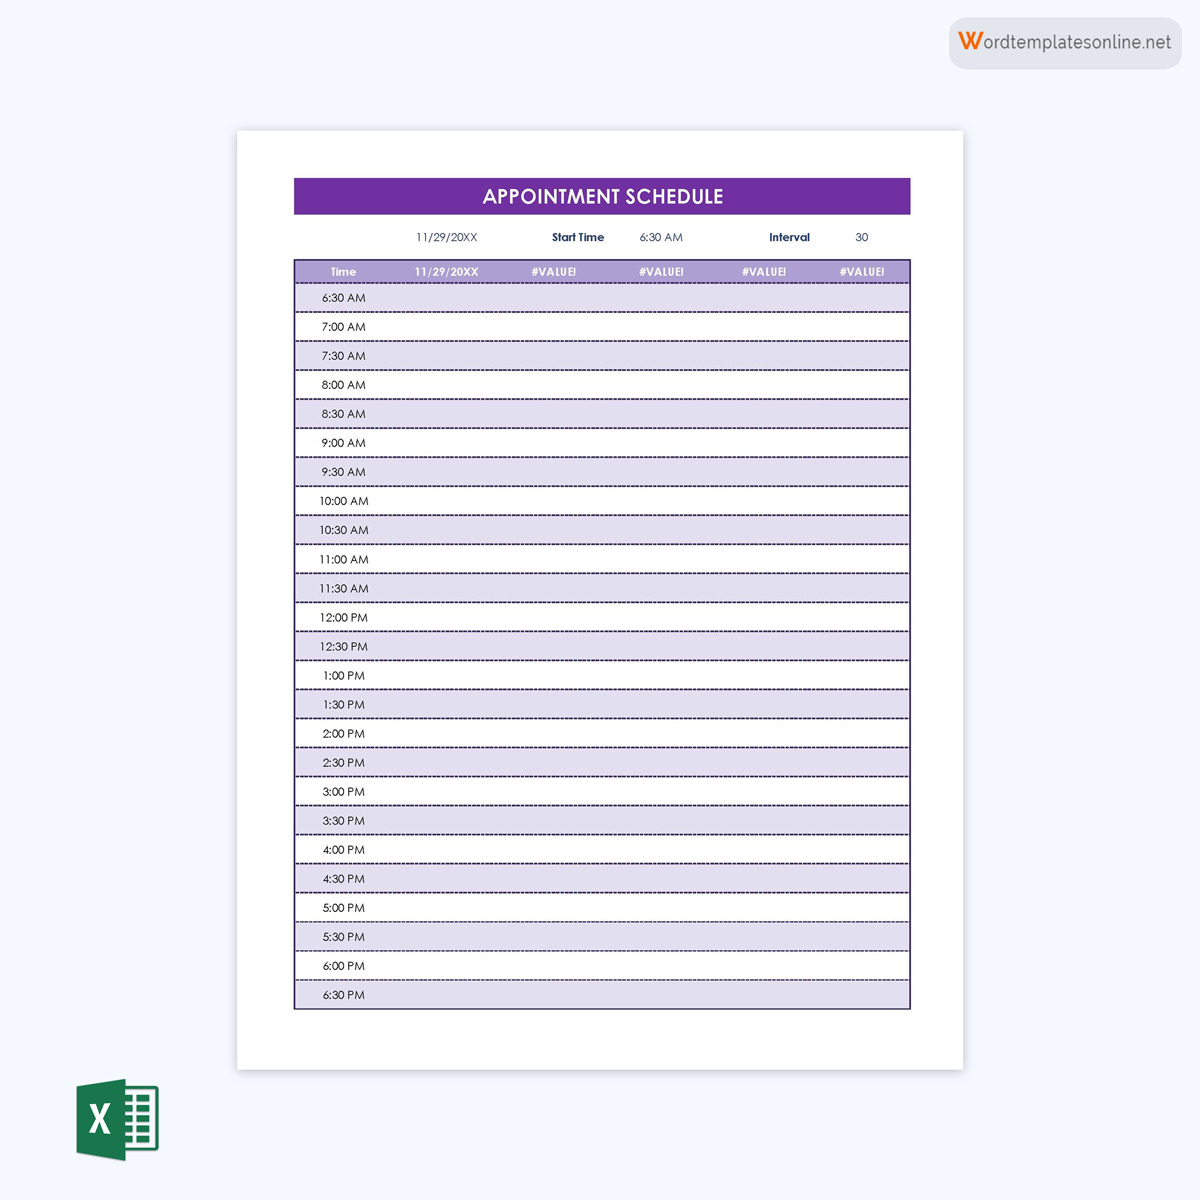
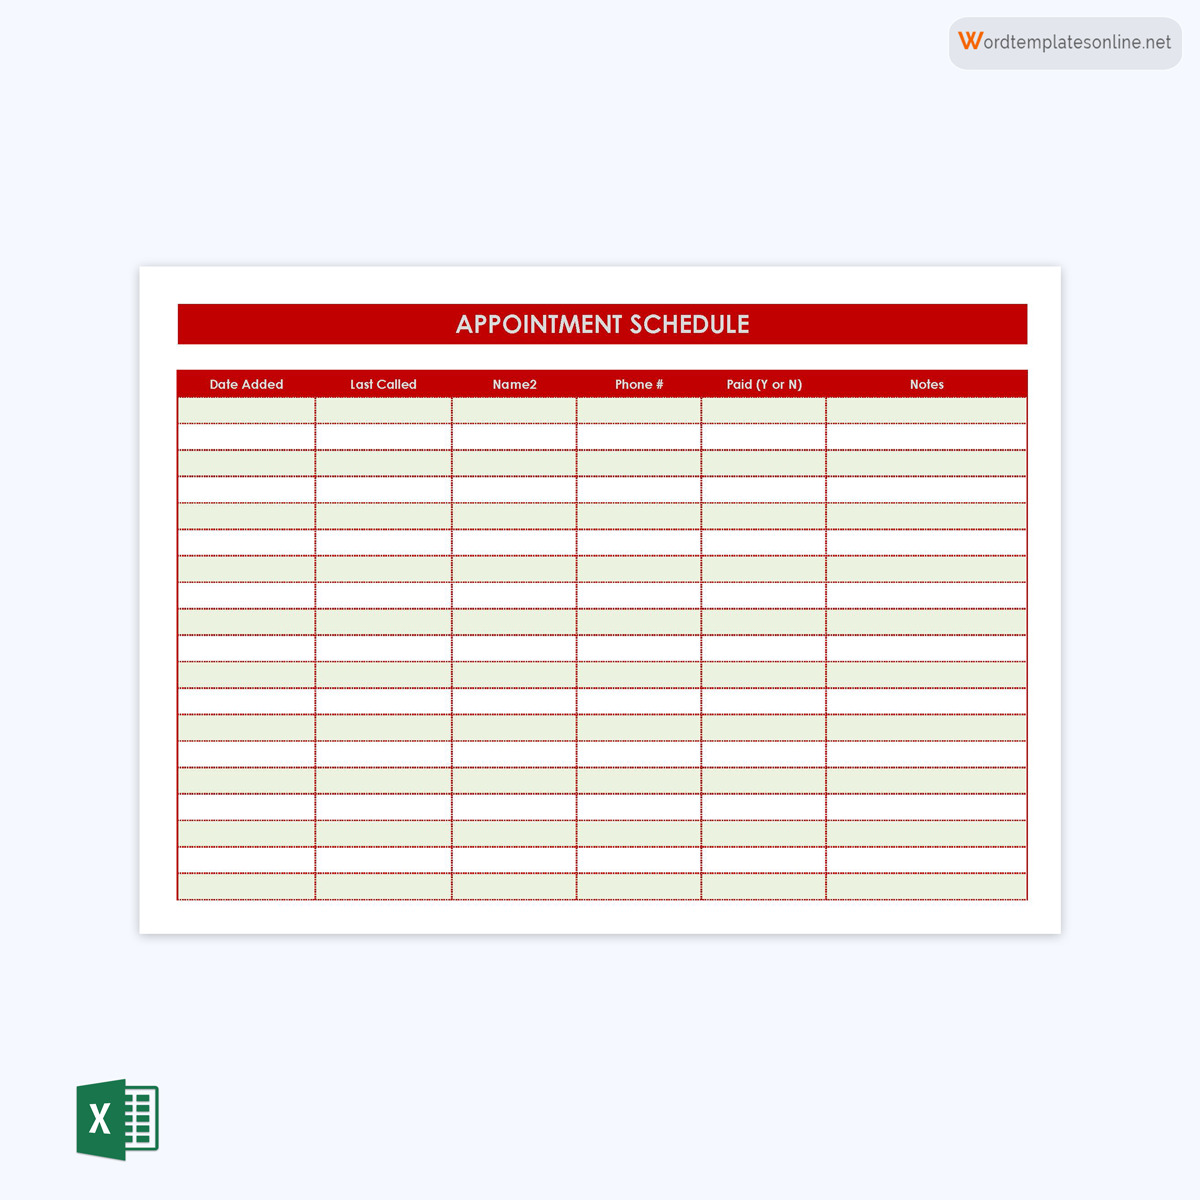
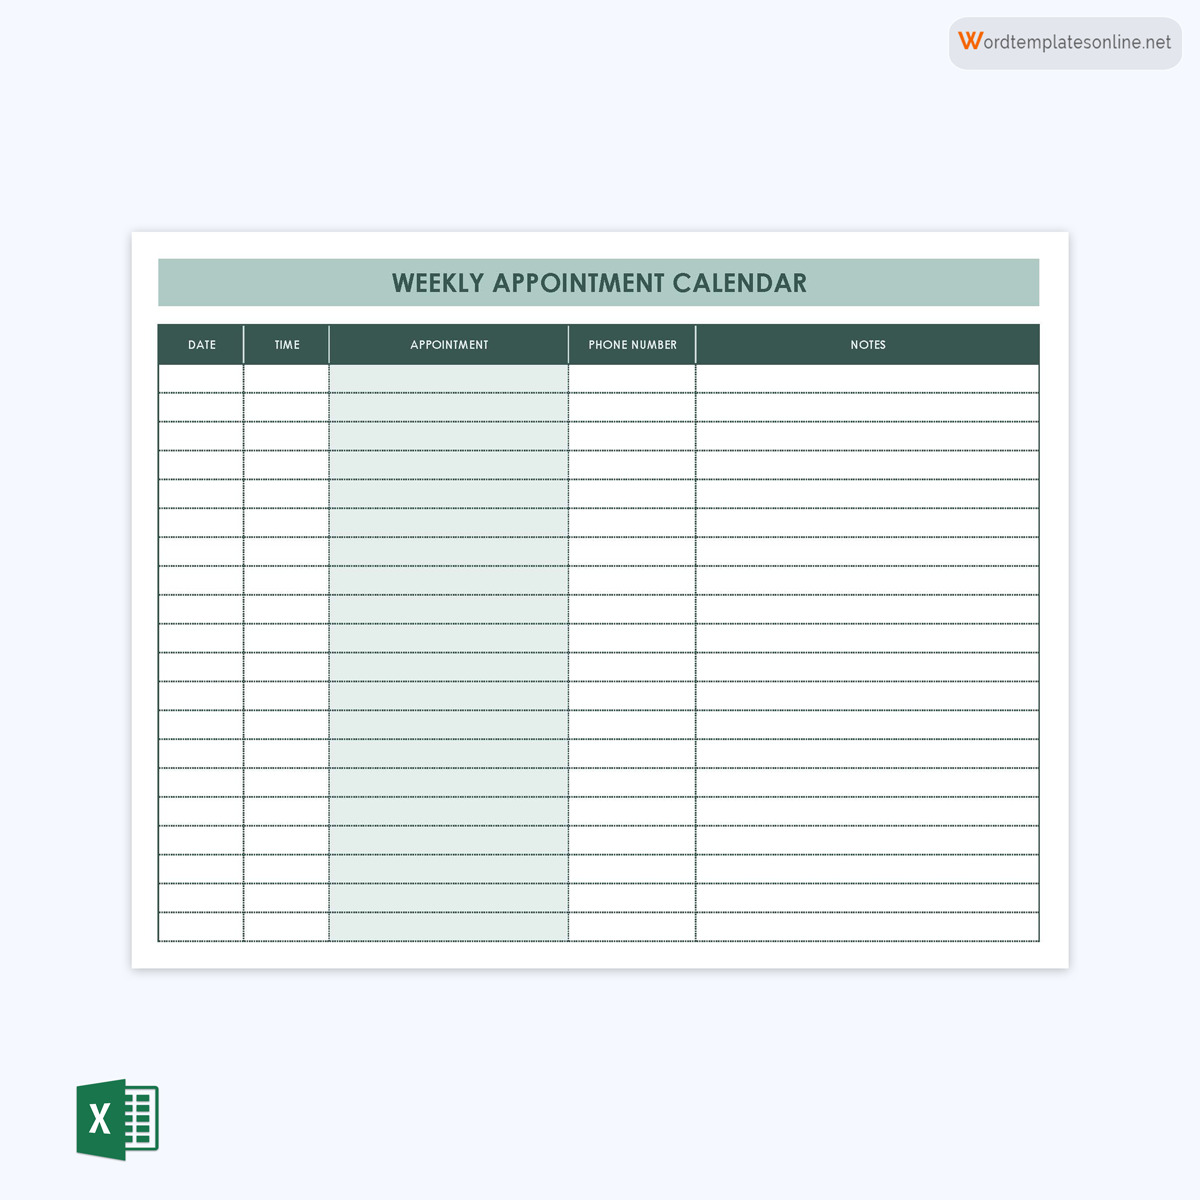
Appointment Scheduling Tips
Scheduling appointments and meetings can be daunting, especially if you often have a busy schedule and an extensive list of tasks to complete daily. Aside from this, other vital factors may contribute to the inefficiency of your appointment schedules, such as typing errors when adding details or failing to coordinate dates, times, and locations. However, there are various tips that you can implement to overcome these issues and make your work easier and more effective.
They include:
Offer several times and date options
If someone requests an appointment, try to offer your customers and clients several available times and dates that they can choose from. This way, they can make better decisions on which time will be most suitable for them, and you will have plenty of time to coordinate and organize your schedule as well.
Send invites
Send your clients information about open slots. You can send this information via email or SMS. This way, you can organize your day efficiently.
Schedule breaks
This is another valuable tip to help you easily organize your appointments. They can be scheduled with a specific end time so that you do not get distracted by the next task after the meeting is over. Try to schedule your tasks in such a way that you always have some gaps between each scheduled task. In this way, you can pause, refresh your mind, and be focused on the next task.
Avoid scheduling appointments back-to-back
Foreseeing upcoming tasks and appointments is a critical step in organizing your schedule. Do not, however, overdo it by booking consecutive appointments. Doing so will increase the likelihood of missing essential appointments, failures in communicating important details to other involved parties, and a chaotic and disorganized schedule. Instead, always make sure that there is sufficient time in between your appointments to prepare for each appointment accordingly.
Sync your appointments on your calendar
To avoid missing out on appointments, sync your appointments to your calendar. This gives you peace of mind, knowing that you do not have any conflicting appointments during a specific period.
Note details accurately
The effectiveness of your schedule also heavily relies on your ability to accurately note the details of your appointments and meetings. Hence, make sure that you carefully note the date, time, and place of your appointment, as well as important details like the names of the people with whom you have an appointment, the topics that will be discussed, and contact information.
Be considerate in your scheduling
You should pay attention to other people’s schedules, as they may also have a busy schedule. Therefore, try to be considerate and accommodate the availability of others when you create your appointment. Besides, whenever you reschedule, make sure to actively communicate with the other party and let them know about it. This is the best way to avoid missing or forgetting about a necessary appointment.
Final Remarks
It is imperative to have a systematic approach to organizing your schedule. This is particularly the case if you have a hectic routine that involves attending important meetings and appointments with clients. By considering the tips and practical strategies we have discussed herein and using MS Excel to create your appointment schedule template, you can effectively manage your time, increase your productivity, and foster client satisfaction, making your business more profitable.
Creating an appointment calendar by using pre-designed online templates is also a great way to manage your time. It will significantly improve your efficiency in keeping track of all your upcoming events and activities and allow you to easily update and modify your schedule whenever the need arises.


