An Itemized Receipt is a formal document that lists every single item purchased or service provided.
It is a document that serves as proof of purchase given to the customer, and it usually includes a complete breakdown of each item, including the description and quantity. Additionally, it will include all other financial factors, such as taxes and discounts.
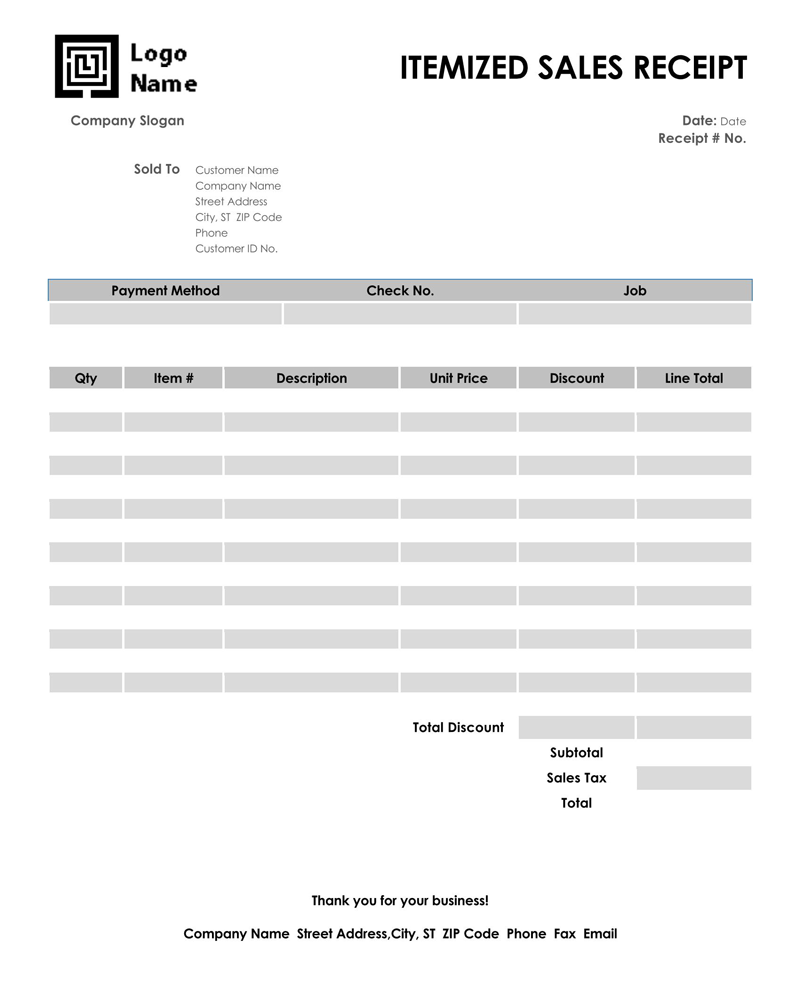
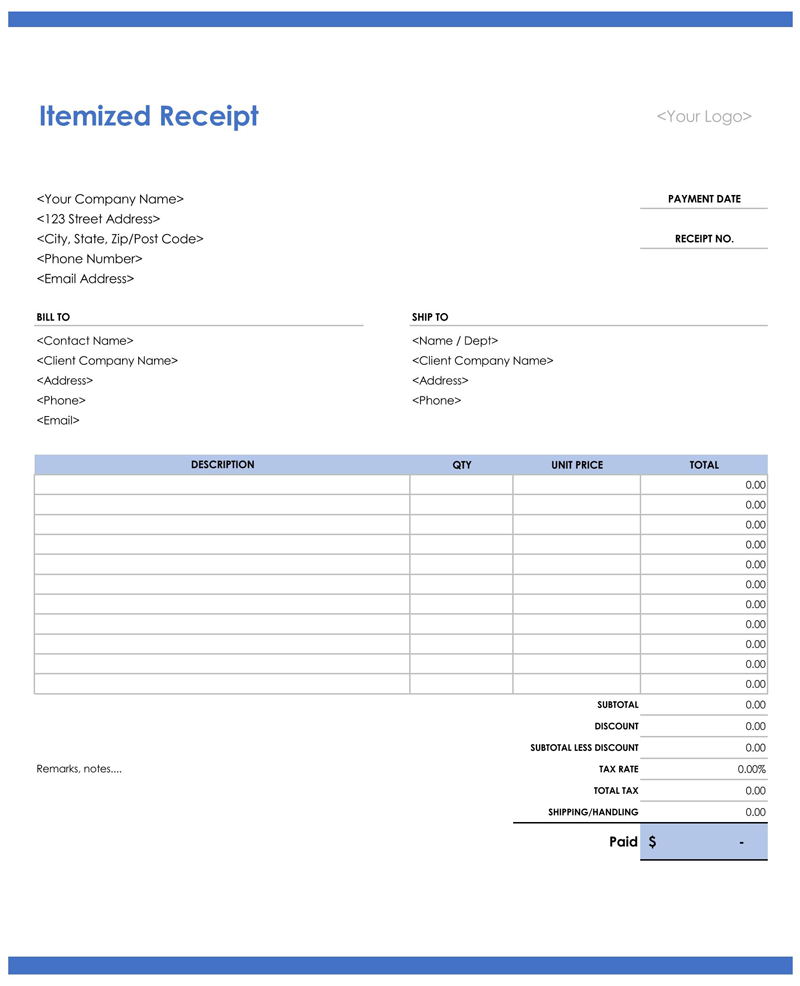
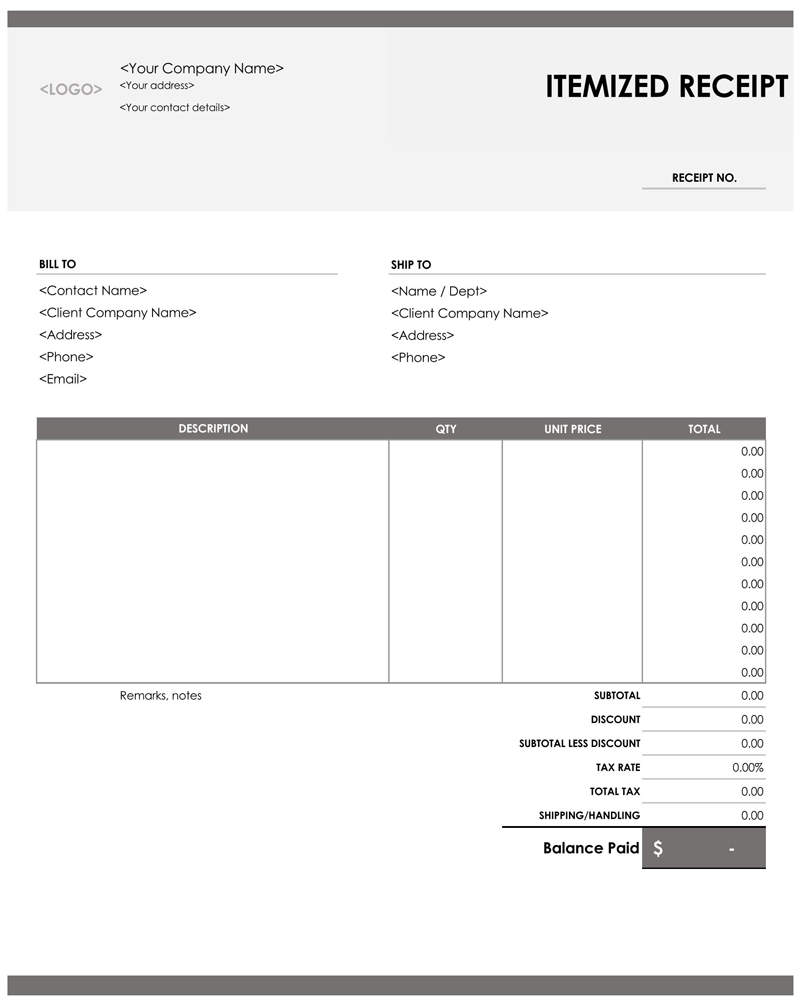
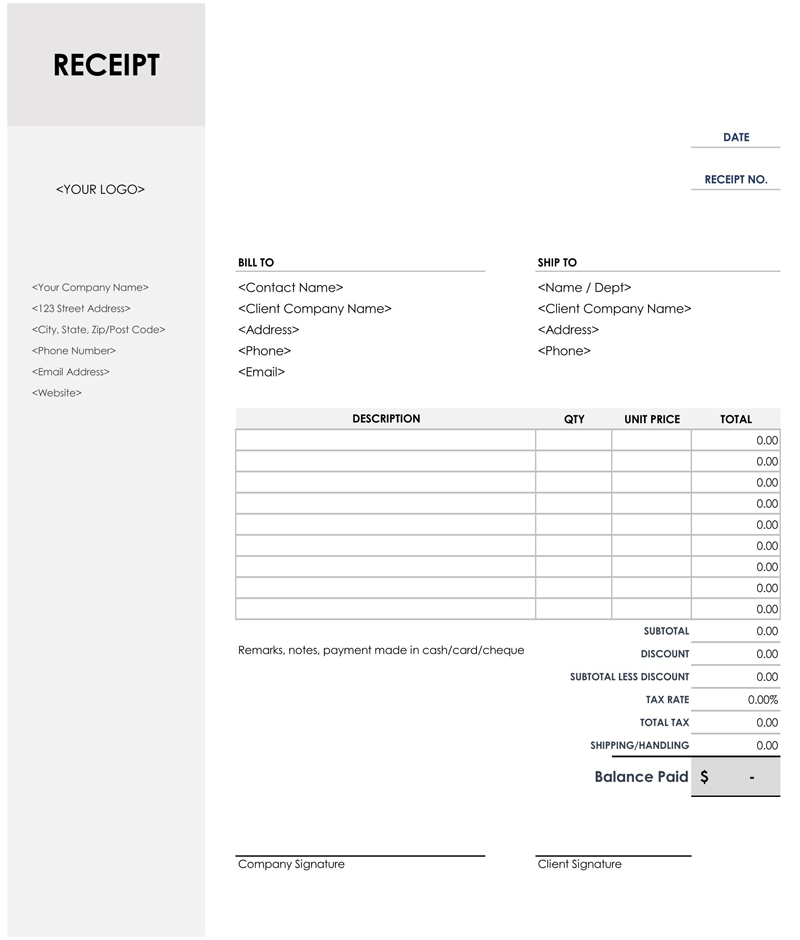
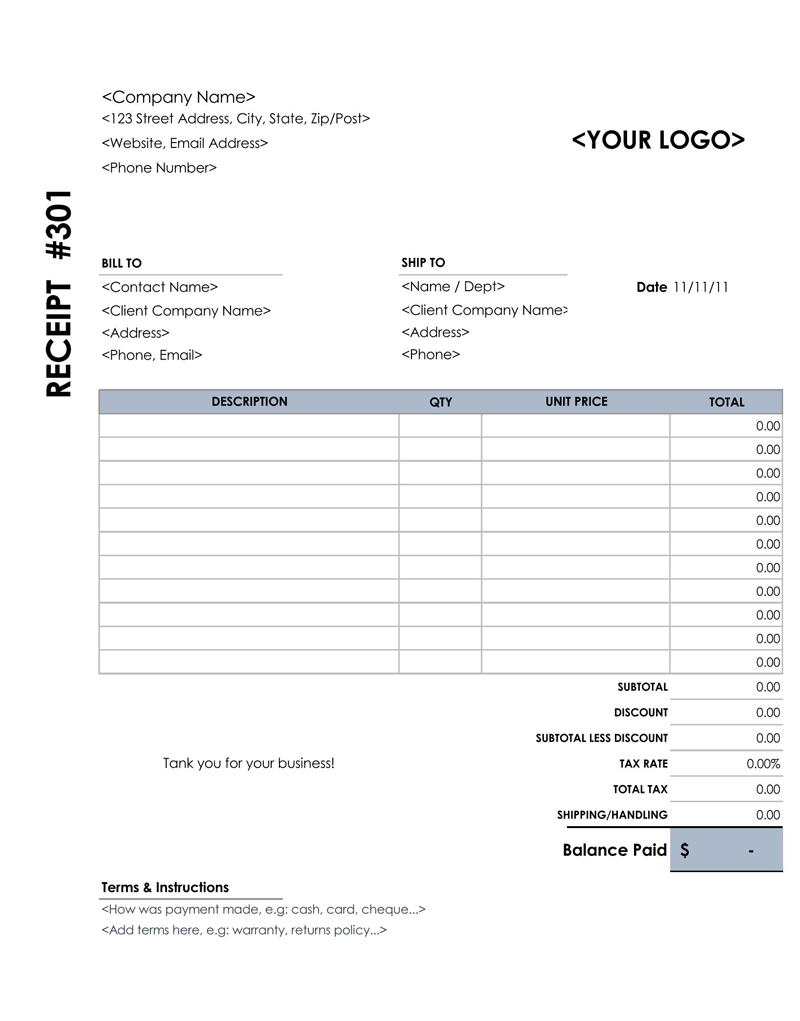
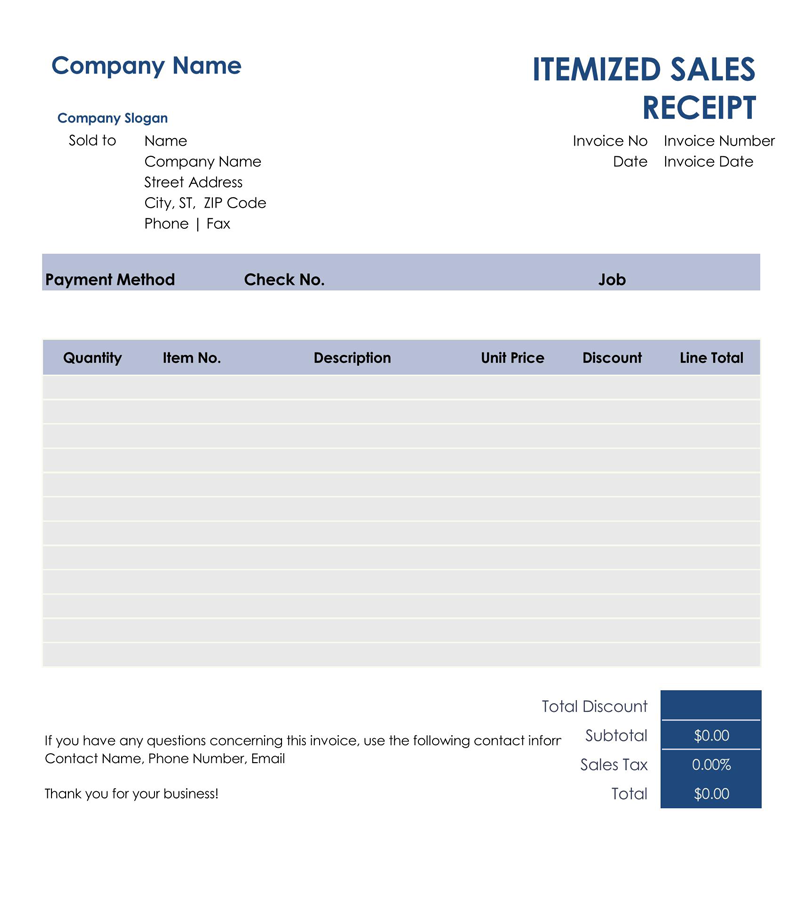
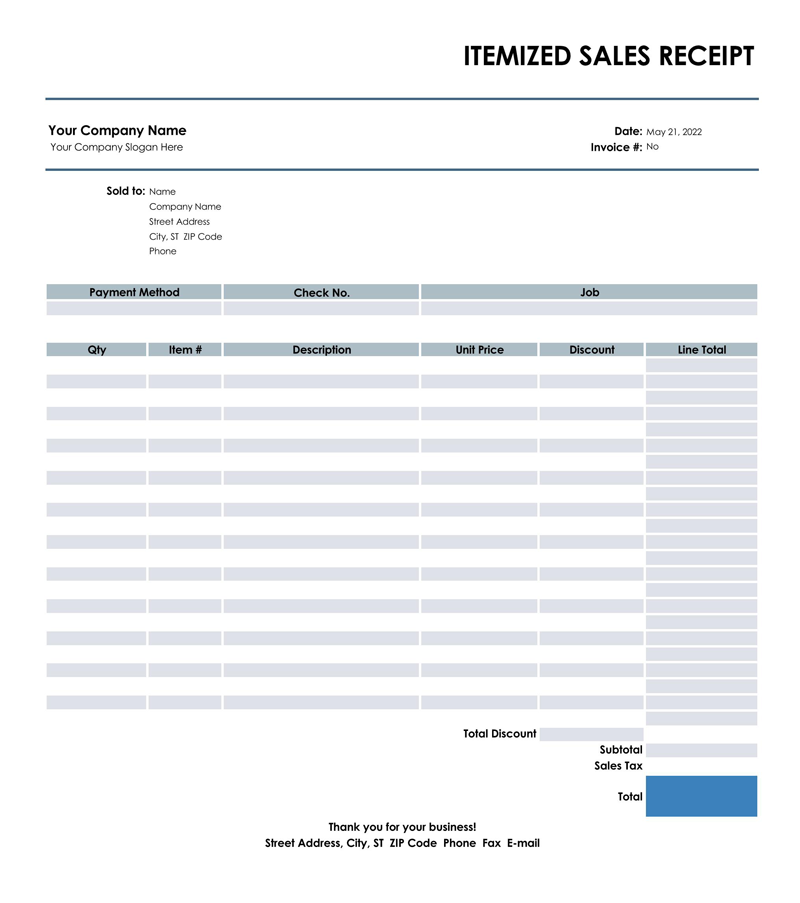
Itemized Receipt Templates
The templates are a great place to start for any business and can be easily customized to fit the needs of any company. This way, designing one will take considerably less time, and it will be ready in no time. For anyone who would like to use template for itemized receipt, it can be downloaded here:
Elements to be Included
In general, such a receipt will contain several sections which give specific necessary information. At the same time, they may vary depending on the service or product provided.
However, in general, it should include:
- The client’s name: The person who received the service/product is often included. However, this isn’t necessary for all business transactions, as it typically doesn’t happen in a physical retail business.
- The provider’s name: It is necessary for all transactions. In other words, the service provider or the name of the company selling a product should be included.
- The date: The service or product purchase date is also necessary to keep a consistent record of transactions.
- The type of service: The type of service provided should, in detail, explain what type of service or product was provided. For retail, this may be a short description of the product or service being paid for.
- Cost of each item: The cost of each item is also necessary on receipt. If multiples of the same product were purchased, it should list both the individual and total price.
How to Write an Itemized Receipt?
Remember that this information should be customized to each business, and not all are appropriate universally. However, nearly all of these receipts will follow a similar style and format. In general, this information should help both the merchant and the buyer keep organized records of exactly what was moved, so when writing this receipt, clarity should be the ultimate goal.
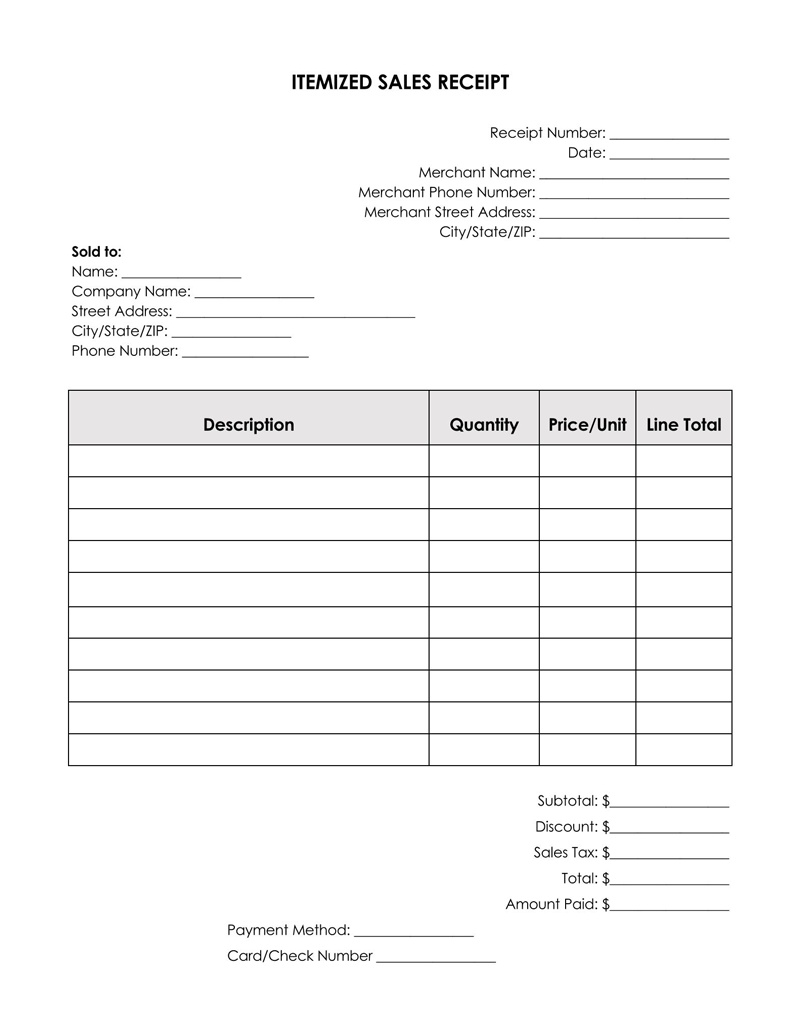
Section 1: Merchant’s details
The first set of information that is important to include is the contact information of the merchant. Contact information helps maintain a sense of professionalism and allows the client to contact the merchant if necessary.
Receipt number
The receipt number should be a unique number that is specific to this one transaction. This number will keep the business’ records organized by never having more than one transaction with the same number. The receipt number also benefits the buyer in case they need to dispute it in the future.
Date of purchase
The date is equally important and should be at the very top of the itemized receipt. The date is written to keep the business organized and ensure that anyone can easily reference back to a specific transaction.
Merchant’s name, contact number, address
The merchant’s name should be the company’s name providing a service, along with their contact number and address to show a sense of professionalism.
In most cases, this section will include the name of the business. Still, it may be appropriate for large-scale companies to list the associate’s name that helped carry out that transaction for large-scale companies with multiple employees.
City/State ZIP
Along with the exact address of the business, the city, state, and zip code of the business should be mentioned. This can be the business address of the physical location or the company’s billing address.
Section 2: Buyer’s details
Next, it’s essential to include information about the buyer for most transactions in your receipt. Again, this is especially important for B2B transactions but may be less critical in some retail environments.
Buyer’s name
Identify the individual buyer or the business that is purchasing the product or service.
EXAMPLE
This first section can include the individual’s name, while the company name will be the organization’s name.
Company name
Again, if the purchaser is representing a business, they should write that company’s name here. If the buyer is an individual, this may either stay blank or be removed from the receipt.
Street address
In some cases, it may be necessary to include the mailing address of the purchaser.
EXAMPLE
The street address is significant in online products or in any case where it may be necessary to maintain contact with them.
City/State ZIP
Like above, it’s necessary to include their city, state, and Zip code in the cases where the client’s address is essential to appropriate business practices.
Phone number
Finally, it’s essential to include the client’s official phone number in the last part of this section. This could be the number of either the company or the individual purchasing the product.
Section 3: Items in the transaction
The specific items being purchased in the transaction should be presented in a neat and organized way in this receipt. The most appropriate way to do this is by creating a table with four columns and placed in the middle of the page.
Description of each item
In the first column, a clear identifying description of the product should be written. This can be either a specific item or service, but this description should be unique to that type of item.
Quantity of each
In column 2, the number of those products purchased should be included.
EXAMPLE
If the client has purchased multiple T-shirts simultaneously, the quantity section should specify the number.
Price/unit
In the third column, the unit price should be listed. This is to make a clear and organized breakdown of the products purchased. Again, it should be the specific price of one single item or service.
Line total
Finally, the line total should be the total amount due, based on that first line of the table.
EXAMPLE
If the client purchased 3 T-shirts valued at $6 each, then this line should say,
“Quantity: 3”, “Price/unit: $6”, “Line total: $18”.
Section 4: Billing details
The billing details should include several pieces of information as well. But, again, this should be presented in a clear and easy-to-read way so that the client has no confusion and the business can keep adequate records.
Subtotal
After adding up all the numbers in the “Line Total” column, the subtotal should be the total amount. Subtotal should not be confused with “Total”, as there may still be changes to the final price after this sum is calculated.
Discount
In case of any discounts are applicable, they should be entered in the following blank line. Typically, this discount will be included in dollar amounts, but an optional percentage amount may be included afterward for clarity if the business finds it necessary.
Sales tax
When required, the sales tax should come afterward to add any final additions to the amount due. Sales tax should be calculated after subtracting any discounts applied to the subtotal.
Total
Finally, the total amount should be the sum of subtotal and sales tax (and subtracting the discount before adding the sales tax). The number written on this line is the actual amount due.
Amount paid
Typically, in this receipt, the amount paid will be the total amount due and should be listed on the following line. However, in cases of partial payments or payment installments, that partial amount should be listed.
Payment method
The payment method is typically located on the bottom left of this receipt. The blank line should be filled out with how the client has paid for the item: credit card, bank transfer, PayPal, cash, cheque, etc.
Card/cheque number
This section should be listed underneath and give more details about the payment associated.
EXAMPLE
If paid with a credit card, that card’s number should be listed below.
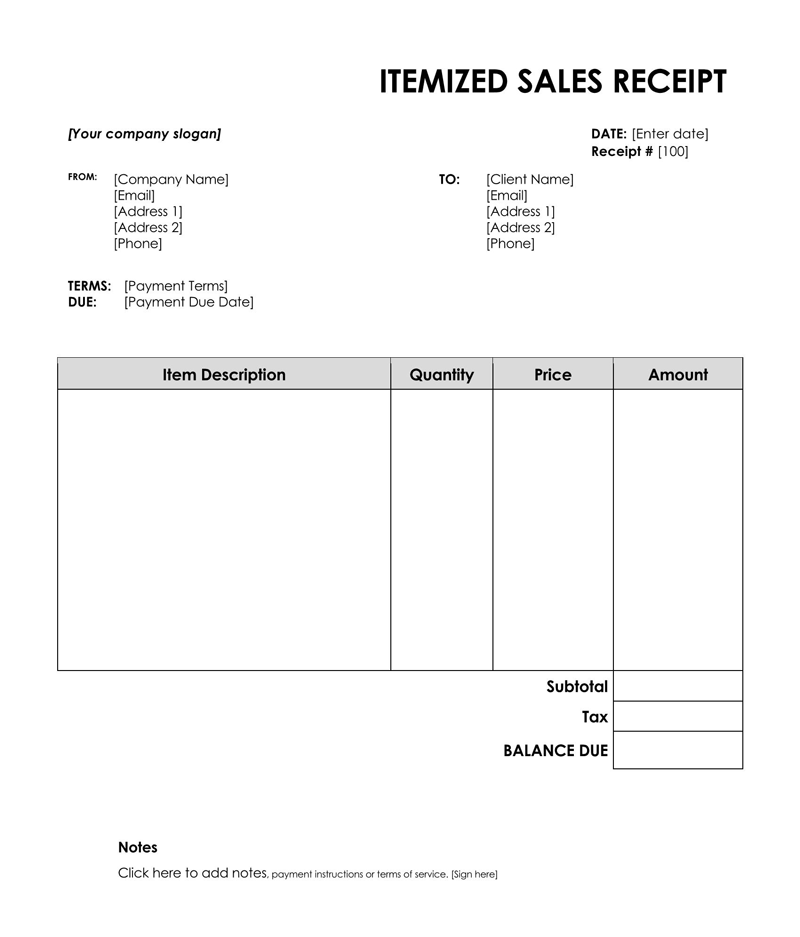
Itemized Invoice Vs. Itemized Receipt
There are several differences between an itemized invoice and an itemized receipt that should be mentioned. Firstly, an invoice is typically used to request payment, whereas the receipt is always given after the payment is received. In this sense, the receipt is proof of purchase, but the invoice is a document sent beforehand.
Secondly, the timing of delivery for these two documents is quite different as well. As mentioned, the invoice is sent before a transaction is completed, but the receipt is sent afterward.
Another key difference is that an invoice is vital for companies to track their services and products, but a receipt is just the payment confirmation. In other words, an invoice will often be more detailed and more important for internal use.
Finally, the invoice will list the total amount due before any payments have been made, but the receipt will mention how much has been paid. If payment has not been made in full, the receipt will mention that.
Frequently Asked Questions
An itemized receipt will contain the name and address of the merchant, including their city, state, and zip code. It may also contain the same information for the buyer in many cases. Contact information such as a phone number should also be listed for both parties.
Next, a description of each item or service, along with how much has been purchased, the unit price of that item, and the total cost, should be included in a tablet format. Afterward, the subtotal, possible discounts, and additional taxes should be included, with the final total being placed at the bottom.
Finally, the date of purchase, the method of payment, and other specific information should be included at the bottom. Additionally, the amount paid should also be included in the bottom section as well.
The itemized invoice should include nearly all the same information as an itemized receipt, but it may also include additional information.
The merchant’s name and contact information, and shipping address should be included, along with the date of service. Afterward, the product description and the cost should be included in a table format, like a receipt. Afterward, additional charges such as taxes and shipping charges should be included.
At the bottom of an itemized invoice, the business should include a statement for recommended or preferred payment methods and instructions on how to carry it out.
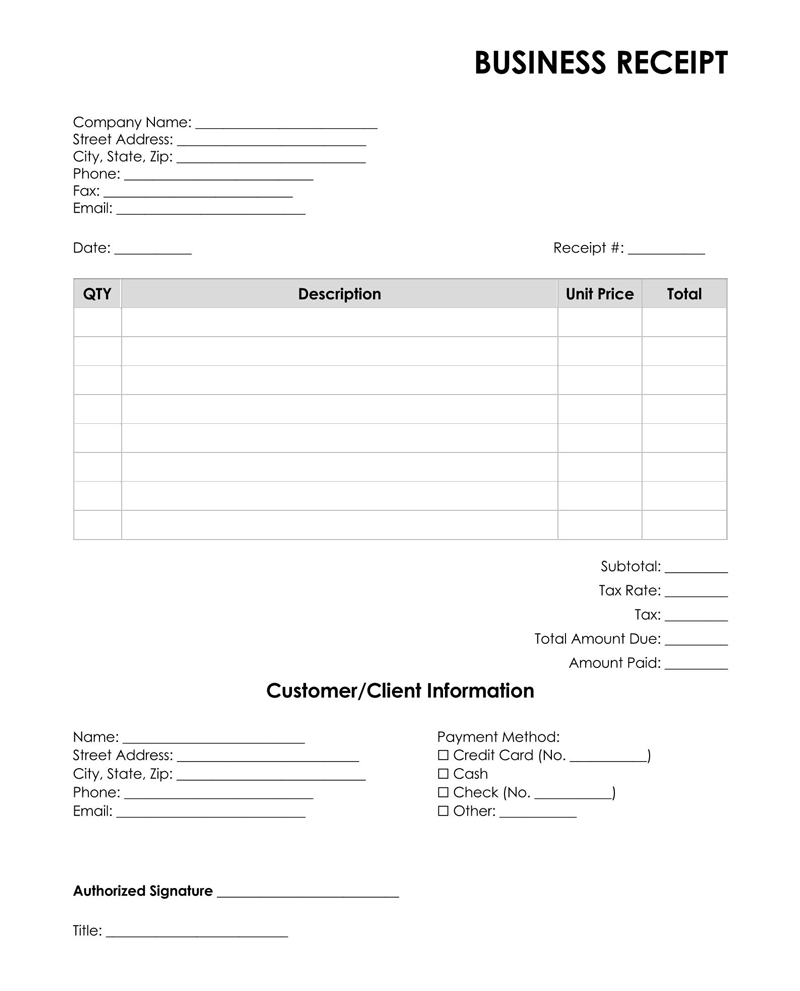
A free receipt template should include spaces for basic information such as the business’s name and contact information, the client’s name and contact information, and the service date.
Afterward, a tablet that lists the description, quantity, price/unit, and the total should be listed to fill it out quickly. Then finally, spaces available for subtotal, discounts, sales tax, and the total should also be included. Afterward, a space available for payment information will be placed in the bottom left.
About This Article