A moving checklist is a list of tasks that need to be done before a move.
All the items of your home need to be documented and labelled in order for you to avoid any problems during the move. A moving checklist helps you stay organised when moving out of or into a new home, apartment, or condo.
Moving into a new house is stressful, especially if you are a first-time homeowner and have never moved before. If you fail to prepare for this move or pack things correctly, you could lose or damage important personal belongings that were once in your possession. A moving checklist also includes helpful tips, such as identifying furniture or spaces in your house that will need additional packing supplies or wrapping materials ahead of your move.
Whether the new house you are moving to is across the country or a few blocks away, it requires time and effort to pack what is needed for the move. With tons of moving boxes, there is no wonder why people make mistakes when packing. Often they forget important items such as bedding, clothes, and dishes. This article will explore some tips to help people avoid these eventualities by giving them an outline of their checklist for packing and what should be packed with their specific needs in mind.
This checklist is also known by other names like relocation checklist, planning checklist, moving worksheet, moving list, home moving checklist, pre-moving checklist, and checklist for moving. Planning is essential in making this process easier on yourself. We will cover the steps required for packing, what to keep in mind when choosing a new space and unloading your items into the new space, how to organize before your move, etc.
Common Reasons for Using a Moving Checklist
There are many reasons for using a moving checklist. The first reason is that it helps you properly account for all your property. Making sure that you do not leave any items behind will prevent you from having an incomplete list of your property. This could lead to problems such as buying duplicates of items, or it may be impossible to claim certain insurance money because the item cannot be accounted for.
The second reason is that you should notify the relevant government and state agencies of your relocation. If you have a dog or other pet and are moving to a different location, they need to be registered in your new location. You will also need to inform the relevant government agencies of your new address if you have any government funding tied to specific services, for example, if you receive disability payments.
The third reason is that it helps you document fragile property. Fragile items can be easily broken during the move. By making a checklist of fragile items, you can arrange for a more cautious move and ensure that your property is not damaged in the process.
Also, a moving checklist is used to document the current state of your property. You need to take a few photos of the items you are moving. If the contents of your home are damaged during the move, you will be able to demonstrate the state in which they were when they were originally packed. This is especially necessary if you have expensive items (such as paintings or sculptures) purchased while on a trip abroad where you may not have been able to appraise them.
A moving checklist is also helpful when you are helping a friend or family move to a new house. This checklist can be used to help you decide what to bring. Make sure you ask your friend or family member what types of things they need assistance with so that you can provide them with assistance. A moving checklist will also ensure that you get back your security deposit in full.
When moving out of a prior residence, it is important to take pictures of the conditions of your apartment or home. This will help you determine what can be taken off the security deposit and what must be replaced, as well as provide documentary proof that the apartment was left in good condition for the next tenant.
Lastly, this checklist will help you avoid disputes with landlords and movers. The most significant disputes that occur during a moving concern the condition in which the apartment or home was originally left. By taking clear pictures of each room and item, you can use this as documentation to support your dumping and cleaning claims. It is also important that you take photos of the items before taking them to the new home, so if something goes missing in transit, you have evidence that you did not leave it behind.
note
A moving checklist is essential for moving to some cities, including New York, Chicago, Houston, Seattle, Atlanta, Austin, Los Angeles, Orlando, San Antonio, San Diego, and Boston.
The Ultimate Moving Checklist You will Need
For optimal results when moving, you should consider making a list of all the tasks that need to be done. This checklist can help you organize your move and ensure that nothing is forgotten. A weekly moving checklist is a very concise list of all the things you need to do, and it can be subdivided into sections.
Moving house means you will have many things to do each week. It is important that you schedule these on a weekly checklist so that you can easily see what steps of the move you have accomplished and what steps need further attention. The contents of each week’s checklist should vary depending on where your move will occur.
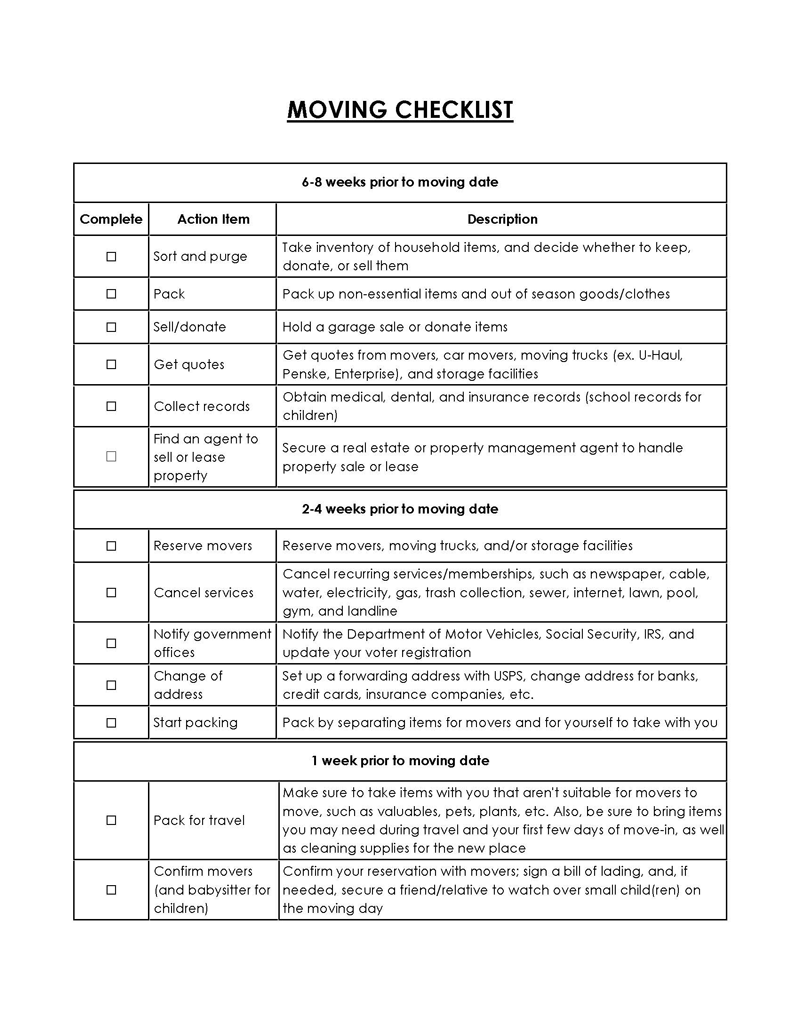
Below is a week-by-week guide on how to craft a moving checklist:
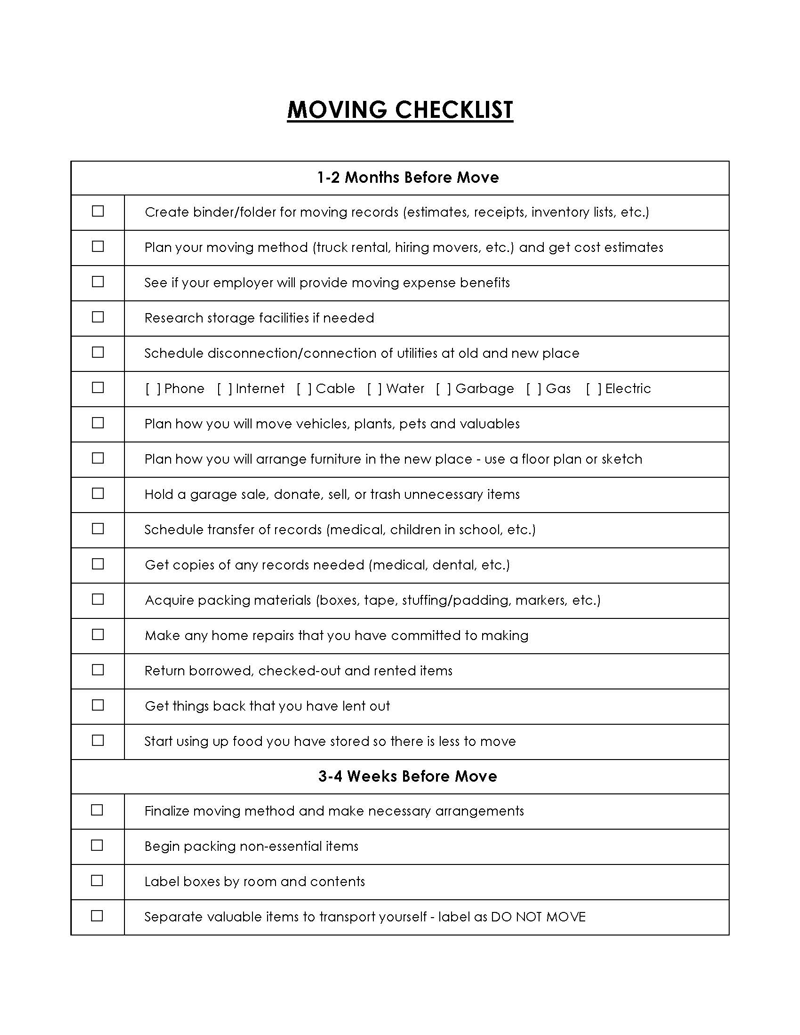
Eight weeks before you move
Start by crossing items off your to-do list eight weeks in advance. Starting your moving checklist at eight weeks subdivides the responsibility into manageable steps, reducing the likelihood of feeling overwhelmed or missing critical items on your checklist. The first steps help prepare for the overall moving process eight weeks before the move.
Start by:
- Searching for a new home; you can use online apps or websites or local realtors to help you search. Make a list of the features you want in a new home, such as size, floors, closet space, recent remodeling, age of the house, number of rooms and bathrooms, and other preferences.
- Sell your current house and use the money as a down payment for your new home. You can work with a realtor to prepare your home for sale, which includes listing it, scheduling inspections, and determining a closing date. You can process your home yourself or hire a contractor. Make sure that all of your dates correspond to the timeline for your move.
- Prepare to move to a new tenancy. But first, give your landlord proper notice of your desire to move. After that, request that your security deposit, if applicable, be returned on a set date, and if you need to find a roommate in your new location, you should start looking as soon as possible.
- Get organized by having an organized approach to documenting moving costs and paperwork. Make a moving folder for all of your moving-related paperwork, research, estimates, receipts, important signed documents, and notes. Then, make a moving folder in your email to keep moving-related correspondence organized and easily accessible.
- Make a detailed budget for your relocation, and then make a moving calendar to help you keep track of all of your important dates, such as your move-out and move-in dates.
- Get the price information to know how much it will cost you to move. You should get pricing and quotes from credible movers to avoid getting scammed.
- Decide which moving services you require.
- Prepare to answer basic questions about your relocation.
- Search for the companies you are interested in.
- Understand the responsibilities of your moving company versus your responsibilities.
- Learn what is included in your base price.
- Understand your moving insurance options and the claims process. Interstate movers are required to provide Full Value Protection when transporting goods across state lines.
- Compare your estimates and select the company that gives the best value for your money.
Seven weeks before you move
In week 7, take care of the personal aspects of your moving checklist. This includes family, friends, pets, and employers.
Below are the steps to take in week 7 of moving:
- Ensure your family is ready to move. To ensure a smooth transition, handle this procedure with care and understanding. Talking to your children about moving can be difficult, especially if they have made friends in your current location. Try to meet with them early and offer to assist them in preparing for the transition. If possible, schedule a visit to your new home and neighbourhood with your family to acclimate them to their new surroundings and discuss the positive aspects of the change, such as potential new activities.
- Regarding pets, look for pet-friendly parks and diners in your area, examine the reviews of veterinarians in your new neighbourhood, examine the reviews of doggie daycares and dog walking services in your new neighbourhood, and most importantly, before travelling, take your pets to the veterinarian for a final checkup.
- The next step is contacting your children’s school. If you are relocating to a new district, you will need to find a new school and have their documents transferred. Knowing the school district is important because it can greatly impact your child’s education and satisfaction in their new school. This can be achieved by:
- Informing the current school of your anticipated move.
- With a list of requirements and preferences, look for schools for your children in your new location.
- Completing any necessary school registration formalities.
- Making an appointment to see the new school in person.
- Transferring transcripts, medical records, and other required documentation to the new school.
- The next step is informing your employer of your upcoming move to ensure a smooth transition into your new job, or if you intend to keep working for the same employer, discuss a way forward. Consider the tips below:
- Plan your new work commute.
- If you work from home, think about how to make the transition to a new home office as easy as possible for you and your employer.
- Investigate nearby businesses such as restaurants, gas stations, drug stores, etc.
- Make sure you are familiar with your company’s parking policies.
- Make sure you understand your employer’s safety policies and procedures.
- Look into dry cleaners in your new neighborhood if you need to replace your work clothes.
- Confirm the start date of your work.
- Request time off work for move preparation, if necessary.
- If you are leaving your current job, ensure your payroll department has your new address for mailing tax paperwork and your final paycheck.
- If you are looking for work, start looking as soon as possible.
- The last step is booking your move. This gives you plenty of time to book your date.
- When you receive the official estimate, ensure you understand each section.
- You will book your move once you have determined your move-out date and confirmed your plan.
- If you have any questions about your estimate, rights, and responsibilities, or scheduling your move, contact your move coordinator, who will assist you with every step of the process.
Six weeks before your move
In week six, prepare and safeguard important documents, files, and other information you will need to keep safe during your move. You should also begin to update paperwork with important institutions and notify others of your new address:
- Week six is where you need to protect your important documents.
- Consider scanning physical documents to the cloud, if any.
- Keep your online account passwords in a secure location. A physical file, cloud storage, or password service is recommended.
- Passports, birth certificates, social security cards, and financial statements should be kept in a safe place. You should bring these items with you rather than loading them onto the moving van.
- Ask the mover how they might handle moving a safe, or carry it with you.
- Gather all warranty documentation and guidebooks in one location.
- If you have files on your local pc drive, you should consider backing them up to the cloud.
Five weeks before your move
In week five, concentrate on the documents you do not keep in your house. These documents include your medical records, prescriptions, dental and optical records, pet medical records, etc.
- A new location means businesses and medical providers you used to visit are no longer available. You can begin the process of requesting that records be transferred if you have recognized service providers in your new location.
Four weeks before you move
- In week four, start organizing. Organizing is another benefit of moving. Decluttering before moving lowers your moving costs and allows you to start over in your new home.
- Start by going from one room at a time to determine what will move with you.
- Organize a garage sale or an online sale to get rid of anything you won’t be able to take with you.
- Donate any unwanted items to your favorite local charities. Remember to keep receipts showing the estimated value of the items for possible tax exemptions.
- Purchase what you will require until moving day. Before the big day, clean out your cupboards and donate or discard any perishables.
- Begin using household cleaners, rolls of paper towels, and so on.
- Anything that cannot be donated, sold, or gifted should be discarded or recycled.
- Check the list for items that are not permitted in your shipment.
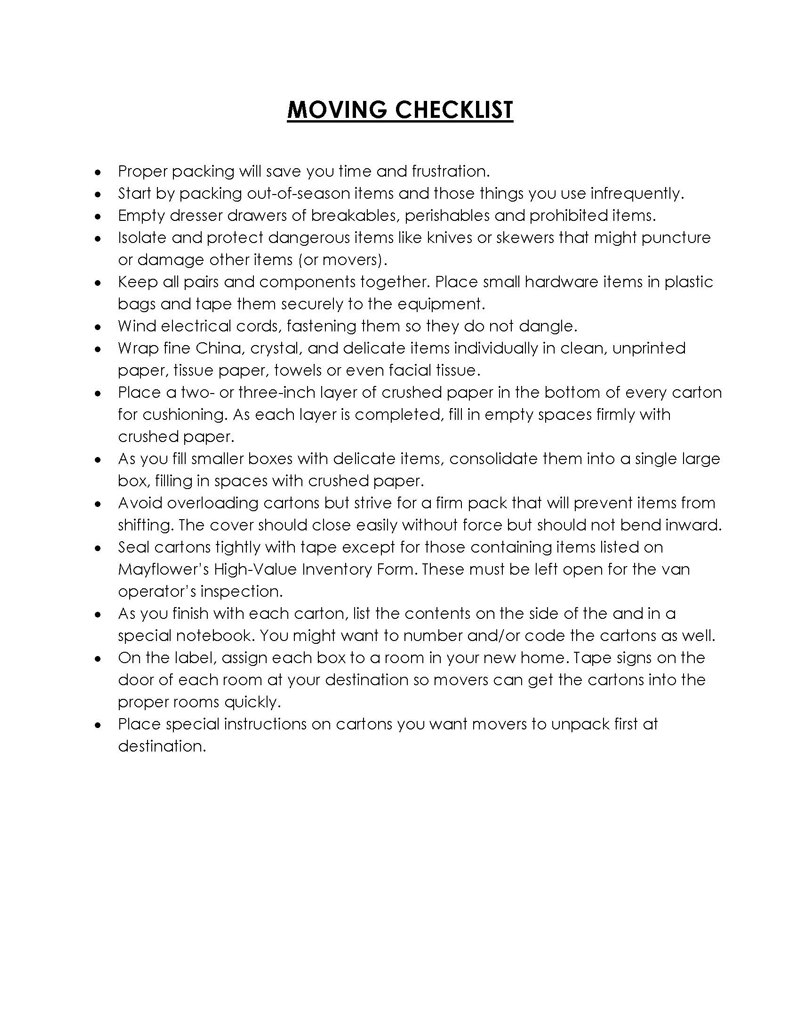
- The next step is to start packing. Starting the process earlier allows you to spread out the work and keep things bearable during the move.
- Set aside at least one week for packing.
- Set aside a section of each room for packing ahead of time.
- Learn about the various types of boxes and packing materials that may be required.
- Gather your essential packing materials, such as scissors, tape, marker pens, baggies, padding, and tools.
- Pack items that you won’t need right away in each room (for example, seasonal items such as winter or summer clothes, holiday decorations, etc.).
- Make sure you know what items are dangerous or not permitted on the moving truck.
- Recognize the items you’ll need for your first night in your new residence and pack them together, such as shower curtains.
- Ensure you know how to pack items such as lamps, vacuum cleaners, and small appliances such as microwaves.
- On the side of the box, label your boxes by room. Make a note of whether the contents are fragile or heavy.
- Use linens and t-shirts to pad boxes as you pack to keep your belongings secure.
- Keep furniture separate so you can find it when it’s time to reattach it.
- Inquire with your moving company if they can transport plants. If not, you can transport them in your vehicle, donate them, or dispose of them.
- The next step is checking in with your coordinator. Checking in with your moving coordinator will keep you on track for the move date.
- Ensure that your move coordinator has your destination address and phone number.
- Confirm any additional stops to pick up or deliver goods to a location other than the primary pickup or delivery points.
- If your car is being transported, be ready to drive it to the loading location. Also, be ready to pick up your vehicle at your final destination.
Three weeks before your move
In week three, start tying up loose ends at your current address:
- Begin by updating your address. Now that you’ve determined your final destination, it’s time to update your address. Updating your address saves you the trouble of diverting mail and reduces the possibility of missing an important bill or communication.
- Change your address for your financial accounts, such as bank accounts, credit card accounts, etc.
- Update your physical address for subscriptions, such as online shopping and streaming.
- Change your address for your insurance policies, such as health, vision, and dental.
- Inform your lawyer of any changes to your address.
- Change the address on any newspaper or magazine subscriptions you have.
- Change your address on W-2s, 1099s, and asset tax bills.
- Update your address for any outstanding medical expenses.
- If applicable, update your address with the Social Security, Veterans Affairs, Internal Revenue Service, Medicaid, and Medicare offices.
- Change your address with your employer and payroll.
- Notify your local voter registration office that you are relocating.
- The next step is canceling any local memberships, such as gyms. Look for gyms and similar businesses near your new location online and schedule tours to get a feel for the facilities.
- Lastly, say your goodbyes. Many friends and family will want to say their final goodbyes in person, so planning ahead of time can help you avoid having to decline invitations and plans closer to your moving date. Before moving, gather your neighbors, friends, and family.
Two weeks before your move
In week two, begin cleaning your home, packing your belongings, and ensuring everything is ready for your move:
- The first step is preparing your home before moving out.
- You should clean your house. You can use move-out cleaning services, or you could do the cleaning on your own
- Remove nails and screws from the walls and spackle any holes.
- Protect the floor and furniture with padding. Keep furniture and foot sliders separate for easy access during move-in.
- Make any necessary repairs to receive your security deposit back.
- The next step is preparing for your trip.
- Make a playlist of songs you like.
- Plan your route, hotels, rest stops, gas stations, and attractions.
- Pack clothes, toiletries, refreshments, electronics, and other items you may require for your trip.
- Pack activities, colouring books, tablets, books, and other items for the children.
- Keep an eye on the weather forecast for the week of your trip.
- Remember to keep important documents, photographs, and valuable portable items, such as electronics and jewellery, separate from items to be packed onto a moving truck.
- If you are driving to your destination, service your vehicles, and ensure you also fill up your gas tank.
- Next, sort out last-minute items.
- Return any borrowed belongings to friends, neighbours, workmates, family members, etc.
- Return books to the library.
- Carry any items that need to be brought back to a local store with you.
- Pick any remaining clothes from the dry cleaner.
- Pay fees or penalties, such as unpaid parking tickets, legal fees, etc.
- Lastly, double-check the list to see if there is anything you missed. Ensure that you have not left out any important items.
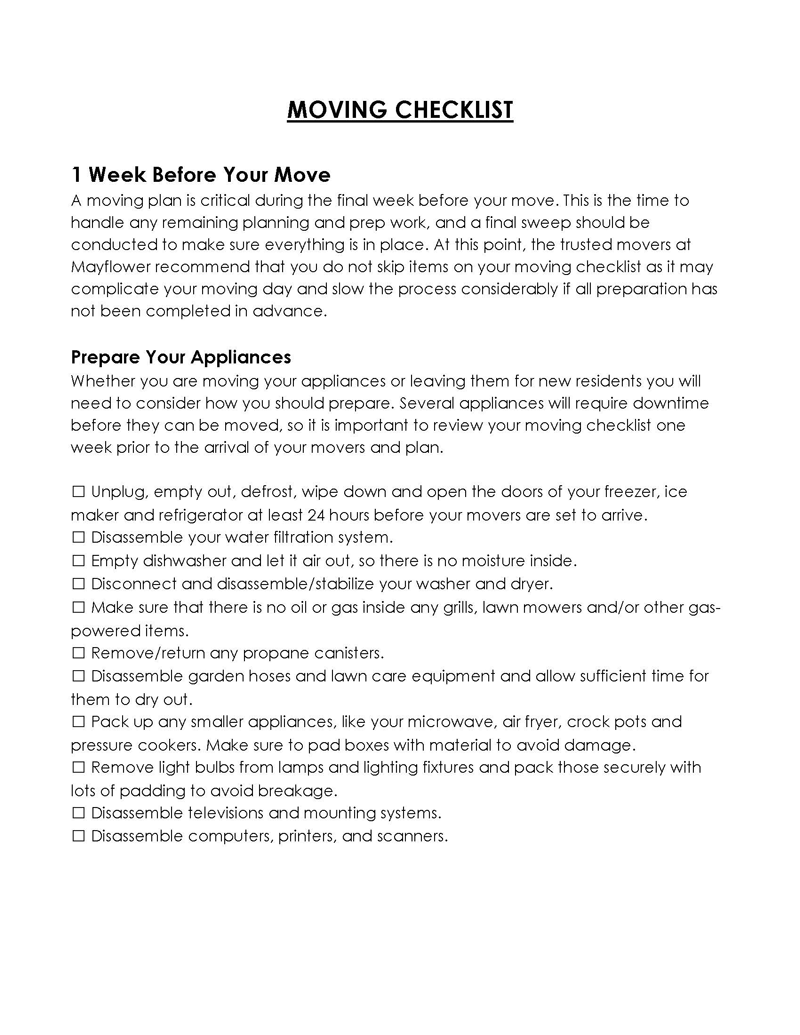
One week before your move
This is the time to complete any remaining scheduling and prep work and a final sweep to ensure everything is in place.
- The first step is preparing your appliances.
- Disconnect, empty, defrost, clean, and open the doors of your freezer, ice maker, and refrigerator at least 24 hours before your movers arrive.
- Take apart your water purification system.
- Empty the dishwasher and allow it to air out so there is no water inside.
- Disconnect your washer and dryer and disassemble/stabilize them.
- Check for oil or gas inside grills, farm equipment, or other gas-powered items.
- Remove and replace any propane canisters.
- The next step is setting up services at your new house.
- Make appointments with your new utility/home service providers, such as gas, electric, trash, water, recycling, cable, etc., ahead of time.
- Make a list of the contractors you’ll need, such as plumbers, HVAC, painters, roofers, etc.
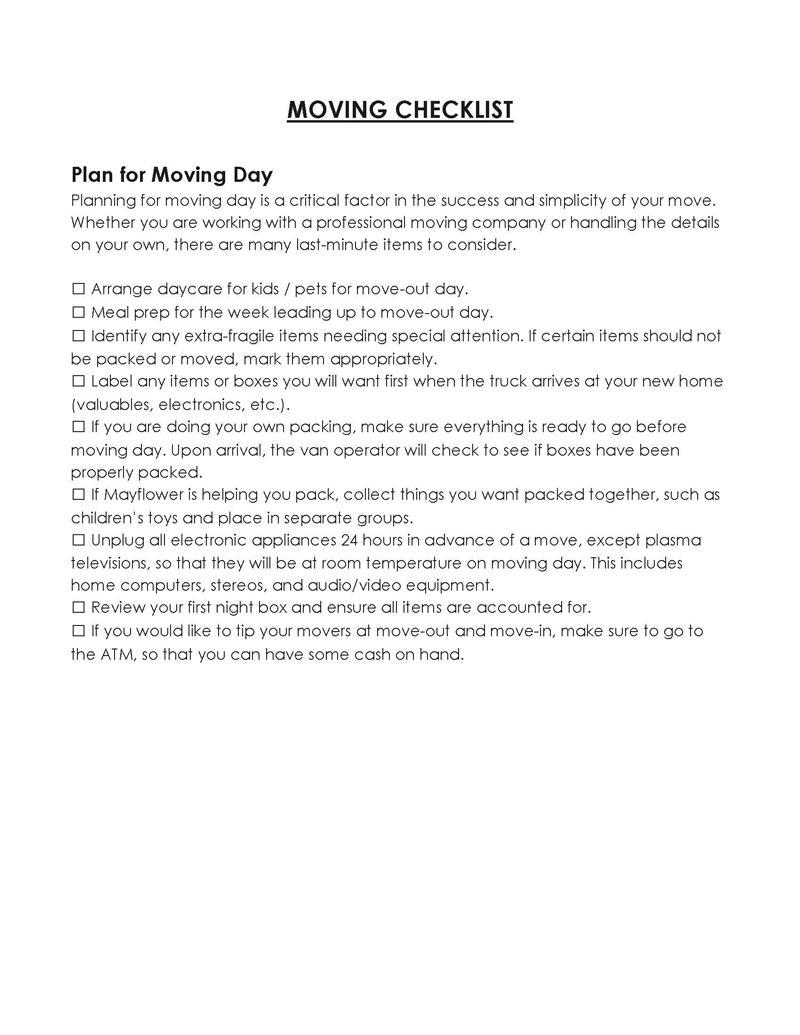
- Next, plan for the moving day.
- Arrange for daycare for children and pets on the day of the move.
- Plan meals for the week leading up to the move-out date.
- Identify any extra-fragile items that require extra care.
- If you’re packing yourself, make sure everything is ready to go before moving day.
- Disconnect all electronics, except plasma televisions, 24 hours before a move, so they are at room temperature on moving day.
A few days before
As the day of moving nears, you should:
- Defrost your fridge 24 hours before to ensure it is clean
- Double check the moving details such as date, time, if all the items are correctly listed, etc., to ensure the moving process goes smoothly.
- Lastly, if you’ve not planned for a card payment, get a money order, cashier’s check, or cash for compensation and tip. A tip of 10 to 15% of the total payment is reasonable if the crew has done an excellent job.
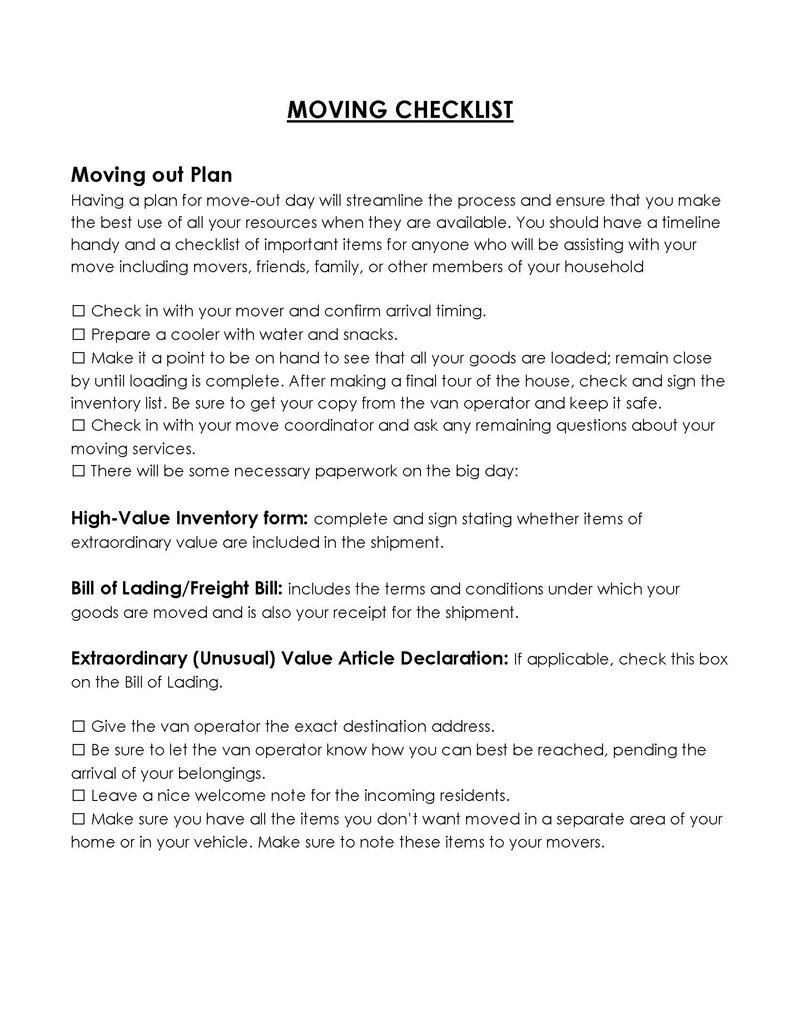
Moving day
Planning ahead will help simplify the process and ensure you use all available resources well.
- Give the van driver the exact location of your destination.
- Ensure the driver knows how to reach you if your goods are delayed.
- Leave a welcoming note for the new residents.
- Make a separate area in your home or vehicle for any items you do not want to be moved.
- Make a note of these items for your movers.
Next is the moving-in plan. Making a plan for your move-in day ensures you have all the necessary supplies and essential items.
- Check the weather to see what to expect.
- When you arrive, have your first night’s package ready and convenient.
- Ensure the floors are safe.
- Measure rooms and doorways to ensure proper furniture setup.
- Install your shower curtains in the bathrooms.
- Organize your furniture and make your bed.
- Assemble and prepare your children’s beds.
- Ensure you have food, clothes, water, and a backup plan for lodging.
- Make your new home baby-proof.
- Consider replacing your locks for added security.
- Make copies of your keys.
Delivery day
You are now ready to accept delivery of your belongings from your movers, having arrived in your new residence. Use the moving checklist below to ensure a smooth delivery day.
- Be available to accept delivery.
- If the driver cannot contact you by phone on the day of delivery, they will stop by your new residence. If you or an authorized person cannot accept delivery of your belongings within the free waiting time, you may request additional waiting time until delivery is possible.
- Check your belongings as they are being unloaded.
- Direct how you want your furniture to be placed.
- Place a new home floor plan near the front door so that the movers can figure out where each piece of furniture should go.
- Keep all of your moving documents in a secure location.
- Leave appliances and electronics unplugged to avoid potential damage.
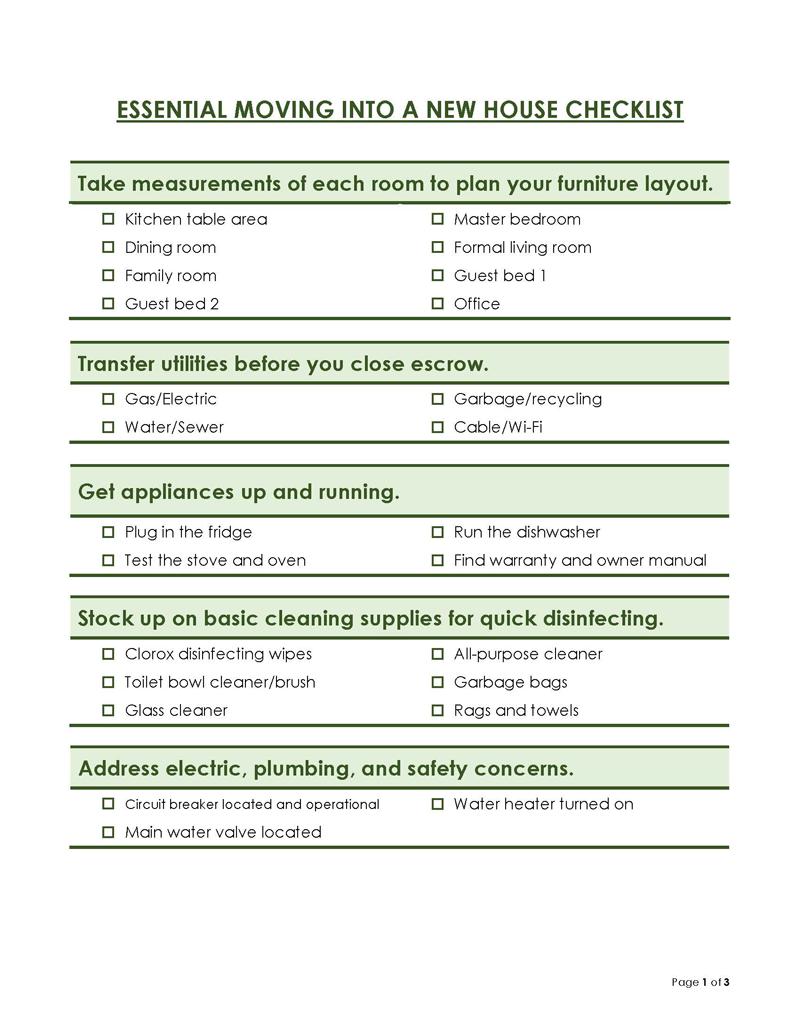
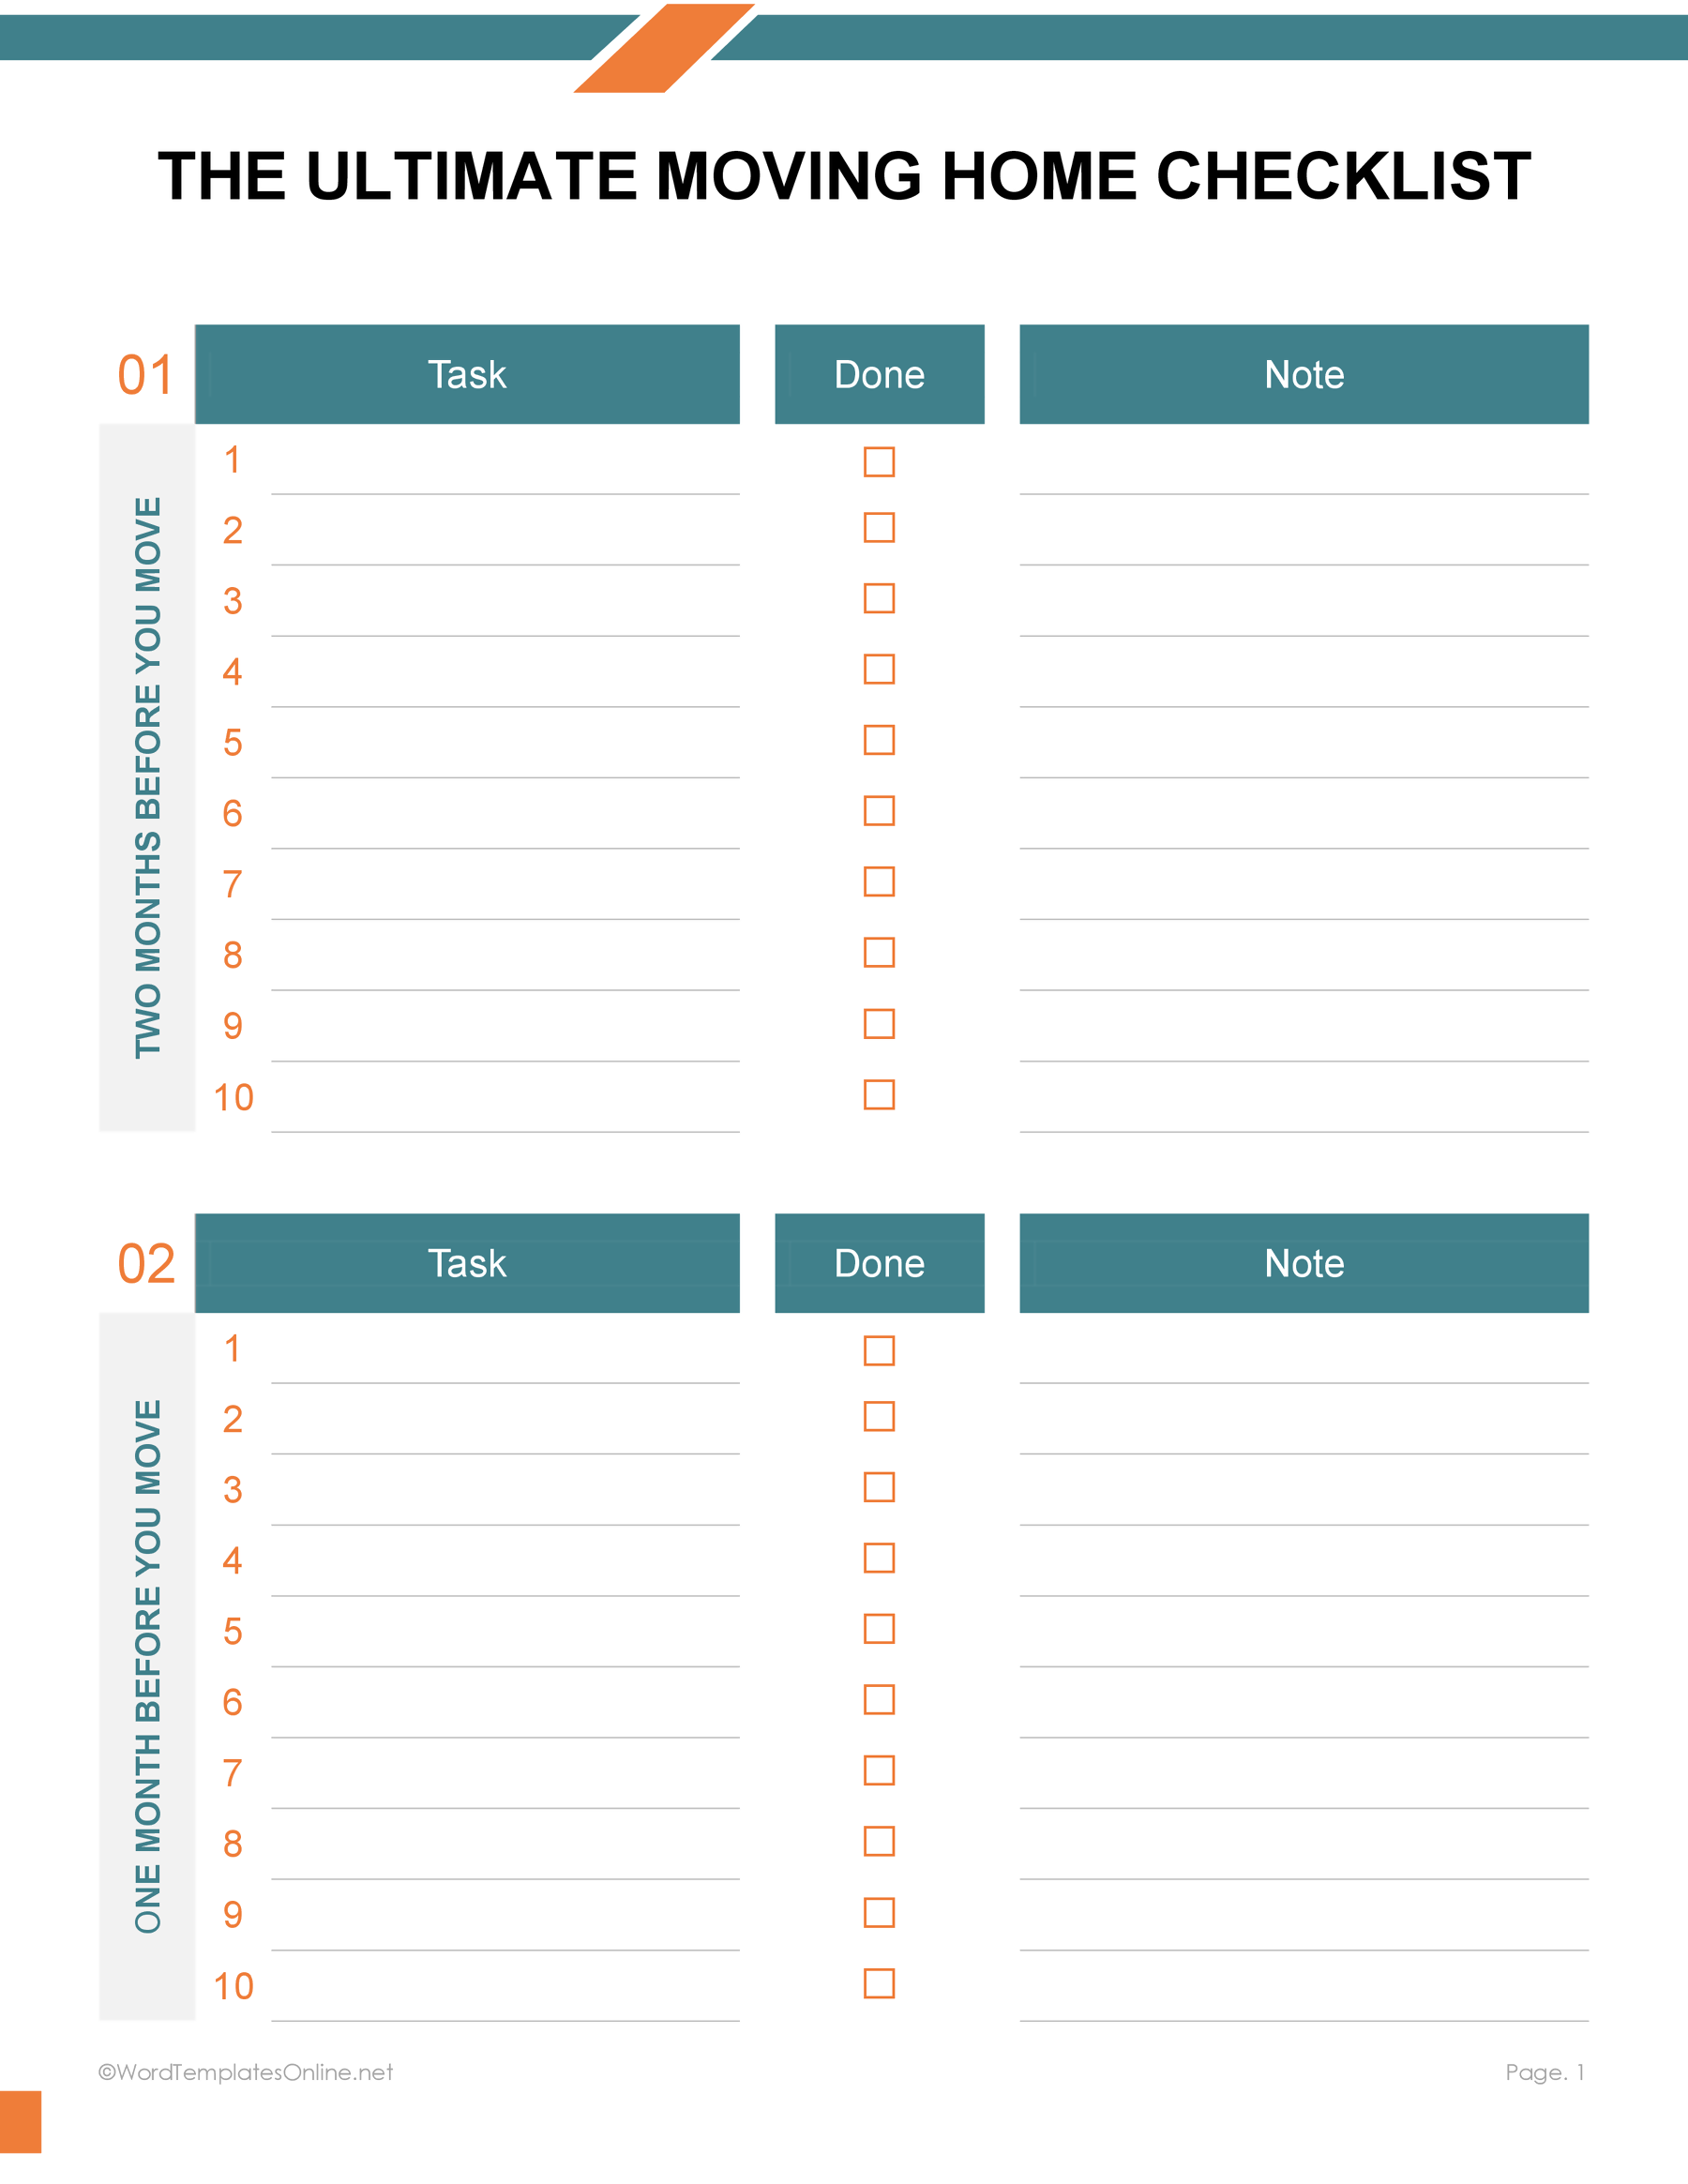
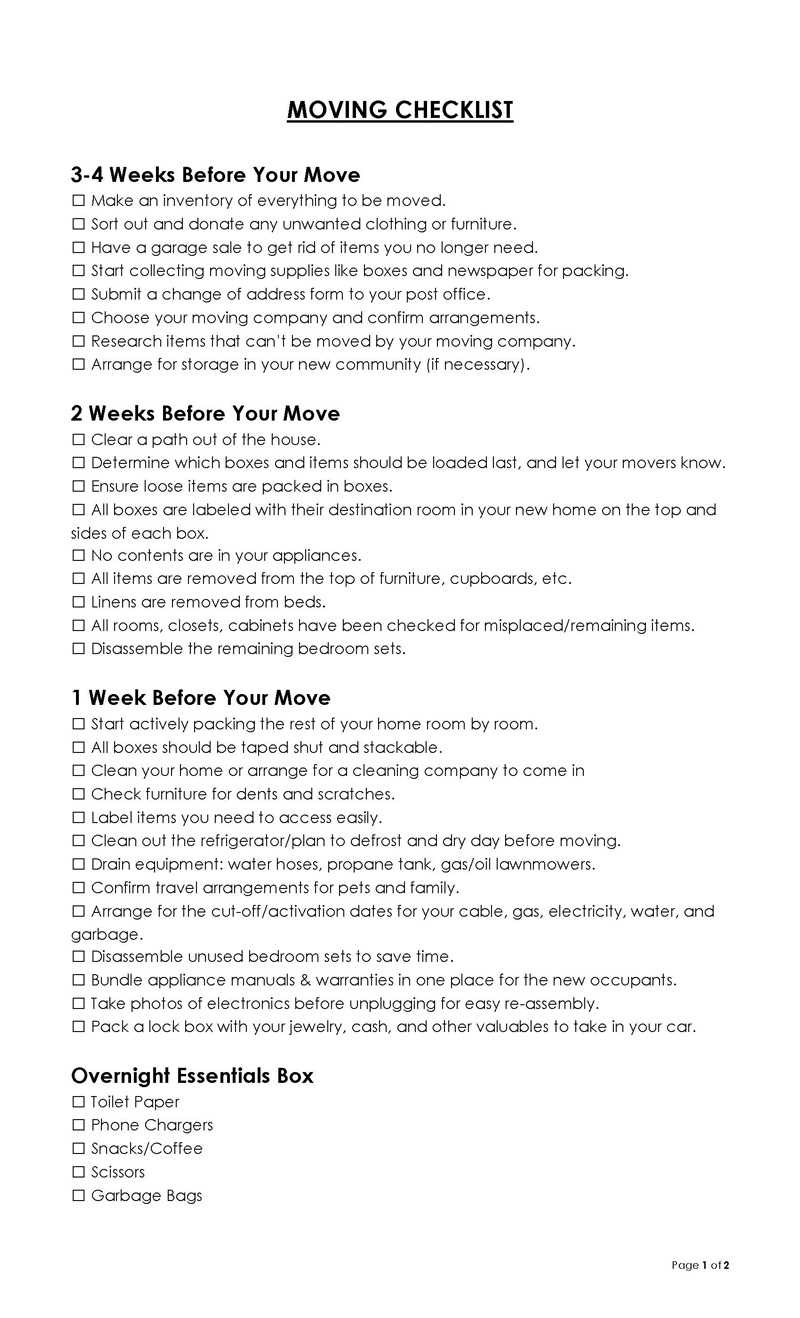
Free Moving Checklists
A well-crafted moving checklist template will help you to keep track of all your belongings. It will also help to prevent and effectively resolve disputes with movers if they lose or damage anything. We have provided free templates for a moving checklist that are easy to customize and print, and you can easily check every item off weekly. You can download these pre-made templates for free, saving time and effort when crafting your moving checklist.

Consequences of Not Using a Moving Checklist
A moving checklist is not just a good idea; it’s a necessity. There are disadvantages to not using this checklist. One of the disadvantages is damaged and lost property. Moving companies are liable for any property loss or damage. However, proving carelessness can be difficult at times. A moving checklist will record the property and its condition correctly, resulting in a definite answer if anything is lost or damaged.
The second disadvantage is lost time. You risk wasting time and energy on move-out and move-in days when packing and unpacking without a checklist. Also, future disagreements with your landlord or movers may necessitate costly and stressful legal action or arbitration.
Lastly, you could lose money if you do not use a checklist. If the movers misplace or damage anything, you will lose money. This checklist will facilitate proper property accounting and increase your chances of receiving a refund after you move out. Also, failure to clean up or account for specific property may cause your landlord problems and result in the loss of your security deposit.
Final Thoughts
In conclusion, a moving checklist is important to anyone who wishes to move to a new house. This checklist will ensure that the moving process takes place as smoothly as possible. It is advisable to write a weekly moving checklist from eight weeks before the move down to the moving day and delivery day to avoid any hindrances and loss of items. Therefore, a moving checklist is essential, especially for people moving for the first time.
About This Article