You need to remind your clients about essential appointments or events as a business person. Between handling your products or services and dealing with your clients, nothing is worse than your client missing an essential appointment with you. The best way to do this is to create appointment cards. With these cards, your clients will always have a reminder for important events. In addition, you can create and share these cards with your clients to ensure neither party is affected by failure to attend an appointment.
This is especially beneficial if you are a business person who offers spa and salon services, musical instructors, dental and medical offices, veterinarian offices, groomers, attorney offices, and professional services providers. When clients miss or are late to their appointments, it affects them and you in terms of time and money lost. Apart from appointment cards being great reminders, you can also use them for marketing your business.
You can set the reminder on one side and use the other side as a business card. This will help you attract new customers and retain those you already have. Appointment/business cards are essential for your business. You must learn the steps to create proper and effective appointment cards from scratch or using a template. Also, you should know the essential information you need to include on these cards.
Appointment Card Templates
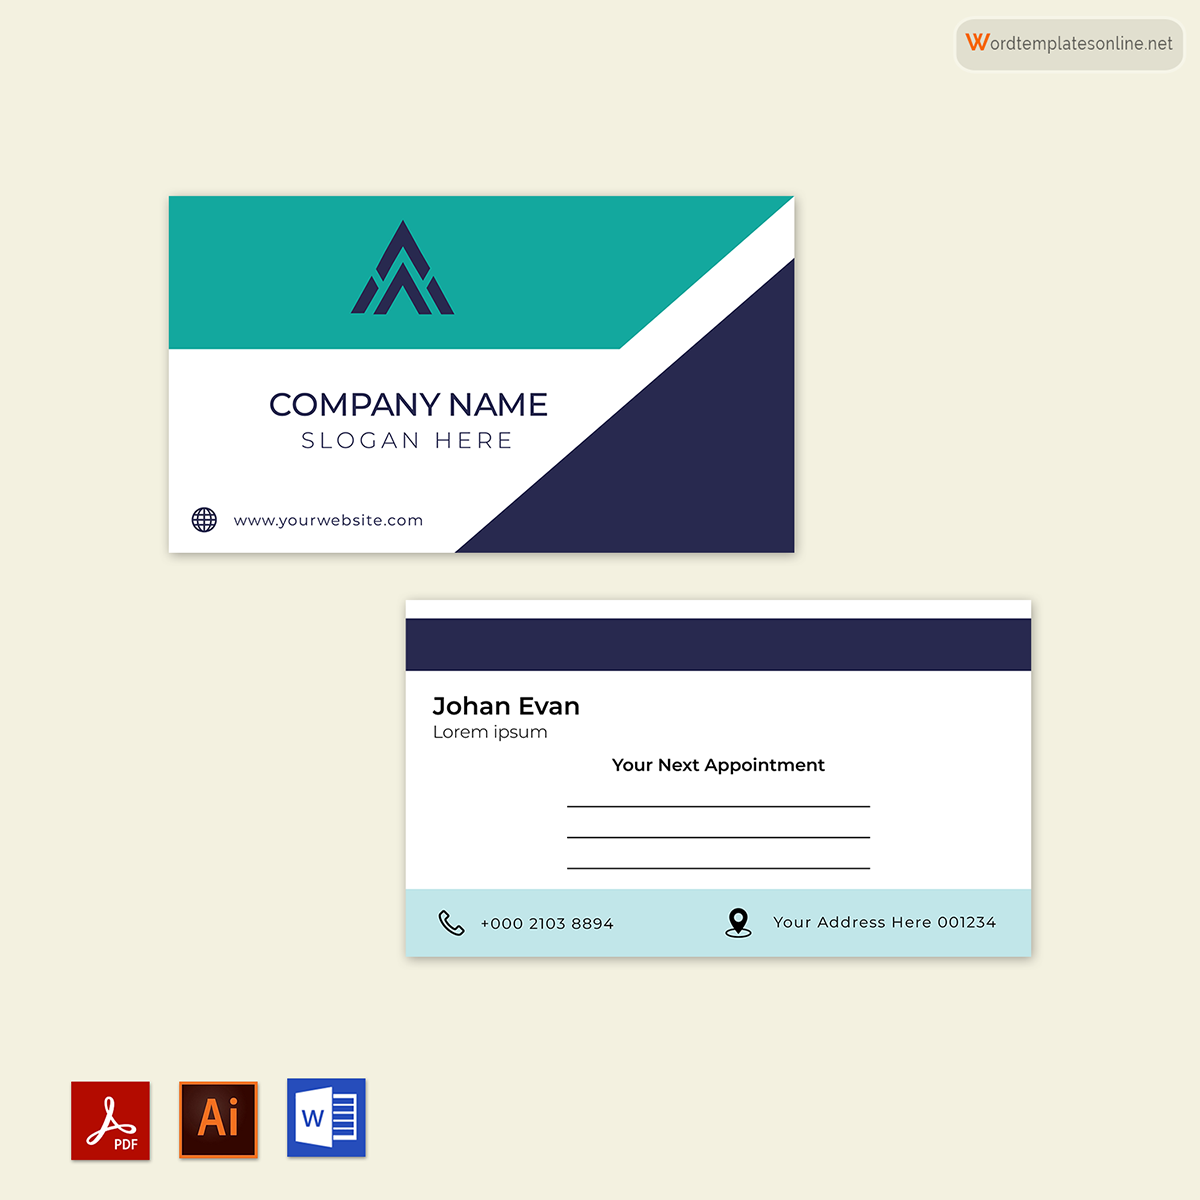
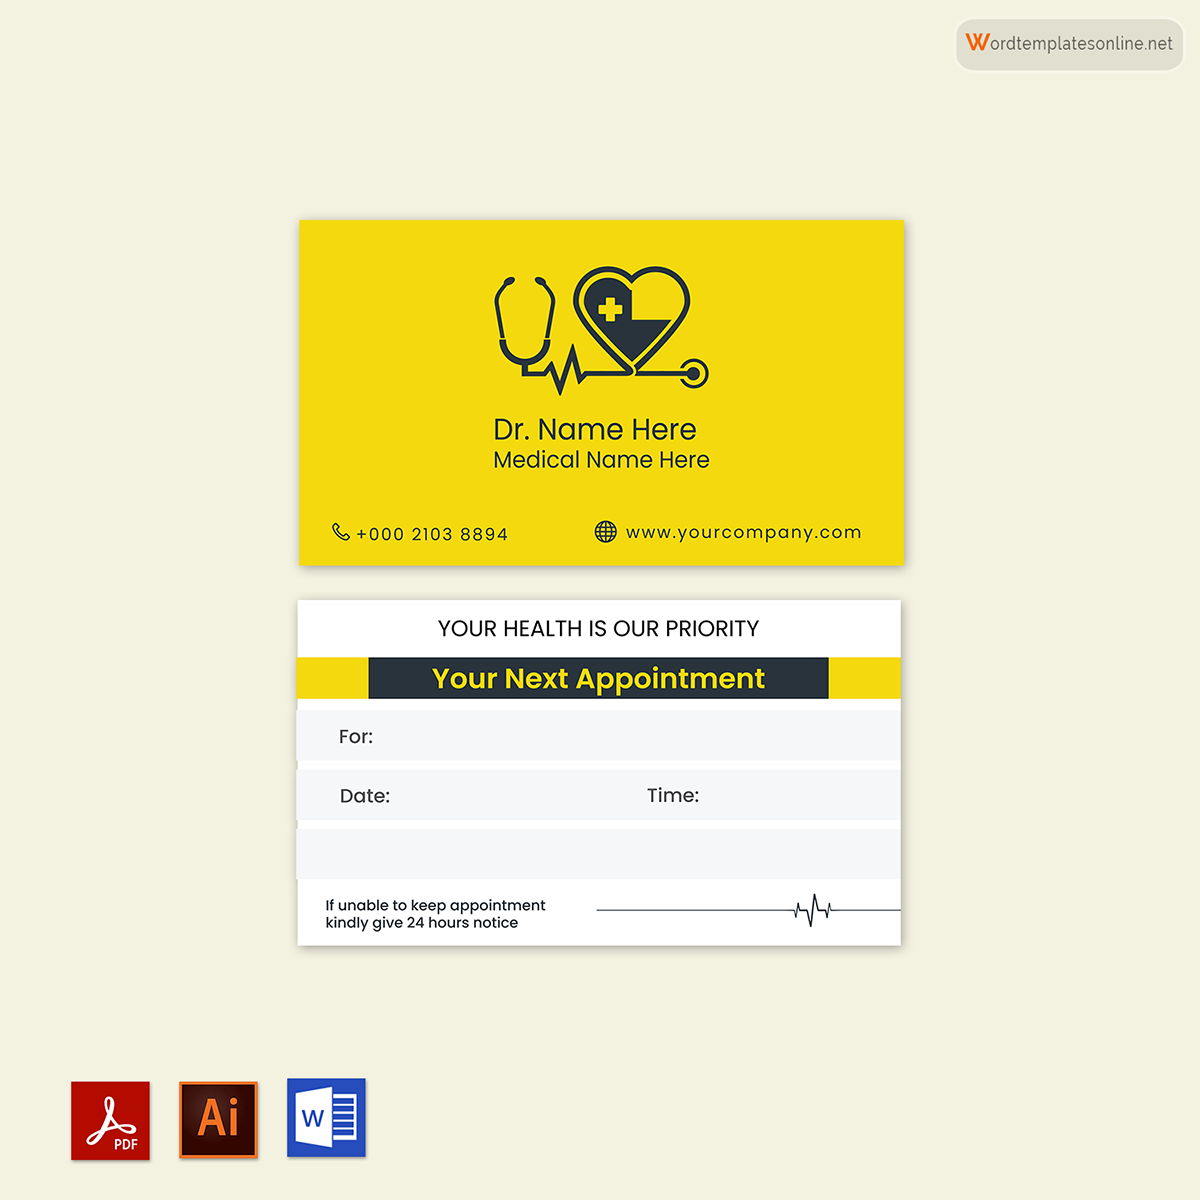
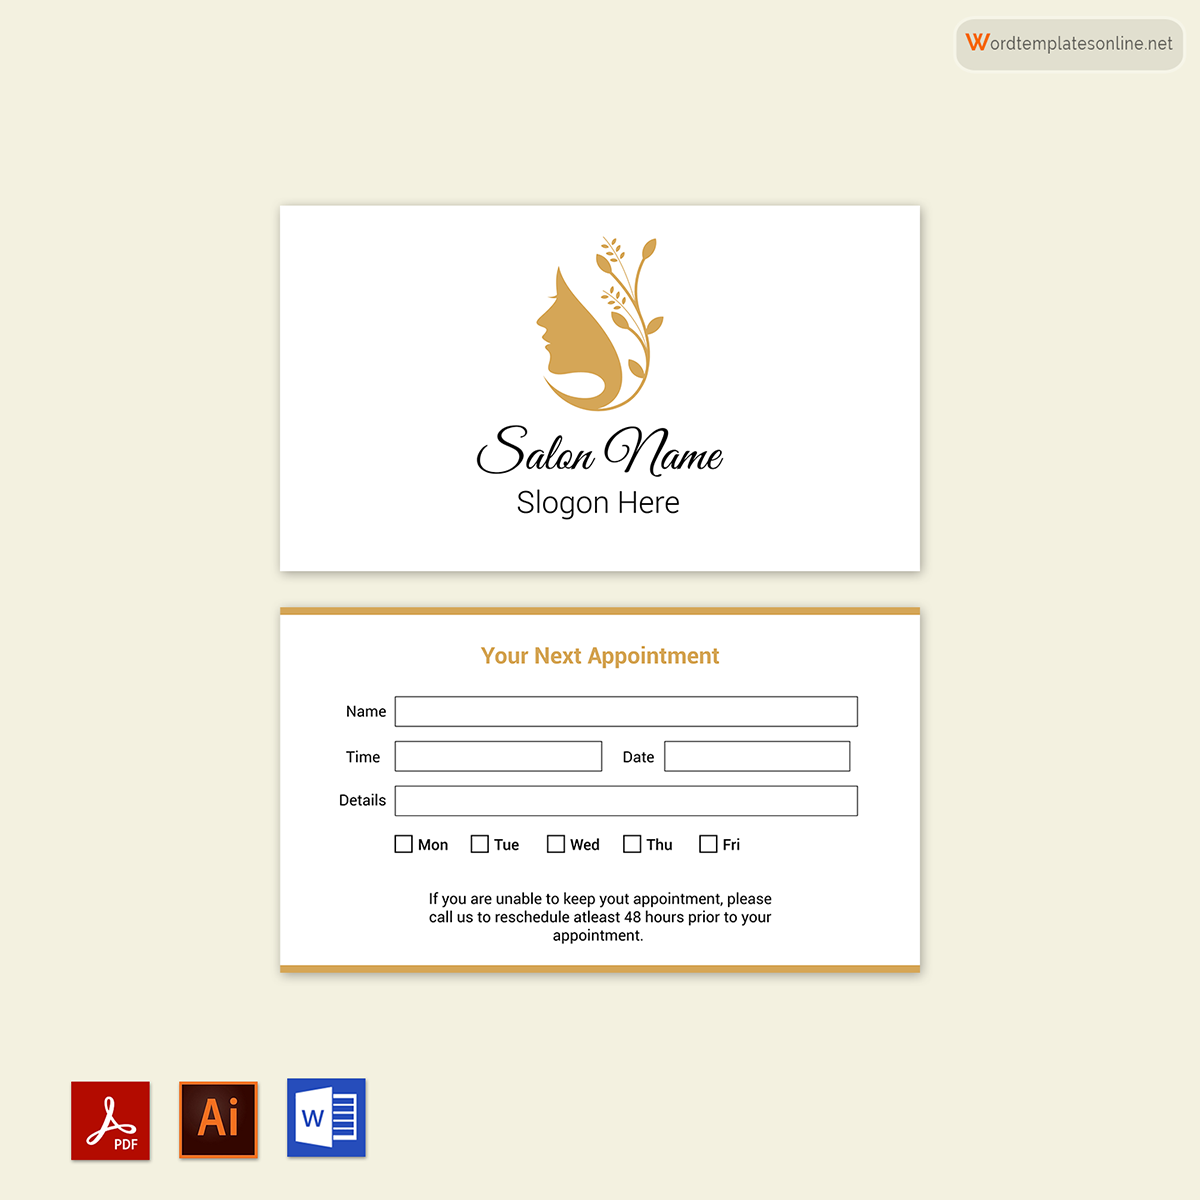
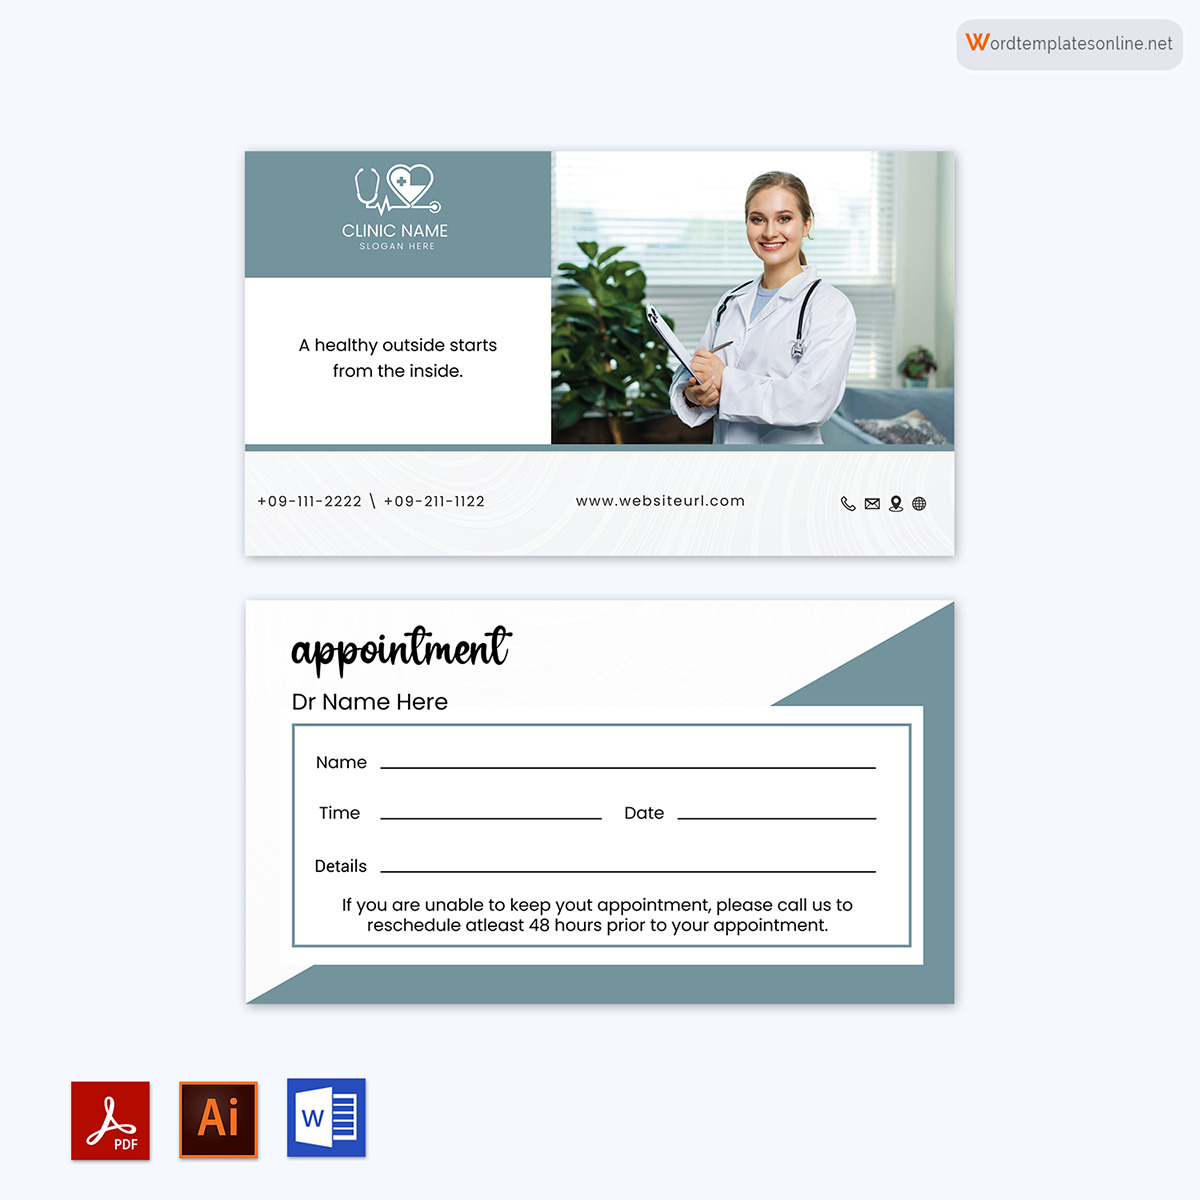
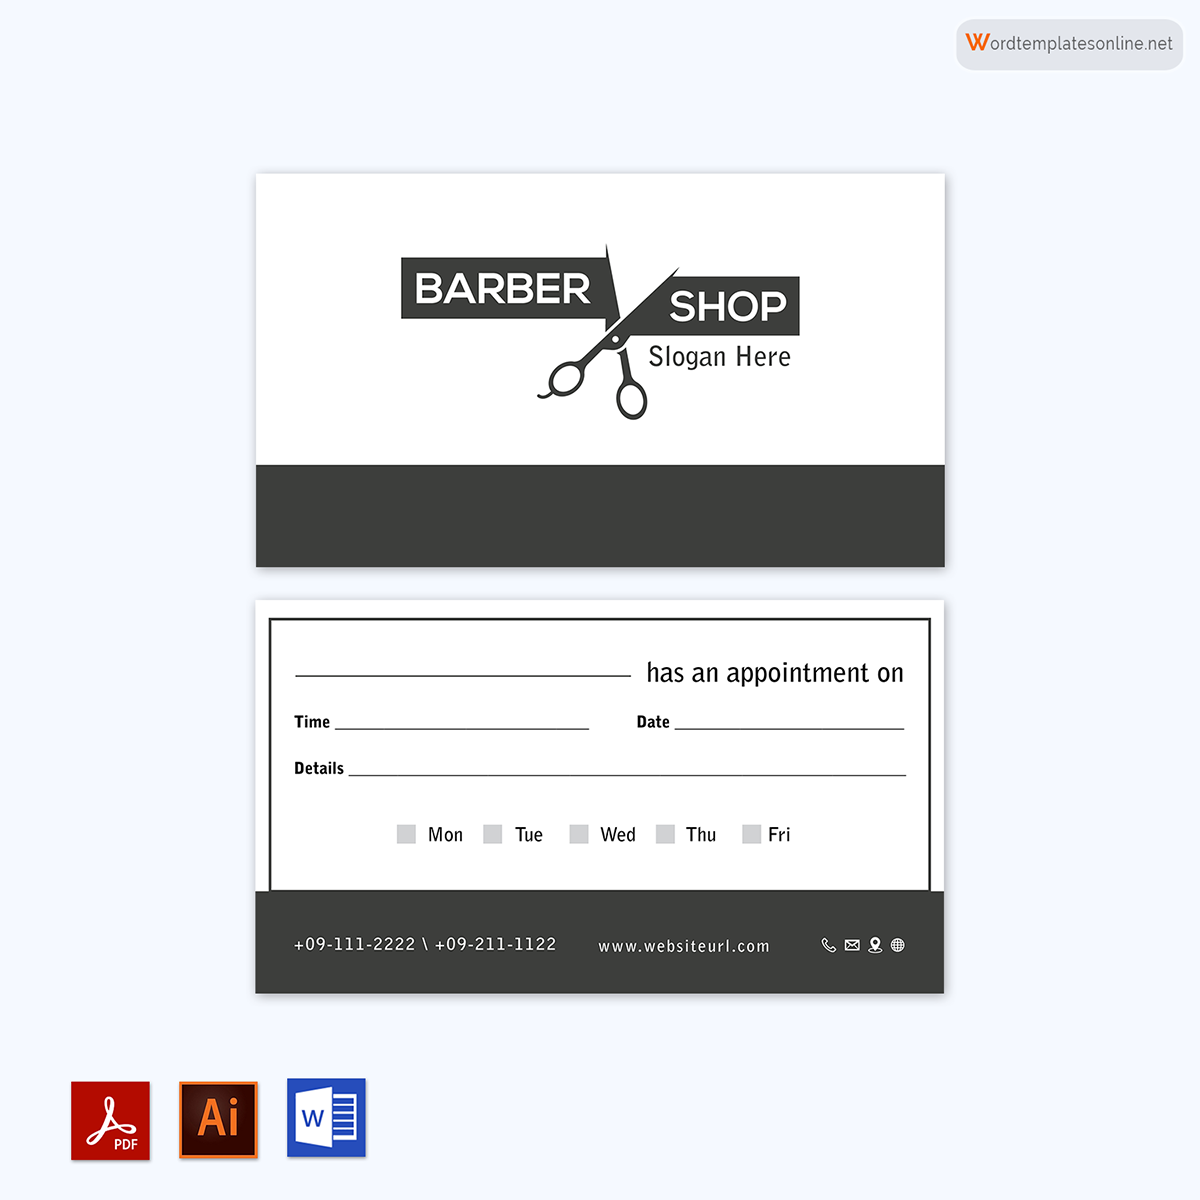
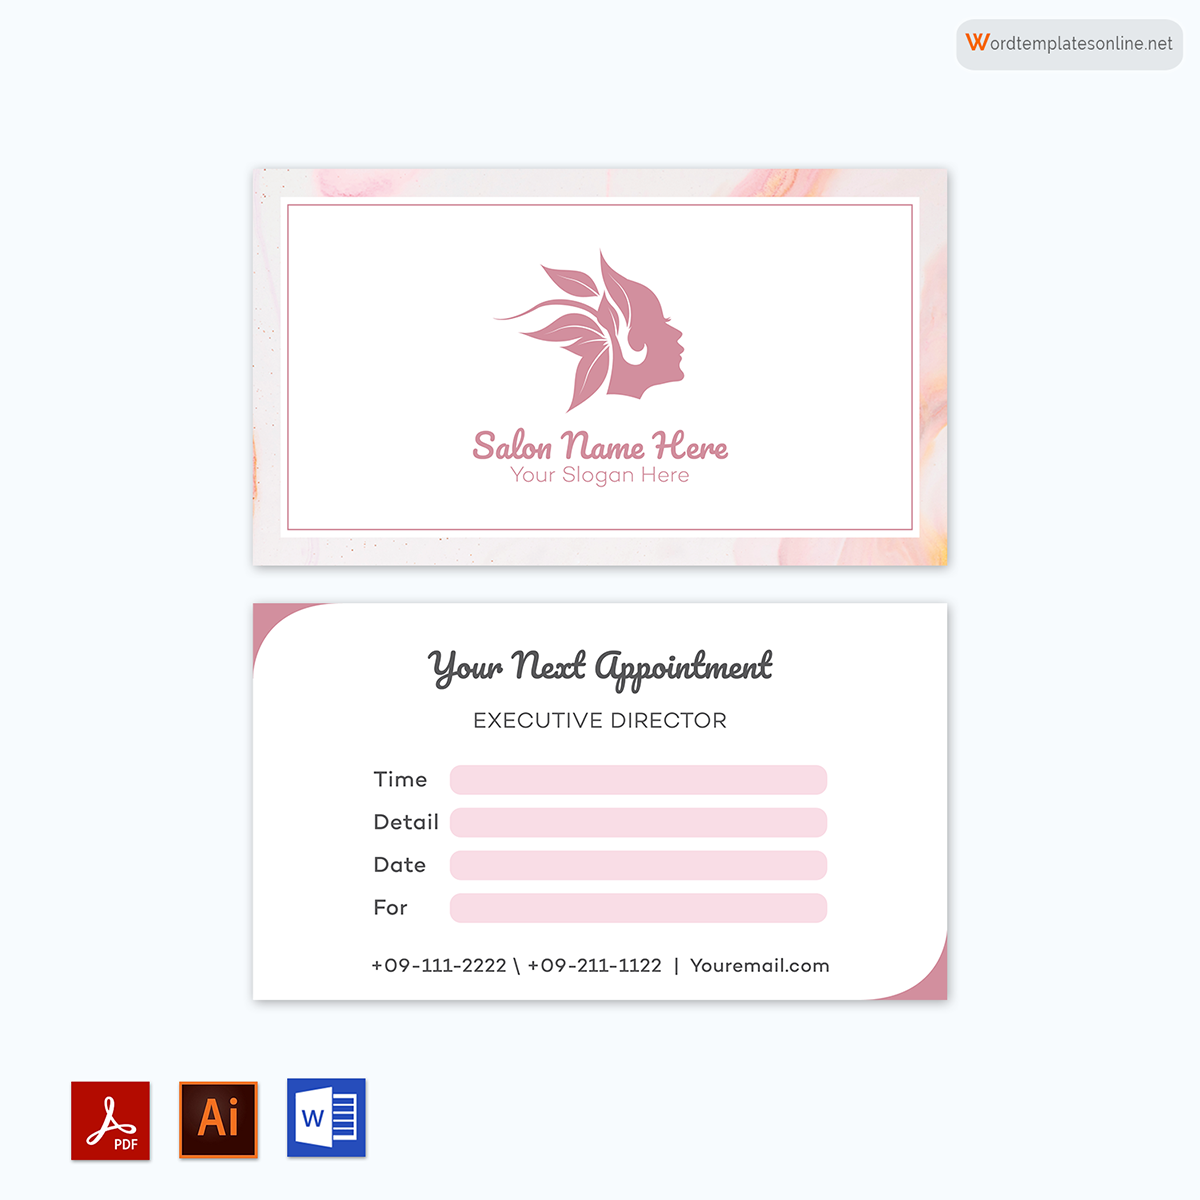
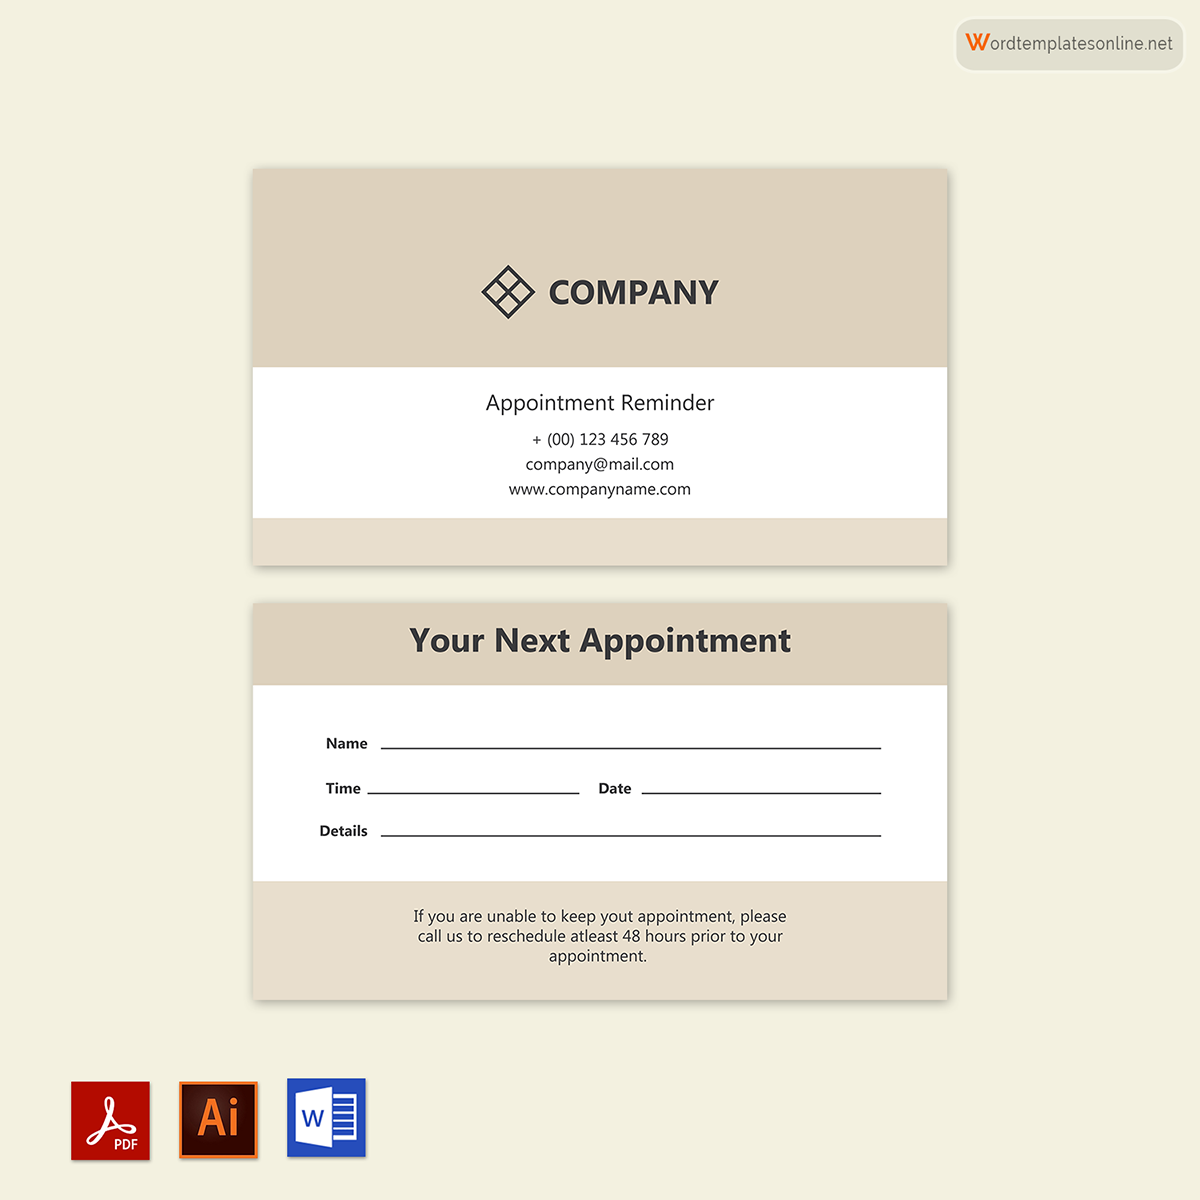
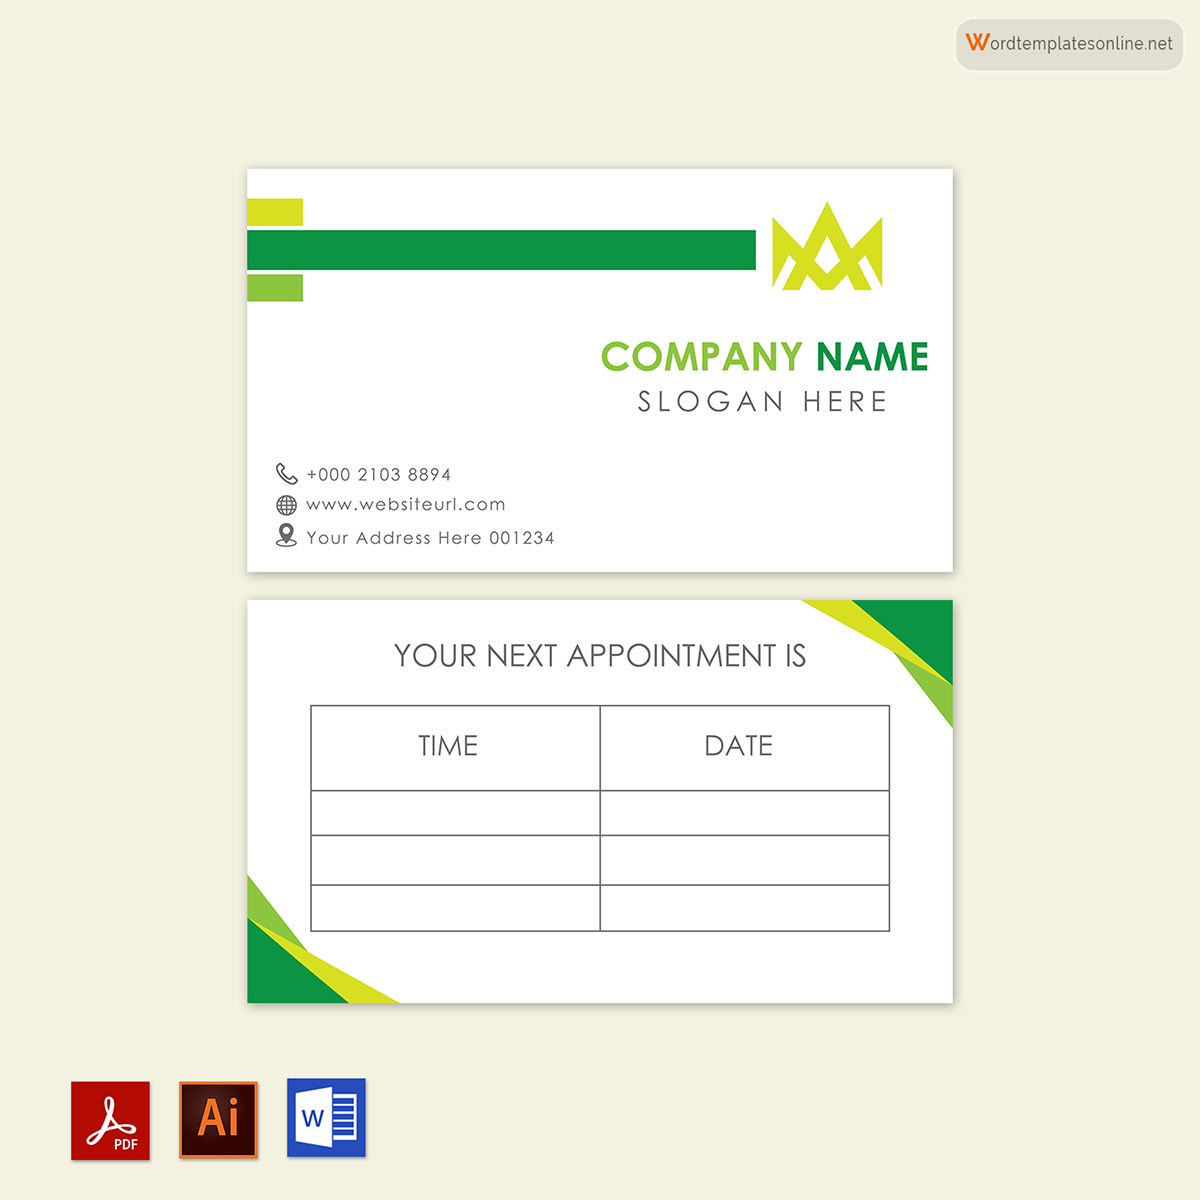
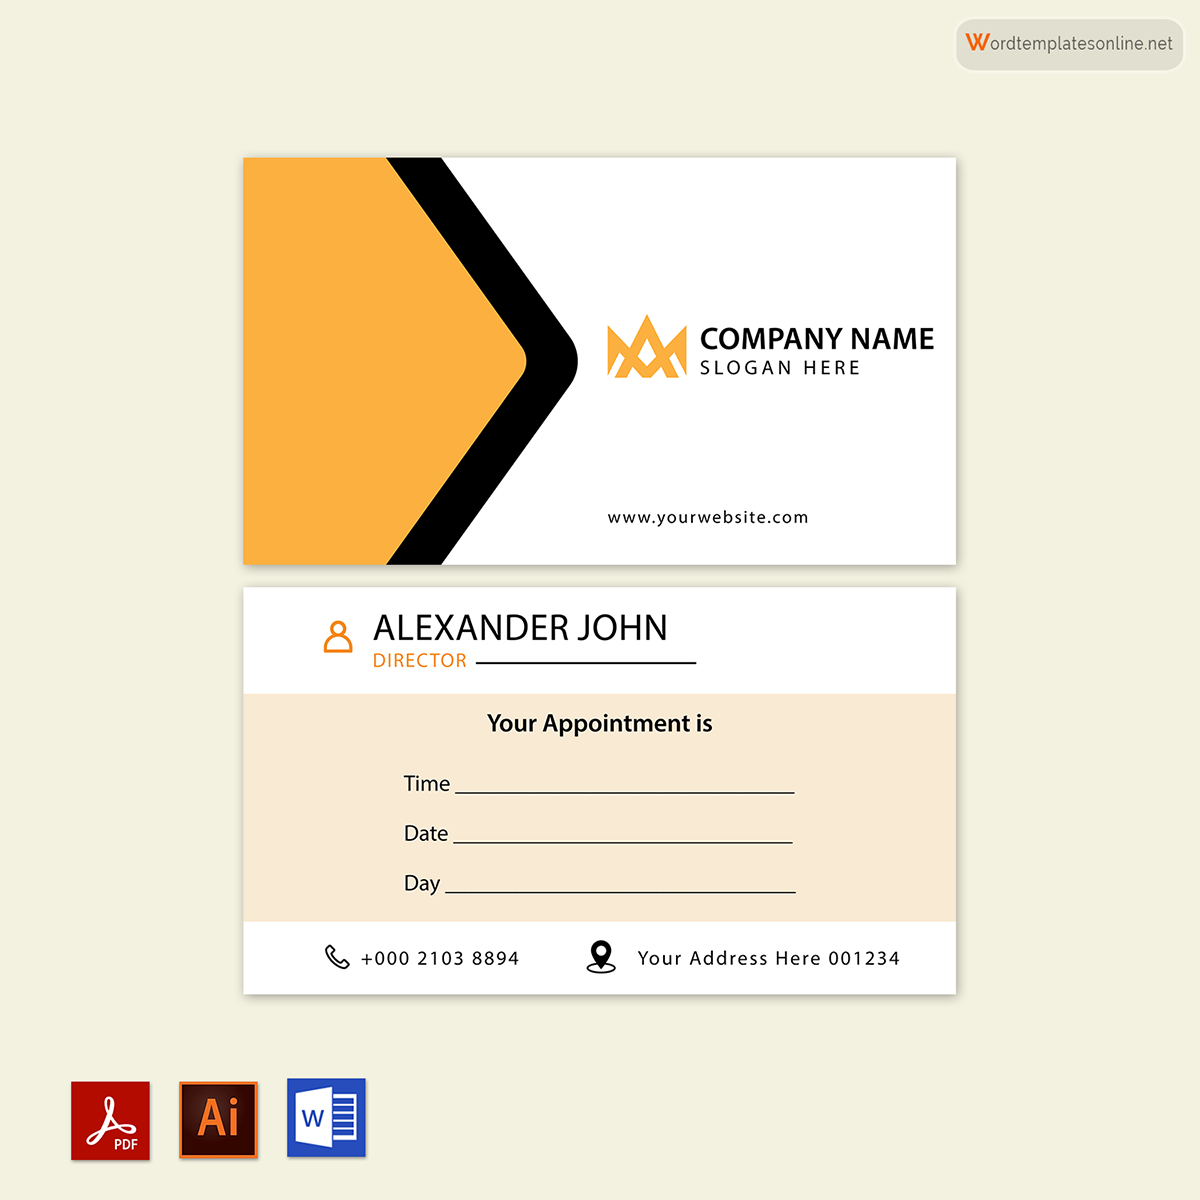
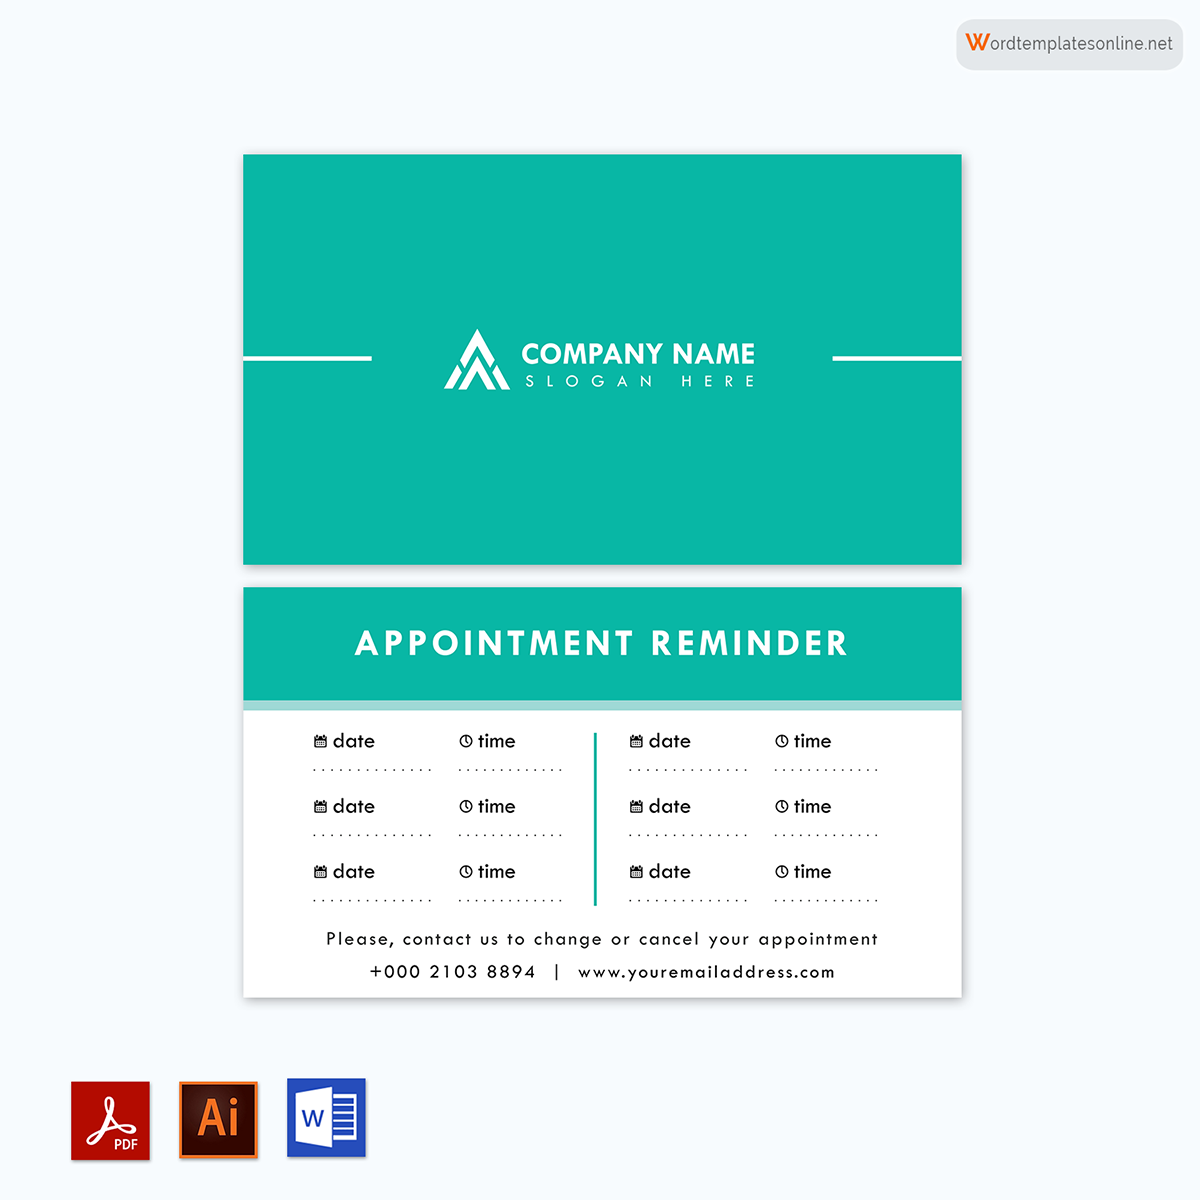
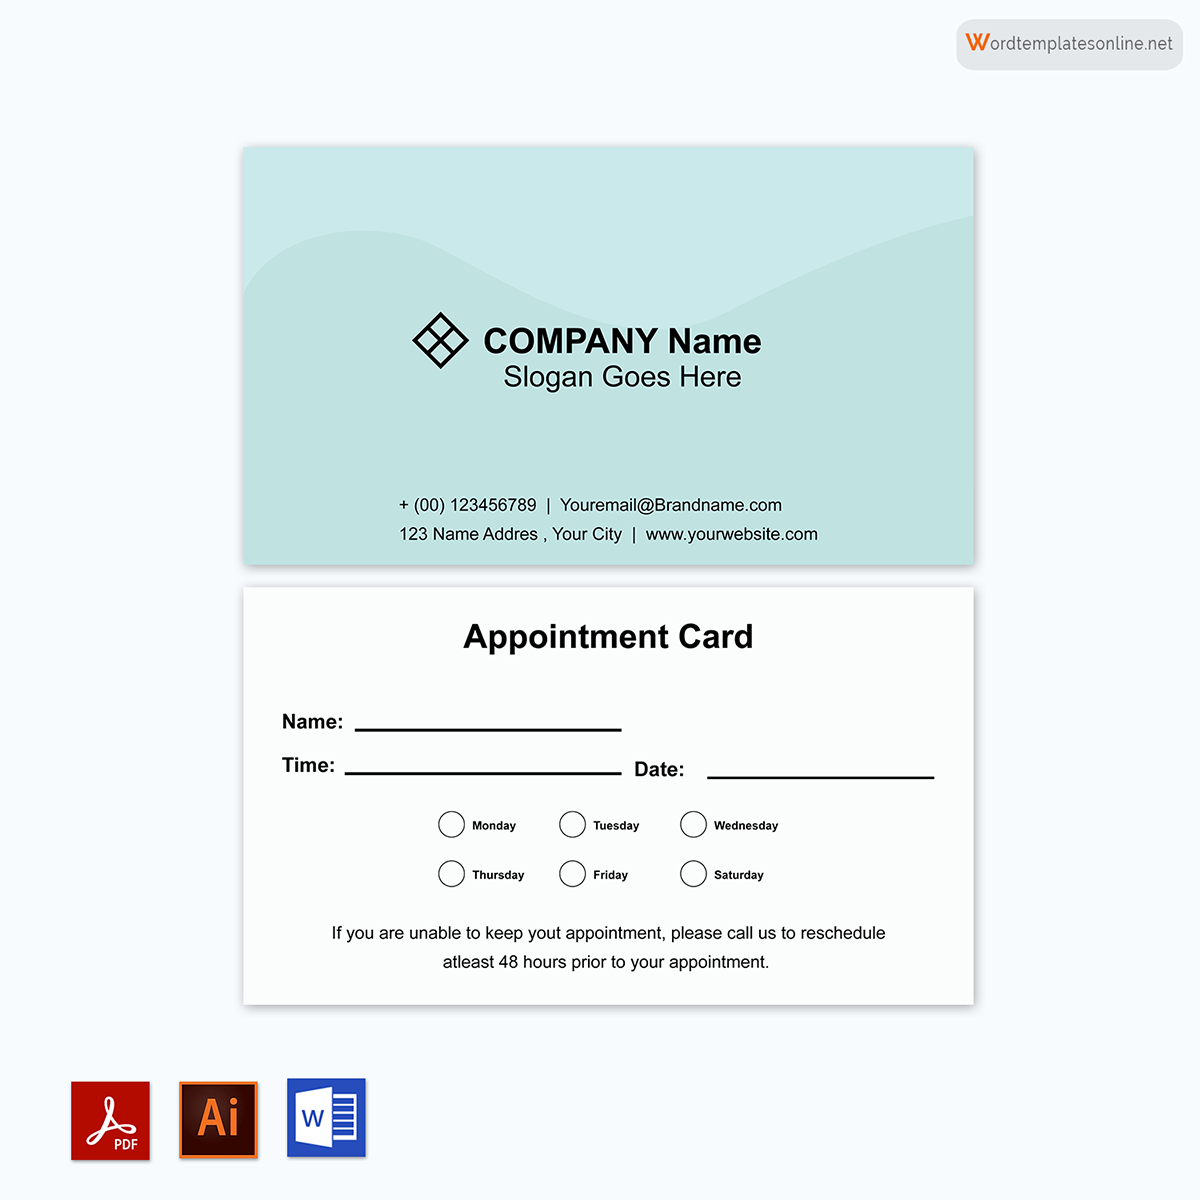
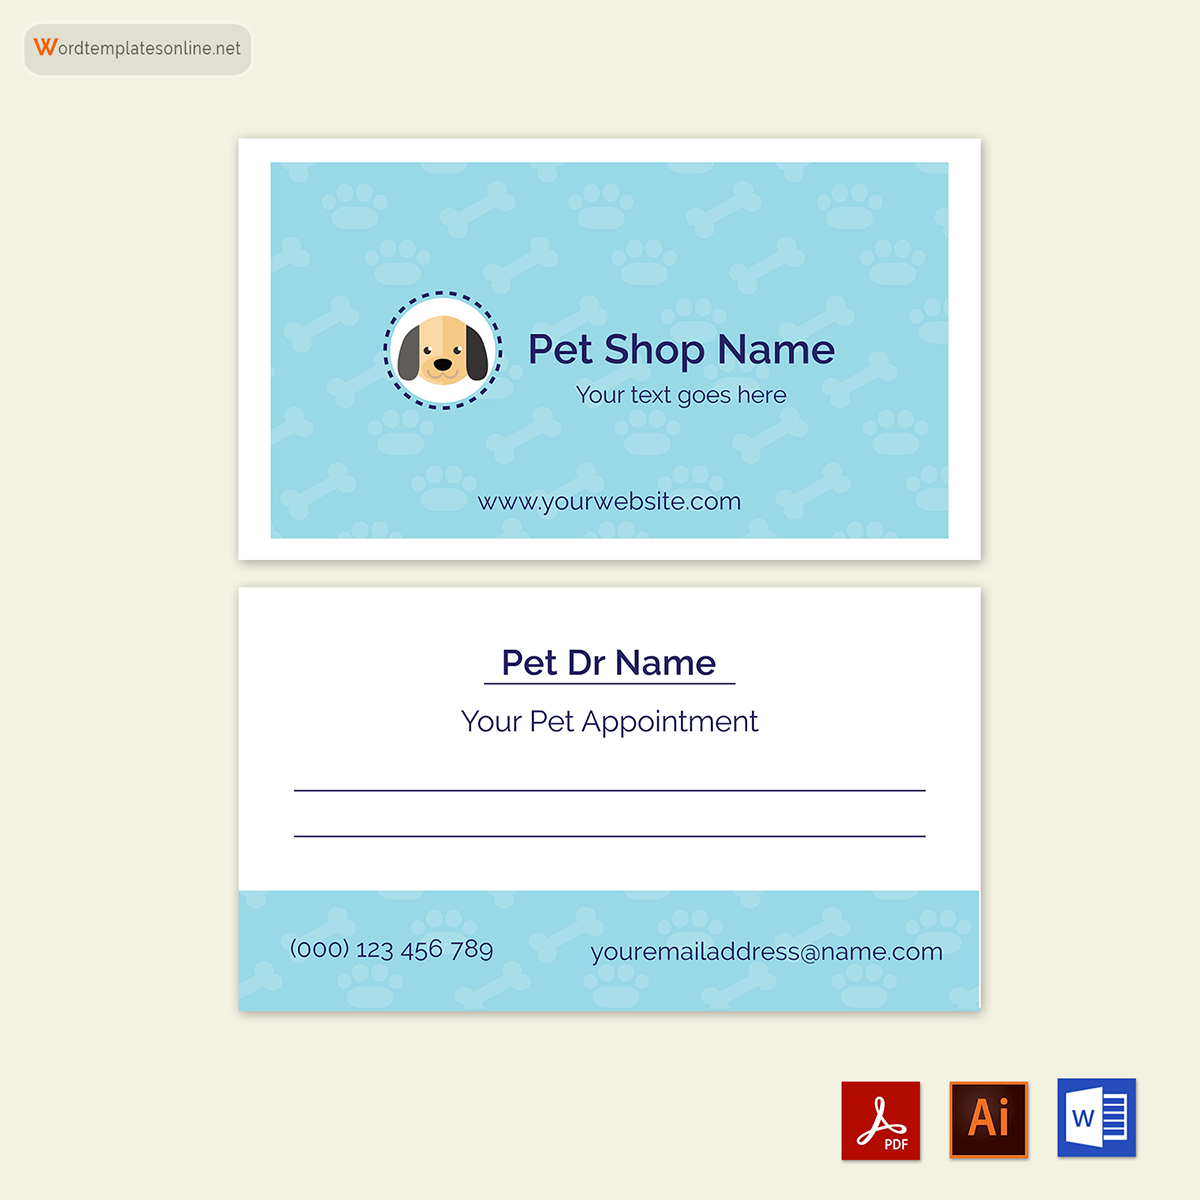
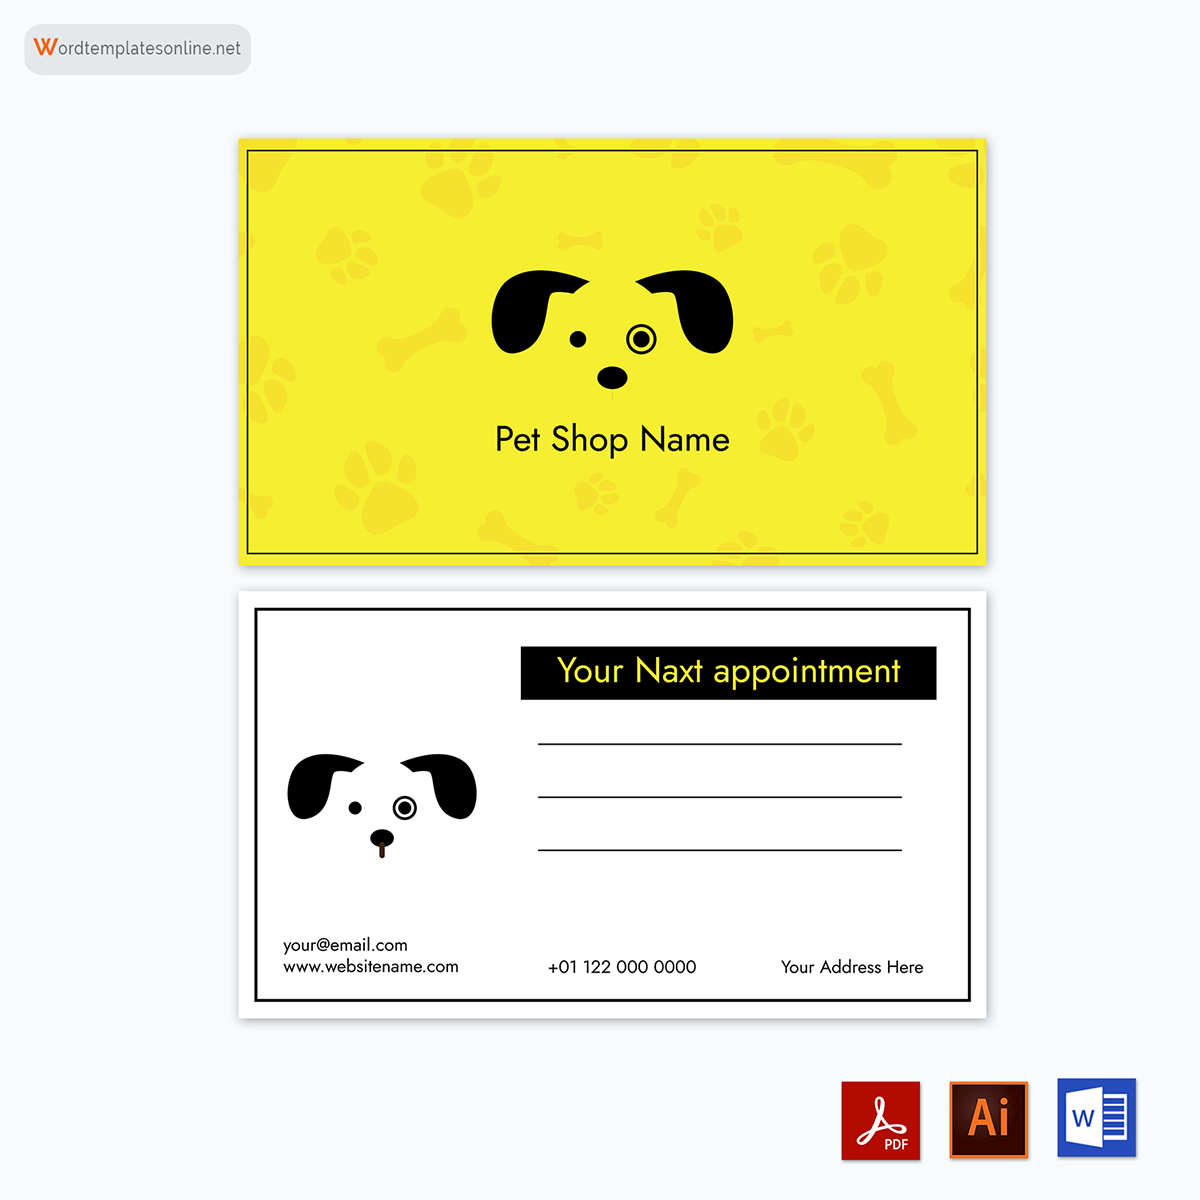
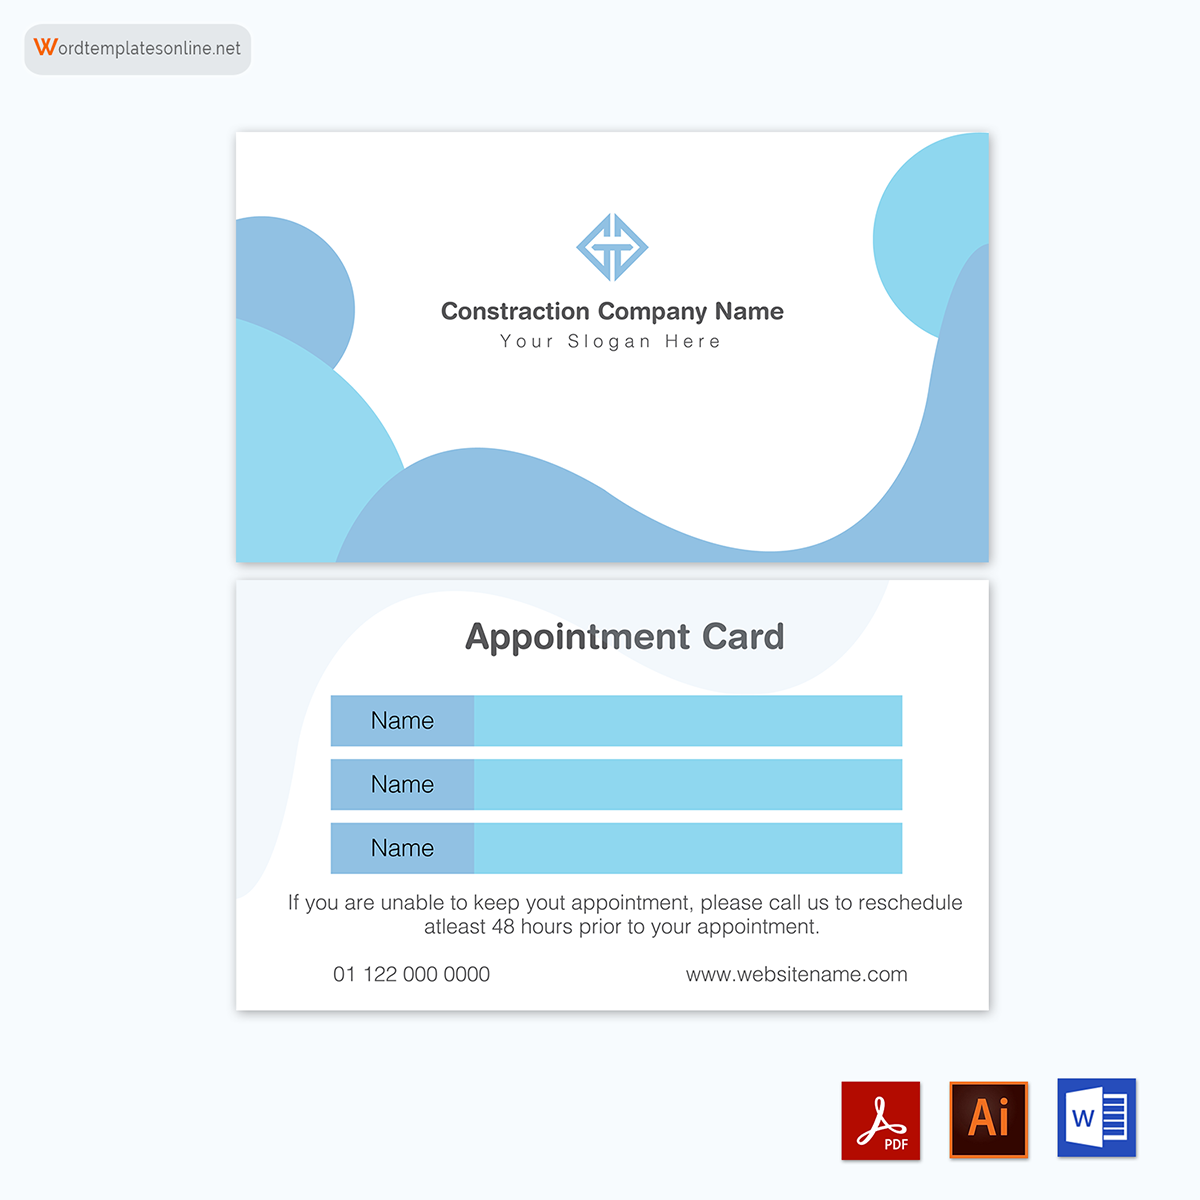
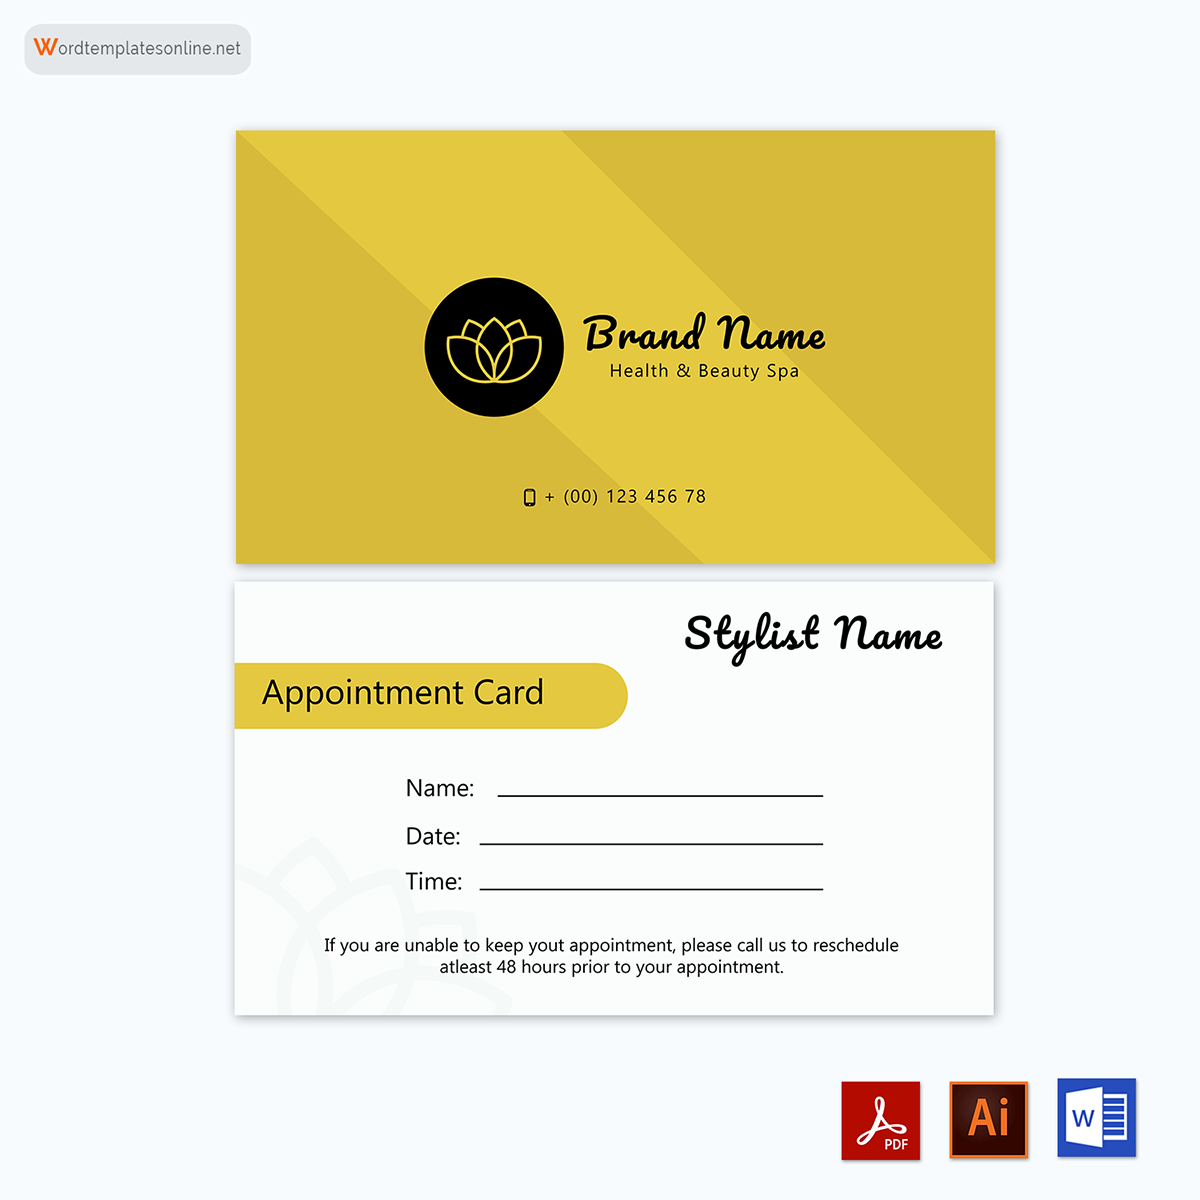
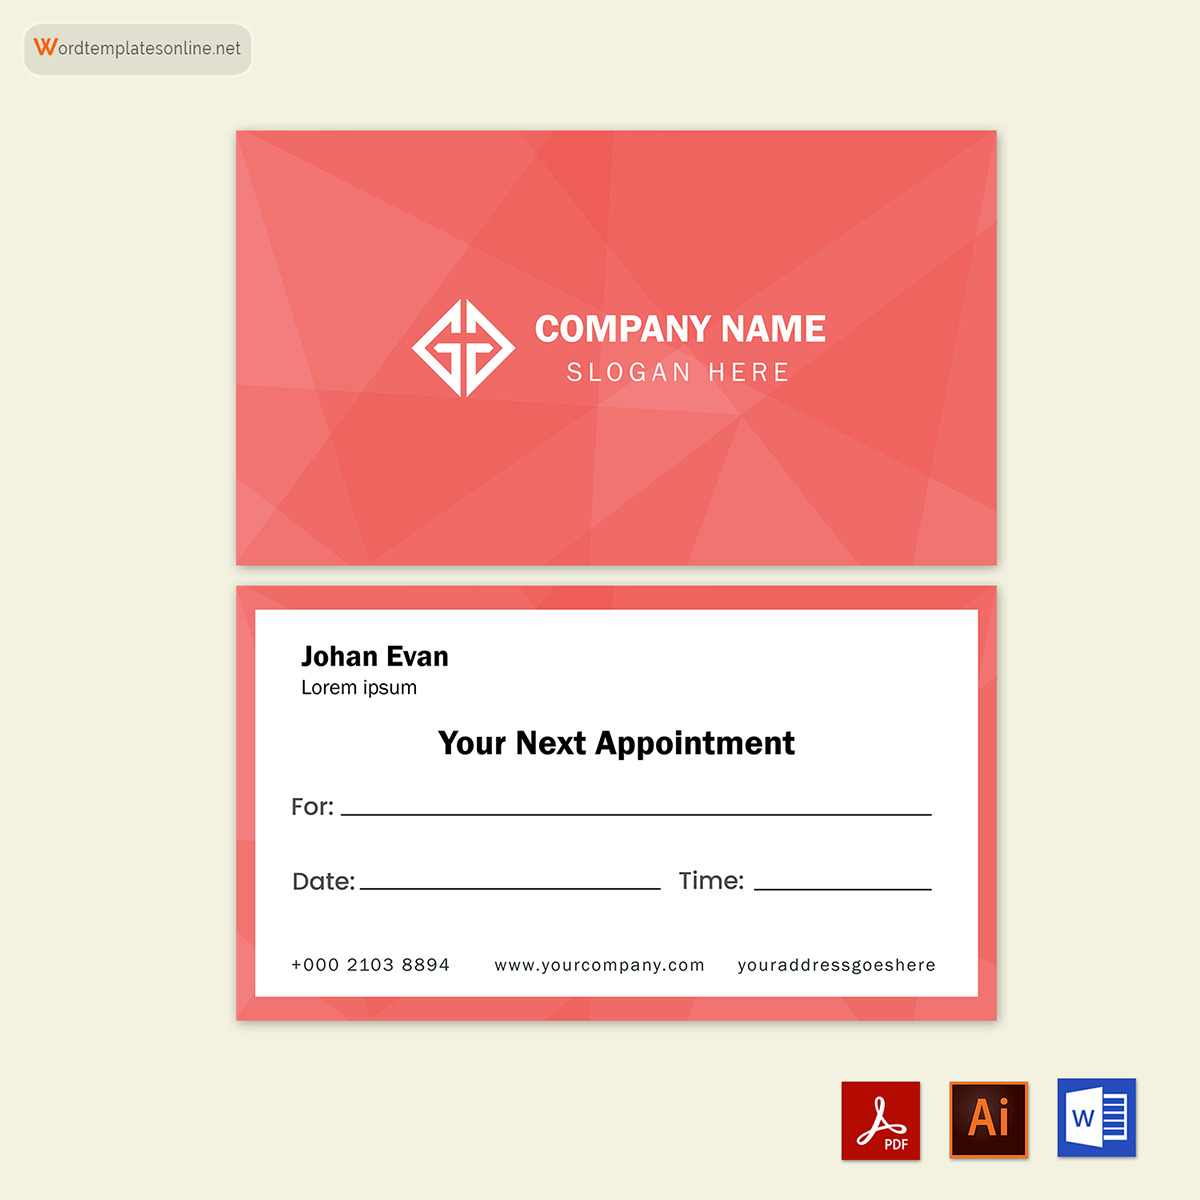
Functions of Appointment Cards
These cards are essential for your business operations. This is because; these cards perform three main functions.
They include the following:
Provides contact information and location
Apart from providing details about the appointment, these cards provide contact information, such as your name, phone number, and location details (address). With this information, your client can easily cancel or change their appointments with you. This will save time and money; hence, ensure you do not overbook or under-book for your service.
Help patients remember appointments
In the case of medical services, having appointment cards enables your patients to remember their appointments. This will reduce the number of late or missed appointments by patients who might have forgotten when their appointment was scheduled.
Easy referrals
Also, they act as business cards hence allowing for easy referrals. With your business details on it, it will help bring in more customers who require your services. To capitalize on this, ensure that you create and include your appointment cards in info packs, promotional days, giveaways, and sponsorship packs to share your business information with new clients.
Elements of an Effective Appointment Card
Here are the essential elements you need to consider keeping in mind if you want to create an effective appointment card:
Size of the card
The best size for an appointment card is which can fit in your pocket. Although they come in different shapes and sizes, the standard size is 90mm x 55mm as this will easily fit in your client’s wallets where it will be safe.
Card’s color
Ensure that you pick exciting colors for your cards. Using your brand’s colors to ensure you associate your card with your business is best. Also, ensure that your logo is on your card to make it unique.
Quality of the appointment card
The quality matters as it determines whether a client will keep or throw the card away. Ensure you create your card from quality paper stock that will not tear, fade or crease. This will also prevent your clients from mistaking your card for an old receipt and accidentally throwing it away.
Information to include in the appointment card
The card must include essential details, including the customer’s name, appointment date and time, location, reference number, parking details, appointment requirements, and service details. This information is essential to enable the client to be aware of the time, date, and the person they are meeting for the appointment
Call to action
The final element of an effective one is a call to action.
Ensure you limit your designs to create space for a call to action. This information is usually a single statement of one line that encourages clients to decide what they want to do.
EXAMPLE
Please confirm your appointment or call ahead for rescheduling or cancellation.
How to Create an Appointment Card from Scratch?
Observe the step-by-step guide below to create a proper and effective appointment card from scratch.
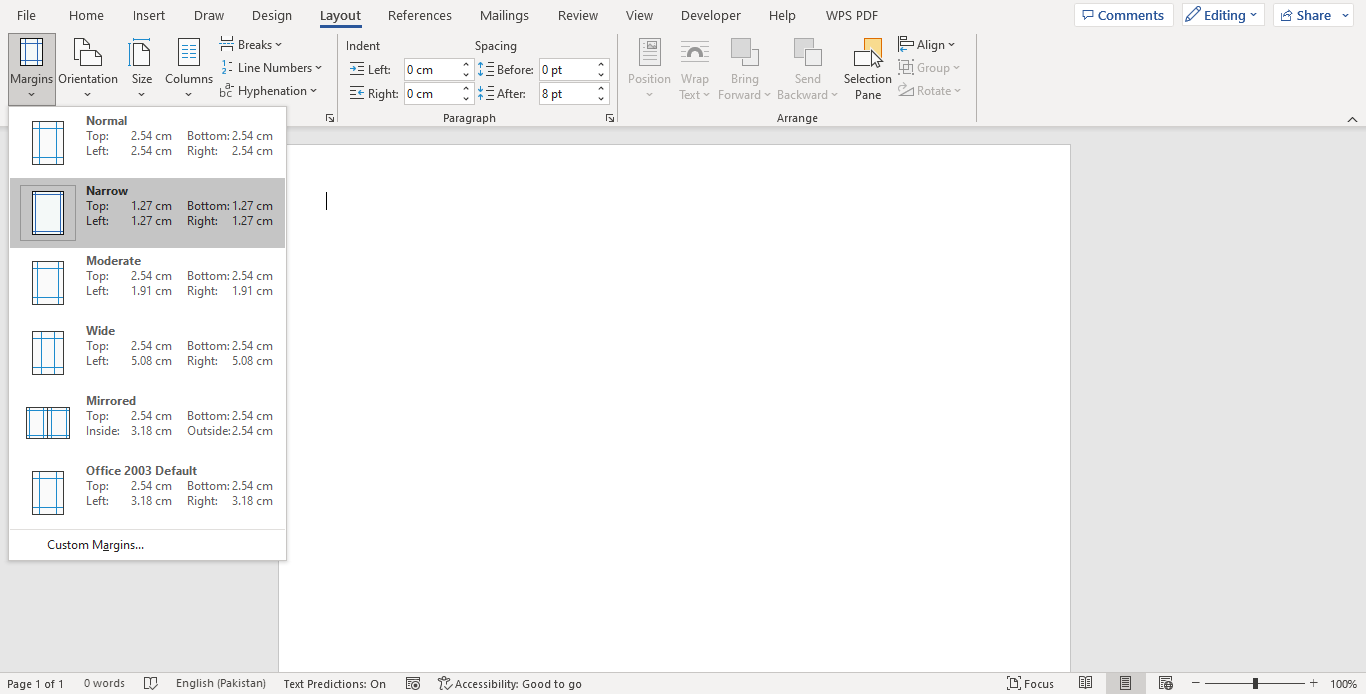
- Open a new blank document in Microsoft Word. Click the Page Layout tab and the Margins button to set the document’s margins. Select Narrow to make the margins more minor than the default settings to enable the business card to fit on the page.
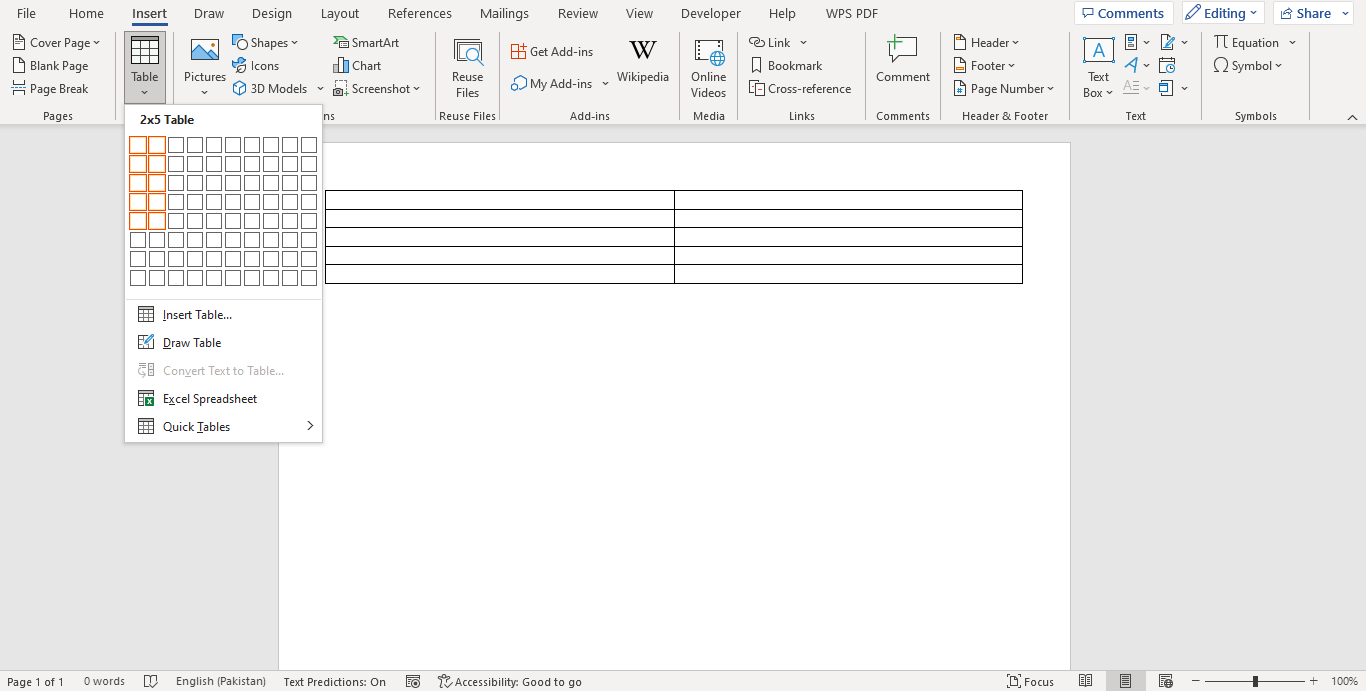
- Click the Insert tab and then click the Table button. A grid will appear. Create a two-by 5 table using the grid, two cells wide and five cells high.
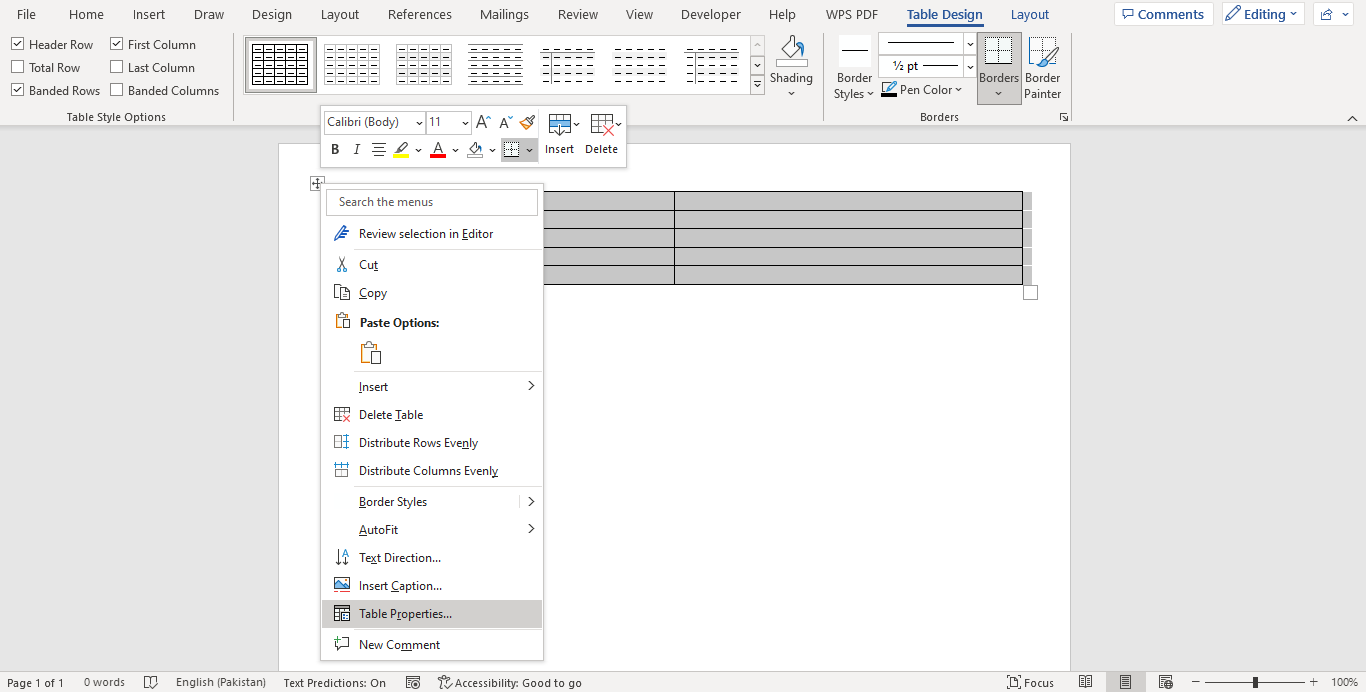
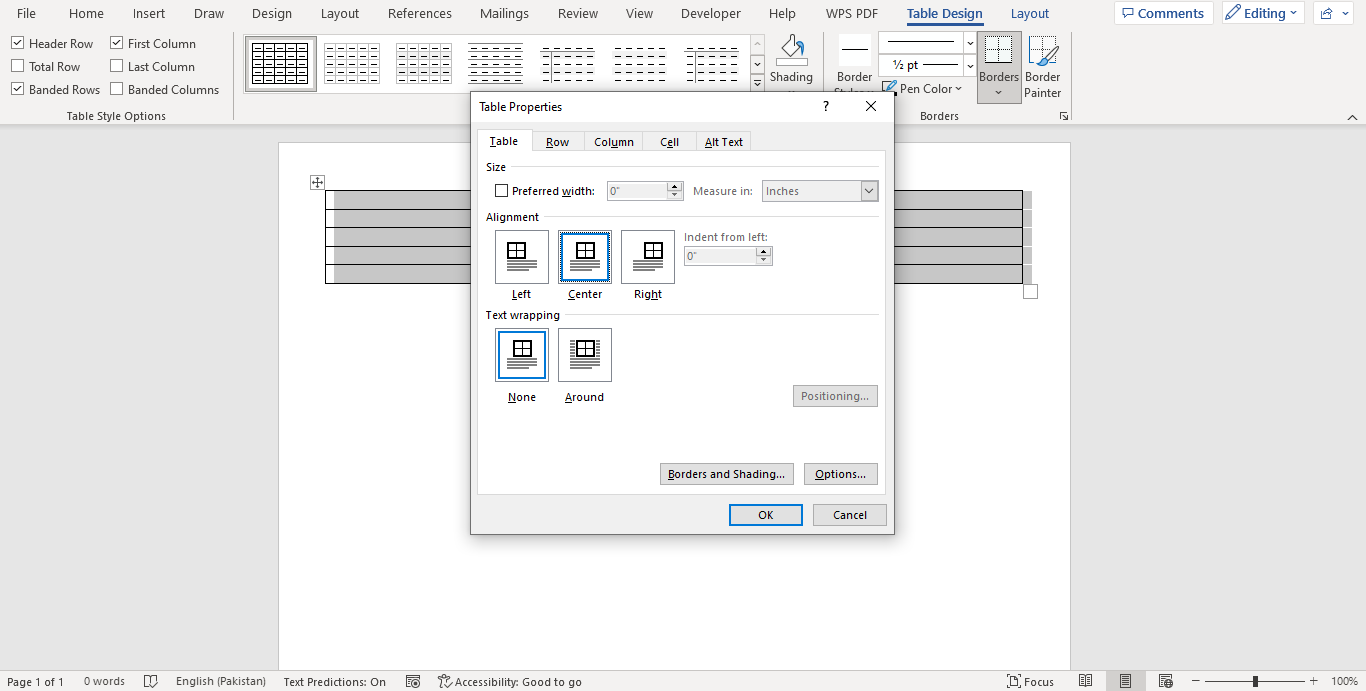
- Right-click on the Table Selection Cross Hair and select Table Properties. Set the alignment of the table to the Center.
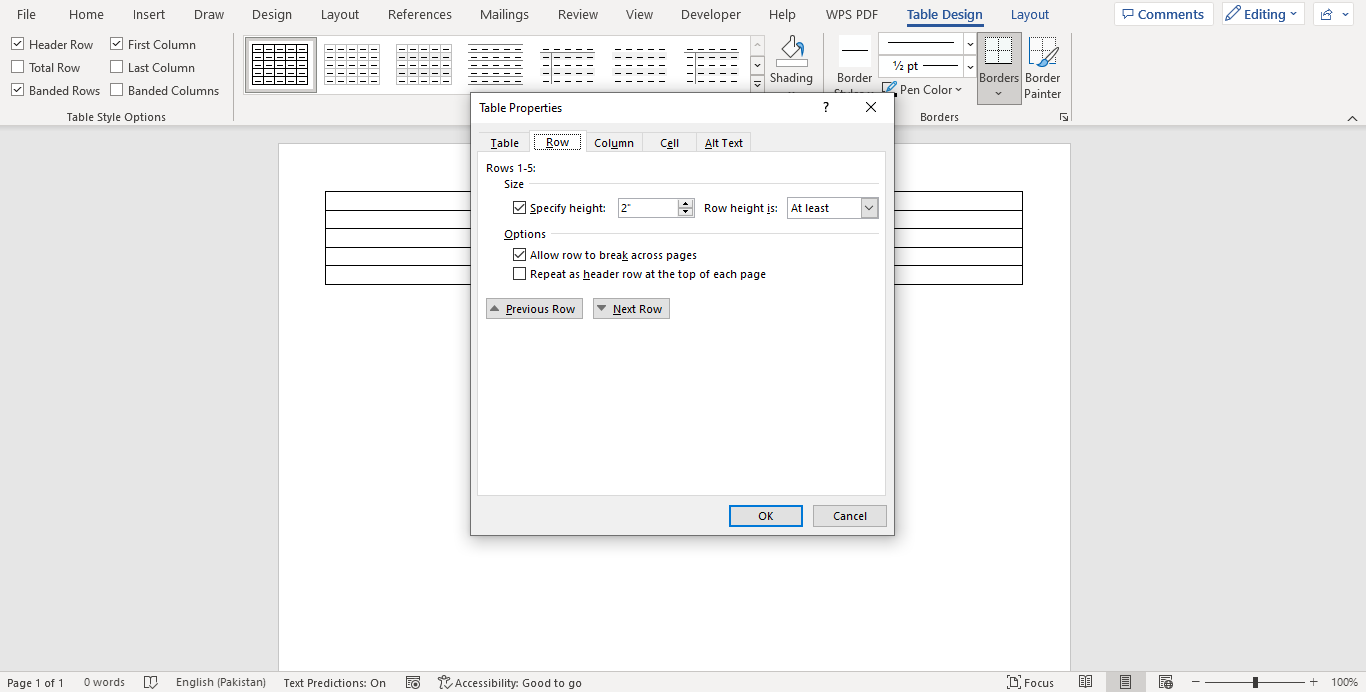
- After that, click on the Row tab and look at the Specify height box where you need to enter 2” and then change the row height to Exactly.
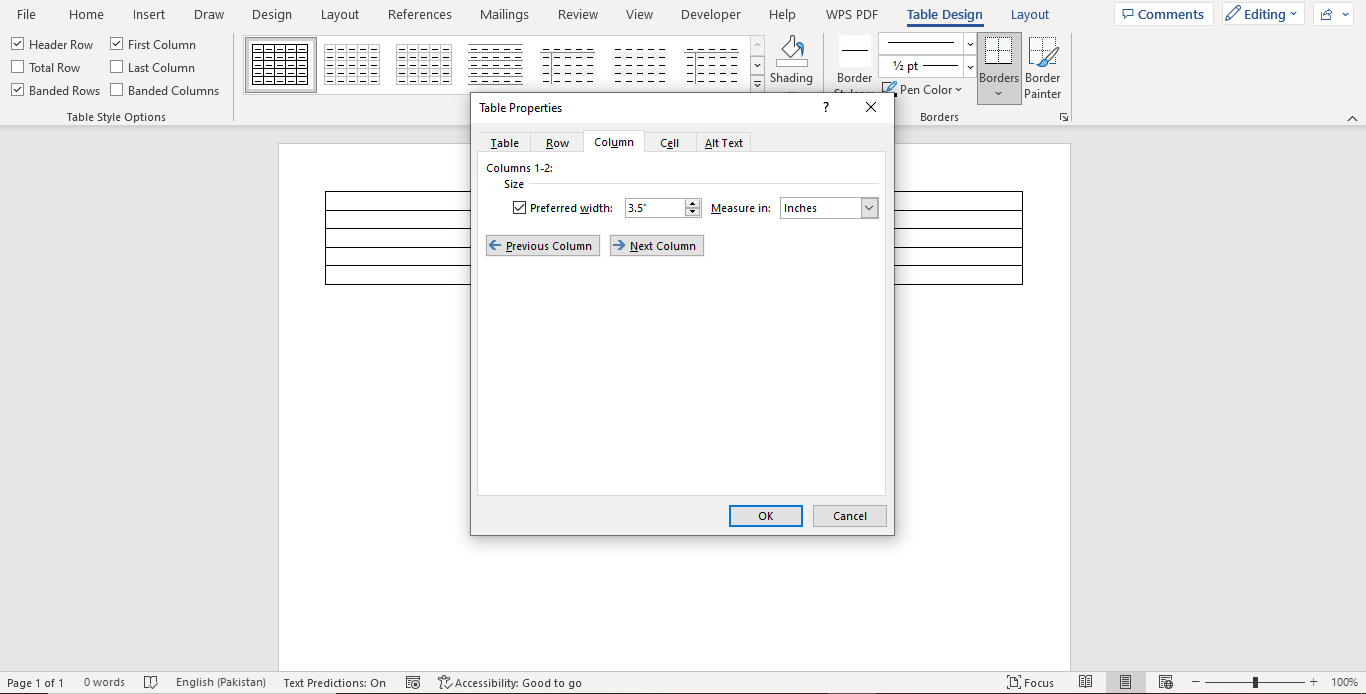
- Proceed to click on the Column tab and look at the Specify width or Preferred width box where you need to enter 3.5” and then change measurement to Inches.
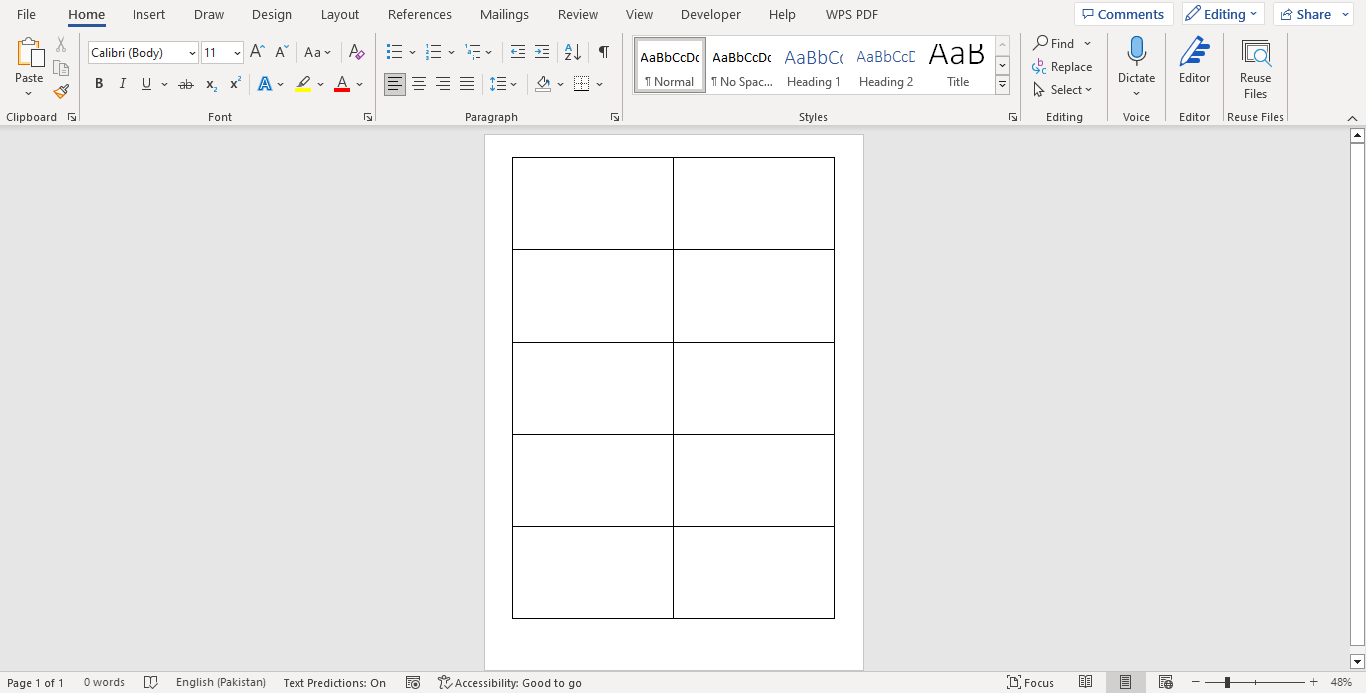
- Check your table. It should be separated into ten identical business card-sized cells, as shown below.
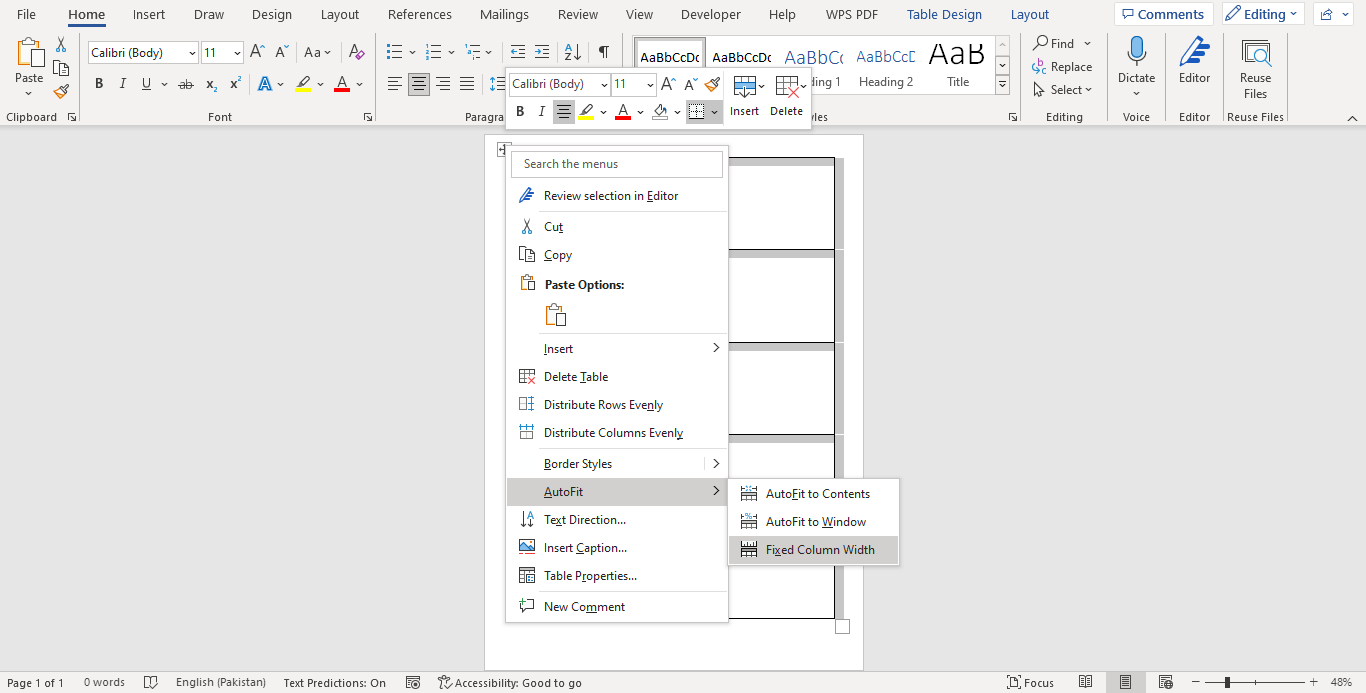
- Right-click the Table Selection Cross Hair and AutoFit to choose the Fixed column width. This formatting will ensure your table does not change shape when you add information to your first cell.
- Now it is time to add your information to the first cell. Use the Word formatting tools to change the font, font size, and color, or add text boxes and images when typing in the cell. Once you are finished typing, ensure that you proofread it and edit any typos and grammar mistakes before copying and pasting the information to other cells.
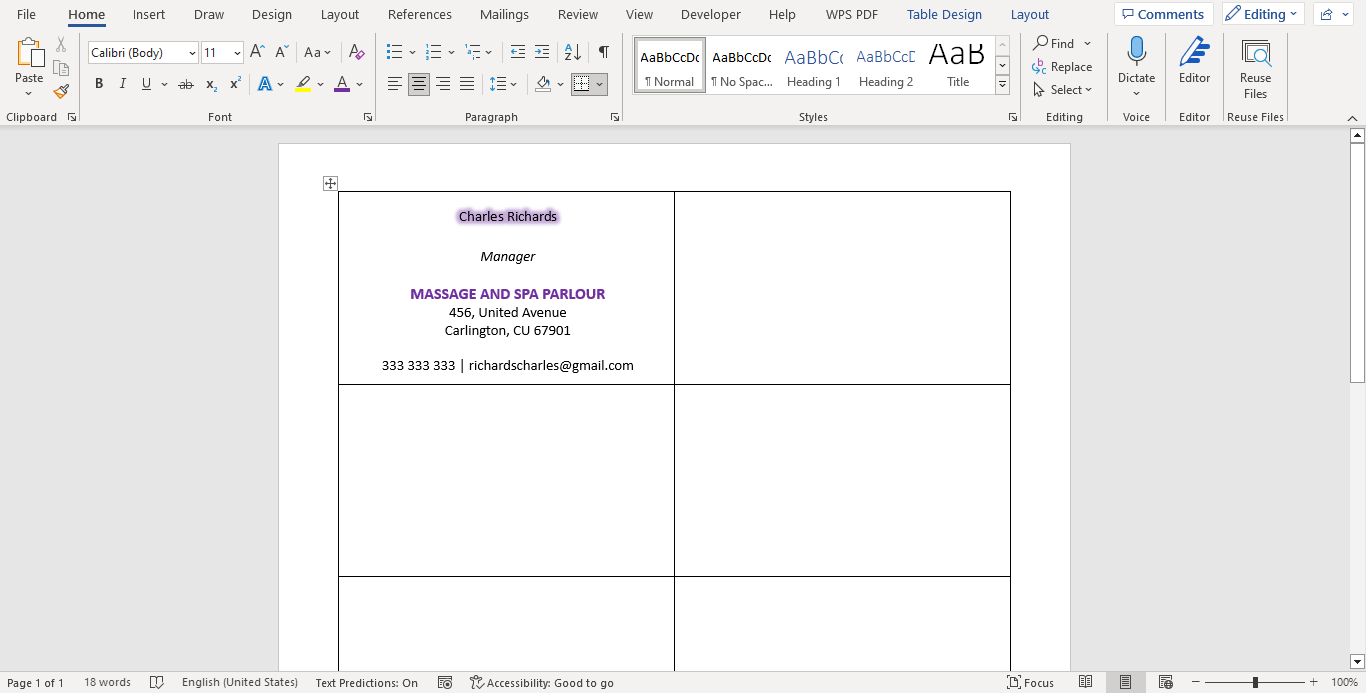
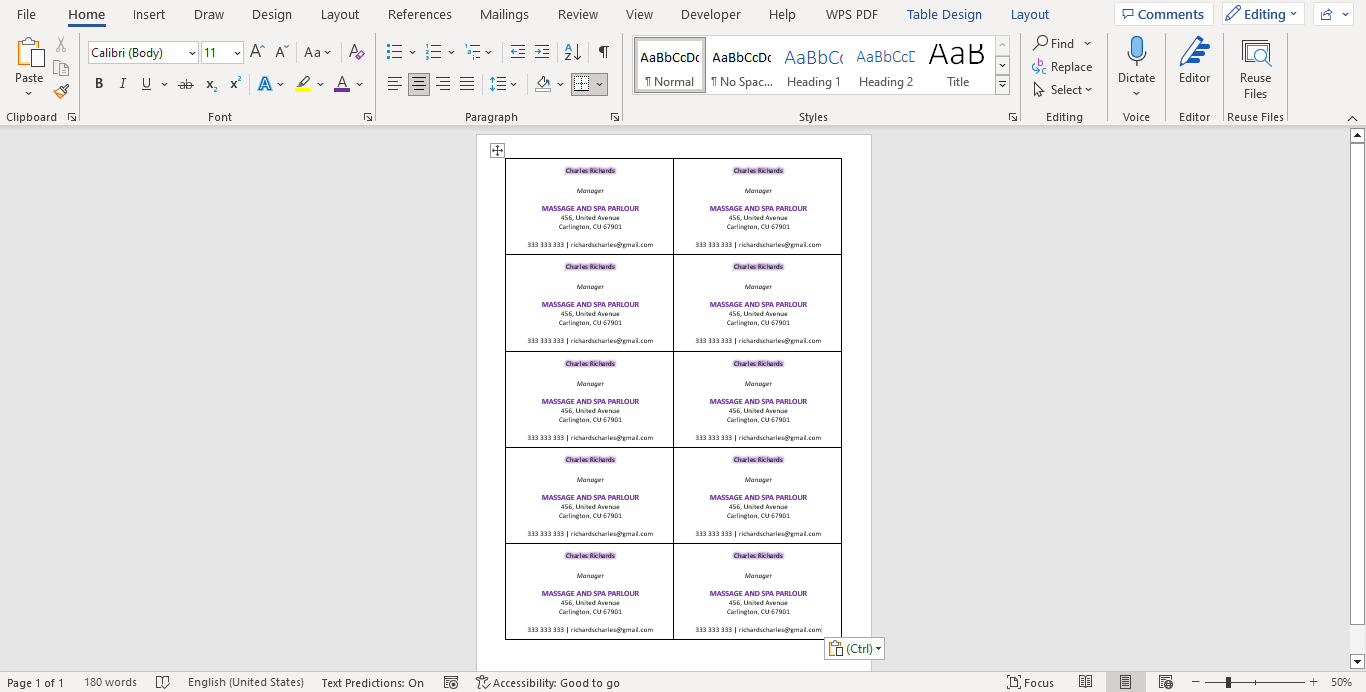
- Once you have created your first cell, you can copy-paste the details to another cell. Move your cursor to the bottom-left corner of the cell until the cursor becomes a diagonal arrow. Click the cell, and the contents will be copied to the clipboard. Proceed to place the cursor in the next cell and paste the information. Repeat for each cell.
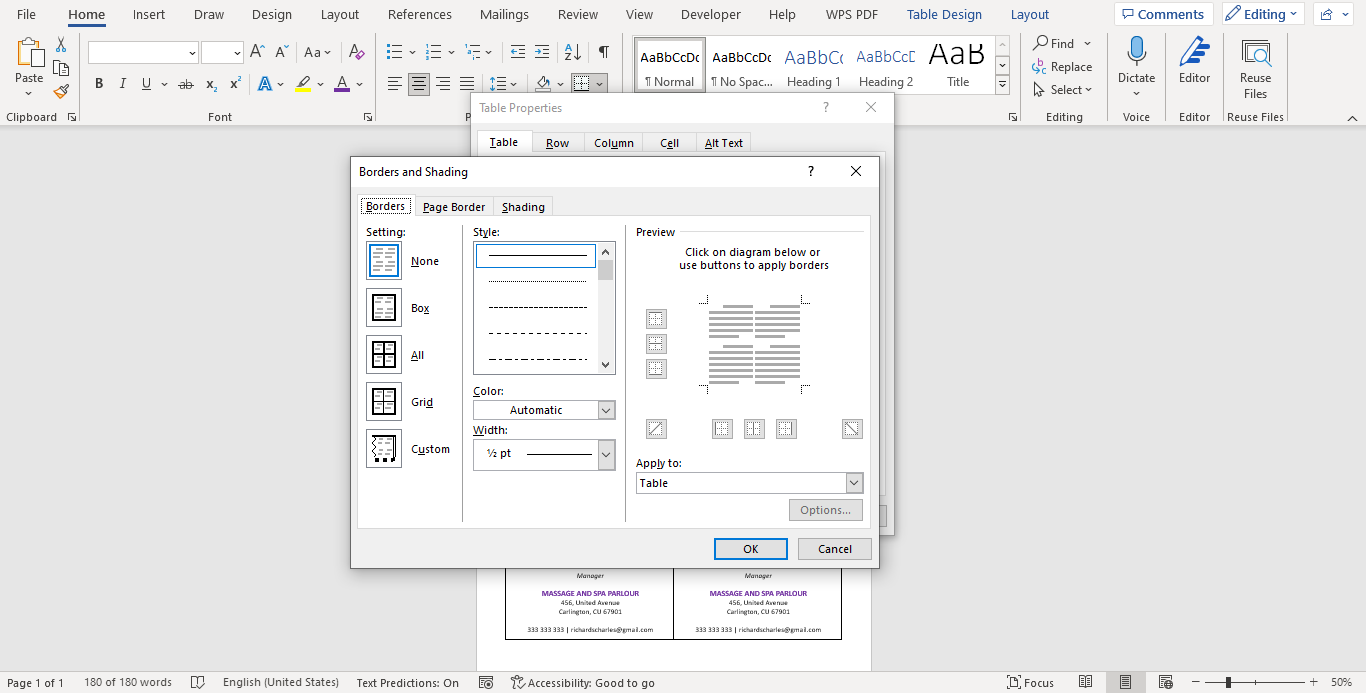
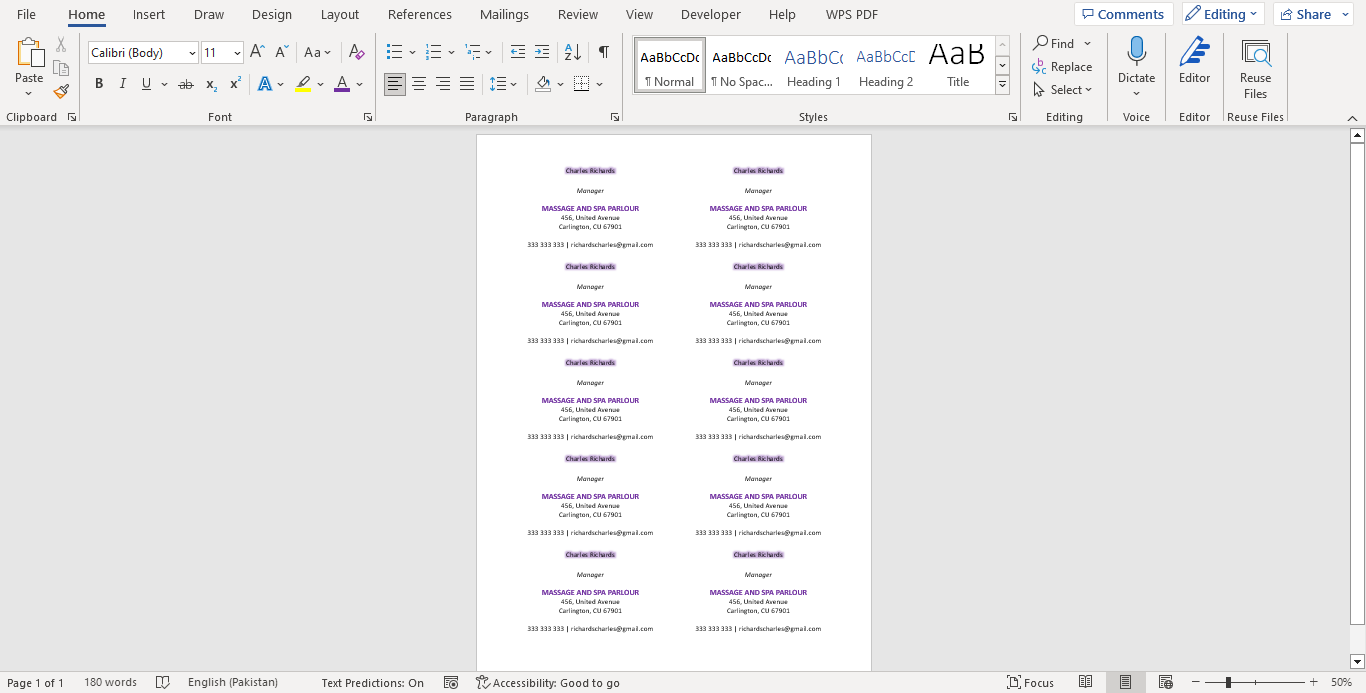
- Right-click on the Table Selection Cross Hair once more and select Table Properties. Click the Borders and Sharing button and select None to remove all the borders. This ensures the cell borders don’t appear when the cards are cut. Finally, find good paper, print your appointment/business cards, and cut them.
How to Use a Template?
When it comes to using a template, once you have accessed it, there are steps that you should follow to create an effective appointment card.
Below are the steps to follow when using a template:
Select a template of your choice
Once you have accessed the website, select a template of your choice, preferably one you can easily edit. With a template, you can easily change the color, images, fonts, and layout to match the vision of your appointment/business card. Once you have selected the template, click Create or Download, and it will open in Word.
Fill out the information
Proceed to fill out the intended information in your template. Text will appear on your downloaded template. You will highlight the original text, delete it and replace it with your information. Since you are making several cards, you will most likely fill out one card, and the information will appear on the other cards. If that is not the case, you will have to fill out the successive cards manually.
Change the format according to your choice
You can change the format of any element on your appointment card to fit your liking. This primarily includes the font and font size of the text and the background color of the text. Ensure that the font you use makes the text visible.
Replace the logo
Most templates have placeholder logos. You can click on it and replace it with your business logo. Ensure you correctly resize the logo to match the card well with the other elements.
Take a print
Finally, review your card to ensure everything is well written and print it out. Ensure you use high-quality stock paper that is white or off-white. You can print it from home or at a local printing shop. Ensure that you have set the printer to the correct setting before printing out your appointment card.
Frequently Asked Questions
To make a double-sided business card in MS Word, it all depends on your printer. You can use either of the following options:
-Choose double-sided when presented with the single and double-sided options when printing. Then, you must make a second page with your back details and set the printer double-sided. Print and information will appear on both sides.
-Proceed to make another Word document with the back details. Once you print the first document with the font details, flip the same sheet of paper and print on the other side.
To add a logo to the business card when making it with Microsoft Word, go to Insert and find the picture or image button. Then, choose the file you want, resize it, and copy-paste it onto the rest of the cards.
The standard measurements for a business card are 3.5″ x 2″ (or 2″ x 3.5″ for vertical cards), and the best way to cut the card once you have printed it is by using a precision paper cutter rather than a pair of scissors


