An onboarding checklist records the activities a new employee and their team need to complete. These six document layouts give you different ways to organize that start: a ready first-day list, activity tracking, phased objectives, or a personal record of activities and resources.
Choose the form for the person who will maintain it. A supervisor welcoming someone on their first morning needs a different view from an HR coordinator following up with several teams. Once you have chosen a layout, make its entries specific enough that a colleague knows what to do and the employee knows where to get help.
Choose a checklist or a learning plan
A checklist helps you confirm that an action happened. A learning plan helps you agree what someone is working toward and what support they need. The collection includes both, so decide which question you want the document to answer.
| Layout | Person maintaining it | What it records |
|---|---|---|
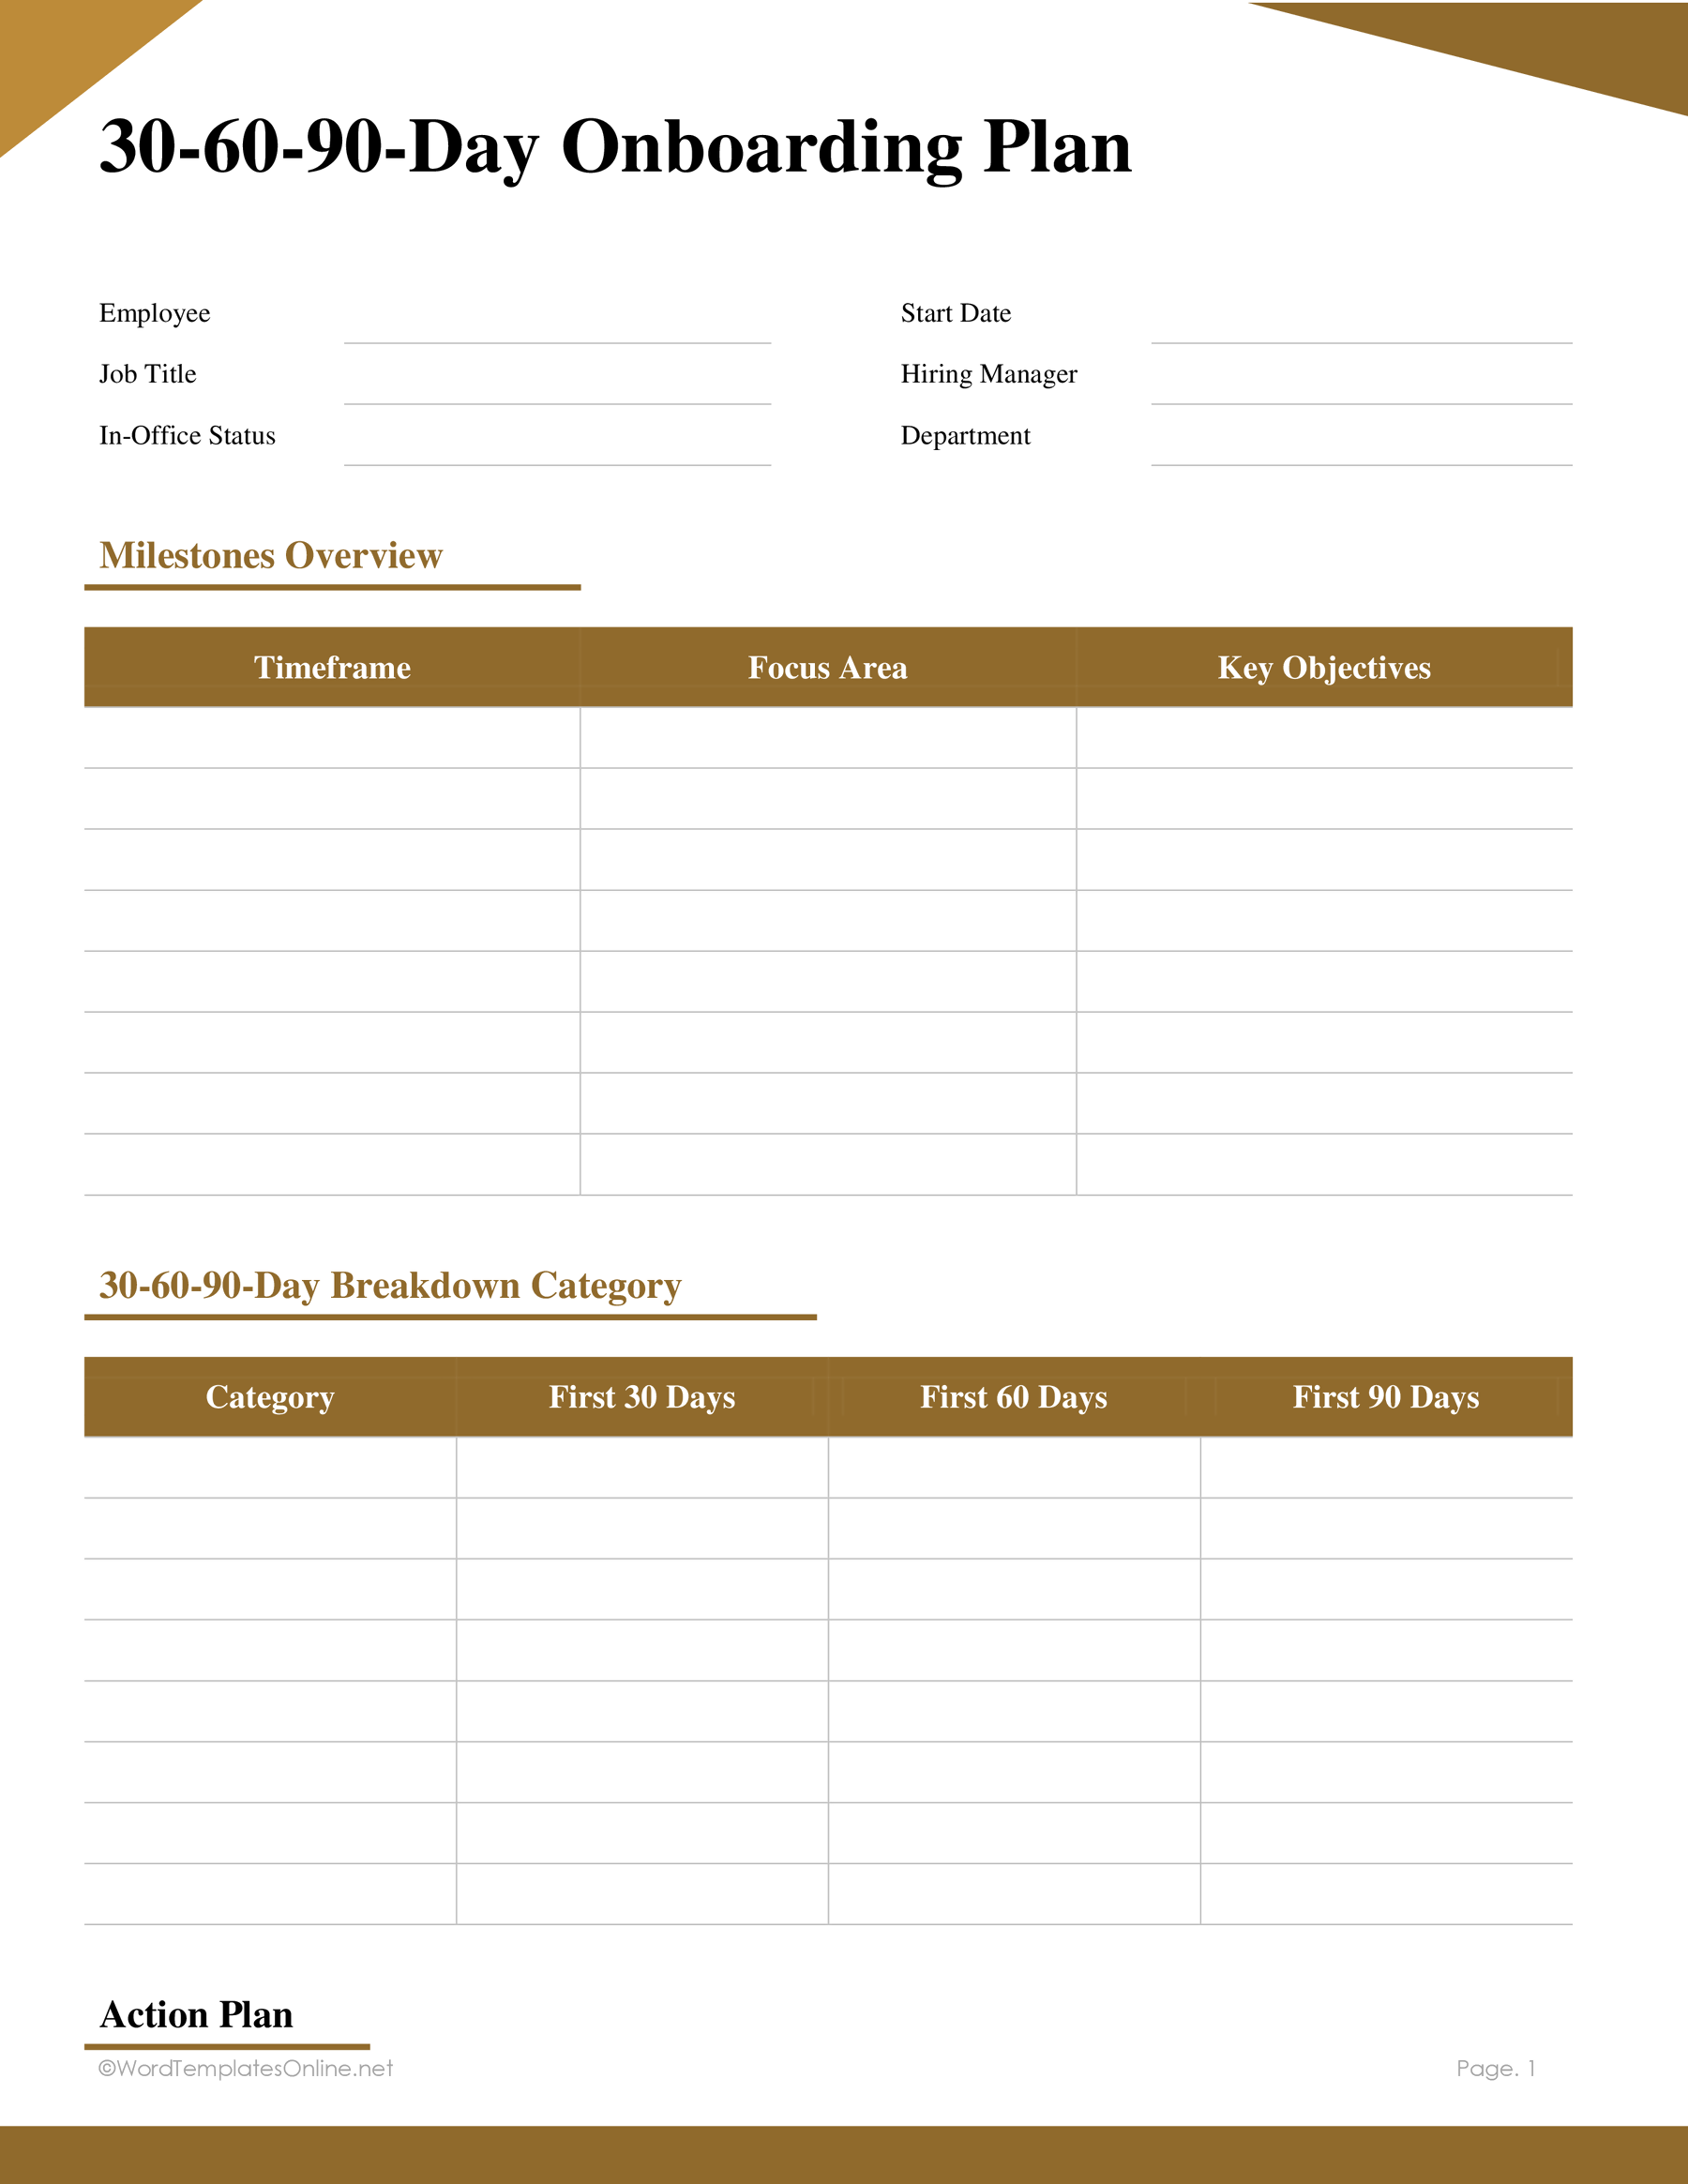
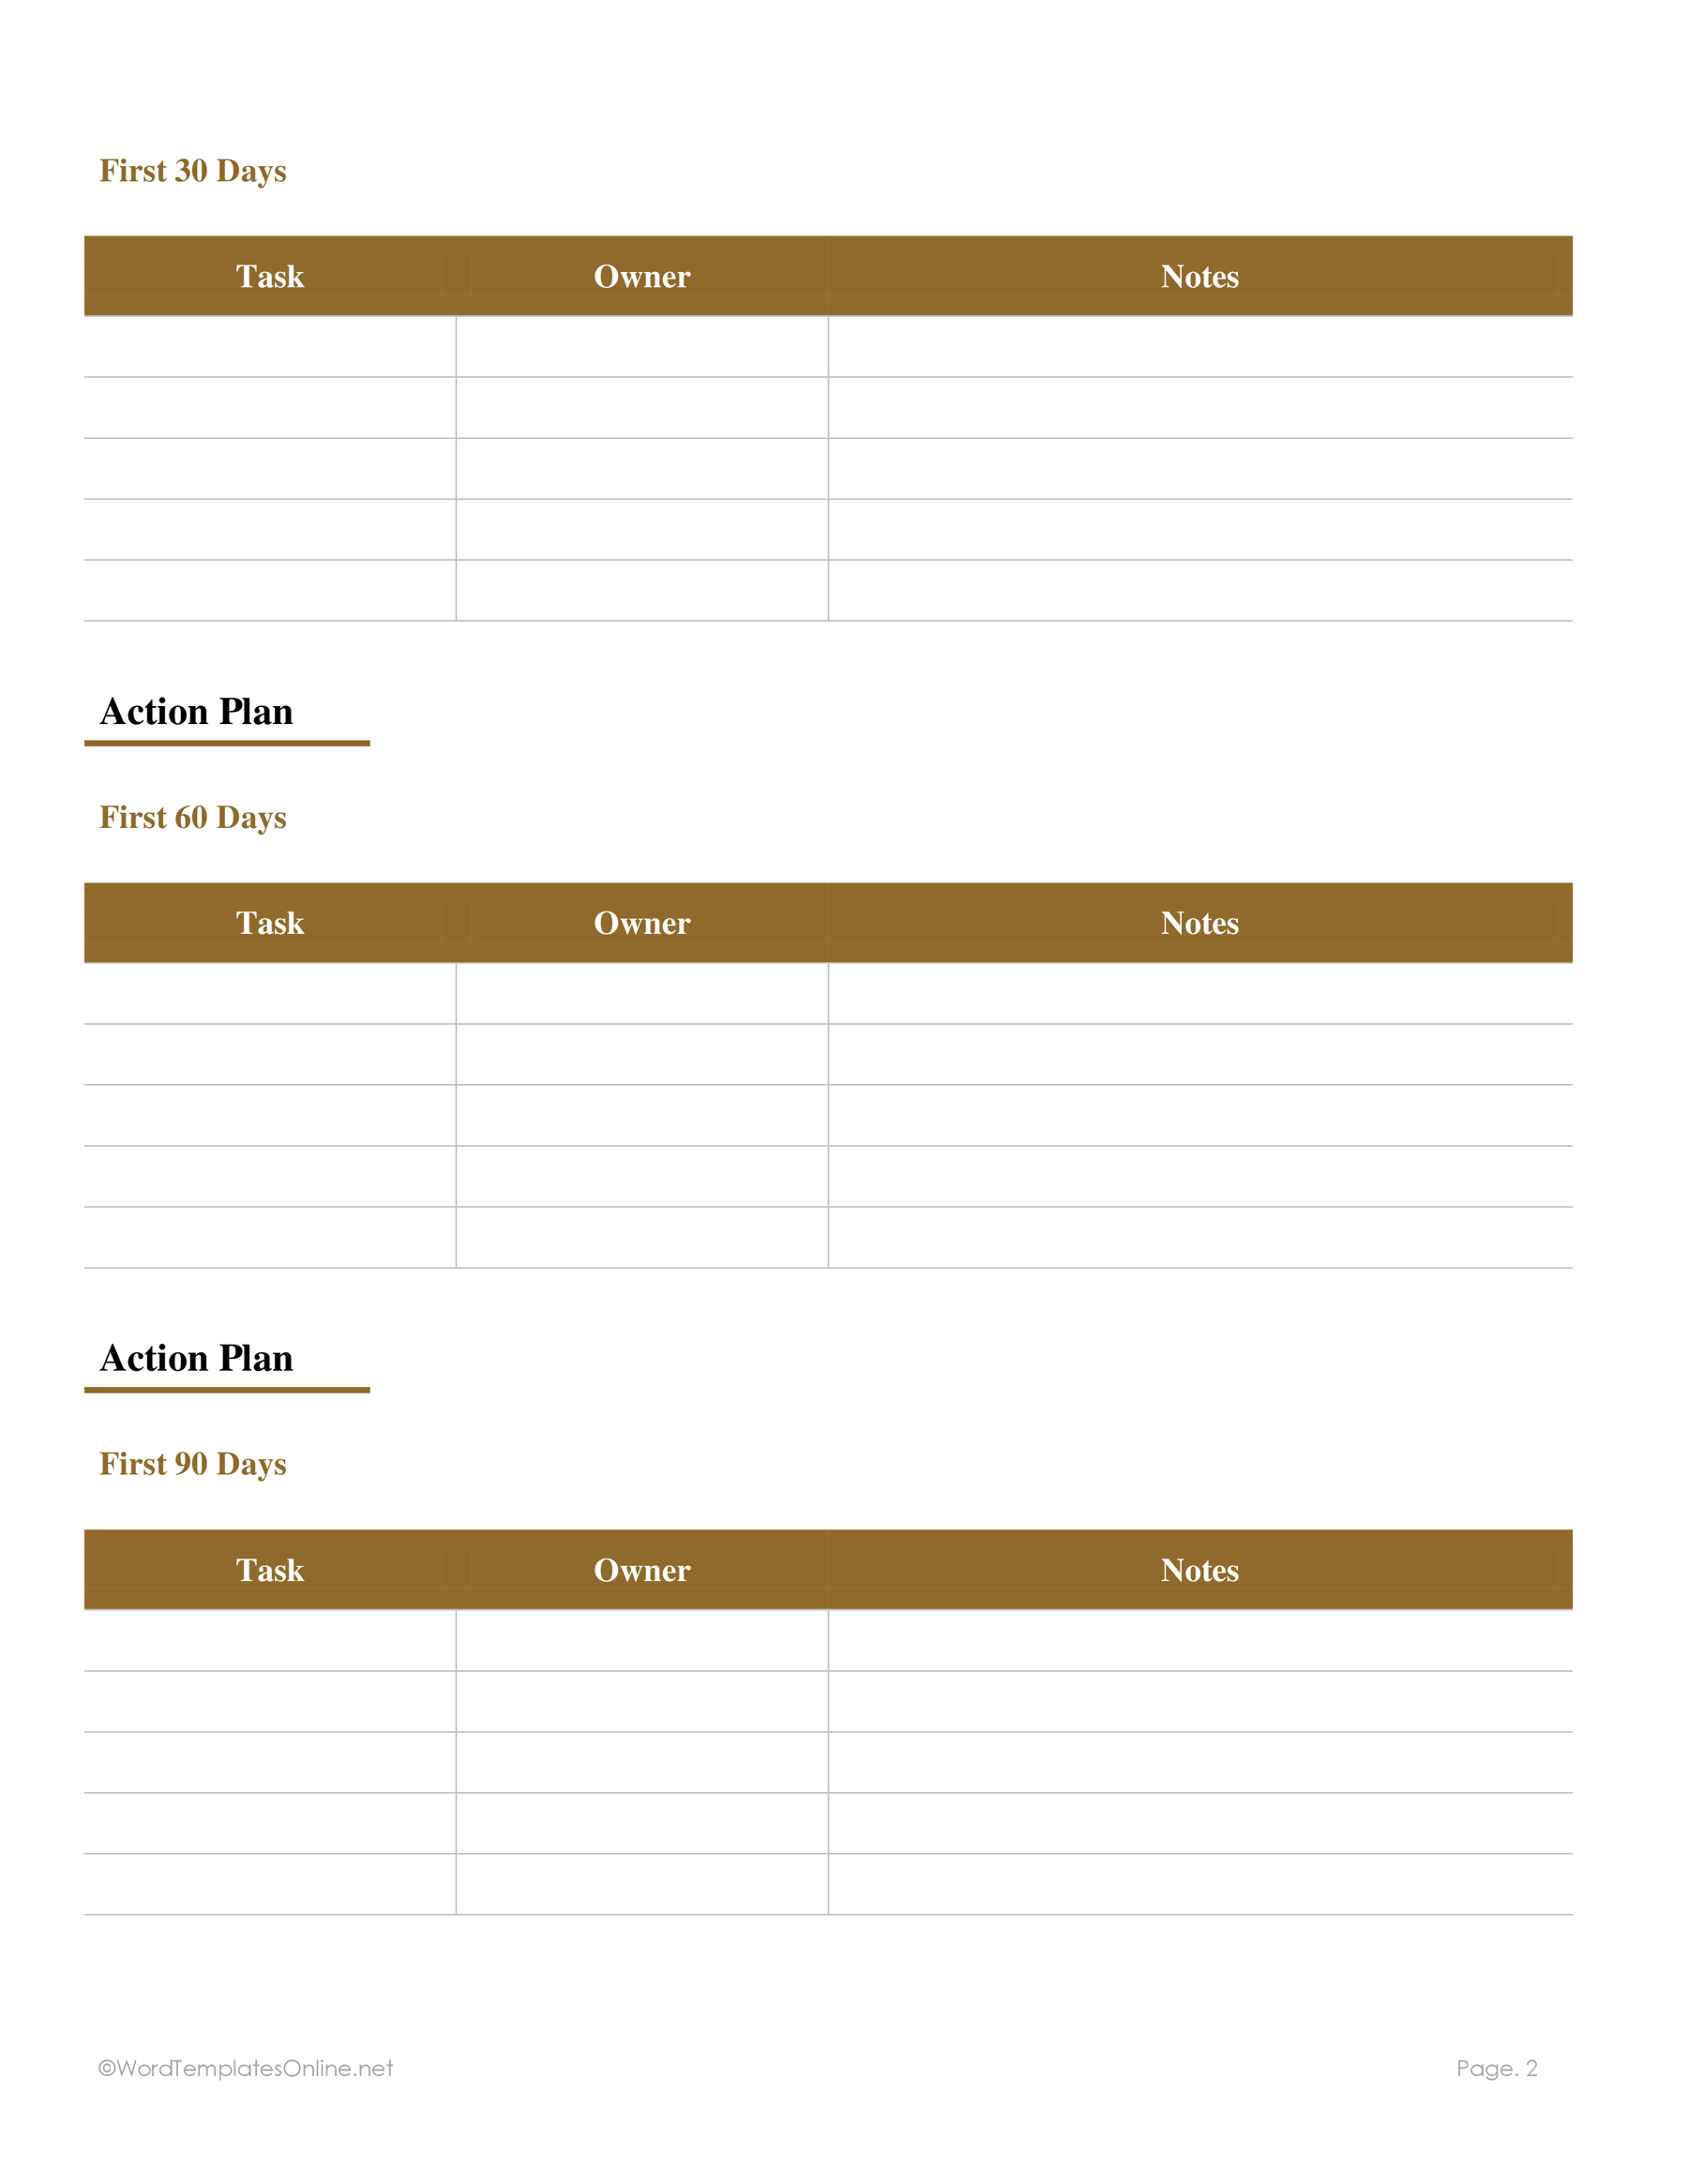
| 01 — 30-60-90 Day Onboarding Plan | Manager and employee | Phased objectives, with task, owner and notes tables |
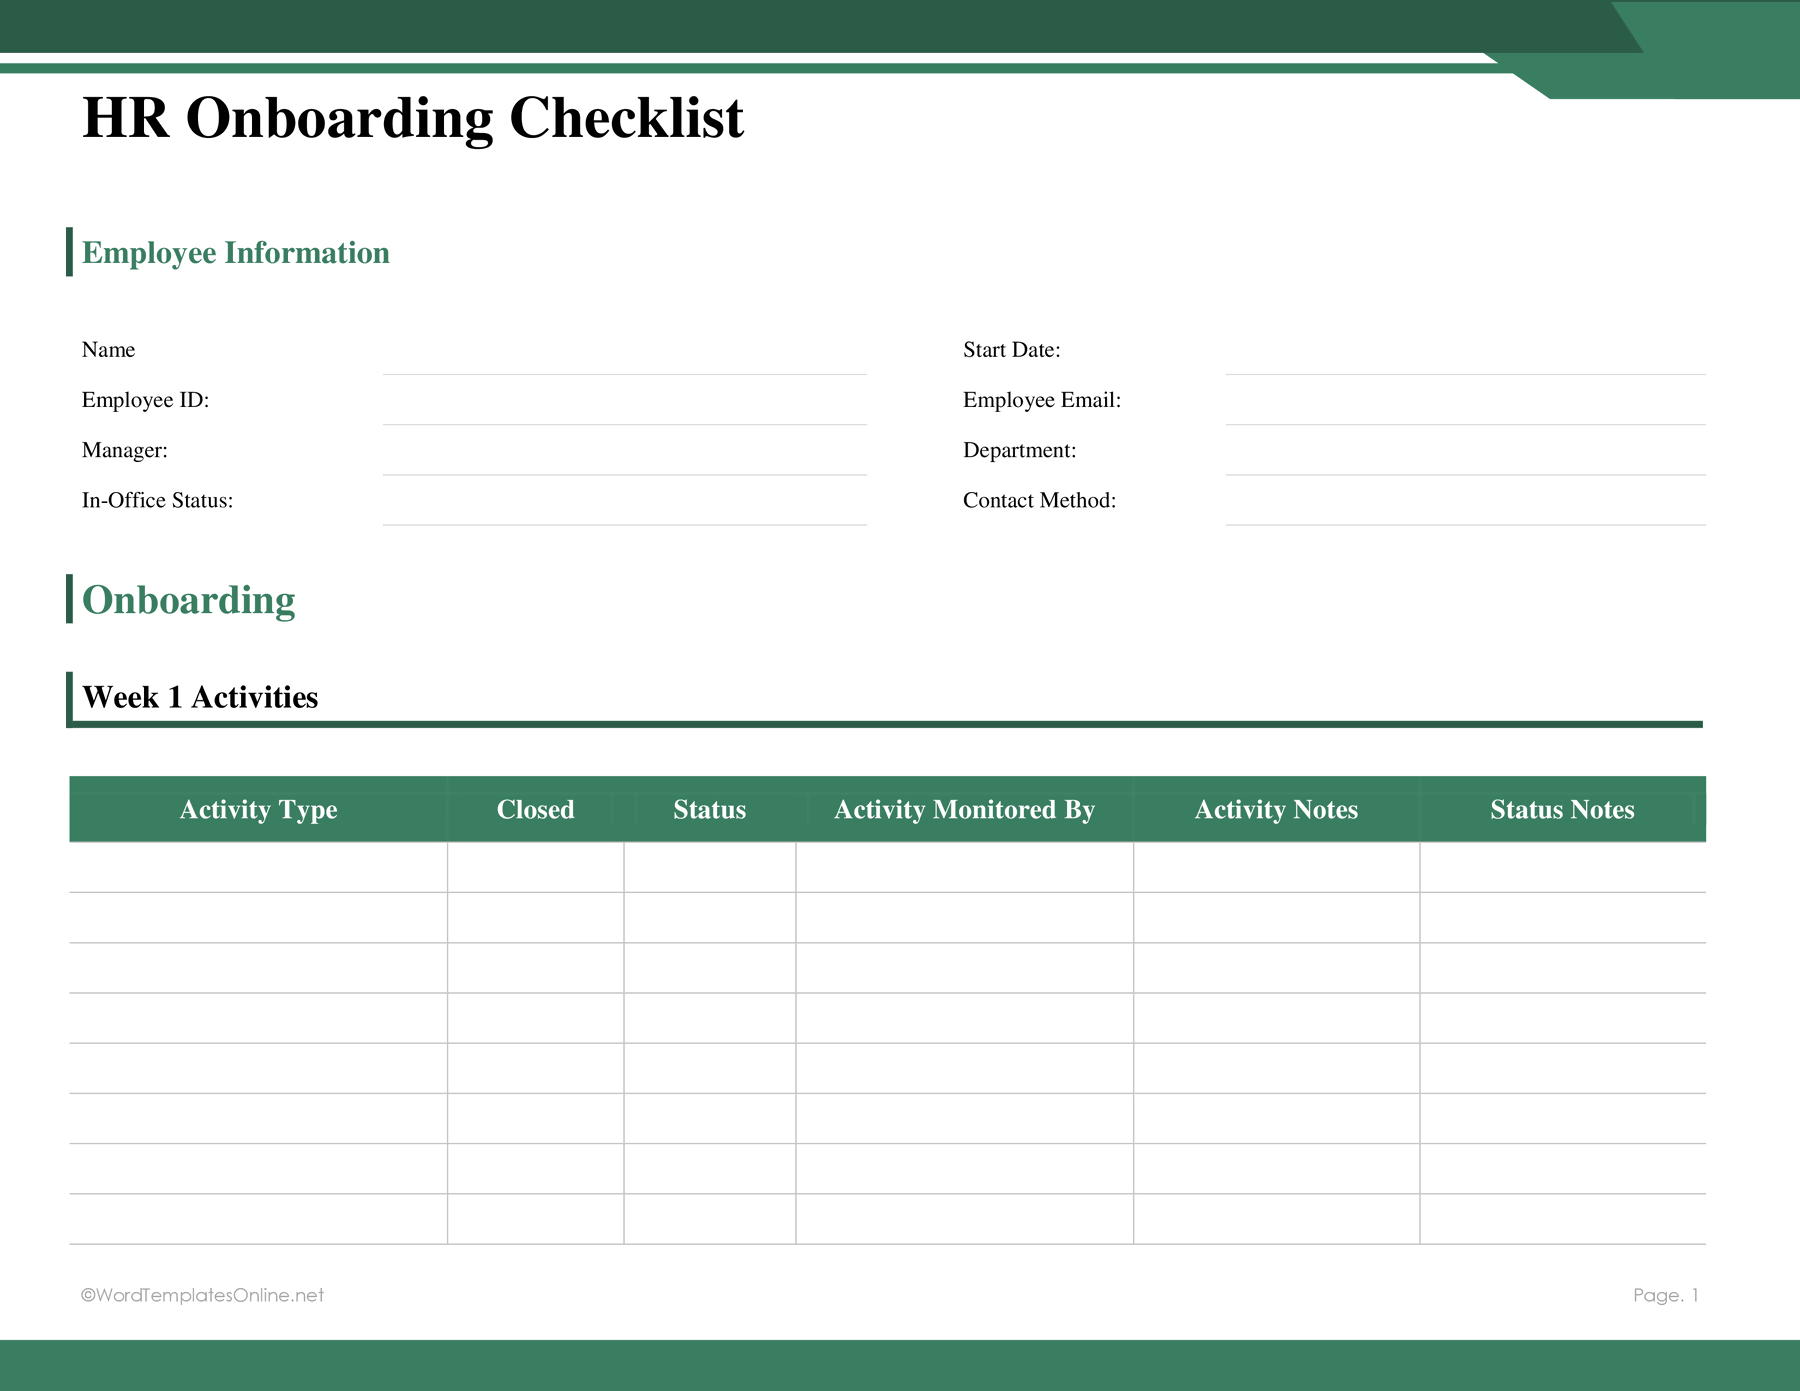
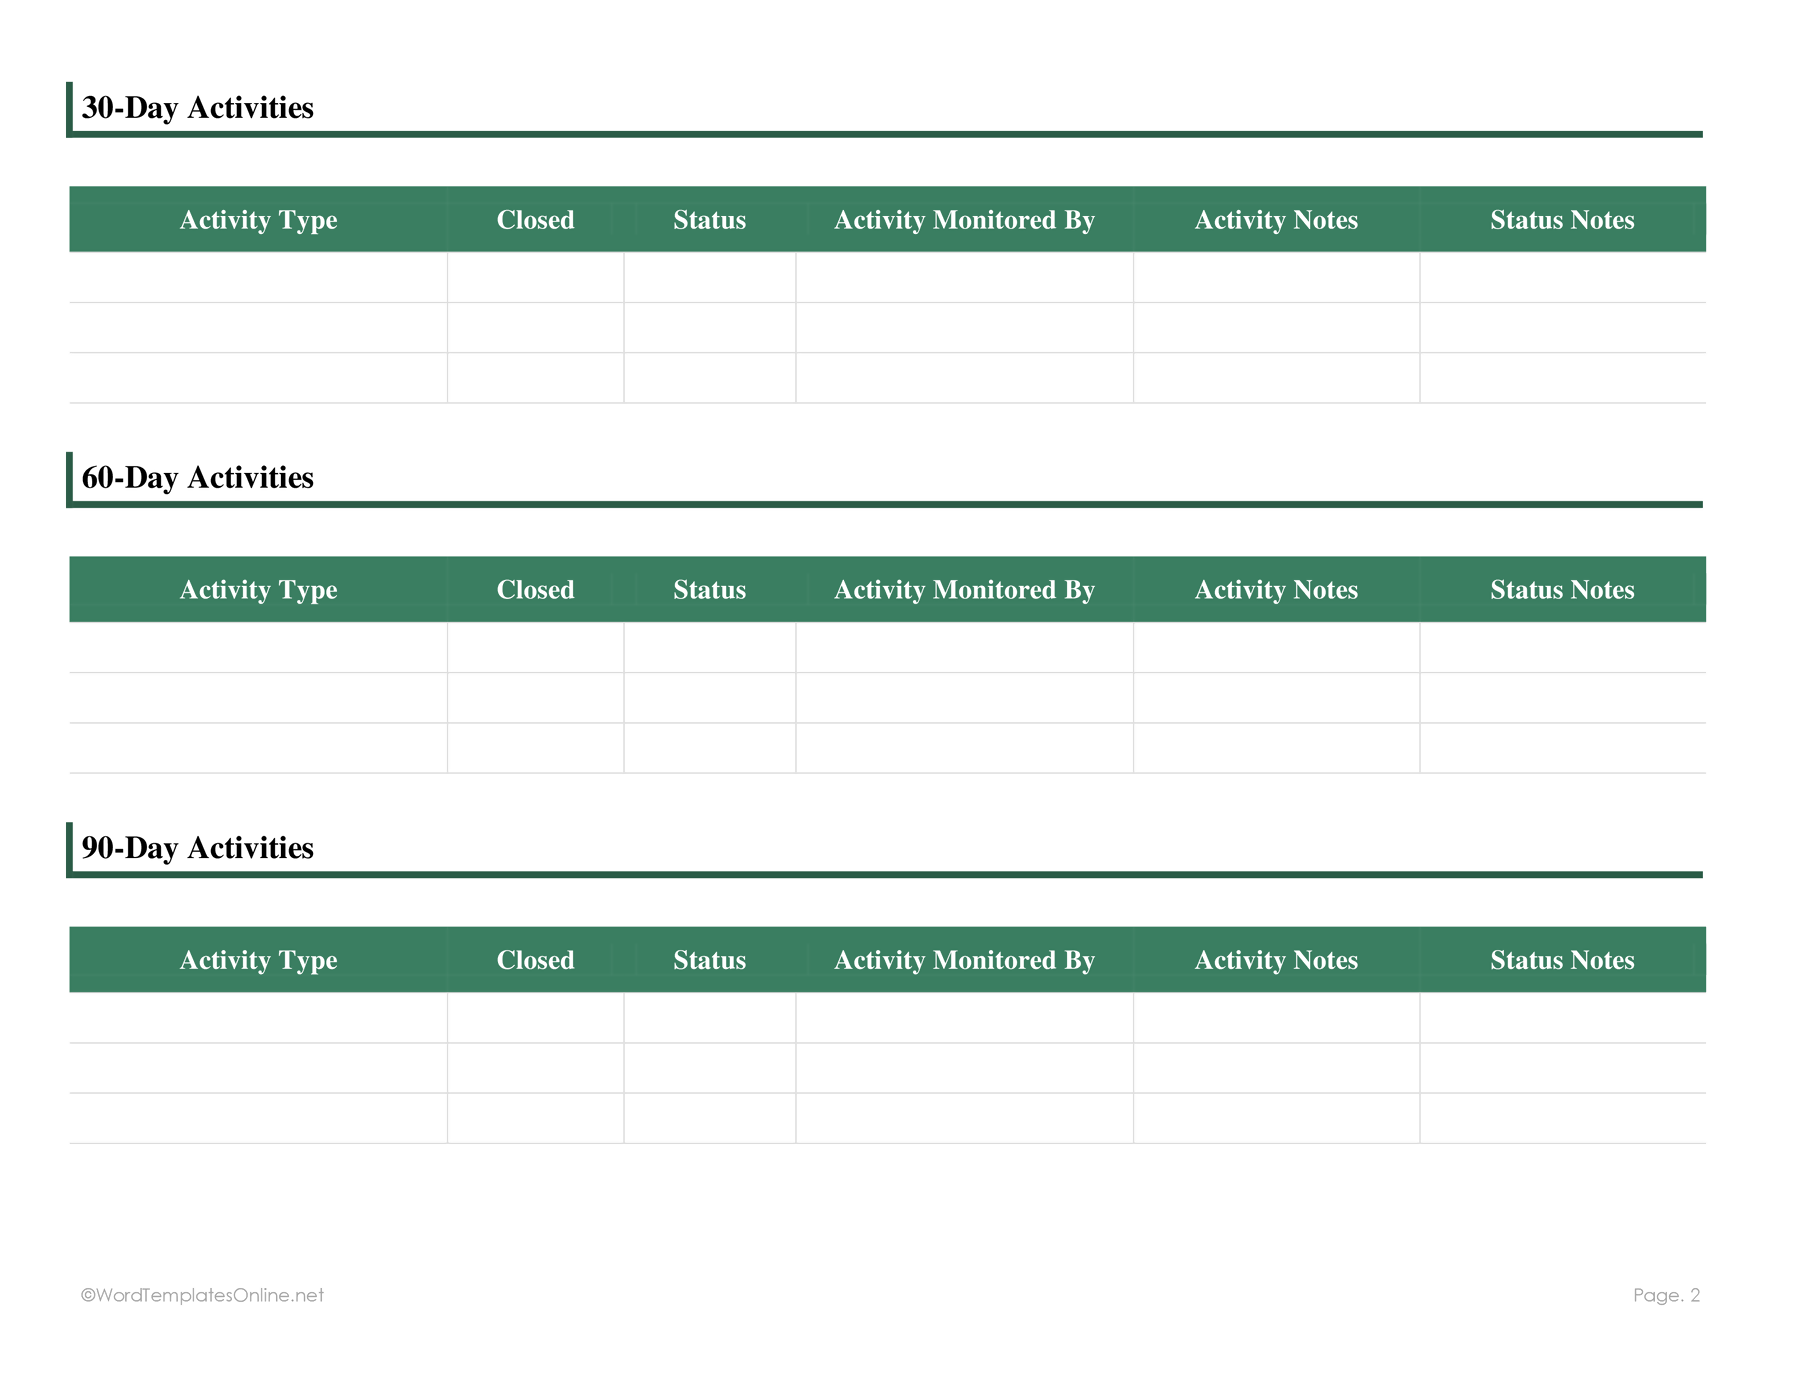
| 02 — HR Onboarding Checklist | HR coordinator | Activity progress, completion and monitoring across week one and 30/60/90 days |
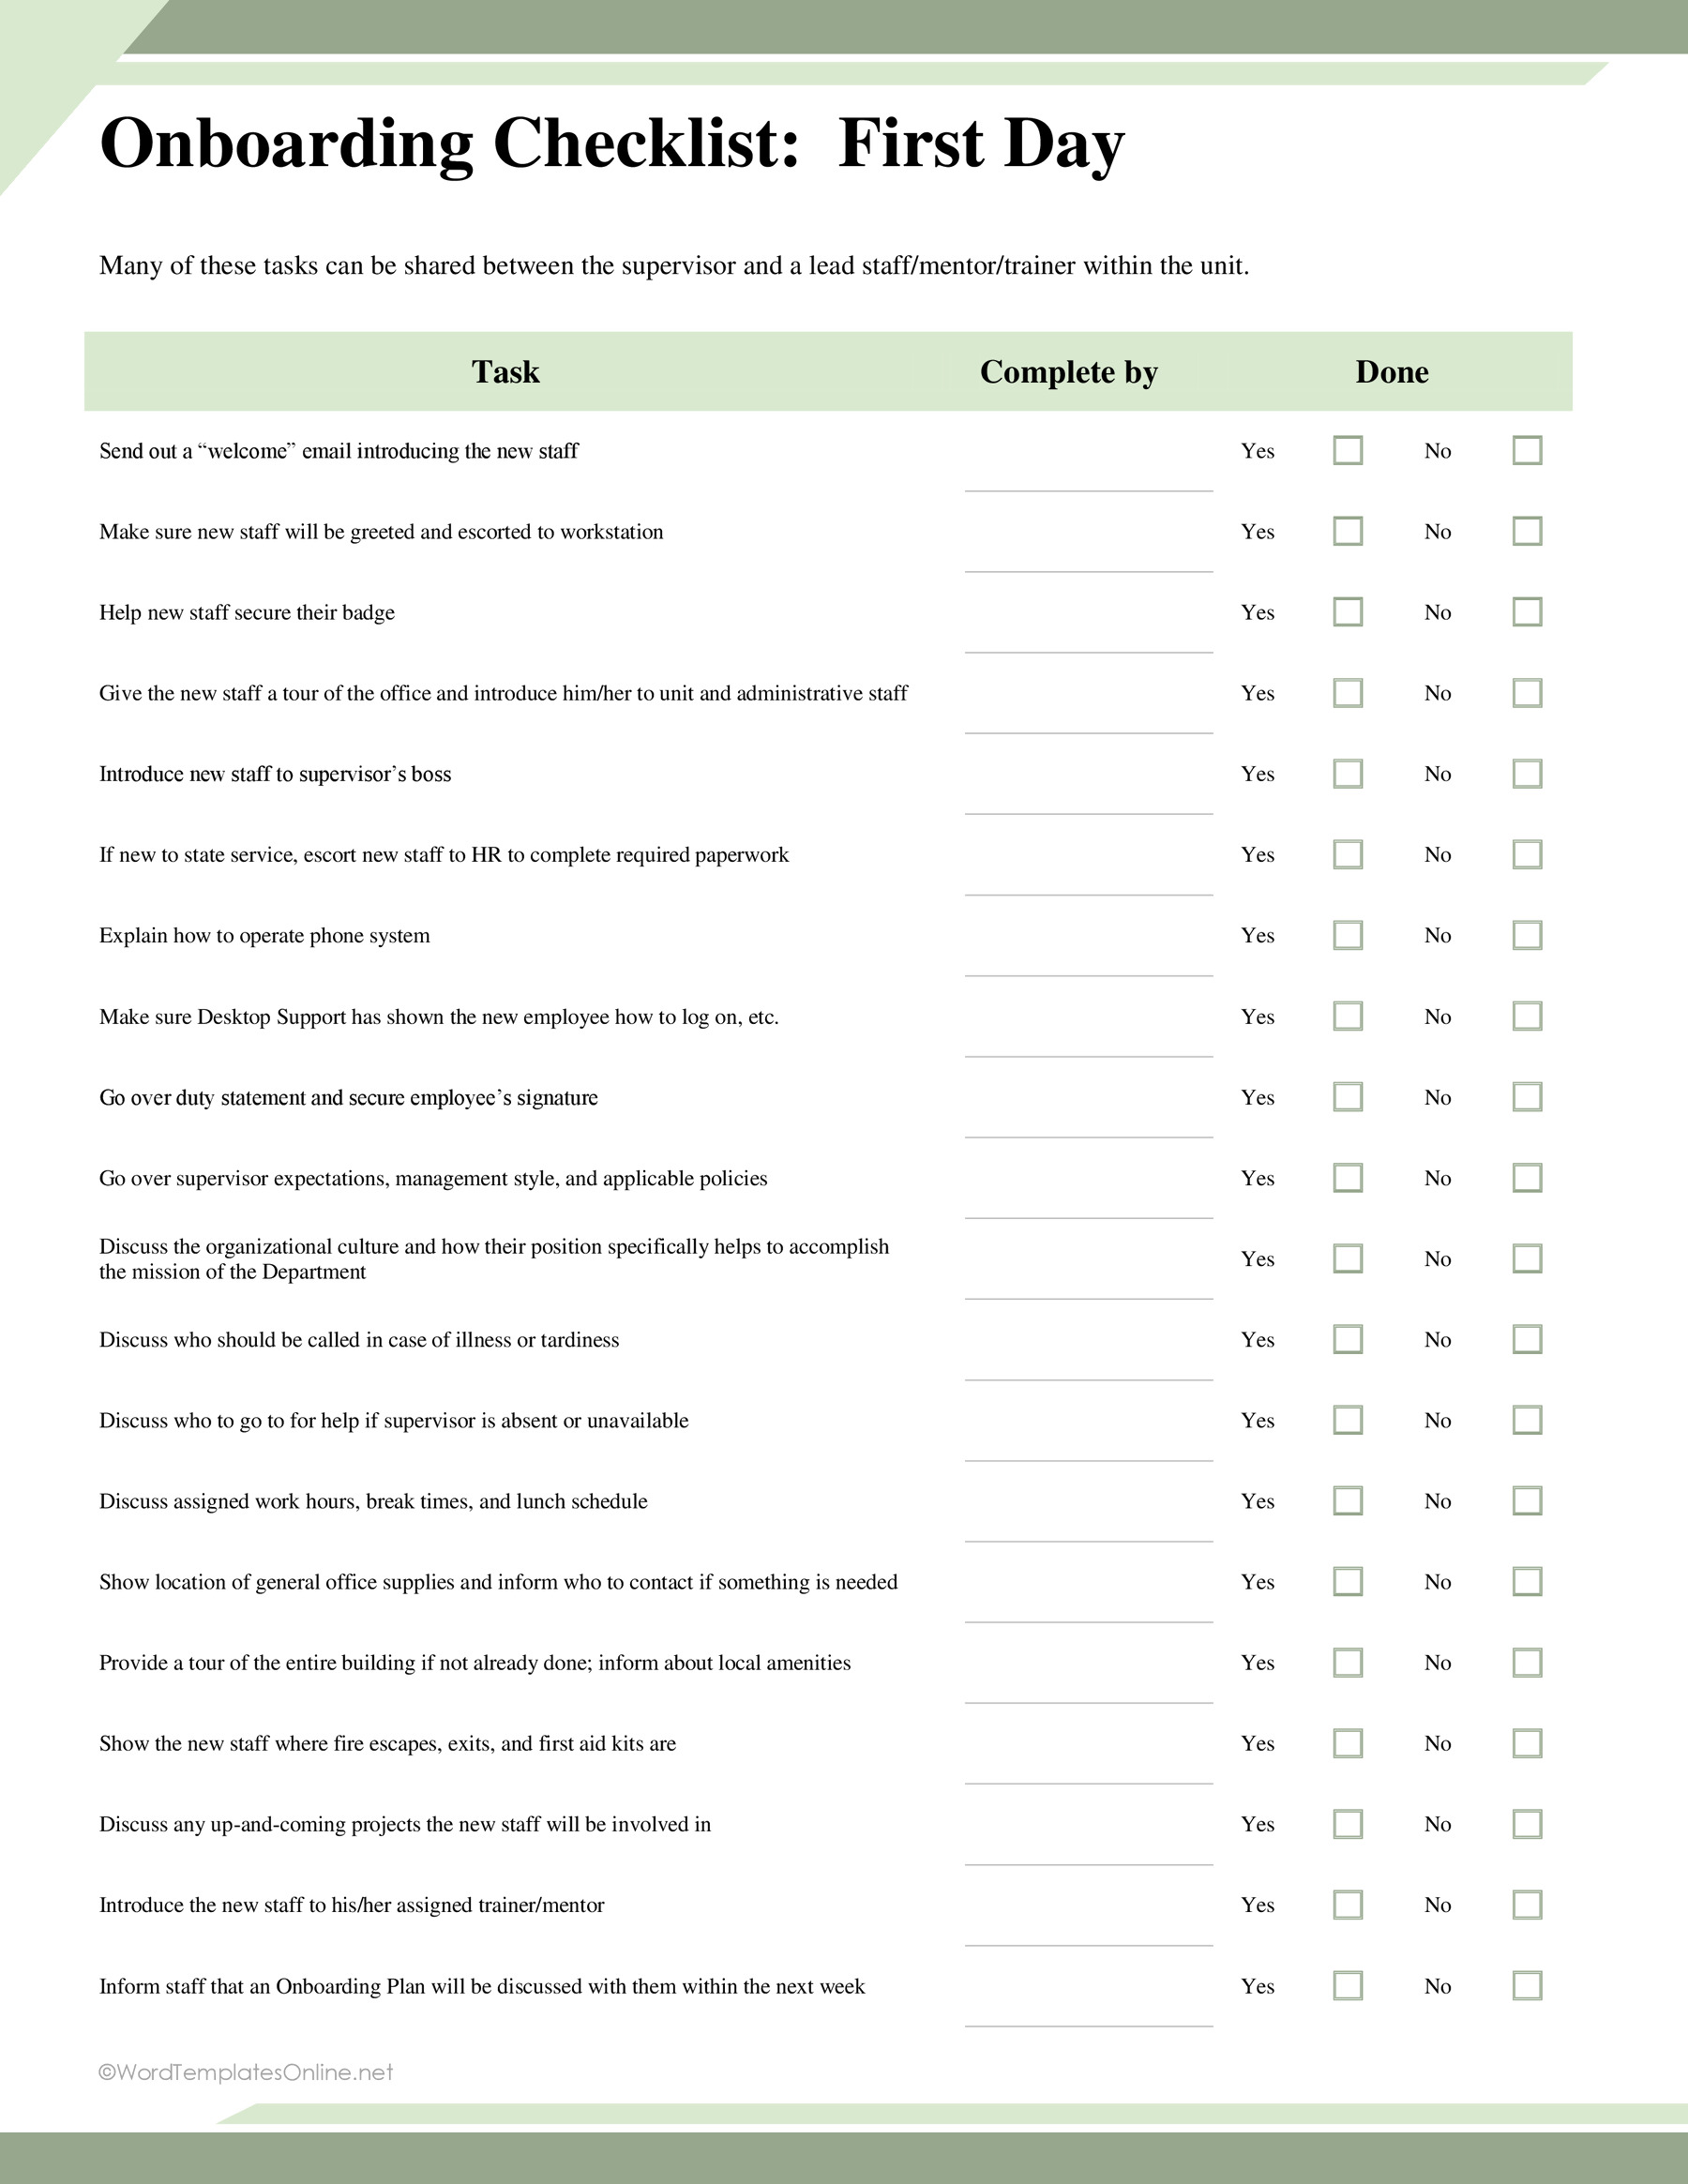
| 03 — First Day Checklist | Supervisor or buddy | Twenty first-day tasks, with Complete by and Yes/No Done fields |
| 04 — New Hire Checklist | Onboarding coordinator | Assigned tasks, due dates, statuses, documents and employee feedback |
| 05 — New Hire Onboarding Plan | Manager | Phased objectives, responsibility, milestones and next steps |
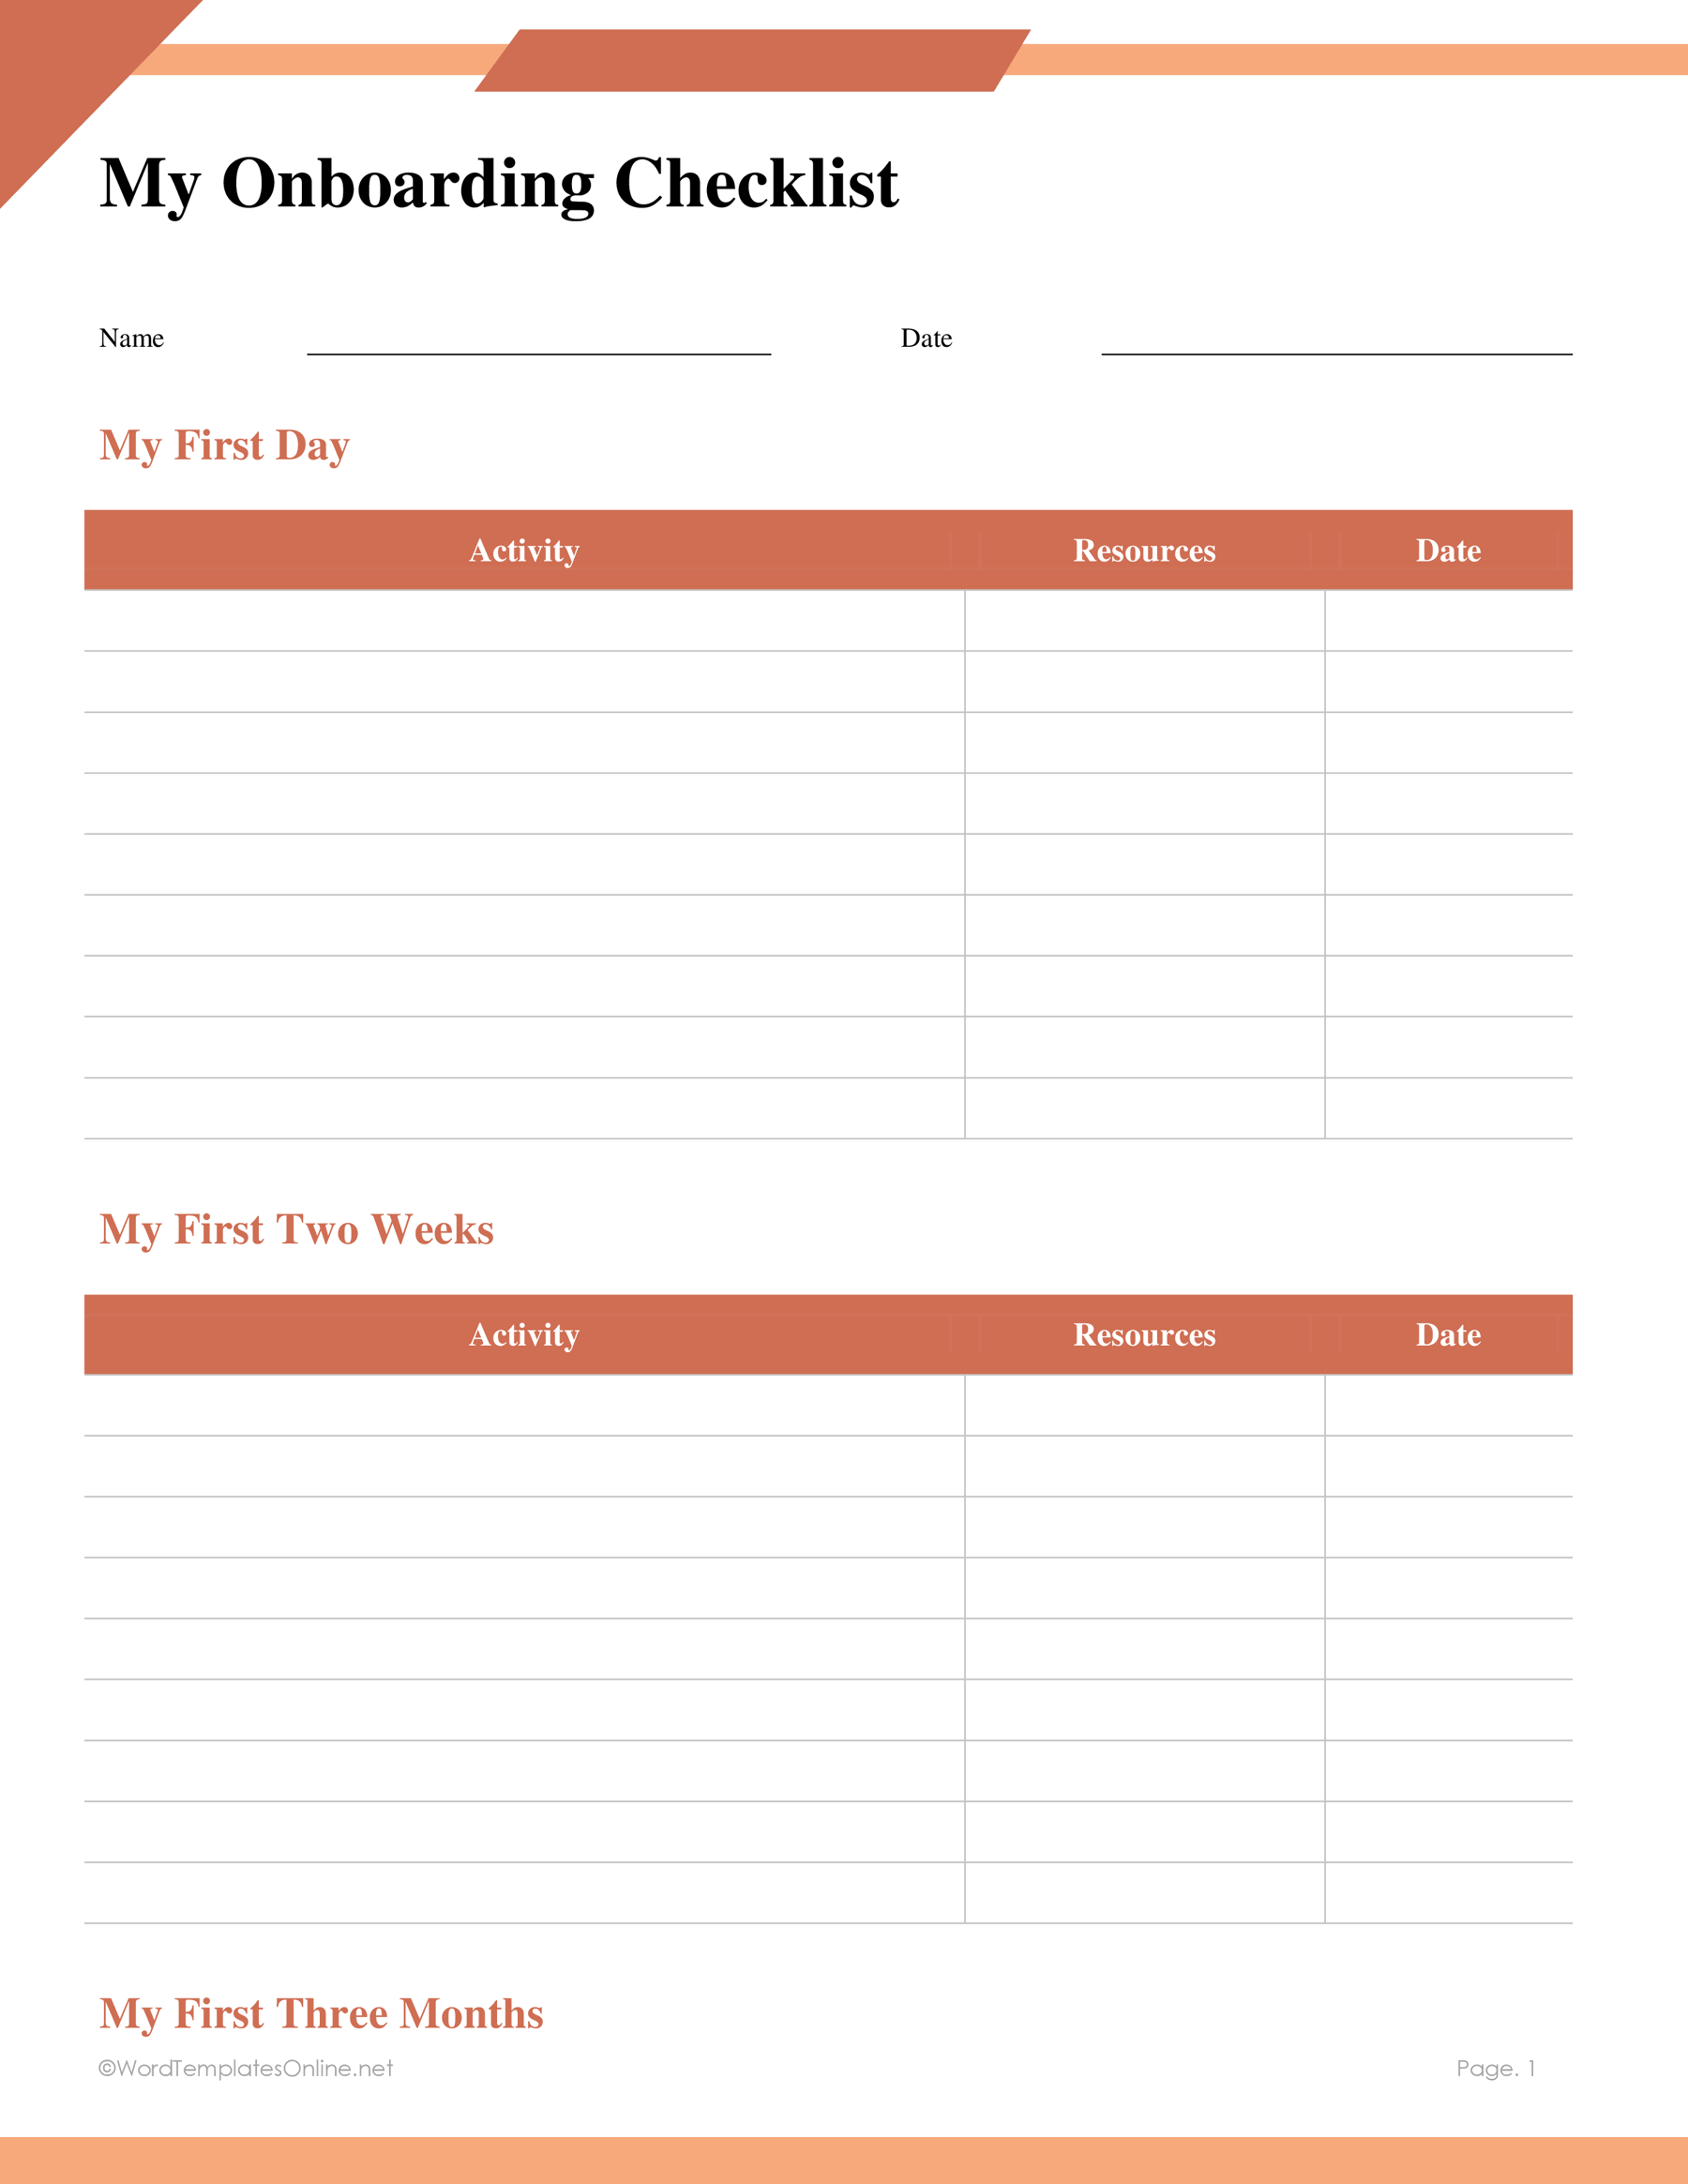
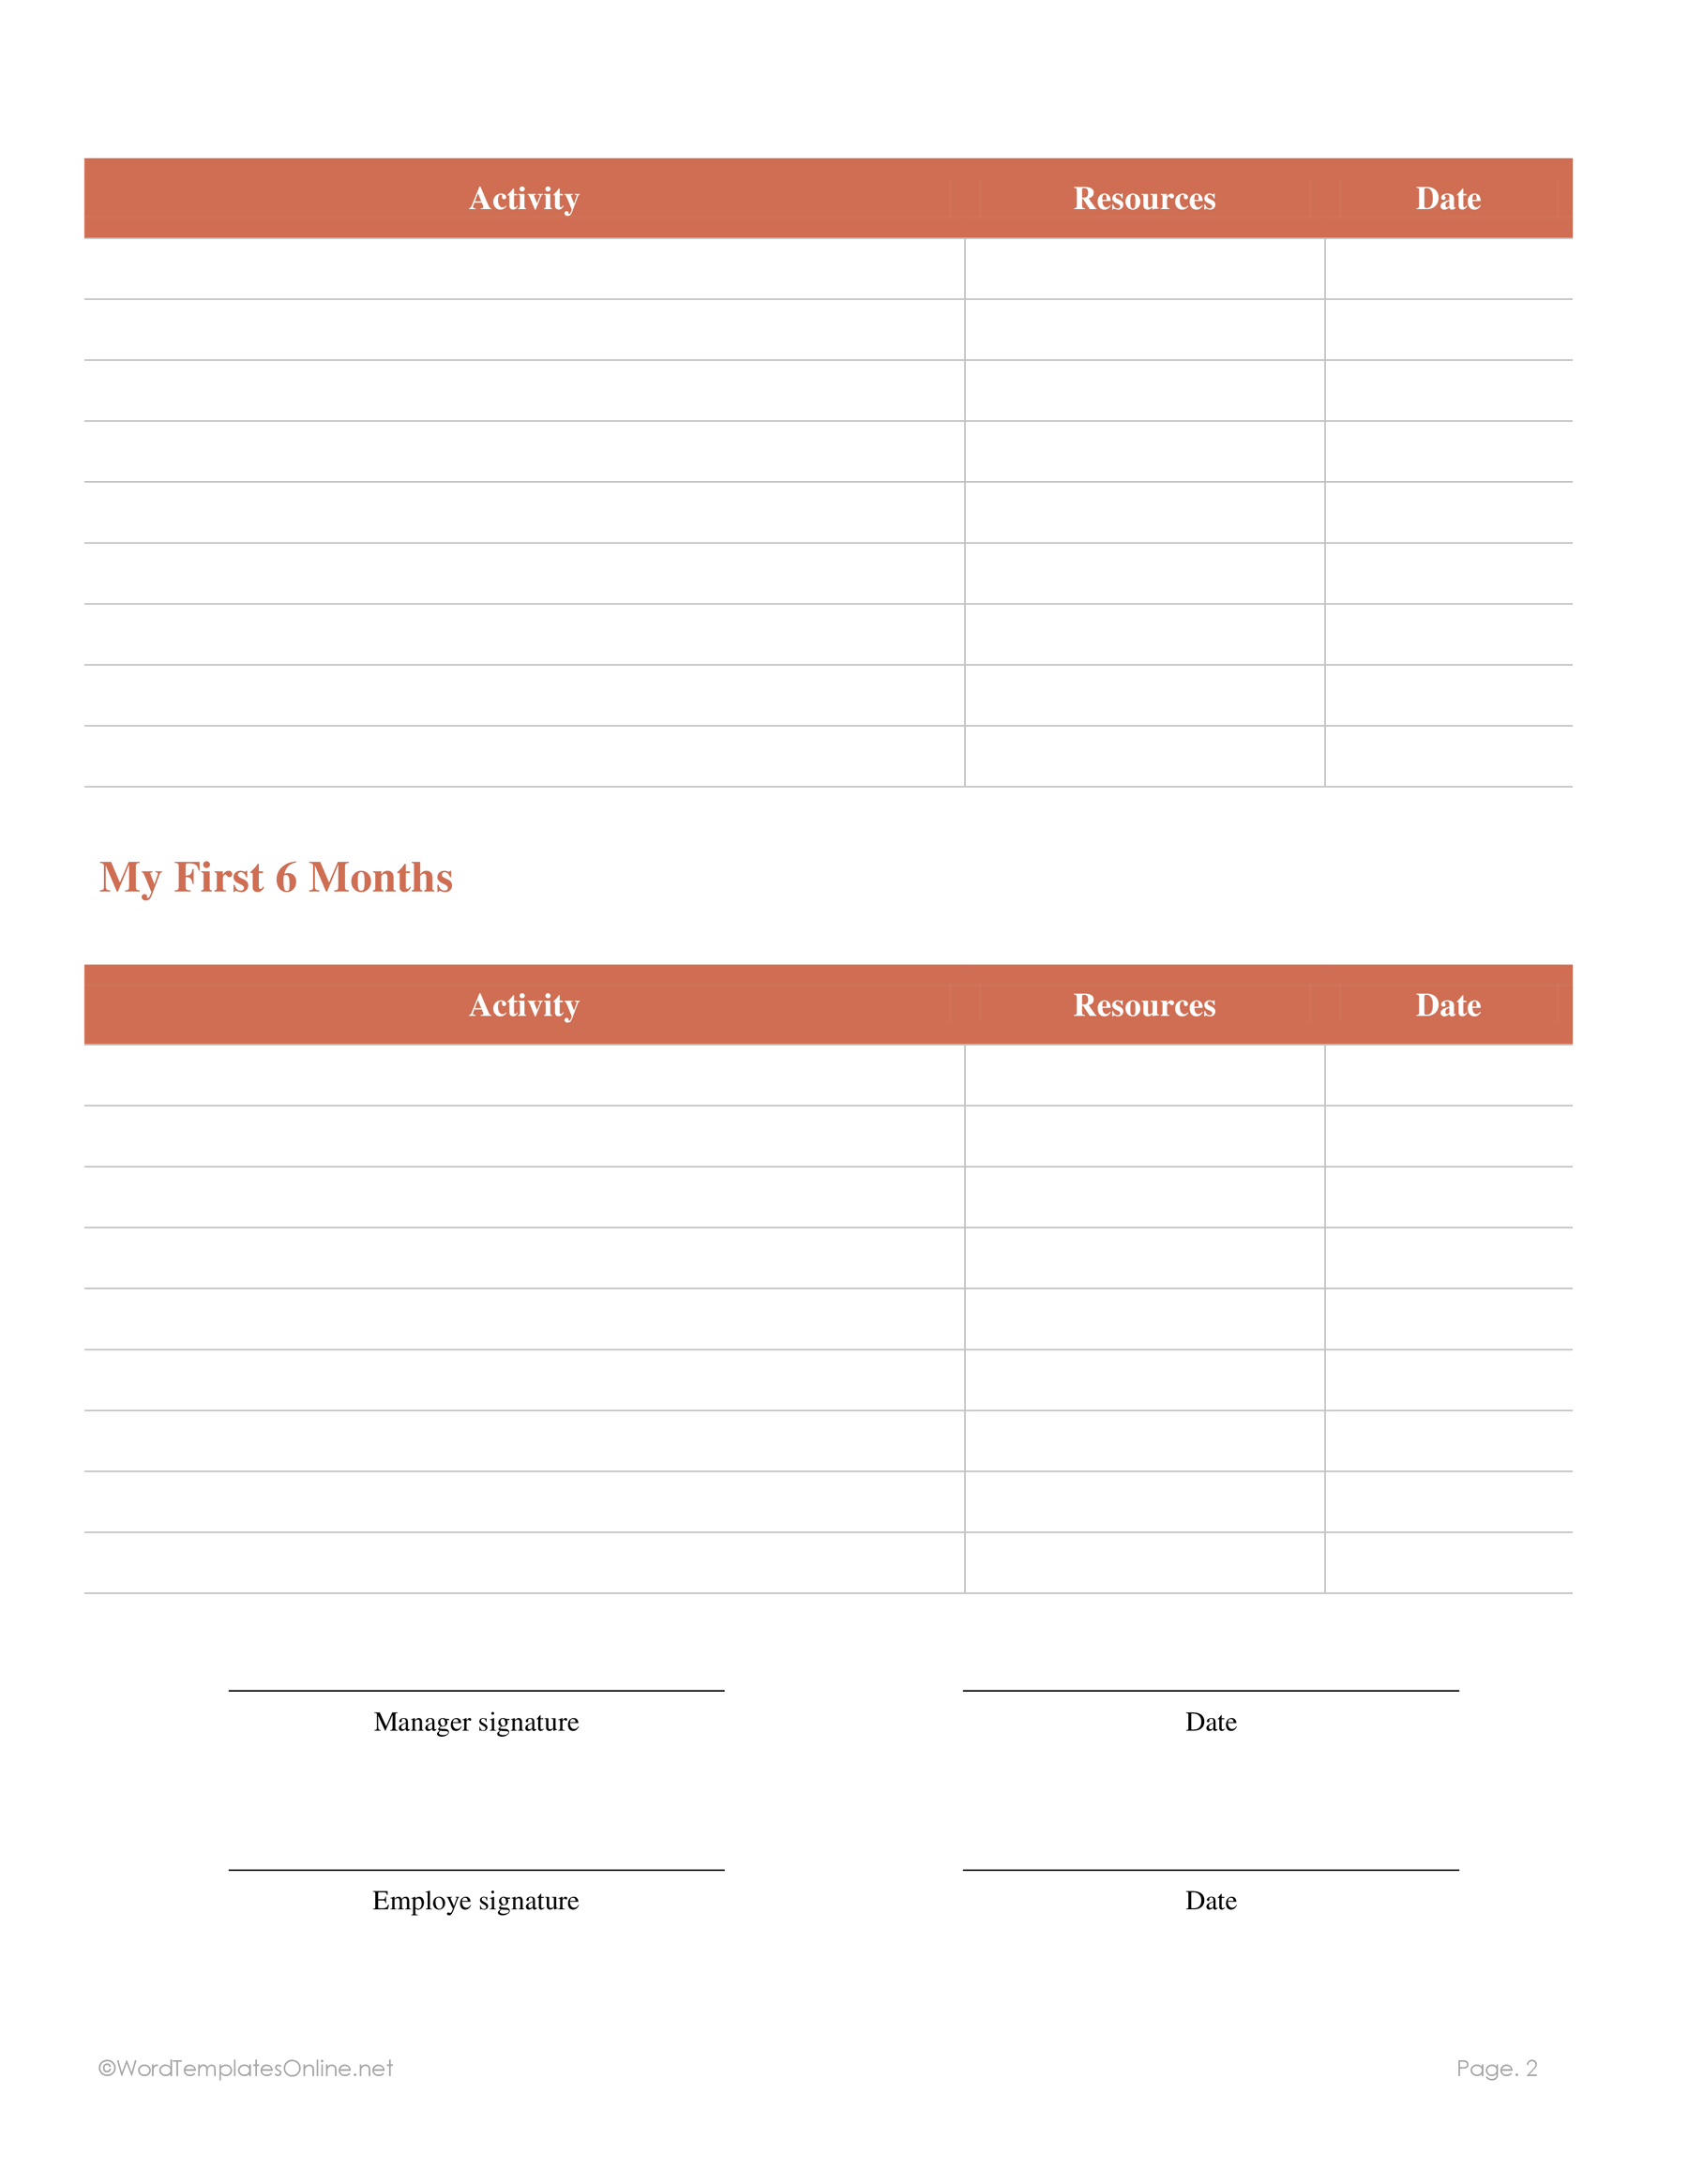
| 06 — My Onboarding Checklist | Employee | Activities, resources and dates from the first day through six months |
For a ready list to use on the first day, look at 03. When IT, a manager and other colleagues need to coordinate assigned work, 04 gives you more places to record responsibility and timing. Use 01 or 05 when the main purpose is to discuss learning and progress.
The periods printed on the forms describe their layouts. They do not set statutory deadlines or a universal probation period.
Explore the six document layouts
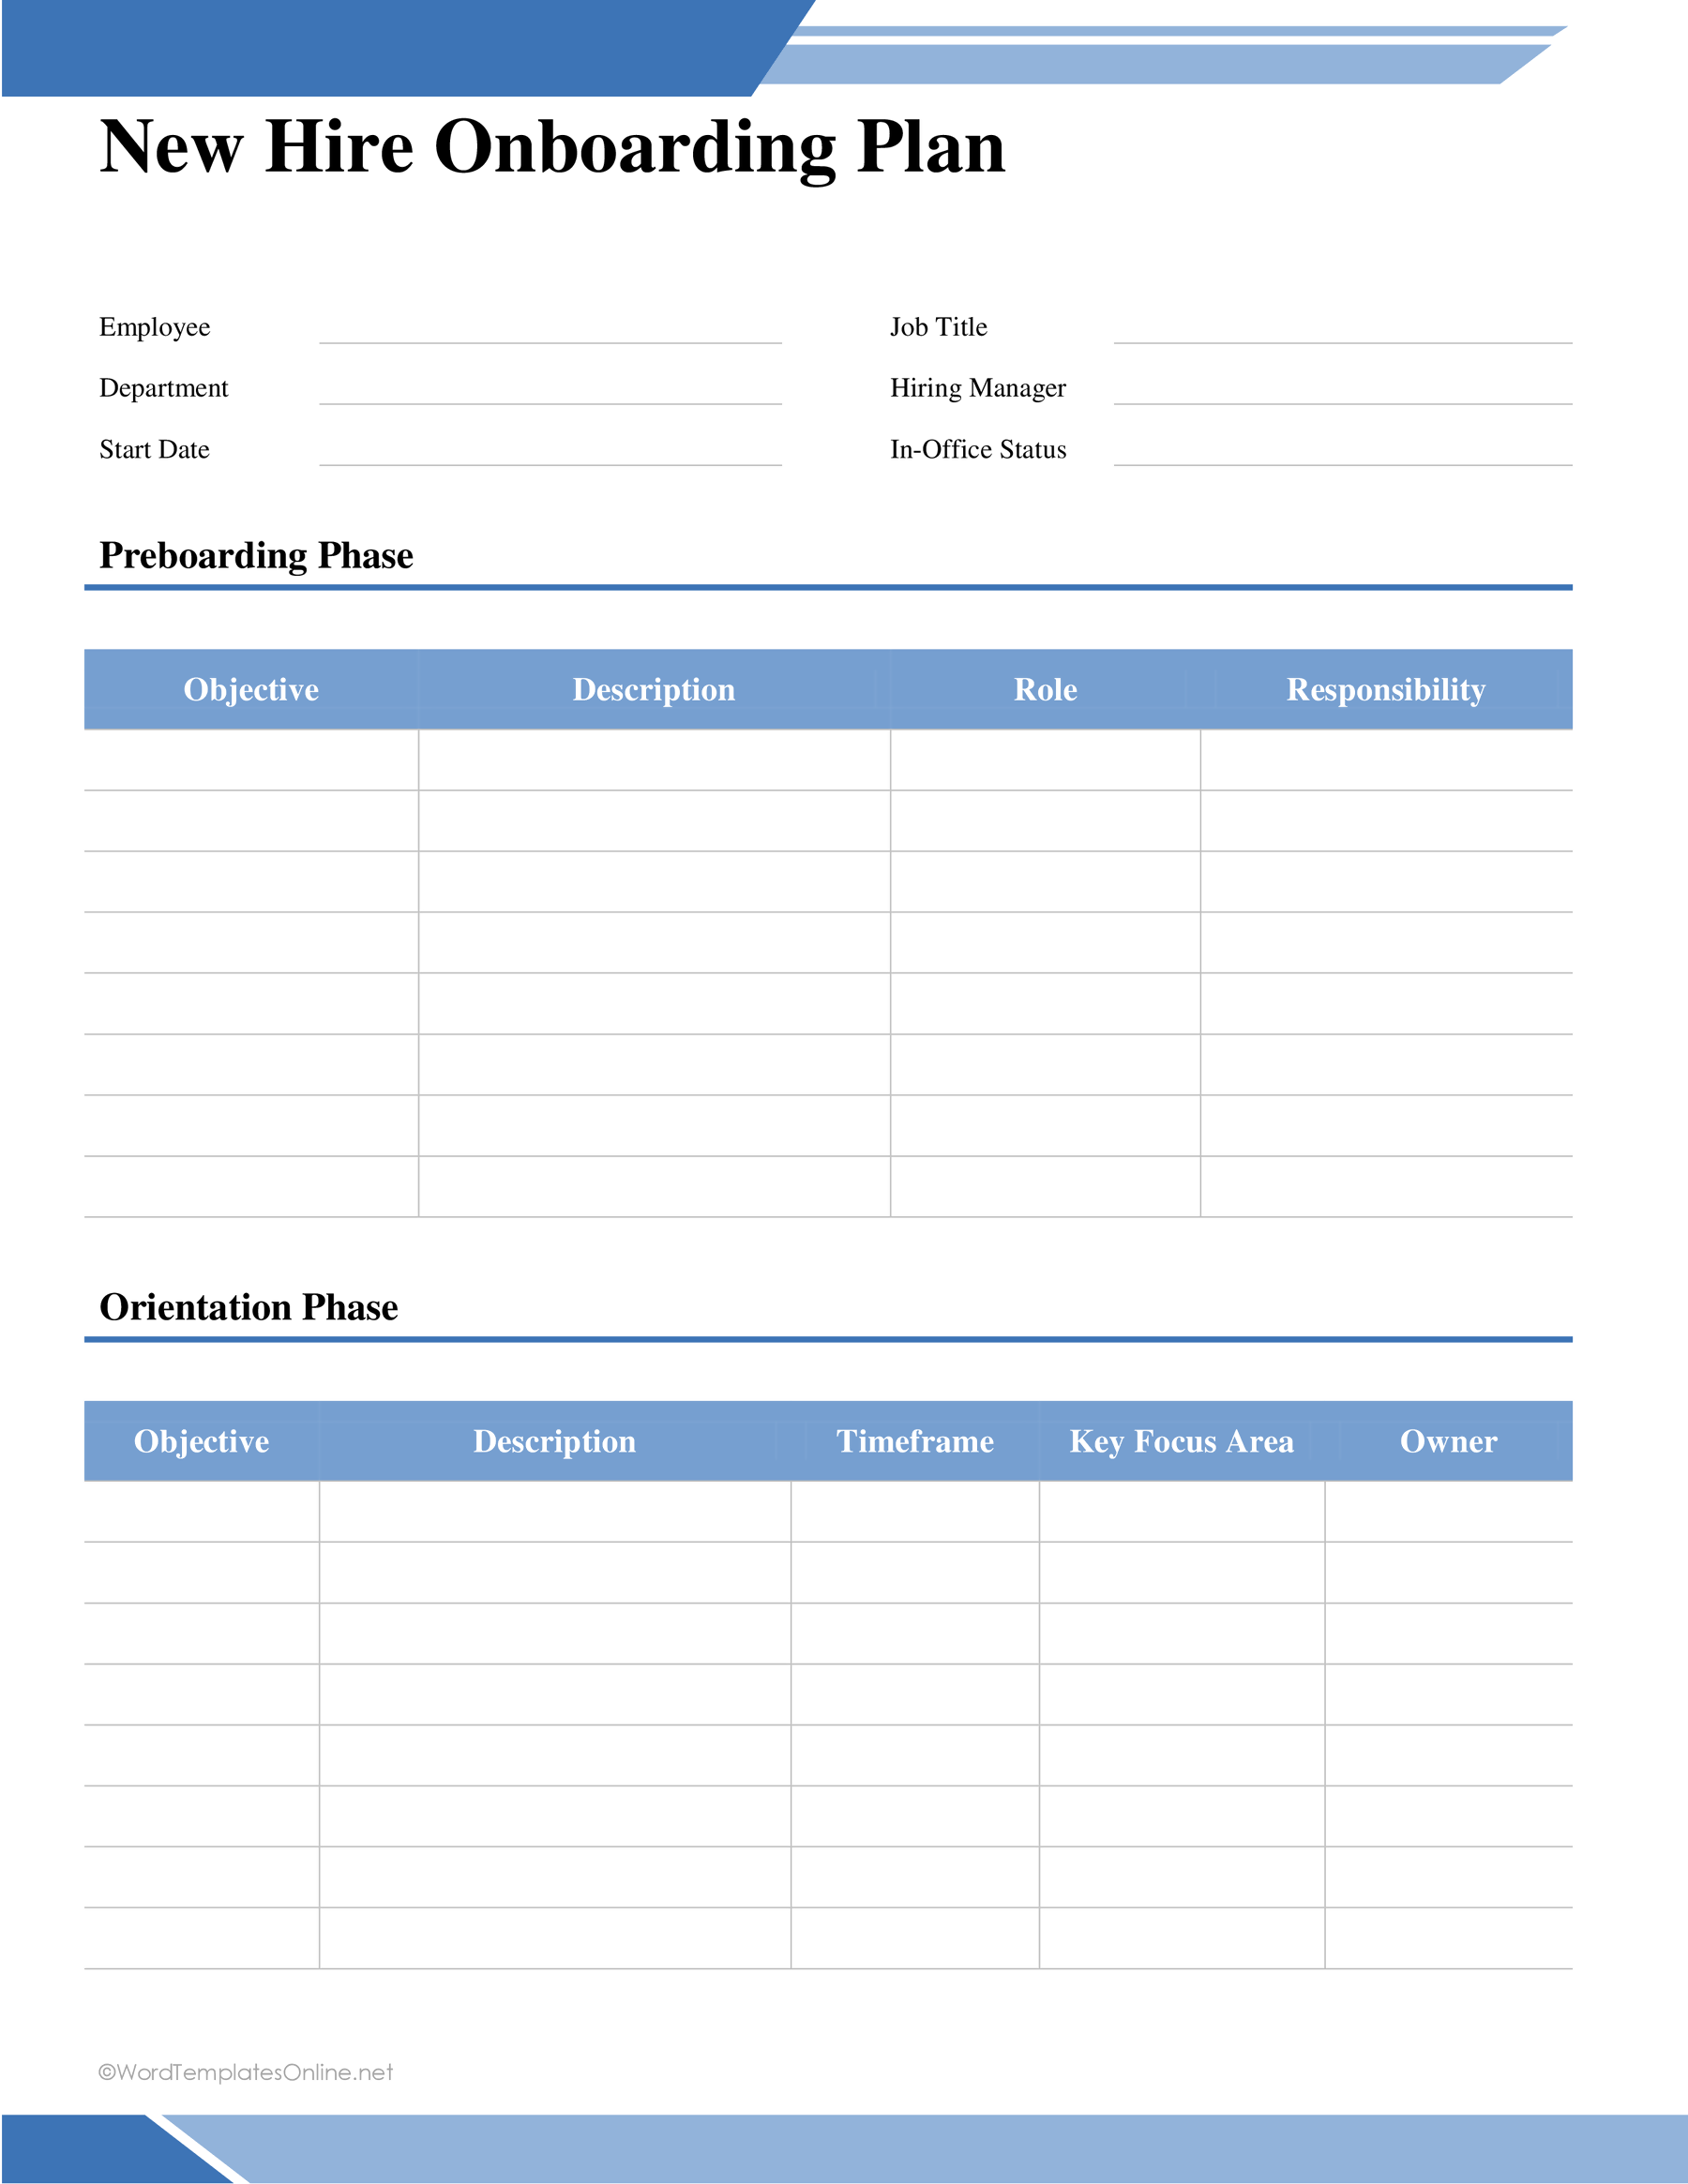
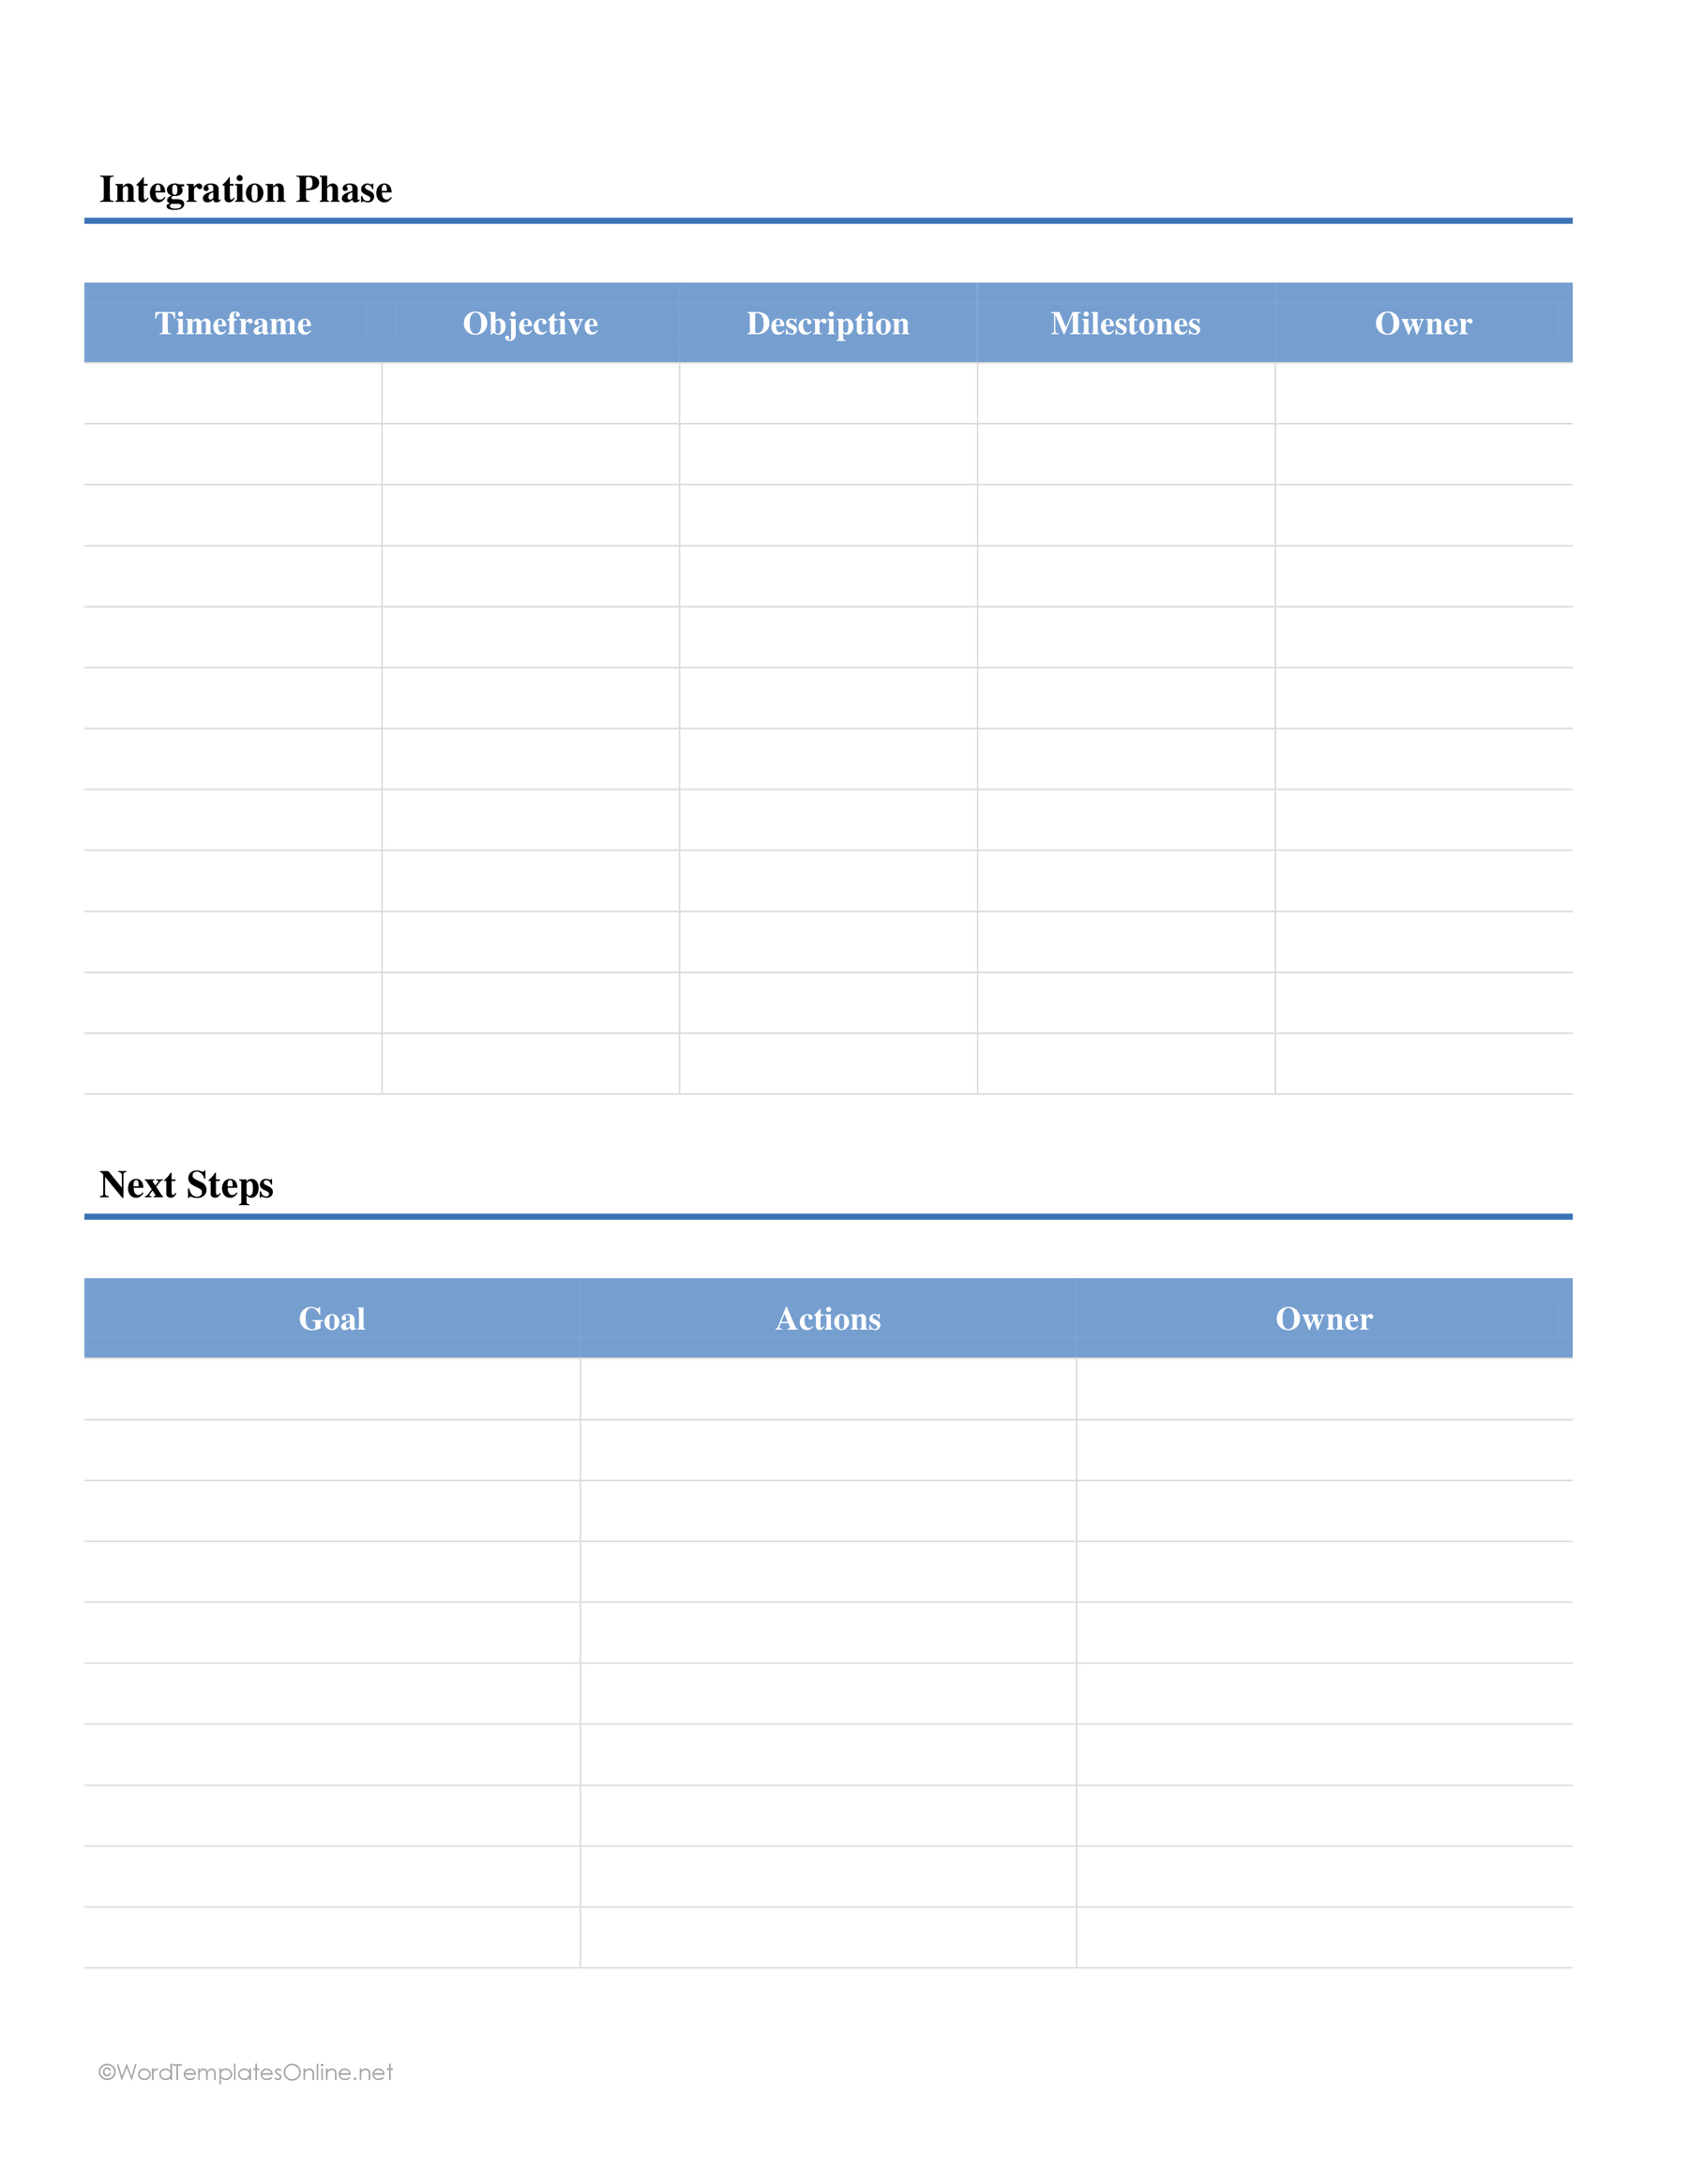
Plans 01 and 05 help you connect objectives with responsibility. Template 01 starts with employee and role details, then provides a milestone overview and separate 30-, 60- and 90-day sections. Its task, owner and notes tables give you somewhere to explain the work behind an objective. Template 05 follows preboarding, orientation and integration, then closes with a Next Steps table for a goal, actions and owner.
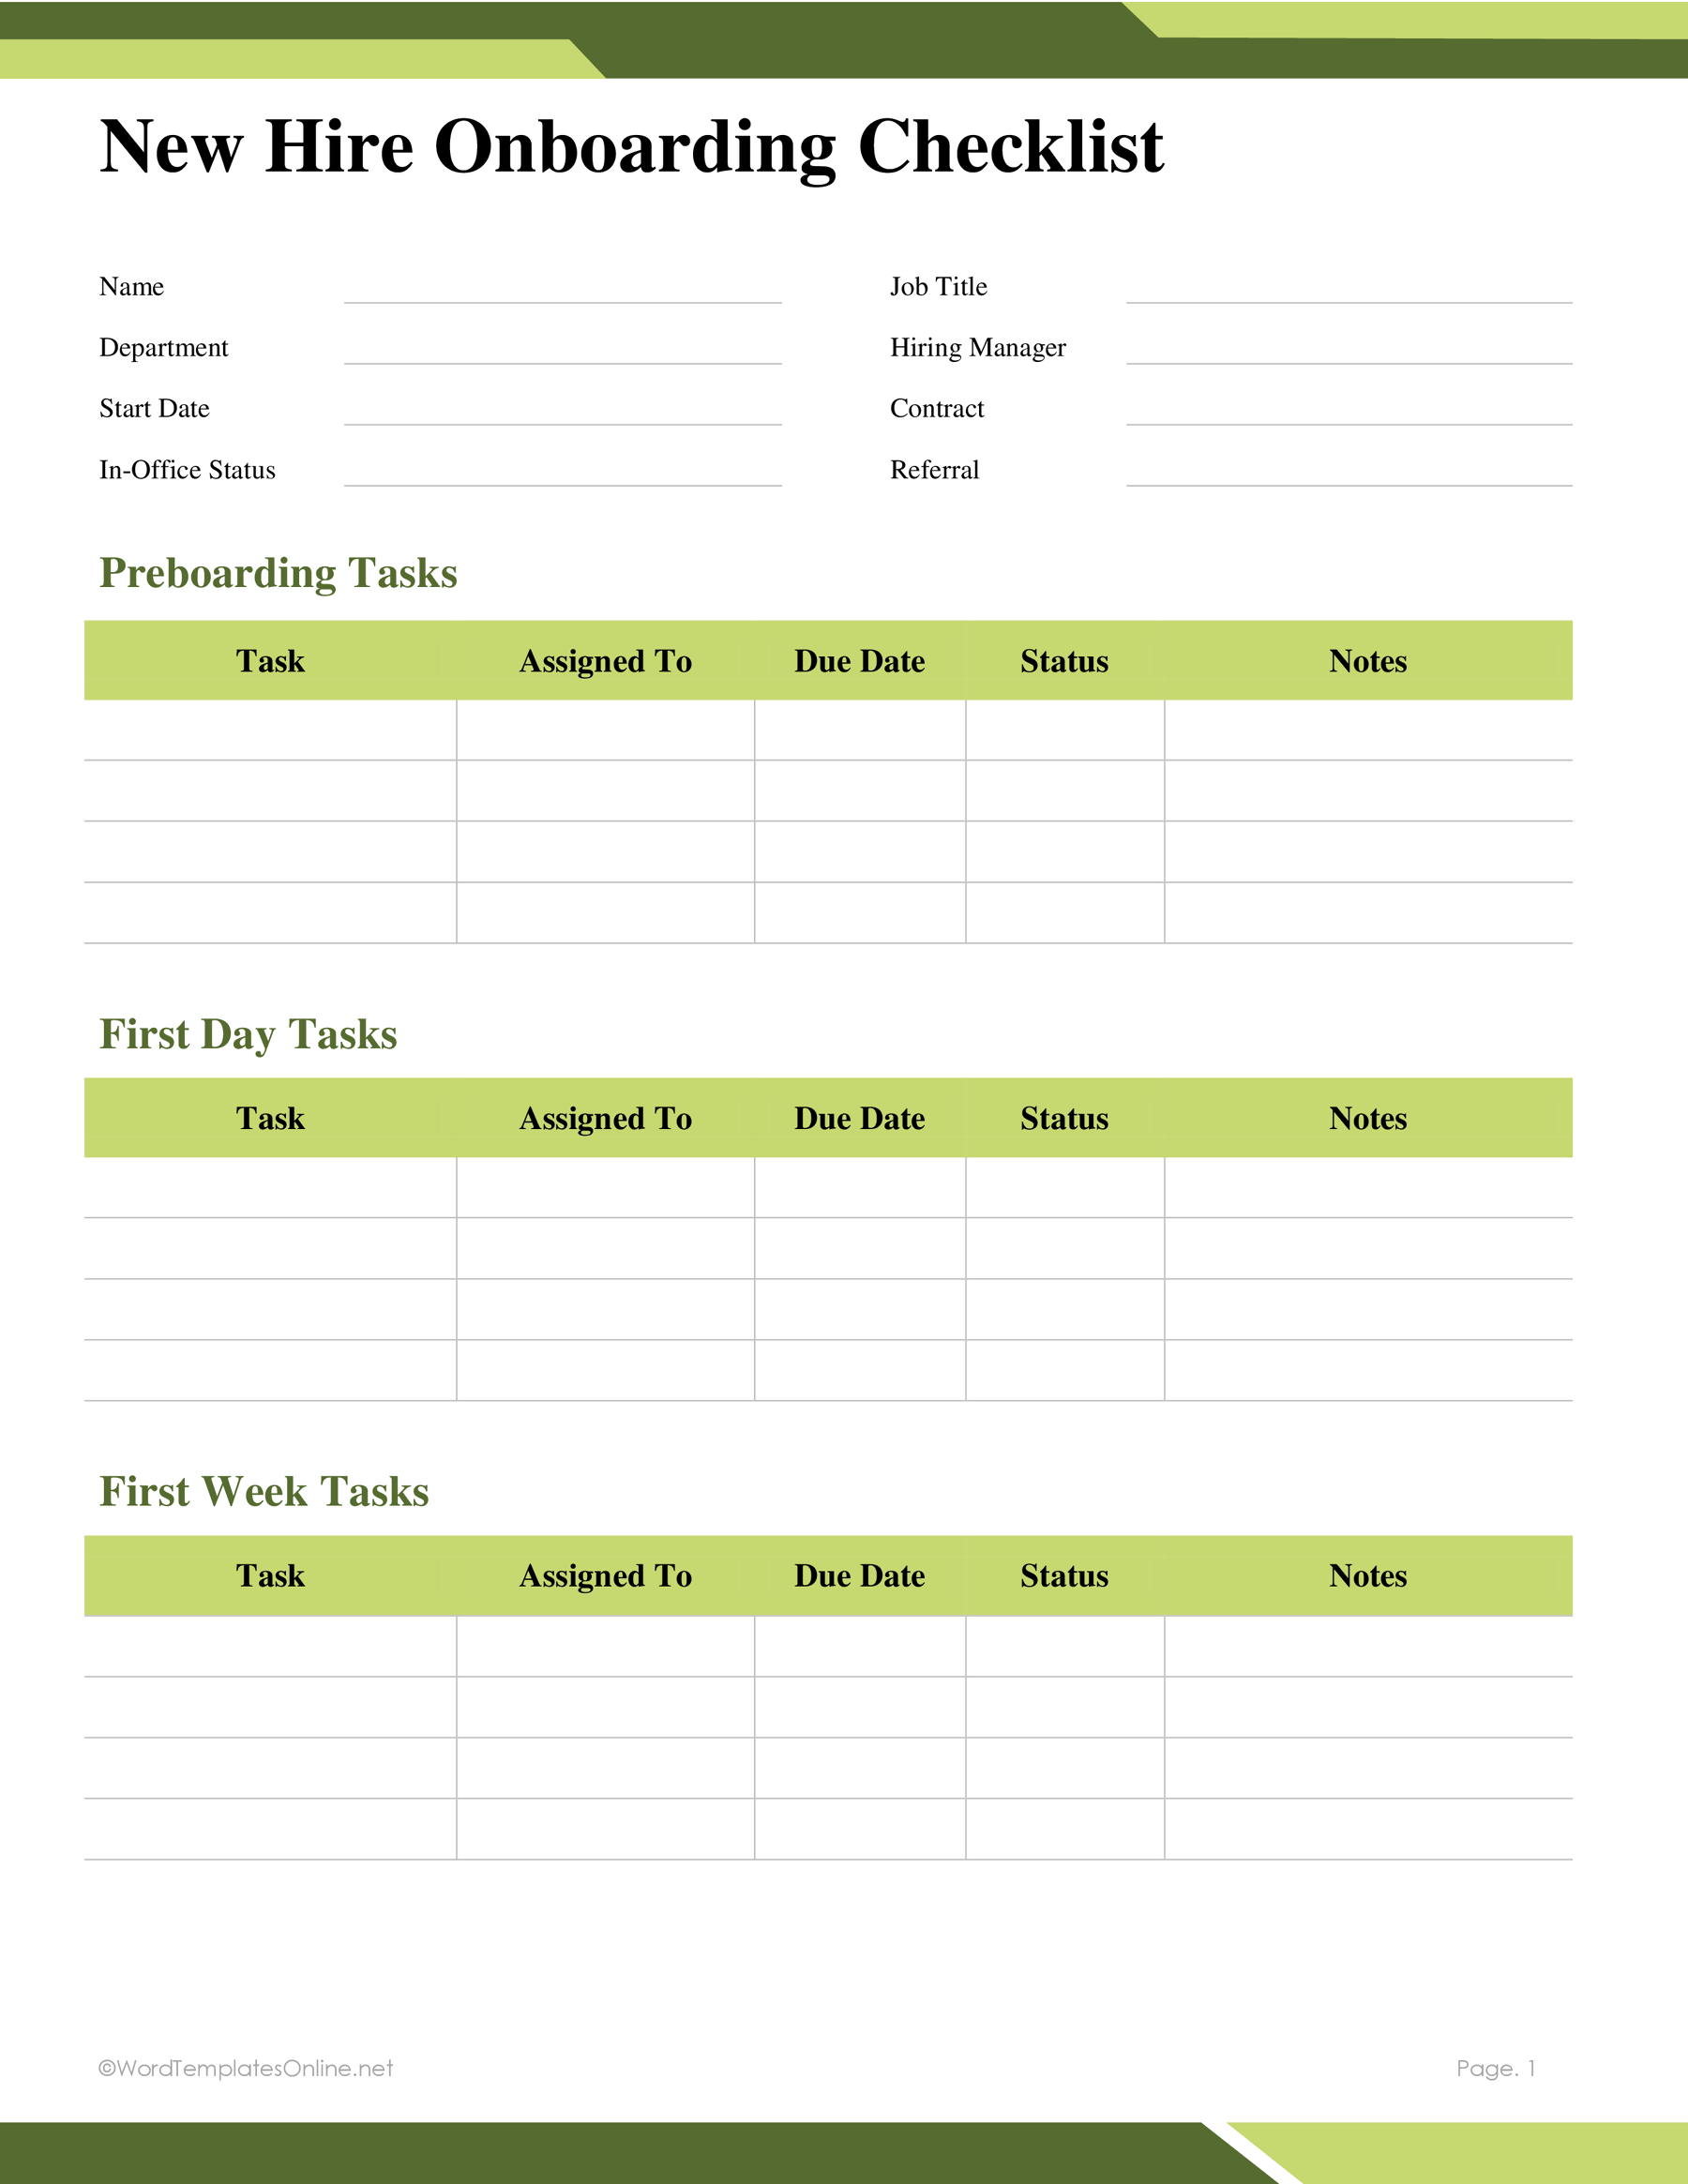
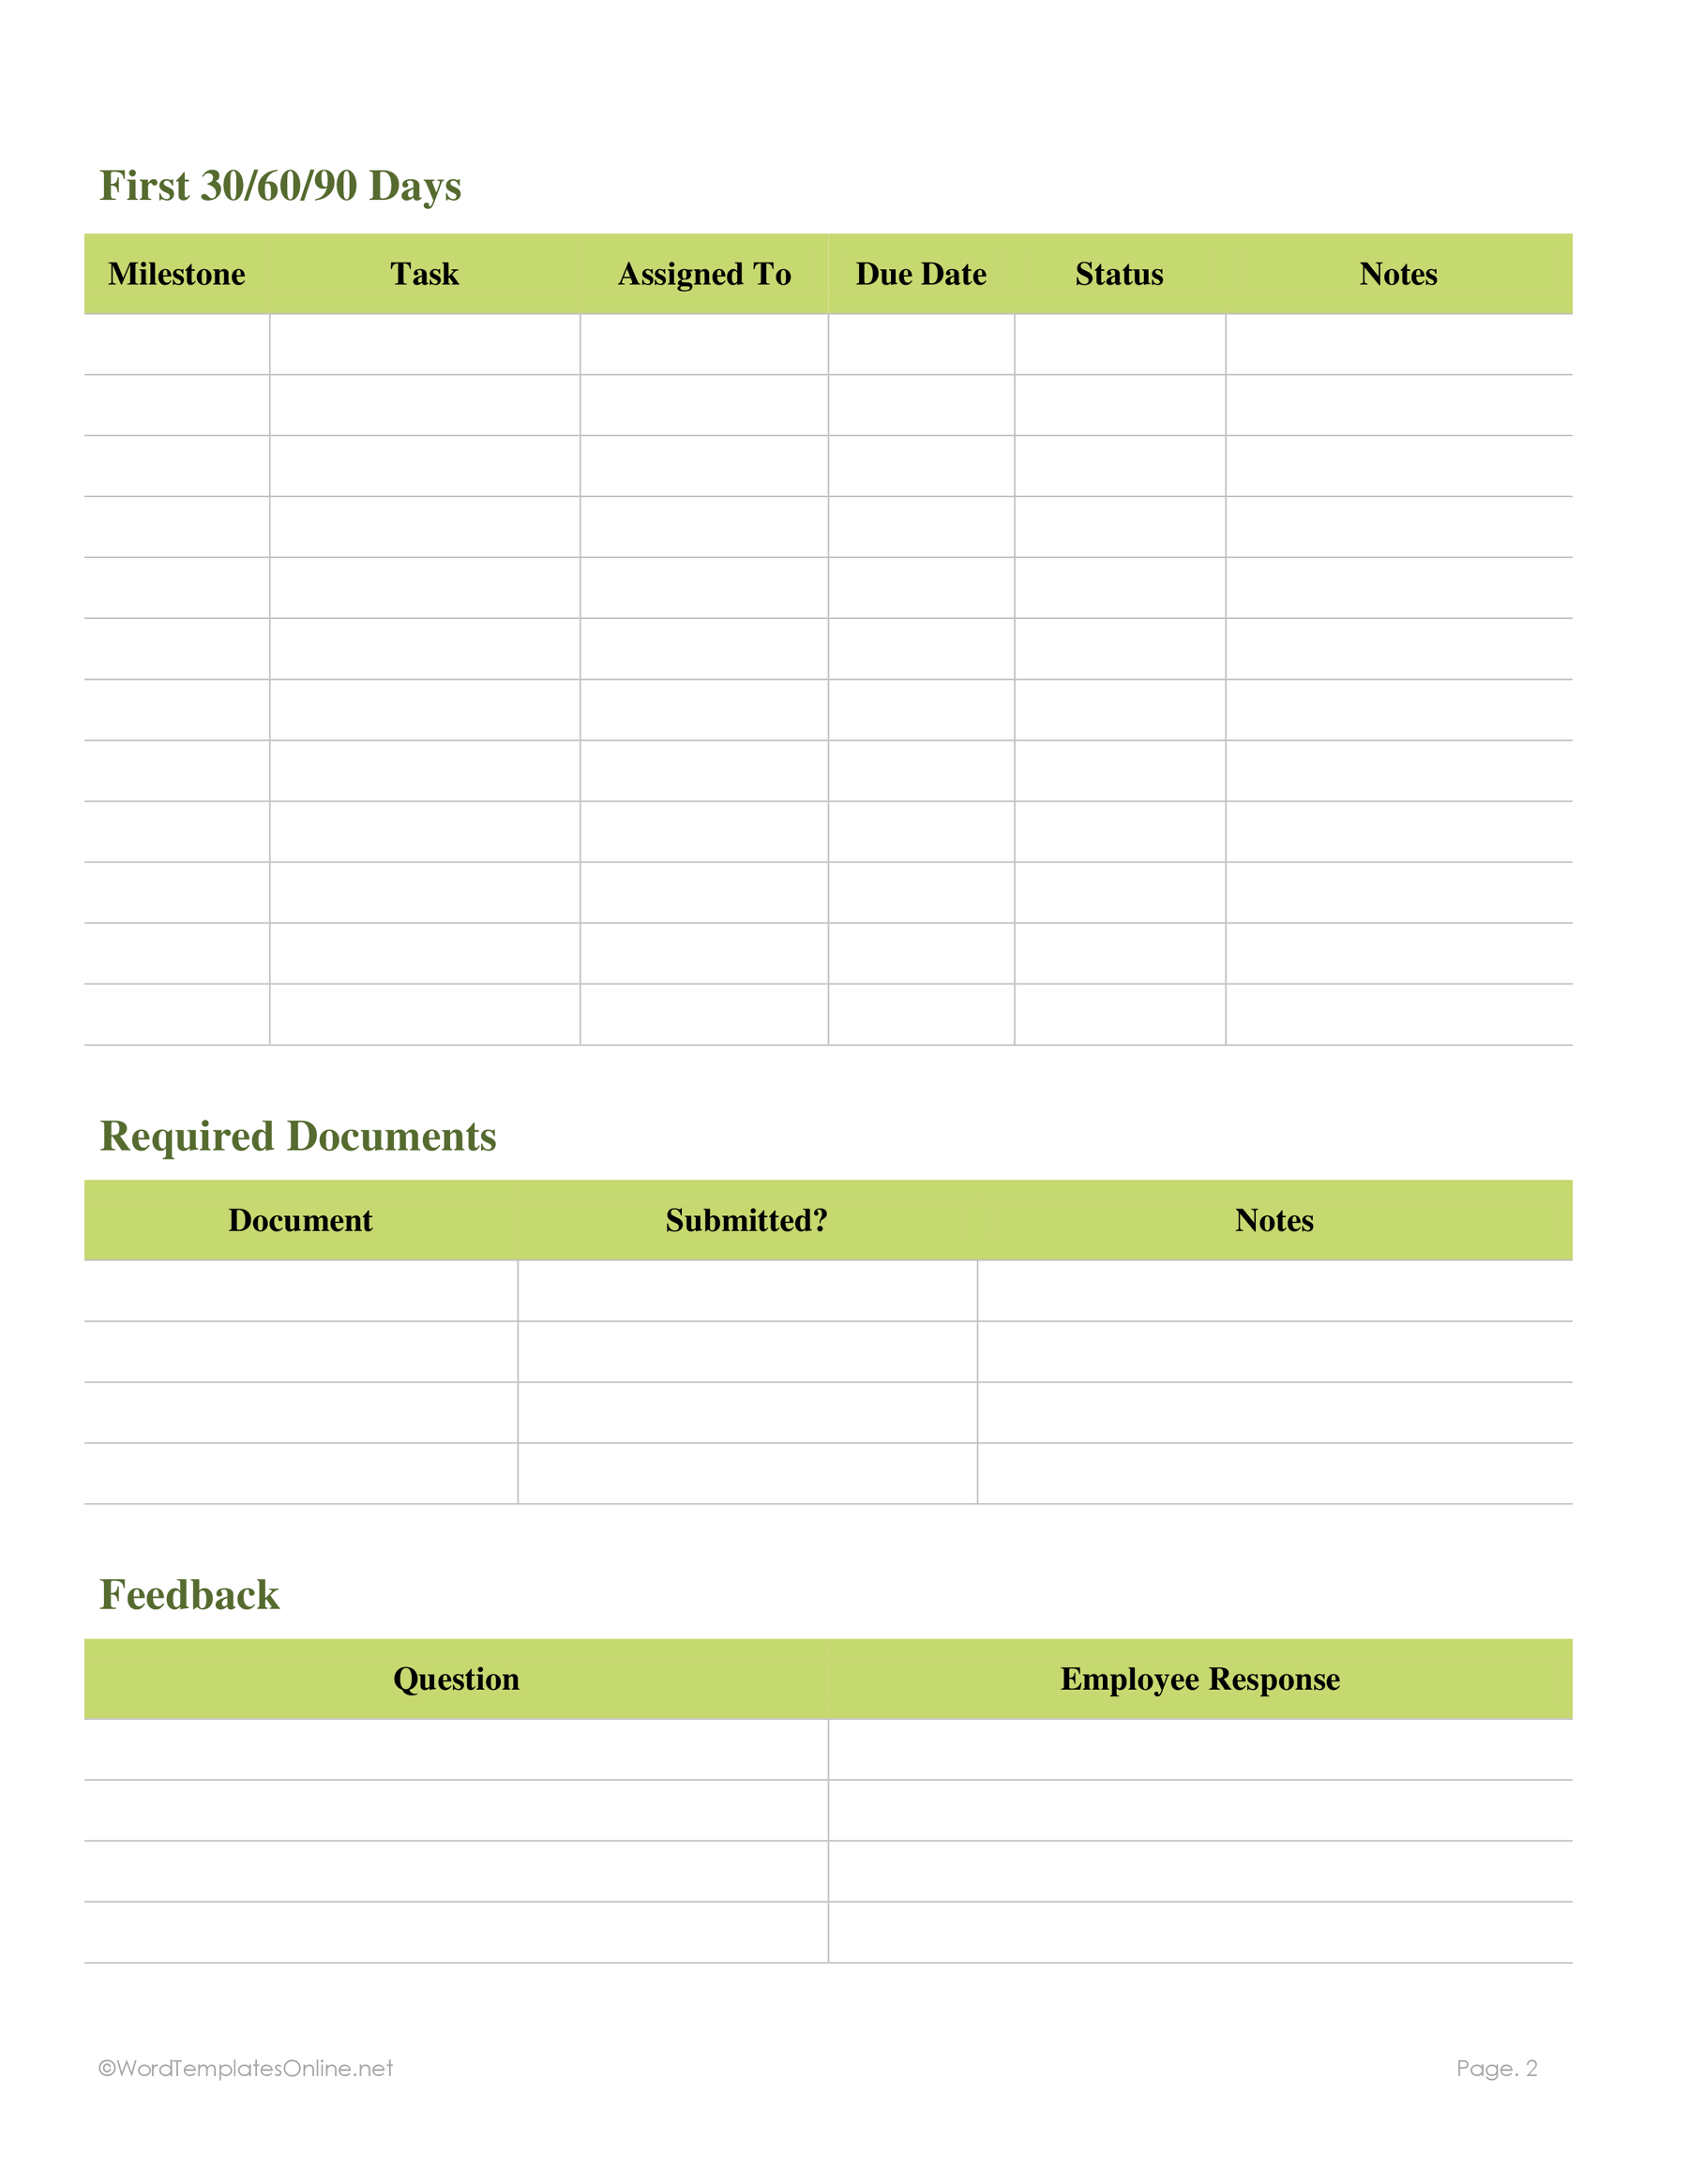
The two tracking forms offer different views. Template 02 includes Activity Type, Closed, Status, Activity Monitored By and two kinds of notes. It suits a coordinator who needs to follow an activity and retain the reason for its current status. Template 04 puts Task, Assigned To, Due Date, Status and Notes together for preboarding, the first day and the first week. It also includes later milestones, a Required Documents table and employee feedback.
Template 03 already lists twenty first-day activities, including welcoming the employee, arranging access, introducing the workplace and discussing expectations. Read each item before using it: the list still needs to fit your workplace and the person’s role.
Template 06 gives the employee a record of their own start. Its Activities, Resources and Date columns continue from the first day to the first two weeks, three months and six months. It can hold a useful reference or the date of a conversation without becoming a coordinator’s task-status form.
Compare the numbered previews below with the guide, then choose the document format you use.
Onboarding Checklist 01
Onboarding Checklist 02
Onboarding Checklist 03
Onboarding Checklist 04
Onboarding Checklist 05
Onboarding Checklist 06
Complete the fields before the employee starts
Add the employee, role and start details that your chosen layout provides. Then replace vague activities with work someone can recognize. “Set up access” leaves a colleague to guess what access means; “confirm access to the team’s project tool” names the result you need.
Where the form includes an owner or Assigned To field, name the person responsible. Give that person useful timing, too. Choose a due date that fits when the employee needs the result.
Here is a fictional entry for template 04:
Task: confirm access to the team’s project tool.
Assigned To: IT coordinator.
Due Date: before the first working day.
Status: awaiting confirmation.
Notes: manager checks that the employee can sign in.
Requesting an account and confirming usable access are different steps. Once the employee can sign in, update the Status entry to reflect that confirmation. If access is still missing, use Notes to record what needs attention.
If an item says complete but the employee still cannot use the tool, ask the assigned colleague to check the result. Keep the unresolved step visible in Status and Notes until someone has confirmed it works.
For template 02, agree how your team will use Closed and Status before several people begin updating the sheet. One possible convention is to use Status for current progress and Closed for confirmed completion. That is a suggested way to use the fields; the document does not update either field automatically.
In template 04’s Required Documents table, record the document name, submission status and a process note. Keep identification numbers and private HR documents in the appropriate HR system rather than pasting them into this shared checklist. Your employer’s process determines what is required; the blank table does not establish a complete legal list.
Make check-ins about learning as well as completion
A completed list can show that someone attended a meeting without telling you what they understood. Use the plan’s objectives to give the next conversation a practical focus.
For example, a fictional objective in template 01 might be to complete a routine handoff with supervision. Record the task and the person supporting it, then use Notes for what the employee wants explained at the agreed check-in. Shape the objective around the actual role; a printed 30-day heading does not mean every employee should work independently by that point.
The OPM sample employee checklist illustrates staged orientation for a federal employer, including early assignments, feedback and later development planning. It is a useful example of keeping orientation going beyond the first morning.
The University of Florida’s onboarding guidance also uses continuing conversations about expectations, training and support. Its six-month process belongs to that institution; use your own employer’s timing and policies.
Template 04’s Question and Employee Response fields can retain what comes out of a check-in. In 06, the employee can use Resources for a guide or reference they want to find again. A question such as “Where can I see an example of a finished handoff?” gives you something concrete to follow up.
Choose a format and keep a working copy
Each entry offers a DOTX Word template, an ODT file and a linked Google Docs version. Open the DOTX file in Word to start a document from the template. For ODT, use an editor that supports OpenDocument text. Sign in to your Google account if you want to keep a working copy of the linked Google Doc.
Save the employee’s completed record separately from the blank source. Check the layout in the editor you choose before using or printing it, especially when you add longer task descriptions or notes.
Begin with one concrete activity. Add its responsibility and timing where the form provides those fields, then agree how you will confirm it is complete.
About This Article